People section 360 Change Document
Gainsight NXT
This article explains the differences in the old UI and new UI of the People section in 360.The People section is explained using C360 and the people section in R360 remains the same.
View Person Details
- Out of Box Filter: It is included in the People List view for the ease of the filtering.
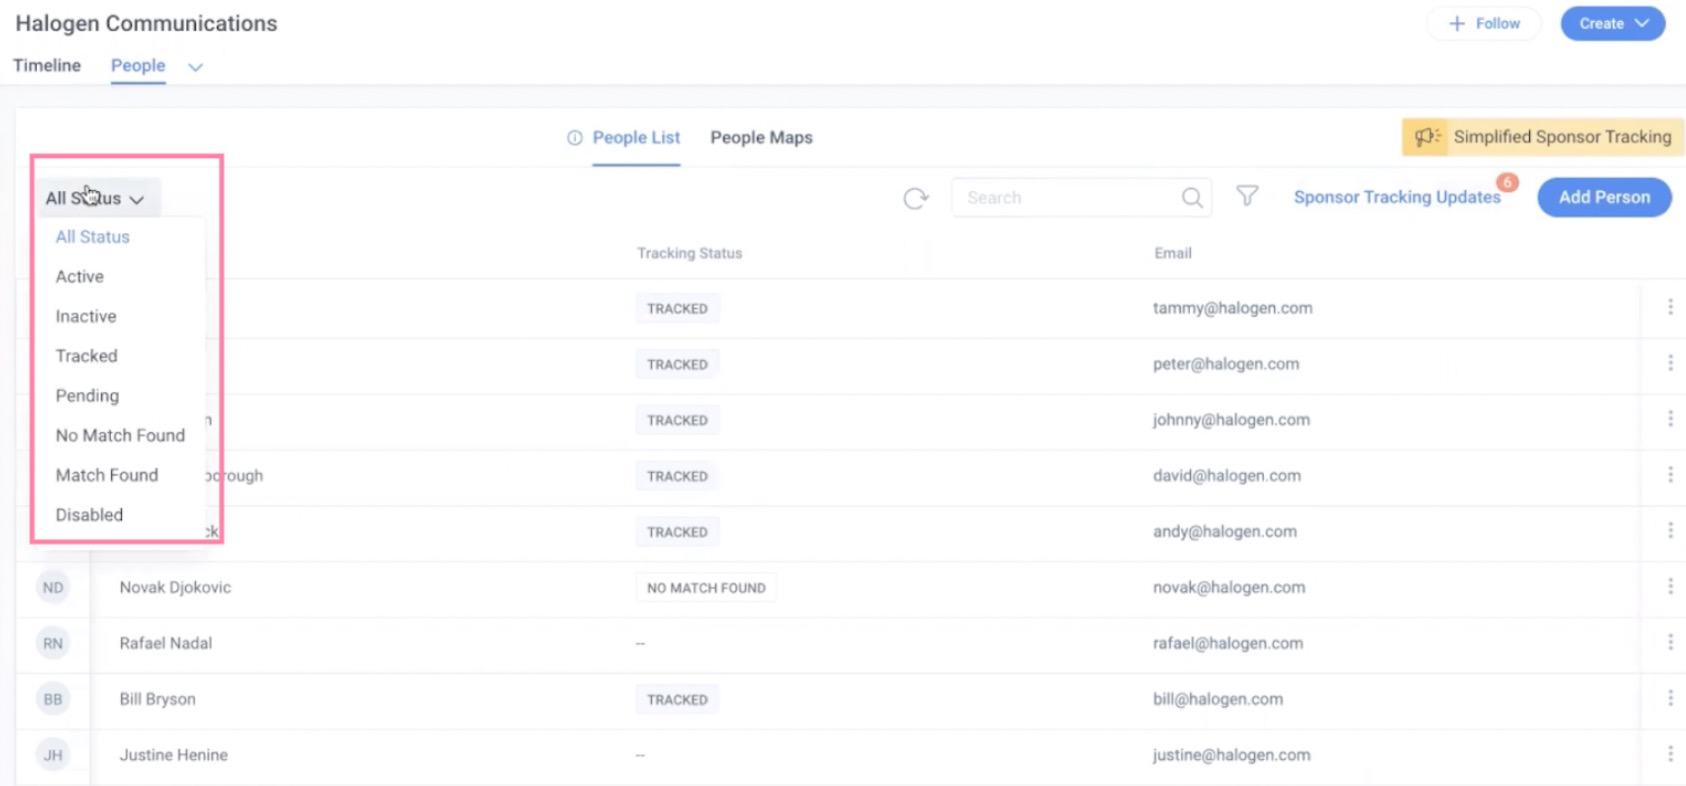
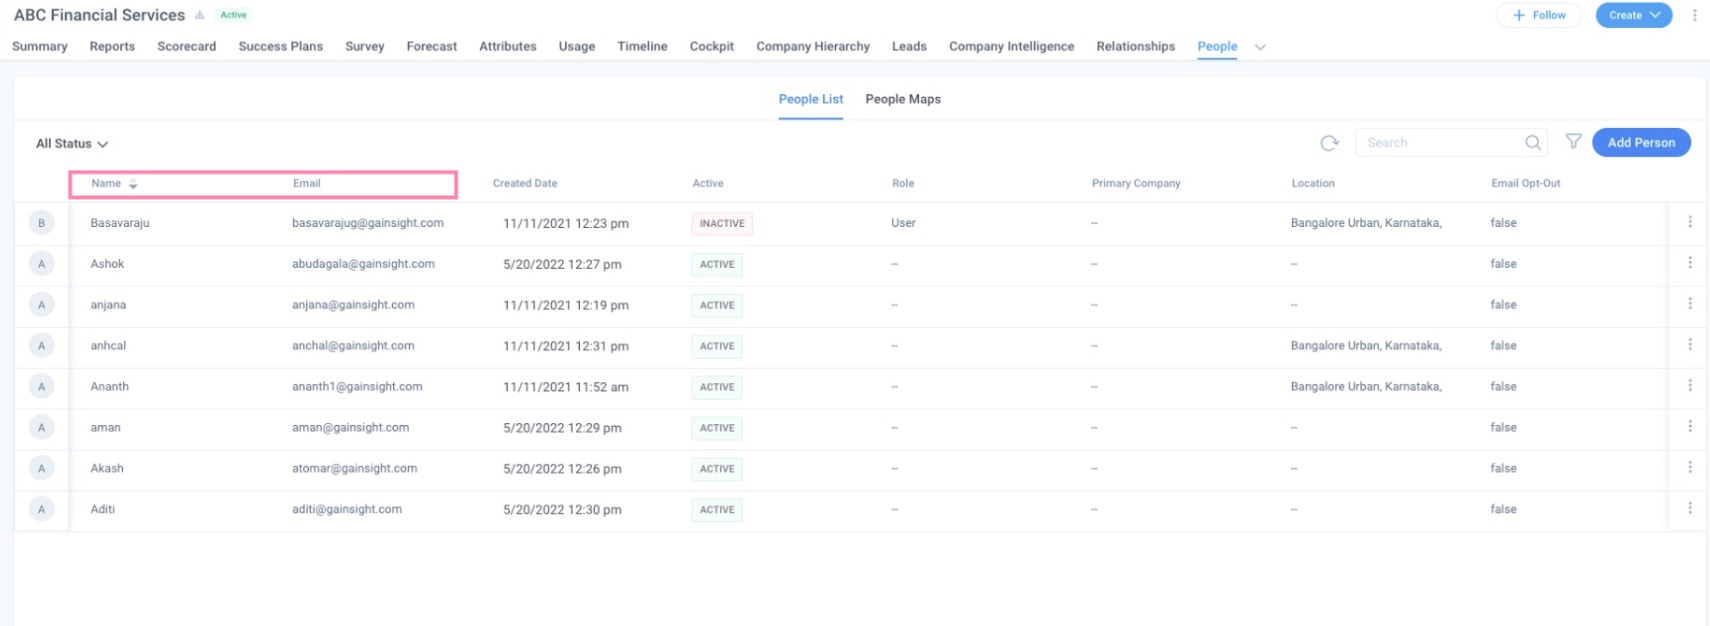
Active and Inactive statuses states if the particular person record is active or inactive which could be altered through inline edit or editing from the detail view. For more information on the other statuses, refer Sponsor Tracking Overview to the article.- Sorting Names: Users can sort names in ascending or descending order of the alphabets.
- Person Name and Email Address: The Person name and the corresponding email address are now shown in different columns for clarity and ease of access.The layout depends on the layout that is configured in the C360/R360 section.
To view the associations of a Person:
- Navigate to the C360 page of the corresponding company from either Global Search box or from other applications within Gainsight.
- Click the People tab and then click People List.
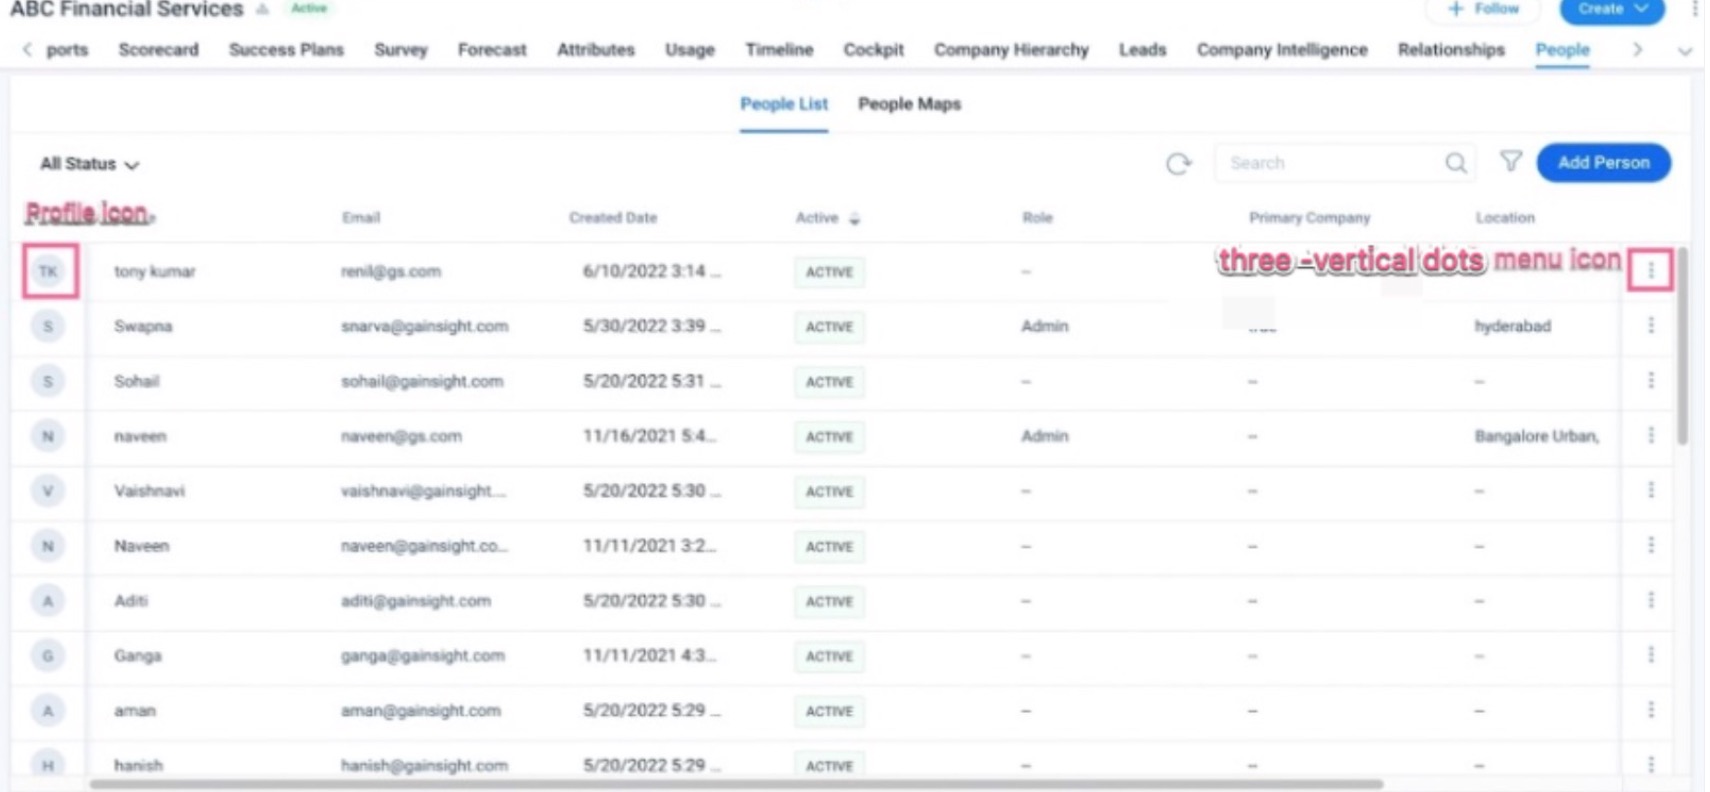
- Click the three-vertical dots menu icon of the person record and select View Details. You can also click the Profile icon on the left side of the name to view the person's details.
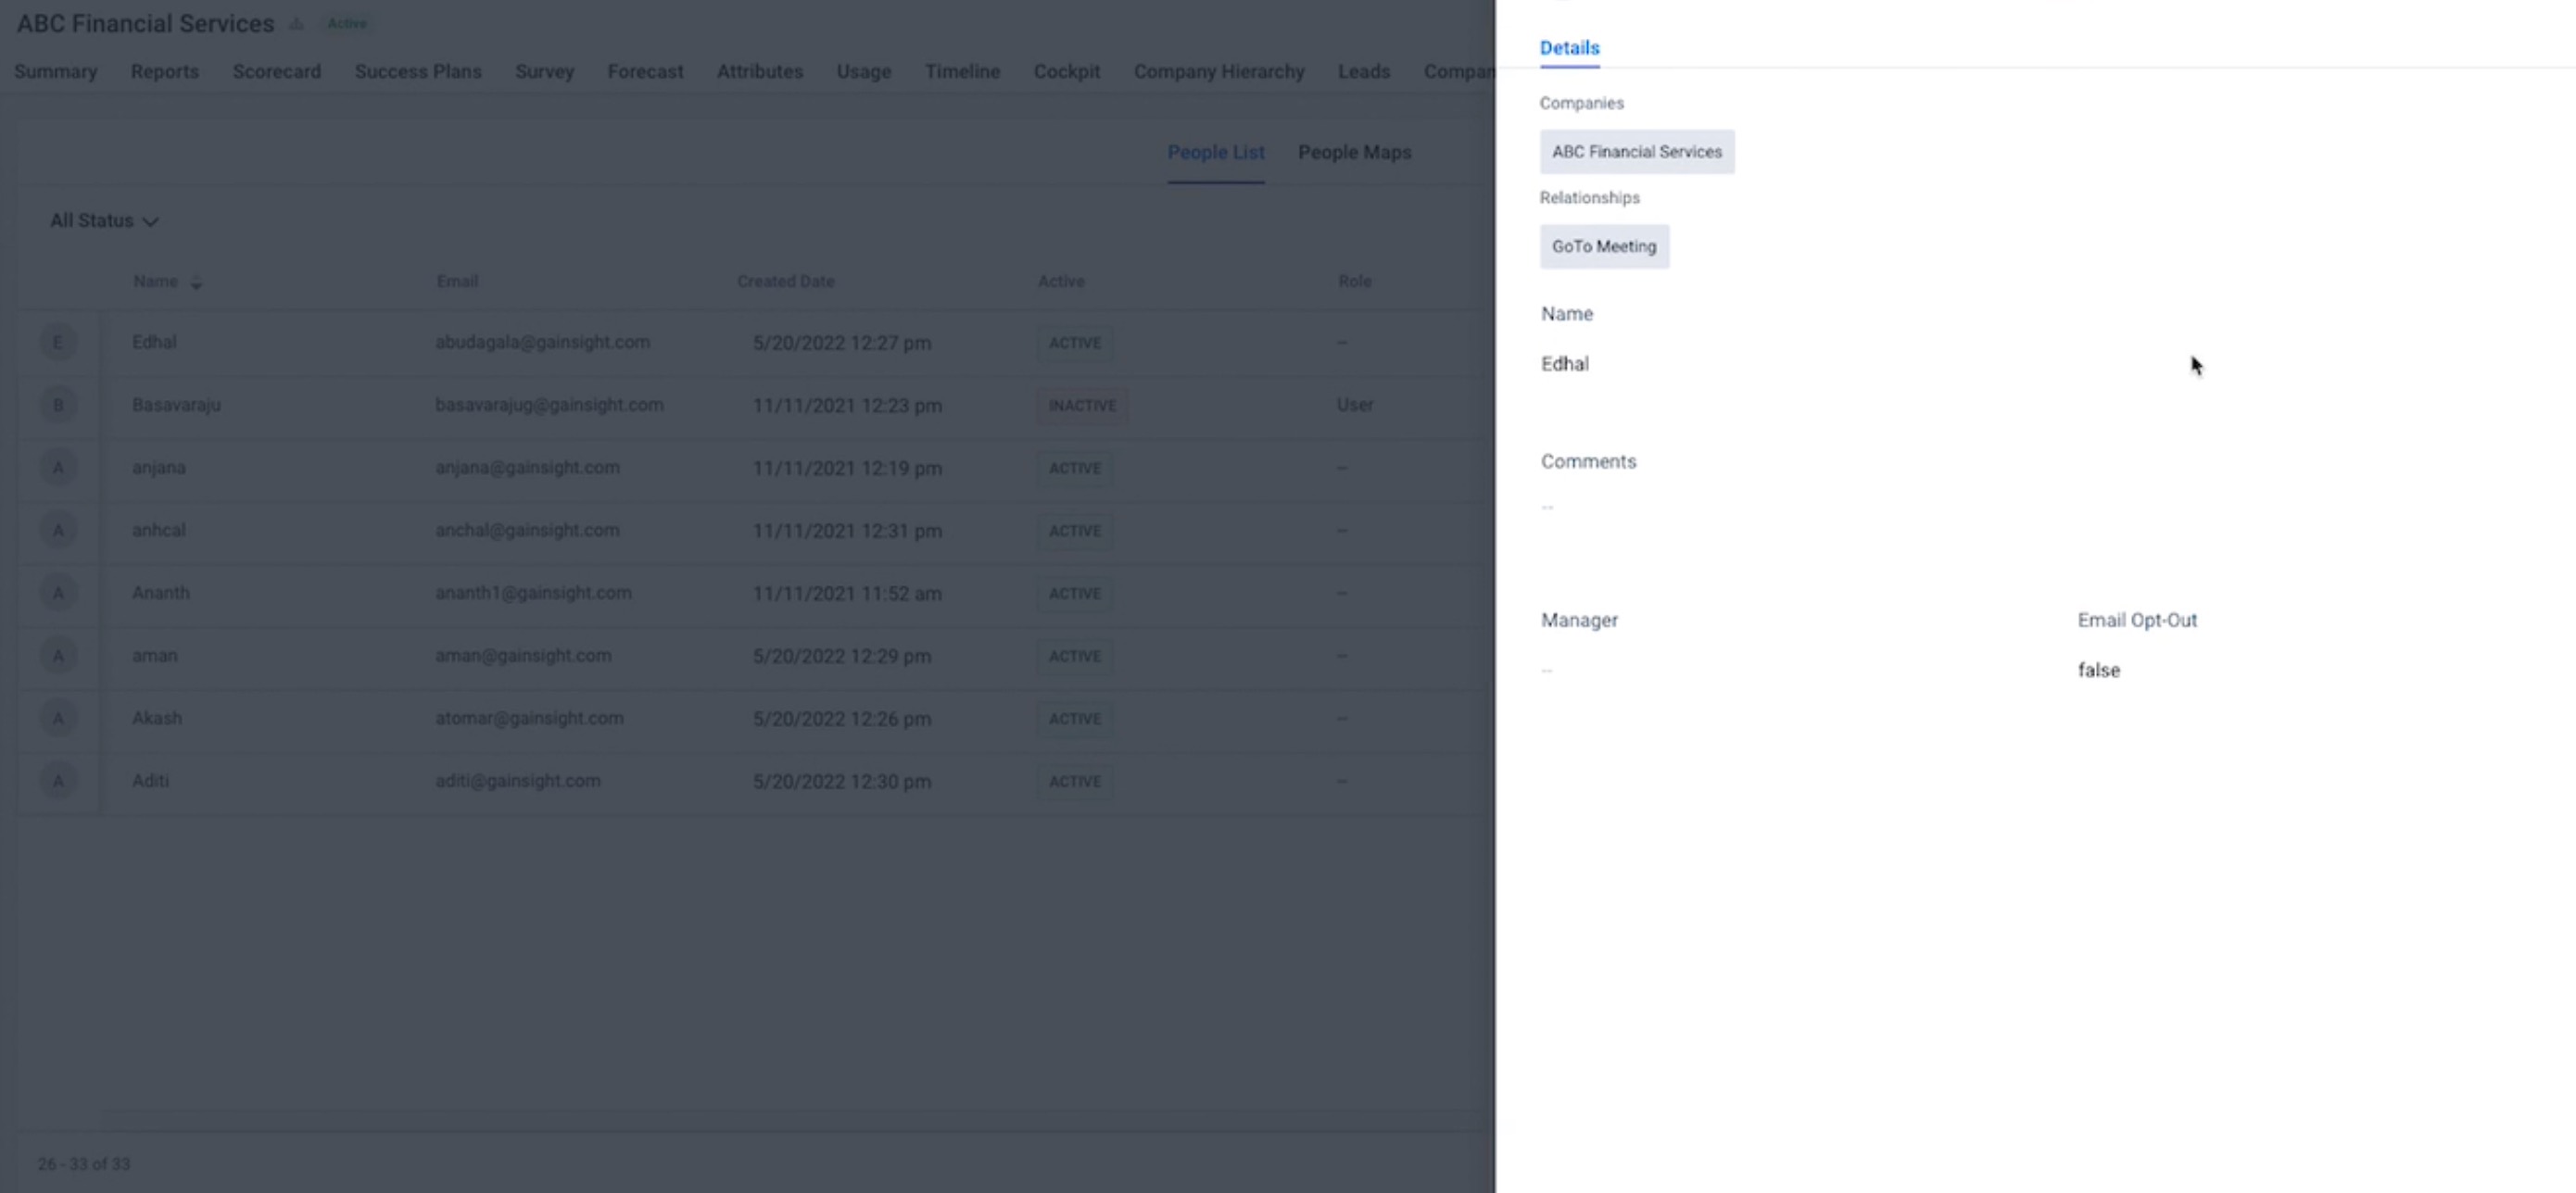
- The person detail view is displayed, where you can see all the Company and Relationship associations of a Person. When you click the Company/Relationship names in the person detail view, you will be navigated to the Person Section of that particular Company/Relationship.
Edit Person Record Details from C360/R360
CSMs can edit the person record information using inline edit or in the detail view of the required person record.
-
Inline Edit
From the C360 > People section > People List, CSMs can directly edit person record information. Inline edit is enabled for the fields that are available in the People List view.To edit the person details in C360:
-
In the C360 > People section > People List, click any one of the following fields to update them:
- Name
- Active
- Role
- Primary Company
- Location
Note: You cannot add/modify information in a field, if Edit Permissions are not granted by your admin.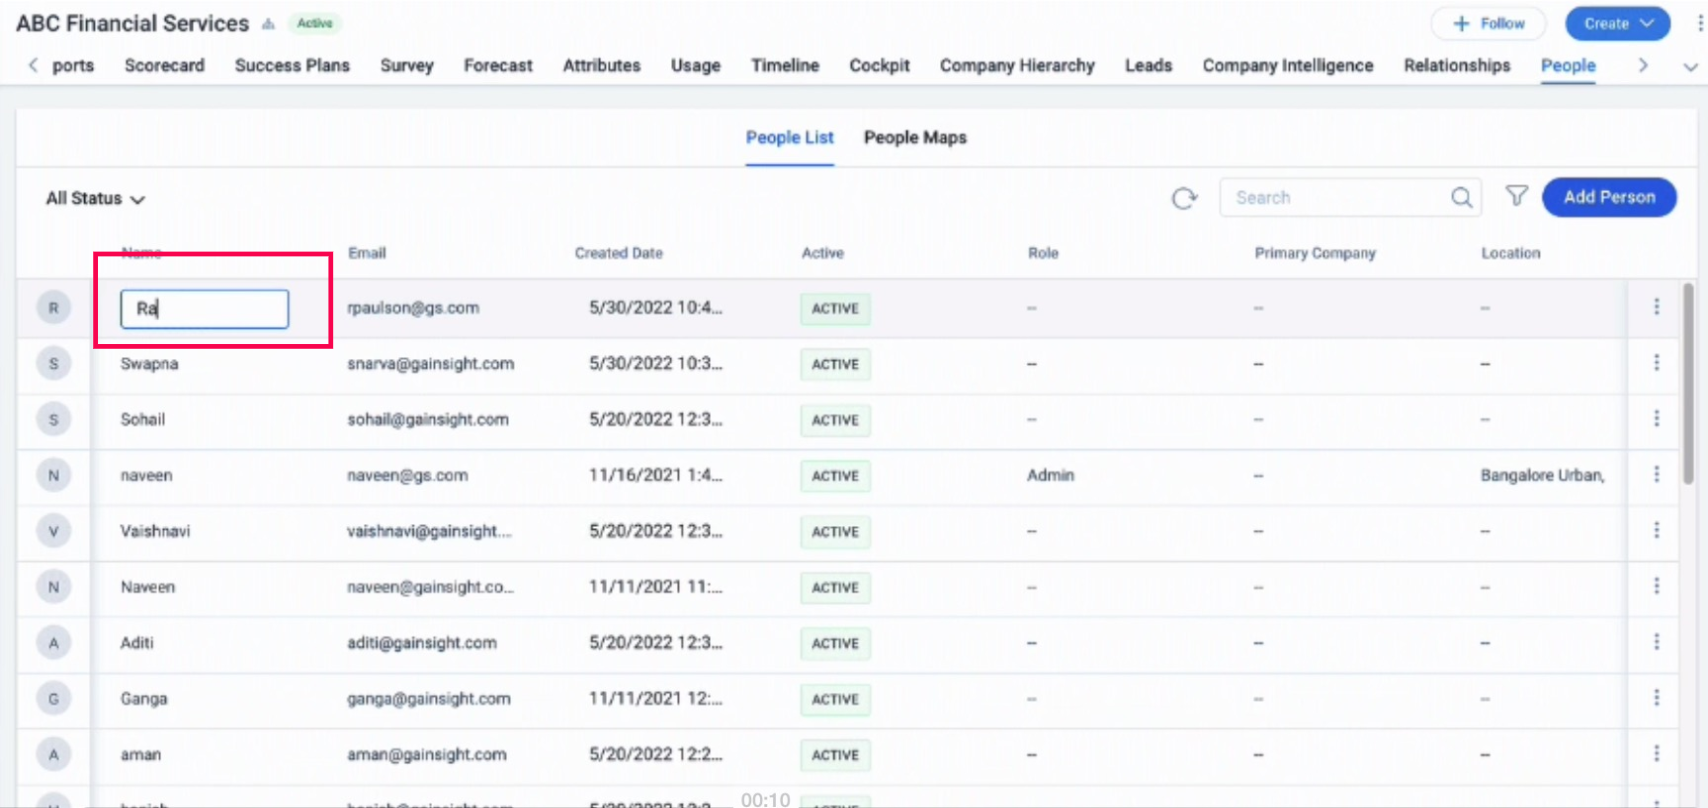
- Editing from the Detail View
From the C360 > People section > People List, CSMs can edit person record information from the detailed view of the person record.
- Navigate to People > People List.
- Click the three-vertical dots menu icon and select View Details of the person record or the Profile icon on the left side of the name whose details need to be edited.
- Click the field that needs to be edited and enter the value as required.The details get saved automatically.
Delete a Person Record from C360/R360
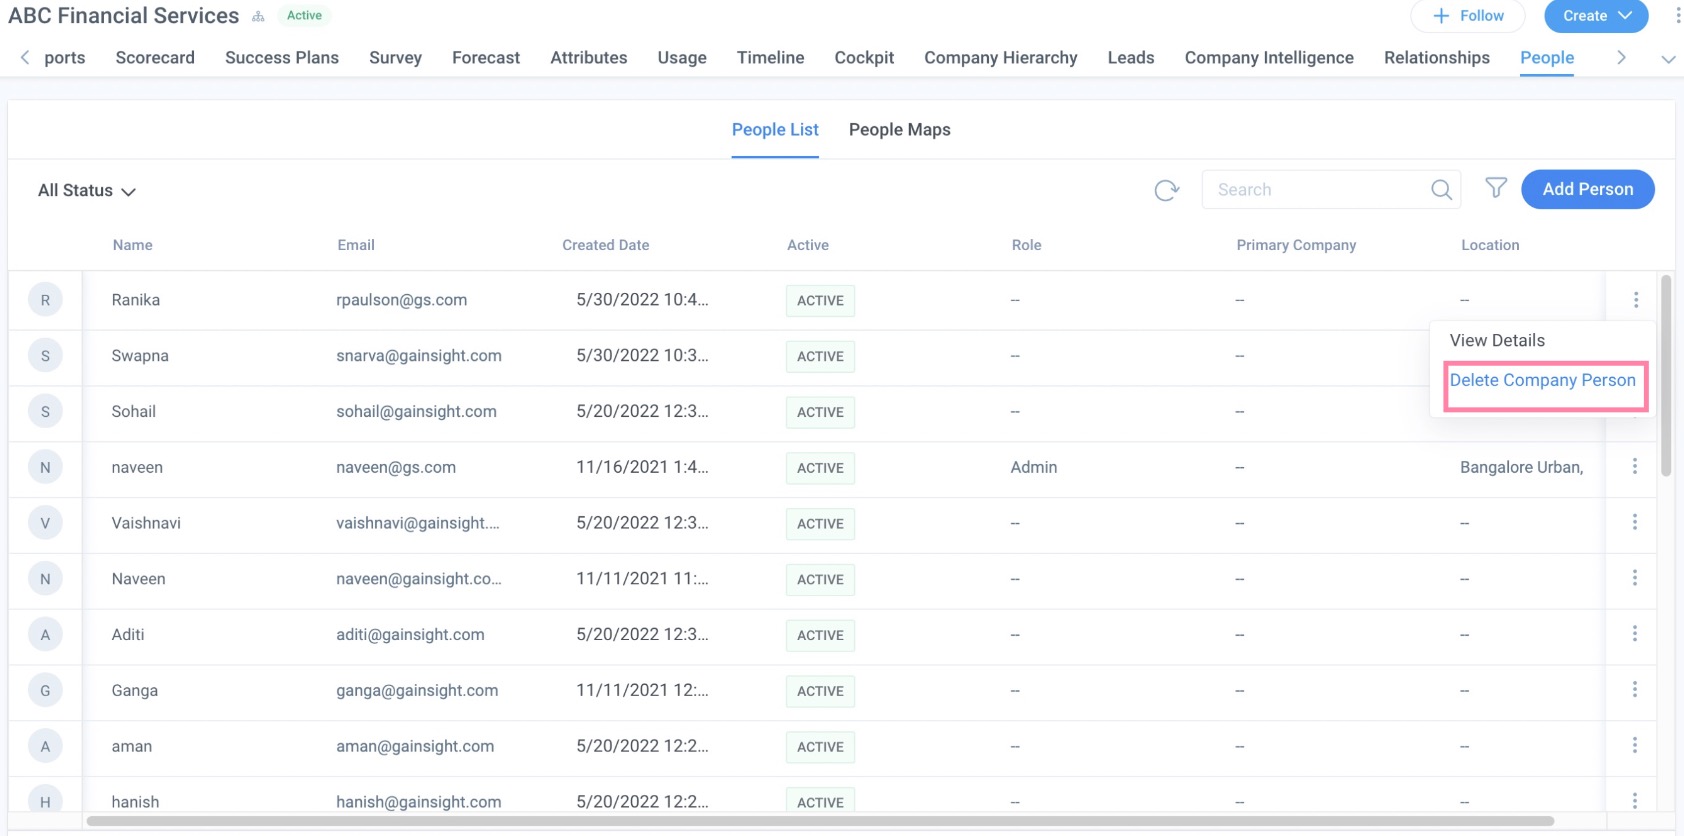
To delete a record from the list view of People section:
- Navigate to the C360 > People section > People List.
- Click the three-vertical dots menu icon of the person and select Delete Company Person.
-
Click Confirm in the Confirm Delete pop up box after selecting the required options.
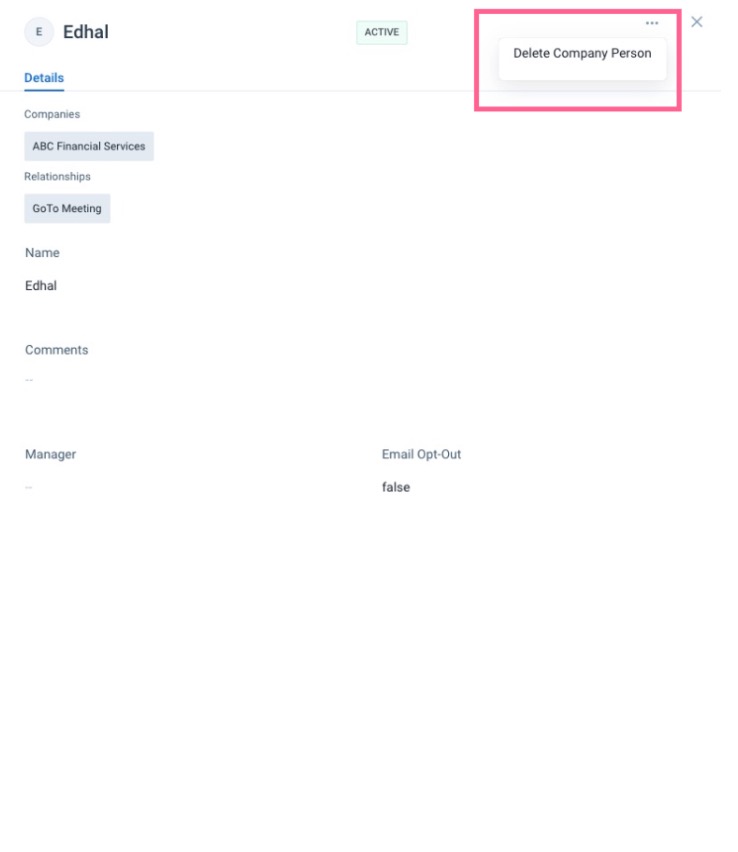
To delete a record from the detail view of People section:
- Navigate to People > People List.
- Click the three-vertical dots menu icon against the person record or on the Profile icon on the left side of the name whose details need to be edited.
- Click Delete Company Person from the three-horizontal dots menu icon.
- Click Confirm in the Confirm Delete message box after selecting the required options.
Additional Resources
C360 articles:
- 360 Overview
- Configure 360 Layouts
- Configure Associated Objects to Relationship
- Configure Attribute Section in 360
- Configure Embed Section in 360
- Configure Reports Section
- Configure Usage Section in 360
- Configure Company Hierarchy Section in 360
- Configure People Section in C/R360
- Configure Relationship Section and Views in 360
- Configure Summary Section in 360
- Build People Maps
- Overview of C360/R360 Sections and Widgets
- View Company Hierarchy
- Export Success Snapshot Presentations
- Sponsor Tracking Overview
- 360 FAQs
R360 articles:
- Relationships Overview
- Configure Relationships
- Configure Associated Objects to Relationship
- Define and Configure Relationship Type