Create Slider Engagement
Overview
A Slider engagement is an in-app message that consists of multiple slides. The engagement is so-named because they “slide left” or “slide right” on the screen. When you launch a Slider, it is displayed as a lightbox on the selected page, they cover a small portion of the screen and provide an effective and non-intrusive messaging capability. Users can navigate through the slides to access the content of the slider. Sliders are helpful when you want to convey a series of messages or announcements, such as introducing new features of a product release.
Create a Slider Engagement
This section explains the procedure to create a slider engagement.
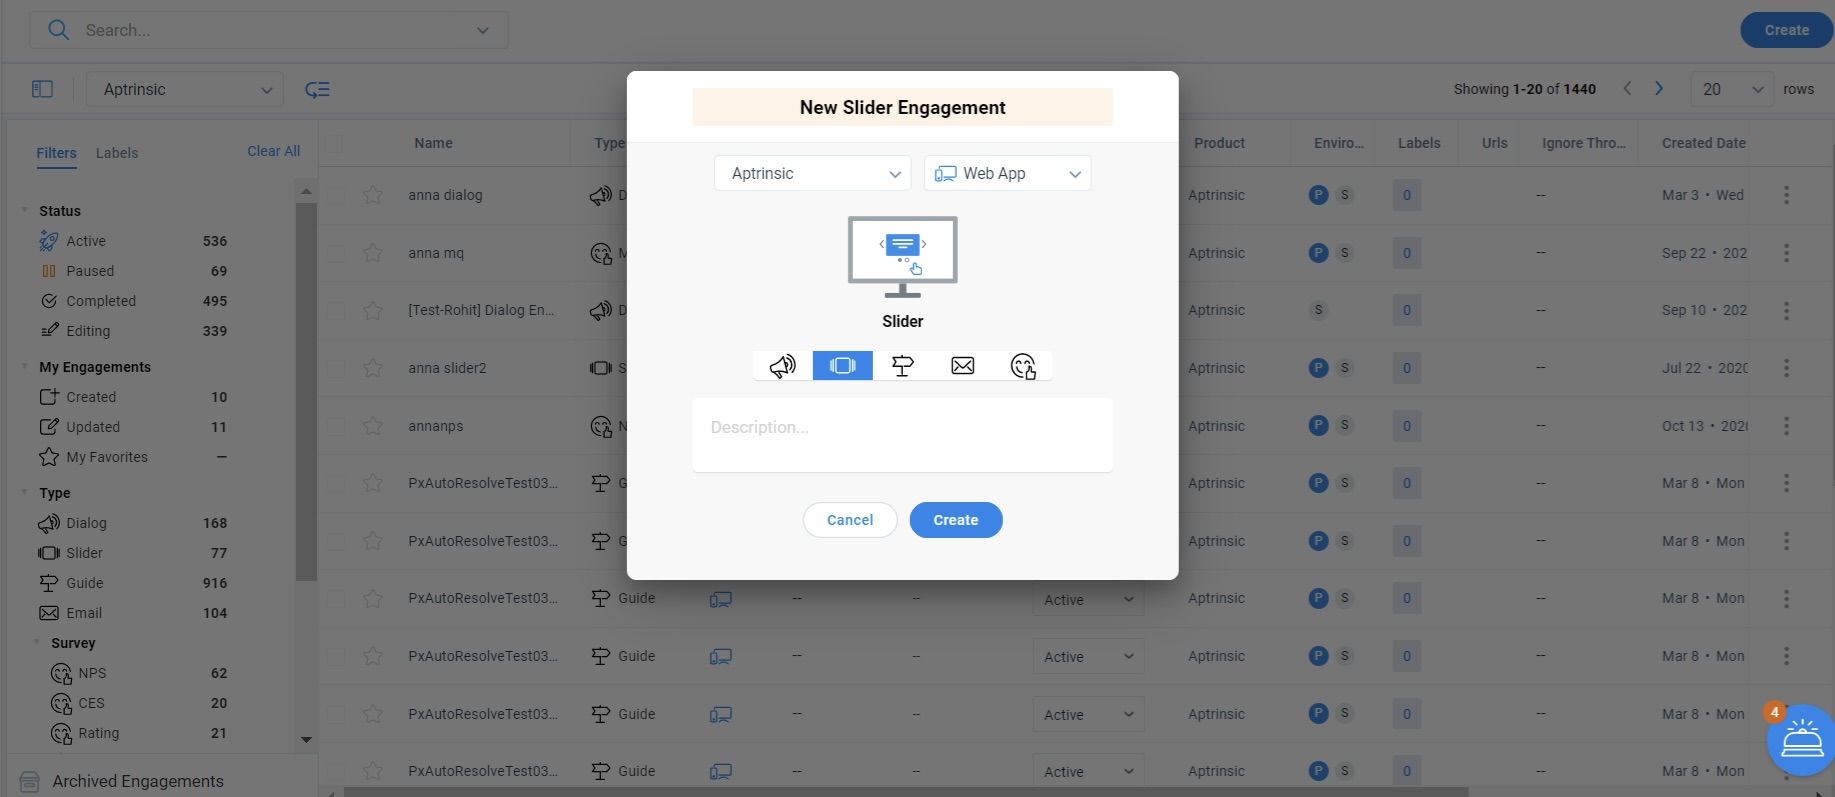
To create a slider:
- Navigate to Engagements.
- Click Create.
- Select the Slider icon.
- Enter a name for the slider.
- Select your product (Applicable only if you are using multiple products).
- (Optional) Enter a description.
- Click Create.
You can build a Slider Engagement in the following phases:
- Audience
- Templates
- Editor
- Schedule
- Launch
Audience
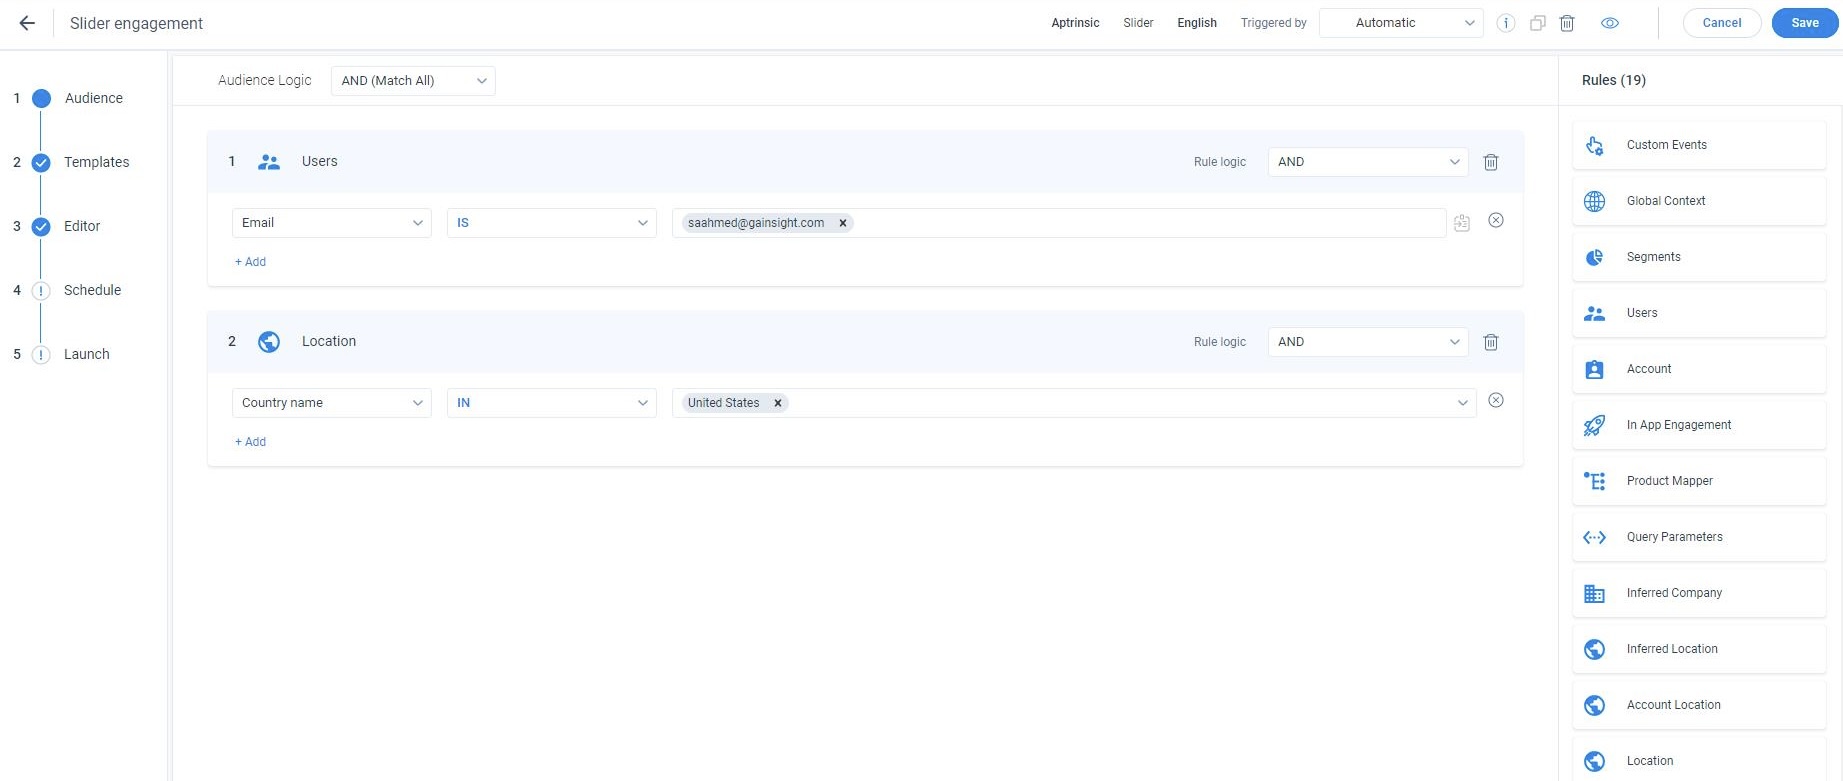
The Audience section allows you to select your target audience, or who can view the engagement. You can create Rules to match your requirements.
For example, the below rule ensures that the engagement is displayed only to the user with the specified email ID, and who resides in the United States as the AND logic is selected. You can use the AND or OR logic within a rule, to configure multiple parameters. Click + Add to add multiple parameters.
For more information on how to create Audience rules, refer to the Anatomy of Engagements article from the Additional Resources section.
Templates
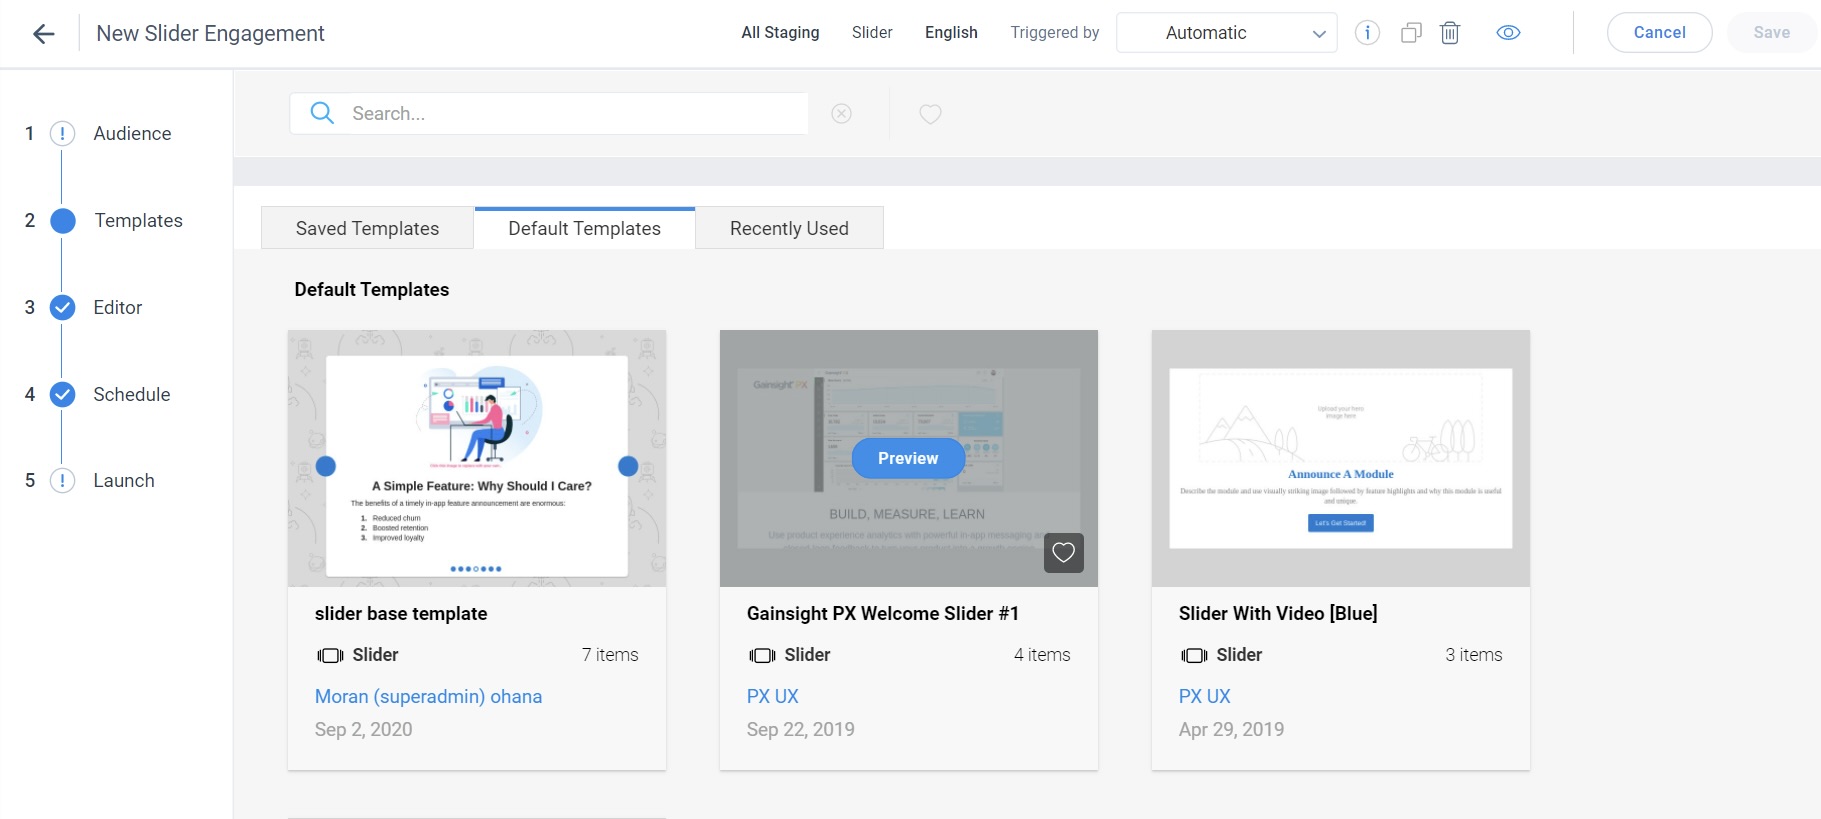
PX offers a library of engagement templates. Templates are categorized into the following tabs:
- Saved Templates: Displays the list of your saved templates.
- Default Templates: Displays the list of default templates, provided by PX.
- Recently Used: Displays the list of your recently used templates.
Select template for your engagement
Choose the template of your choice from the default or existing templates for the engagement. This is an optional step.
To use the default or existing template:
- Navigate to the Templates section.
- Hover on the template and click Preview.
- Click Use. You are navigated to the Editor section.
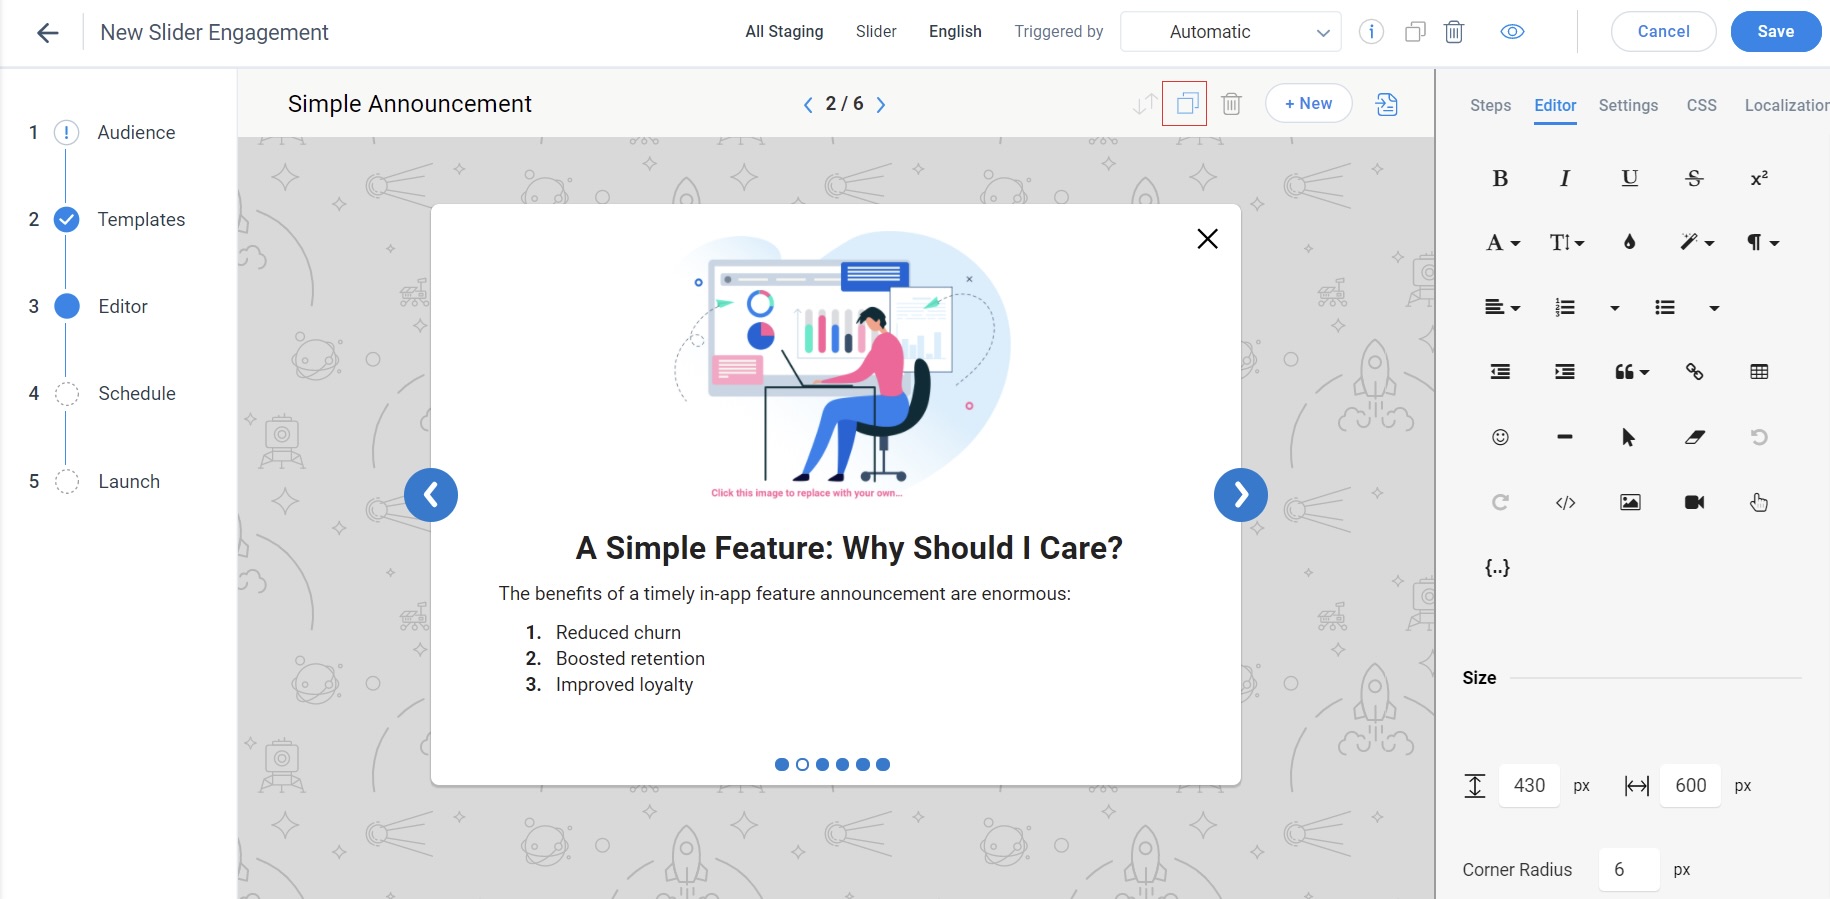
Editor
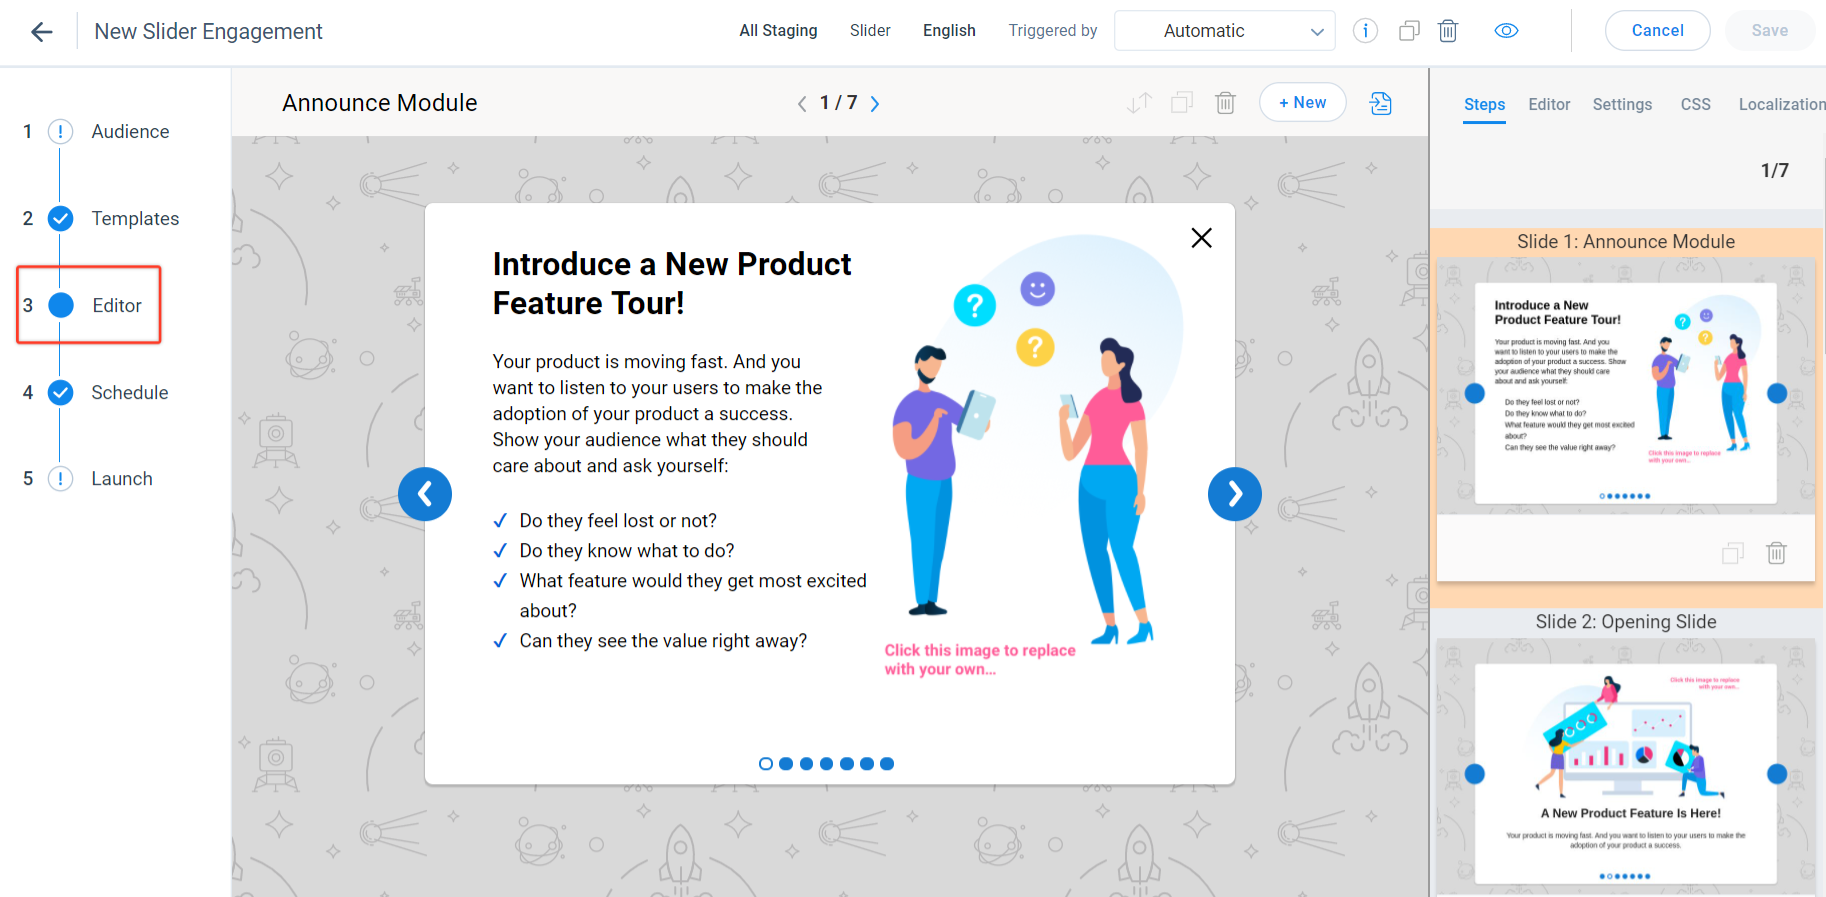
Use the Editor section to create content for your engagement, add images, videos, use text editors, add hyperlinks.
You can do the following in the Editor section:
- Edit Engagement content
- Add images
- Add Tokens
- Edit Size, Background, and Navigation options
- Edit View Type, Position, Overlay color, and Behavior
- Edit CSS content in Engagement
- Preview, Save, and Delete Engagement
 Notes:
- Click + New to add more slides.
- Click the rearrange icon to rearrange the order of your slides by dragging and dropping the slides.
Set the Size, Background color, and other settings for your slide from the Editor tab. For more information, refer to the Anatomy of Engagements article from the Additional Resources section.
From the Settings tab, you can perform the following:
- Select the Overlay, background Color and the arrow Style for the sliding arrow.
- Clear the Cyclic check box, to ensure that the Slider does not continue to restart from the last slide.
Note: When you clear the Cyclic check box, you must also select the color and style for the closing arrow which indicates the end of the Slider.
- Set the Transition Interval for the slides. This option enables auto-scrolling of each slide with a time gap (in seconds) as configured. If the value in this field is set to '0', the slides do not scroll automatically.
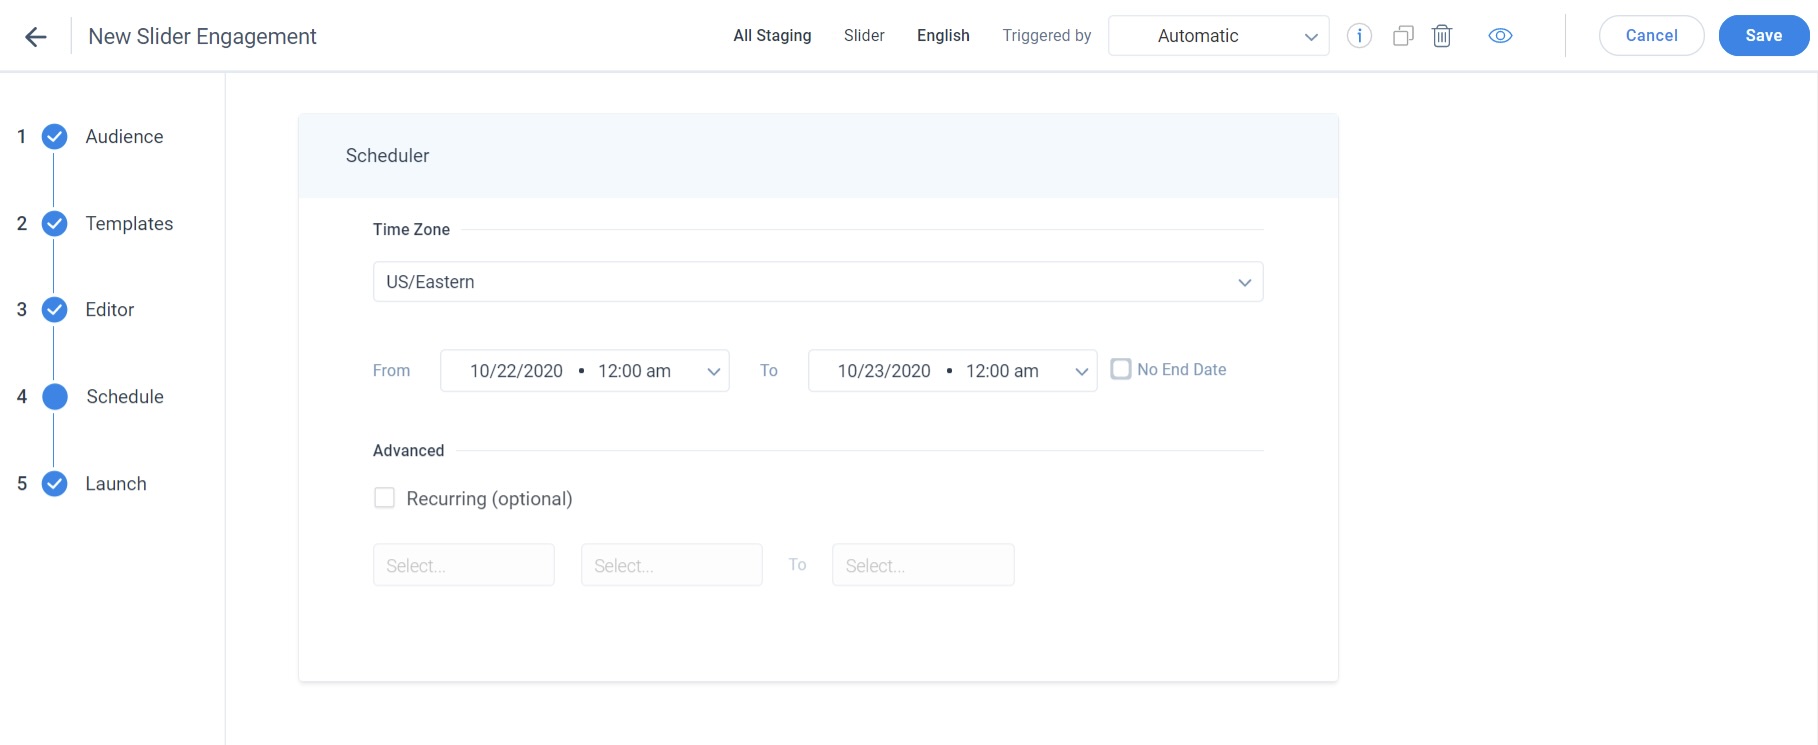
Schedule
Schedule your engagement to define when and how it should be evaluated and triggered. In-app scheduling differs from email scheduling due to the different nature of these engagement channels, for example Email can be a great way to reach out to users after they are no longer in your app and driven by a predefined schedule whereas in-app will always be triggered by users when using the app.
For more information about Engagement Scheduling and qualification scope, refer to the In-app Engagement Qualification Scope article, and for the Email Engagement Scheduling, refer to the Email Engagement Qualification Scope article from the Additional Resources section.
Launch
The Launch section displays a summary of all the configurations for your engagement. You can launch an engagement or pause a launched engagement from this section.
In case of a configuration error in the engagement section, an exclamation (!) is displayed next to the respective section and the Launch section. You can launch an engagement only if all the sections have a checkmark next to them.
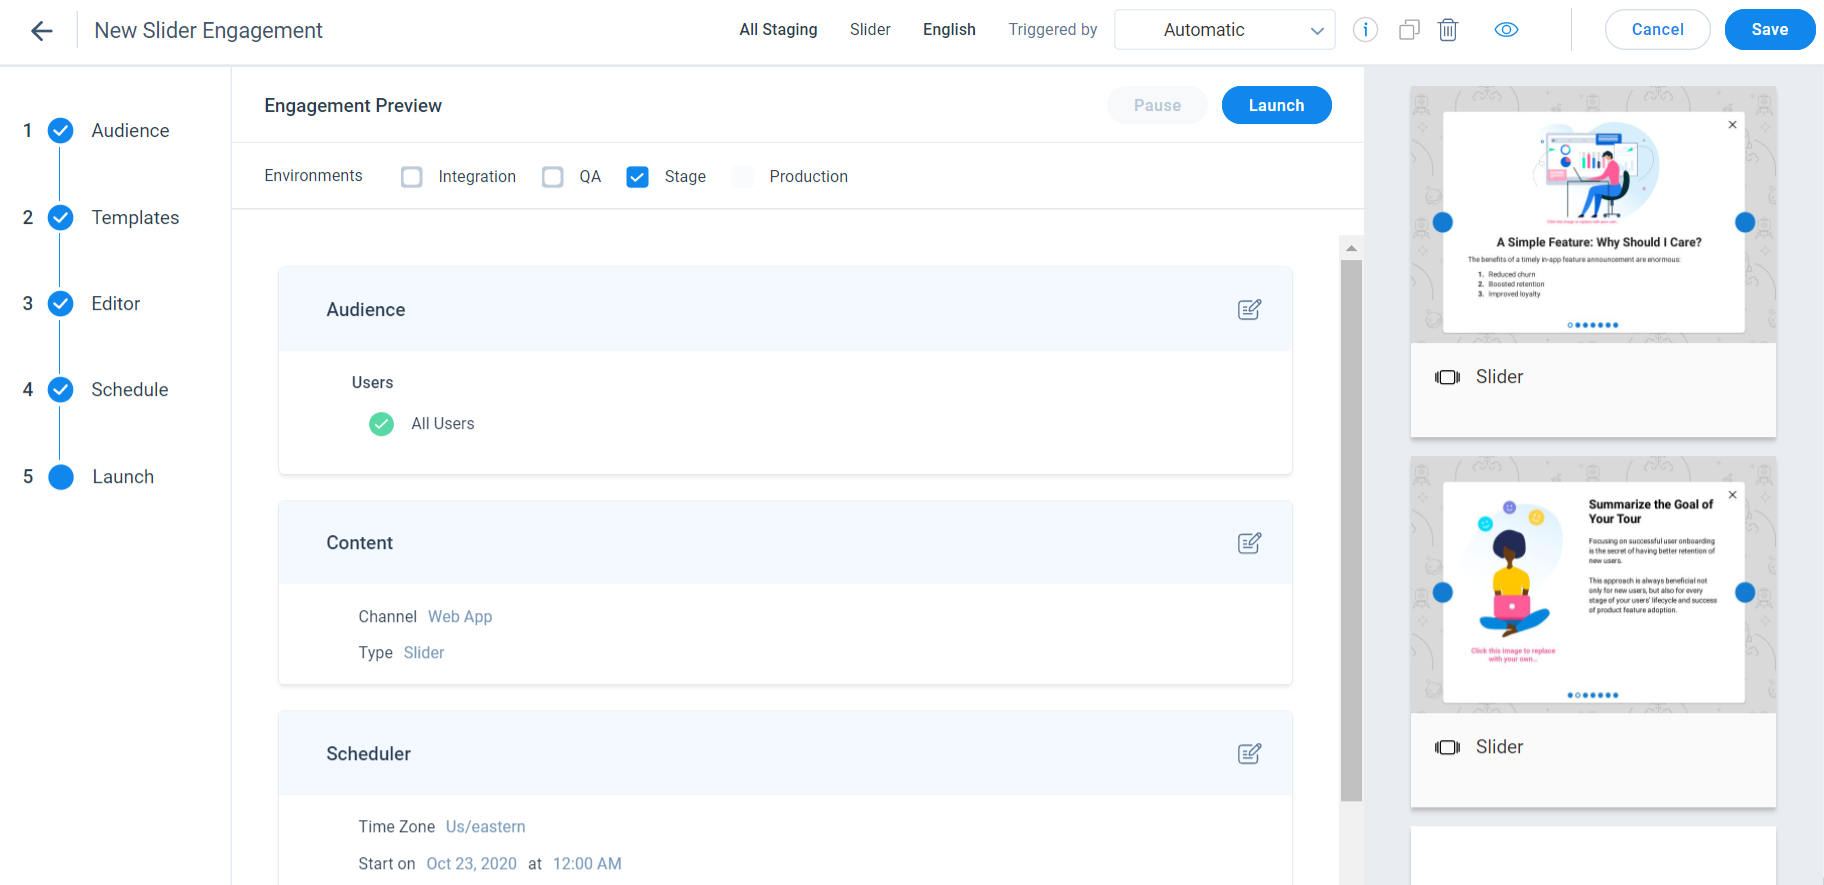
You must select the environment(s) to which you want to launch the engagement. For more information about the environment settings, refer to the Gainsight PX Environment Settings article from from the Additional Resources section.
Actions on Engagement
After you finalize the appearance and content of your engagement, save and preview the engagement on any page of your application. You can also save the engagement as a template.
Save an engagement as a template
To save an engagement:
- In the Editor section, click the save as Template icon.
- Enter a name for the template.
- Click Save.
- Navigate to the Saved Templates tab of the Templates section to view your template. Hover on the template and click the Delete icon to delete the template.
Preview an engagement
To preview:
- Copy the URL of your application page on which you want to preview the engagement.
- Click the Click to Preview icon. The Preview window is displayed.
- Paste the application page URL.
- Click Launch.
Tip: If your content is very close to the border of the engagement, increase the width of your engagement from the Editor tab.
Clone an Engagement
The engagement cloning feature allows you to create cloned copies of engagements without having to create the same from scratch. For more information on how to clone the engagement, refer to the Clone Your Engagements article from the Additional Resources section.
Note: To clone a specific slide, click the Clone option on the slide as highlighted in the following image.
Best Practices For Using a Slider
- Use Gainsight templates present under the Default Templates tab to create attractive sliders.
- Gainsight recommends adding not more than six slides.
- Do not overload the slide with content. Gainsight recommends adding eye-catching images and videos.