Advanced Operations in Gainsight Data Management
Gainsight NXT
This article explains to admins how to perform advanced operations in the Data Management page.
Overview
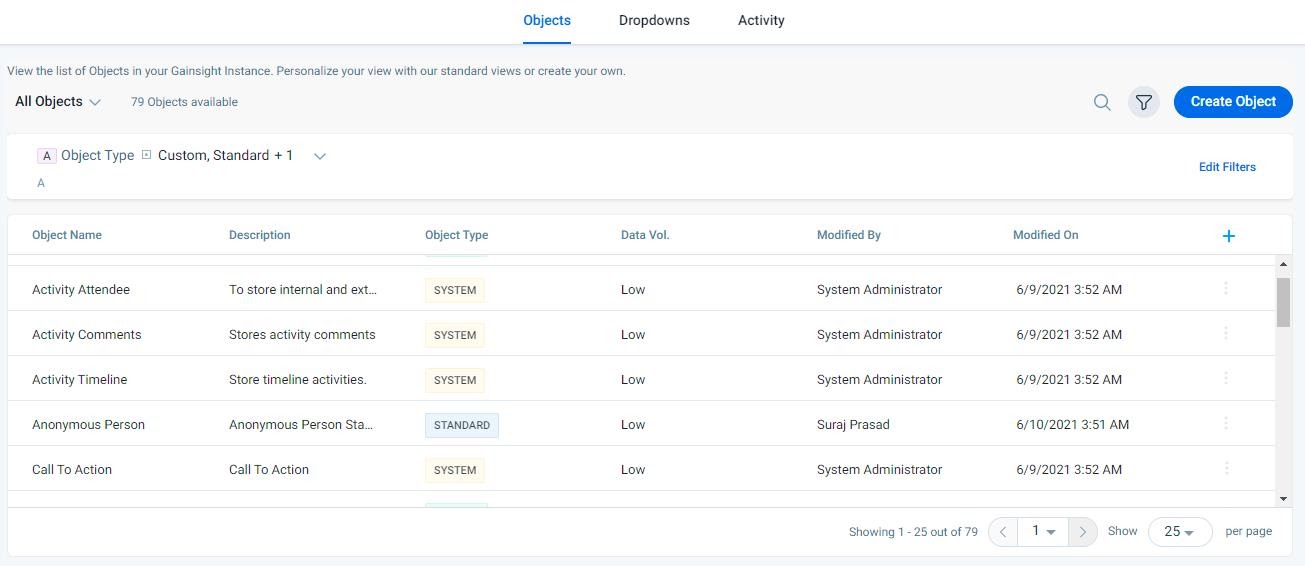
The Gainsight Data Platform offers a mechanism through which Data that is collected and stored in various data stores in any organization can be managed in the Matrix Data model and transform this data to drive business metrics through tools offered by the Platform. Using Data Management, Admins can create and manage Gainsight Objects directly from the Data Management page.
IMPORTANT: Before proceeding ahead, Gainsight recommends you to go through the Gainsight Objects article for information on types of Gainsight Objects provided as part of its Data Management.
Check Dependencies on a Gainsight Object
As part of the object dependency tracking feature, administrators can restrict the users from modifying or deleting the custom objects and their fields. These objects or fields might be referenced in a different part of the Gainsight application, as part of the object dependency tracking feature.
The following 26 application areas are tracked for the dependency of a specific custom object and its fields:
- Rules
- Reports
- Relationships
- S3 Jobs
- Mixpanel 2.0
- Segment 2.0
- Bulk API
- Salesforce Connector
- Gainsight PX Connector
- Renewal Center
- Connectors
- Cockpit
- Dynamics Connector
- C360
- R360
- Search
- Shared C360
- Shared R360
- Update Keys
- Import Lookup
- Calculate Fields
- MDA Lookup
- Self Lookup
- Hubspot Connector
- Data Designer
- Segments
In the Dependencies tab, the following are the options:
- Search: Search a field or application name (such as Cockpit, Success Plan, Rules Engine, etc.) to view the Object’s dependencies in the Dependencies tab.
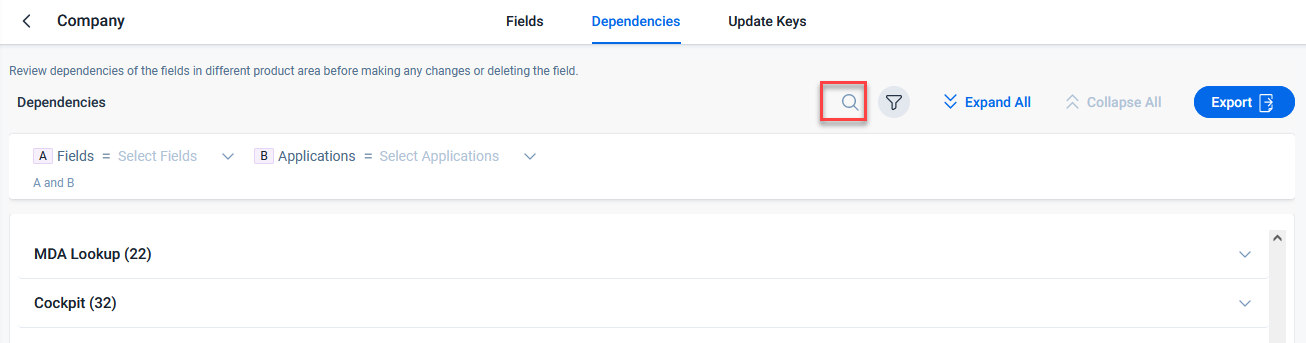
- Filters: Apply filters by field or application name to view the dependencies of the Object in the Dependencies tab.
.png?revision=1)
You can see all the application areas where the object has any dependency.
.png?revision=1)
Identify Dependencies on an object
To identify the dependencies on an object:
- In the global navigation pane, type Data Management Horizon in the search field.
- Select Data Management Horizon under Administration.
- Click the three dots menu of Object and select View Dependencies.
- In the Dependencies section, click the application name to view the configuration name and dependent fields.
Note: Click an application name to navigate to the application area where the fields are configured. This helps you remove the dependency of the fields from the feature and then delete the custom object and the custom fields.
Create Calculated Fields on Gainsight Objects
Admins can create calculated fields on a Gainsight object. The following are the important points regarding the calculated fields:
- String and Date functions are supported in Gainsight to build a calculated field.
- In a string function, you can use any field with Data type Email, Who ID, GS ID, Rich Text Area, SFDC ID, String, and URL.
- In a Date Function, you can use any field that has a Data type, Date, or Datetime.
- To use a formula function in a custom field, you must ensure that the Data type of the custom field is the same as the return type of the formula function. For example, the Date Diff function returns output in number format. Your custom field must have a data type as either Number, Percentage, or Currency to use this function. Substring function returns output in String format. You cannot use it if your custom field’s data type is Currency or Date.
The following are the supported Formula Functions in Gainsight:
- String Functions
- Date Functions
String Functions
The following table lists all the string functions:
|
Formula Name |
Syntax |
Return Type |
Description |
Example |
|---|---|---|---|---|
|
Substring |
Substring (String field, character position from where extraction must begin, no. of characters to be extracted) |
String |
This function allows you to extract a part of the string from the original string. You must provide the position of the character in the string from where the extraction must begin and the number of characters upto which the substring must be extracted. |
Substring (Suresh,4,3) returns esh. The extraction begins from the fourth position, and three characters are selected for extraction. |
|
Length |
Length (string field) |
Number |
This function returns the number of characters in a string. Blank spaces and special characters are also taken into account. |
Length (Suresh) returns 6 since the string has six characters. |
|
To Lowercase |
To Lower Case (String Field) |
String |
This function returns the string by converting all the characters into lowercase letters. |
To Lower Case (Suresh) returns suresh. |
|
To Uppercase |
To Upper Case (String Field) |
String |
This function returns the string by converting all the characters into uppercase letters. |
To Upper Case(Suresh)returns SURESH. |
|
String Position |
String Position (sub-string field, String field) |
Number |
This function returns the position of the first character of the substring in the main string. |
String Position (resh, Suresh) returns 3. The substring here is resh, and the first character of this substring is in the 3rd position in the main string |
|
Left String |
Left String ( String field, number of characters to be extracted) |
String |
This position extracts a substring from the main string. You must specify the number of characters to be included in the sub string. The character count begins from the left side of the string. |
Left String (Suresh, 4) returns Sure. The string length is 6. The number of characters specified is 4. So the count starts from the left of the string, and four characters are extracted. |
|
Right String |
Right String ( String field, number of characters to be extracted) |
String |
This position extracts a substring from the main string. You must specify the number of characters to be included in the sub string. The character count begins from the right side of the string. |
Right String (Suresh, 4) returns resh. The string length is 6. The number of characters specified is 4. So the count starts from the right side, and four characters are extracted. |
|
Concat |
Concat (delimiter, first String field, second string field) |
String |
This function adds two strings to convert them into a single string. You must provide a delimiter between the two strings. You can use either a comma, space or hyphen as the delimiter |
Concat (hyphen, Suresh, Kumar) returns Suresh-Kumar, since hyphen is used as the delimiter between the two strings. |
Date functions
The following table lists all the date functions:
| Formula Name | Syntax | Return Type | Description | Example |
|---|---|---|---|---|
| Date Diff | Date Diff (subtrahend date field, minuend date field, interval) | Number | This function accepts two dates, subtracts the first date from the second date, and returns the difference in a specified interval. Interval can be days, months, quarters, weeks, and years. If the first date is greater than the second date, the result is displayed as a negative numeral. | DateDiff (04/25/2019, 04/30/2019, days) returns 5. |
| Date Add | Date Add (Date or DateTime field, numeric value, interval of the numeric value) | Date | This function returns a date after adding a specific number of days, weeks, months, or quarters to the given date. You must provide a date, followed by a number to be added and the interval for the number. Interval can be either Day, Quarter, Month, or Week. | Date Add (01/07/2018, 4, week) returns 02/04/2018. Input date is 7th Jan. Four weeks are added to this date, and the result is 4th Feb. |
| Date Sub | Date Sub (Date or DateTime field, numeric value, interval of the numeric value) | Date | This function returns a date after subtracting a specific number of days, weeks, months, or quarters from the given date. You must provide a date, followed by a number to be subtracted, and the interval for the number. Interval can be either Day, Quarter, Month, or Week. | Date Sub (01/07/2018, 4, Day) returns 01/03/2018. Input date is 7th Jan. After subtracting 4 days, the output is 3rd Jan. |
| First Day of Week | First day of Week (Date field) | Date | This function accepts a date and returns the date on which the week started for the given date. Monday is considered to be the start date of the week. | First Day of Week (04/28/2019) returns 04/22/2019, since the week of 28th April started on 22nd April (Monday). |
| Last Day of Week | Last Day of the Week (Date field) | Date | This function accepts a date and returns the date on which the week ends for the given date. Sunday is considered to be the last date for the week. | Last Day of Week (04/28/2019) returns 05/05/2019, since the week of 28th April ends on 5th May (Sunday). |
| Last Day of Quarter | Last Day of the Week (Date field) | Date | This function accepts a date and returns the date on which the quarter ends for the given date. The last day of the quarter is considered to be the last date of the quarter. | Last Day of Quarter (04/28/2019) returns 06/30/2019. |
| Month Num | Month Num (Date field) | Number | This function displays the number of the month from the given date. | Month Num (04/29/2019) returns 4. |
| Month Name | Month Name (Date field, format) | String | This function returns the name of the month for a given date. You can select the format in which the month name must be displayed. | Month Name (04/29/2019, Mon), returns Apr. If Month was selected as the output format, April would have been displayed. |
| Week Num | Week Num (Date field) | Number | This function displays the number of the Week (in the year) from the given date. | Week Num (04/29/2019) returns 17 because the given date falls in the 17th week of the 2019 year. |
| Week in Month | Week in Month (date field) | Number | This function displays the number of the week in a month from the given date. | Week In Month (04/29/2019) returns 5 since the given date belongs to the 5th week of April. |
| Year Num | Year Num (date field) | Number | This function returns the year from the given date. | Year Num (04/29/2019) returns 2019 |
| Day of | Day of (Date field) | String | This function returns the day of the week for a given date. | Day of (04/29/2019) returns Monday, since the given date falls on a Monday. |
| First Day of Month | First Day of the Month (Date field) | Date | This function accepts a date and returns the date on which the month begins for the given date. The first day of the month is considered to be the start of the month. | First Day of Month (04/29/2019) returns 01/04/2019. |
| First Day of Quarter | First Day of Quarter (Date field) | Date | This function accepts a date and returns the date on which the quarter begins for the given date. The first day of the quarter is considered to be the start of the quarter. | First Day of Quarter (04/29/2019) returns 01/04/2019. |
| First Day of Year | First Day of Quarter (Date field) | Date | This function accepts a date and returns the date on which the year begins for the given date. The first day of the year is considered to be the start of the year. | First Day of Year (04/29/2019) returns 01/01/2019. |
| Last Day of Month | First Day of Quarter (Date field) | Date | This function accepts a date and returns the date on which the month ends for the given date. Last day of the month is considered to be the last date of the month. | Last Day of Month (04/29/2019) returns 04/30/2019. |
| Last day of Quarter | First Day of Quarter (Date field) | Date | This function accepts a date and returns the date on which the quarter ends for the given date. Last day of the quarter is considered to be the last date of the quarter. | Last Day of Quarter (04/29/2019) returns 06/30/2019. |
| Last day of Year | First Day of Quarter (Date field) | Date | This function accepts a date and returns the date on which the year ends for the given date. Last day of the year is considered to be the last date of the quarter. | Last Day of Year (04/29/2019) returns 12/31/2019. |
| Standard Week Num | Standard Week Num (Datefield) | Number | This function returns the week number of the year, considering Monday as the first day of the week. | Standard Week Num (04/29/2019) returns 18 because the given date falls in the 18th week of the 2019 year by considering Monday as the start day of the week. |
Create Calculated Field with String Function
This section describes how to use the Concat Function to merge two string fields into a single field.
To create a string calculated field:
- In the global navigation pane, type Data Management Horizon in the search field.
- Select Data Management under Administration.
- Click the name of the object. The Fields tab is displayed.
- Click Add or Edit Field.
- From the Data Type pane, drag-and-drop a String to the canvas.
- In the Enter Field Display Name field, enter the display name of the field.
- Click Show Advanced Options and scroll down.
- Click Create Formula. The Create formula window is displayed.
- From the Functions options, select Concat.
- From the Delimiter Value, select Spaces.
- From the String 1’s Field, select the First Name.
- From the String 2’s Field, select the Last Name.
- Click Save.
- (Optional) Click Test Formula to verify if the formula is working as expected.
Note: This option is only available for basic formulas and is not available for advanced formulas.
Additional Options:
- Edit Formula: Use this option to edit the formula.
- Clear FORMULA: Use this option to clear the formula for the field.
Create Calculated Field with Date Function
Admins can use the Date functions to create calculated fields of different data types. For Example, the Company object has a date field called Renewal Date, which stores the next renewal date of the customer. Generally, renewals that are due in the current quarter are given high priority. You can use the Date diff function to calculate the number of days left for renewal in the current quarter.
Advanced Formula
Admins can create complex formulas like performing arithmetic operations and case statements using the Advance Formula feature.
Basic arithmetic operations with constants
- Examples: A + 10, A - 1, A*100 , A/100, (A+B)/2
Case statements
Examples:
- case when A>0 then 1 else 0 end
- case when A-B>=0 then A-B else C-B end
- case when A=B then 1 else 0 end
- case when A is null then 0 else B * (180/7) end
- case when (A+B+C+D) = 0 then 0 else ((E+F+G+H+I)/(A+B+C+D)*100) end
Notes:
- Ensure that the syntax is correct.
- Once an advanced formula field is set, the Test Formula option will not be available.
Currency Management
The Currency Management page is used to host the setting for Tenant level Currency code. Admins can navigate to the Currency Management page from Administration > Currency Management. The Tenant Currency setting on this page is the default currency for your data if the system cannot identify the currency code for any specific currency data.
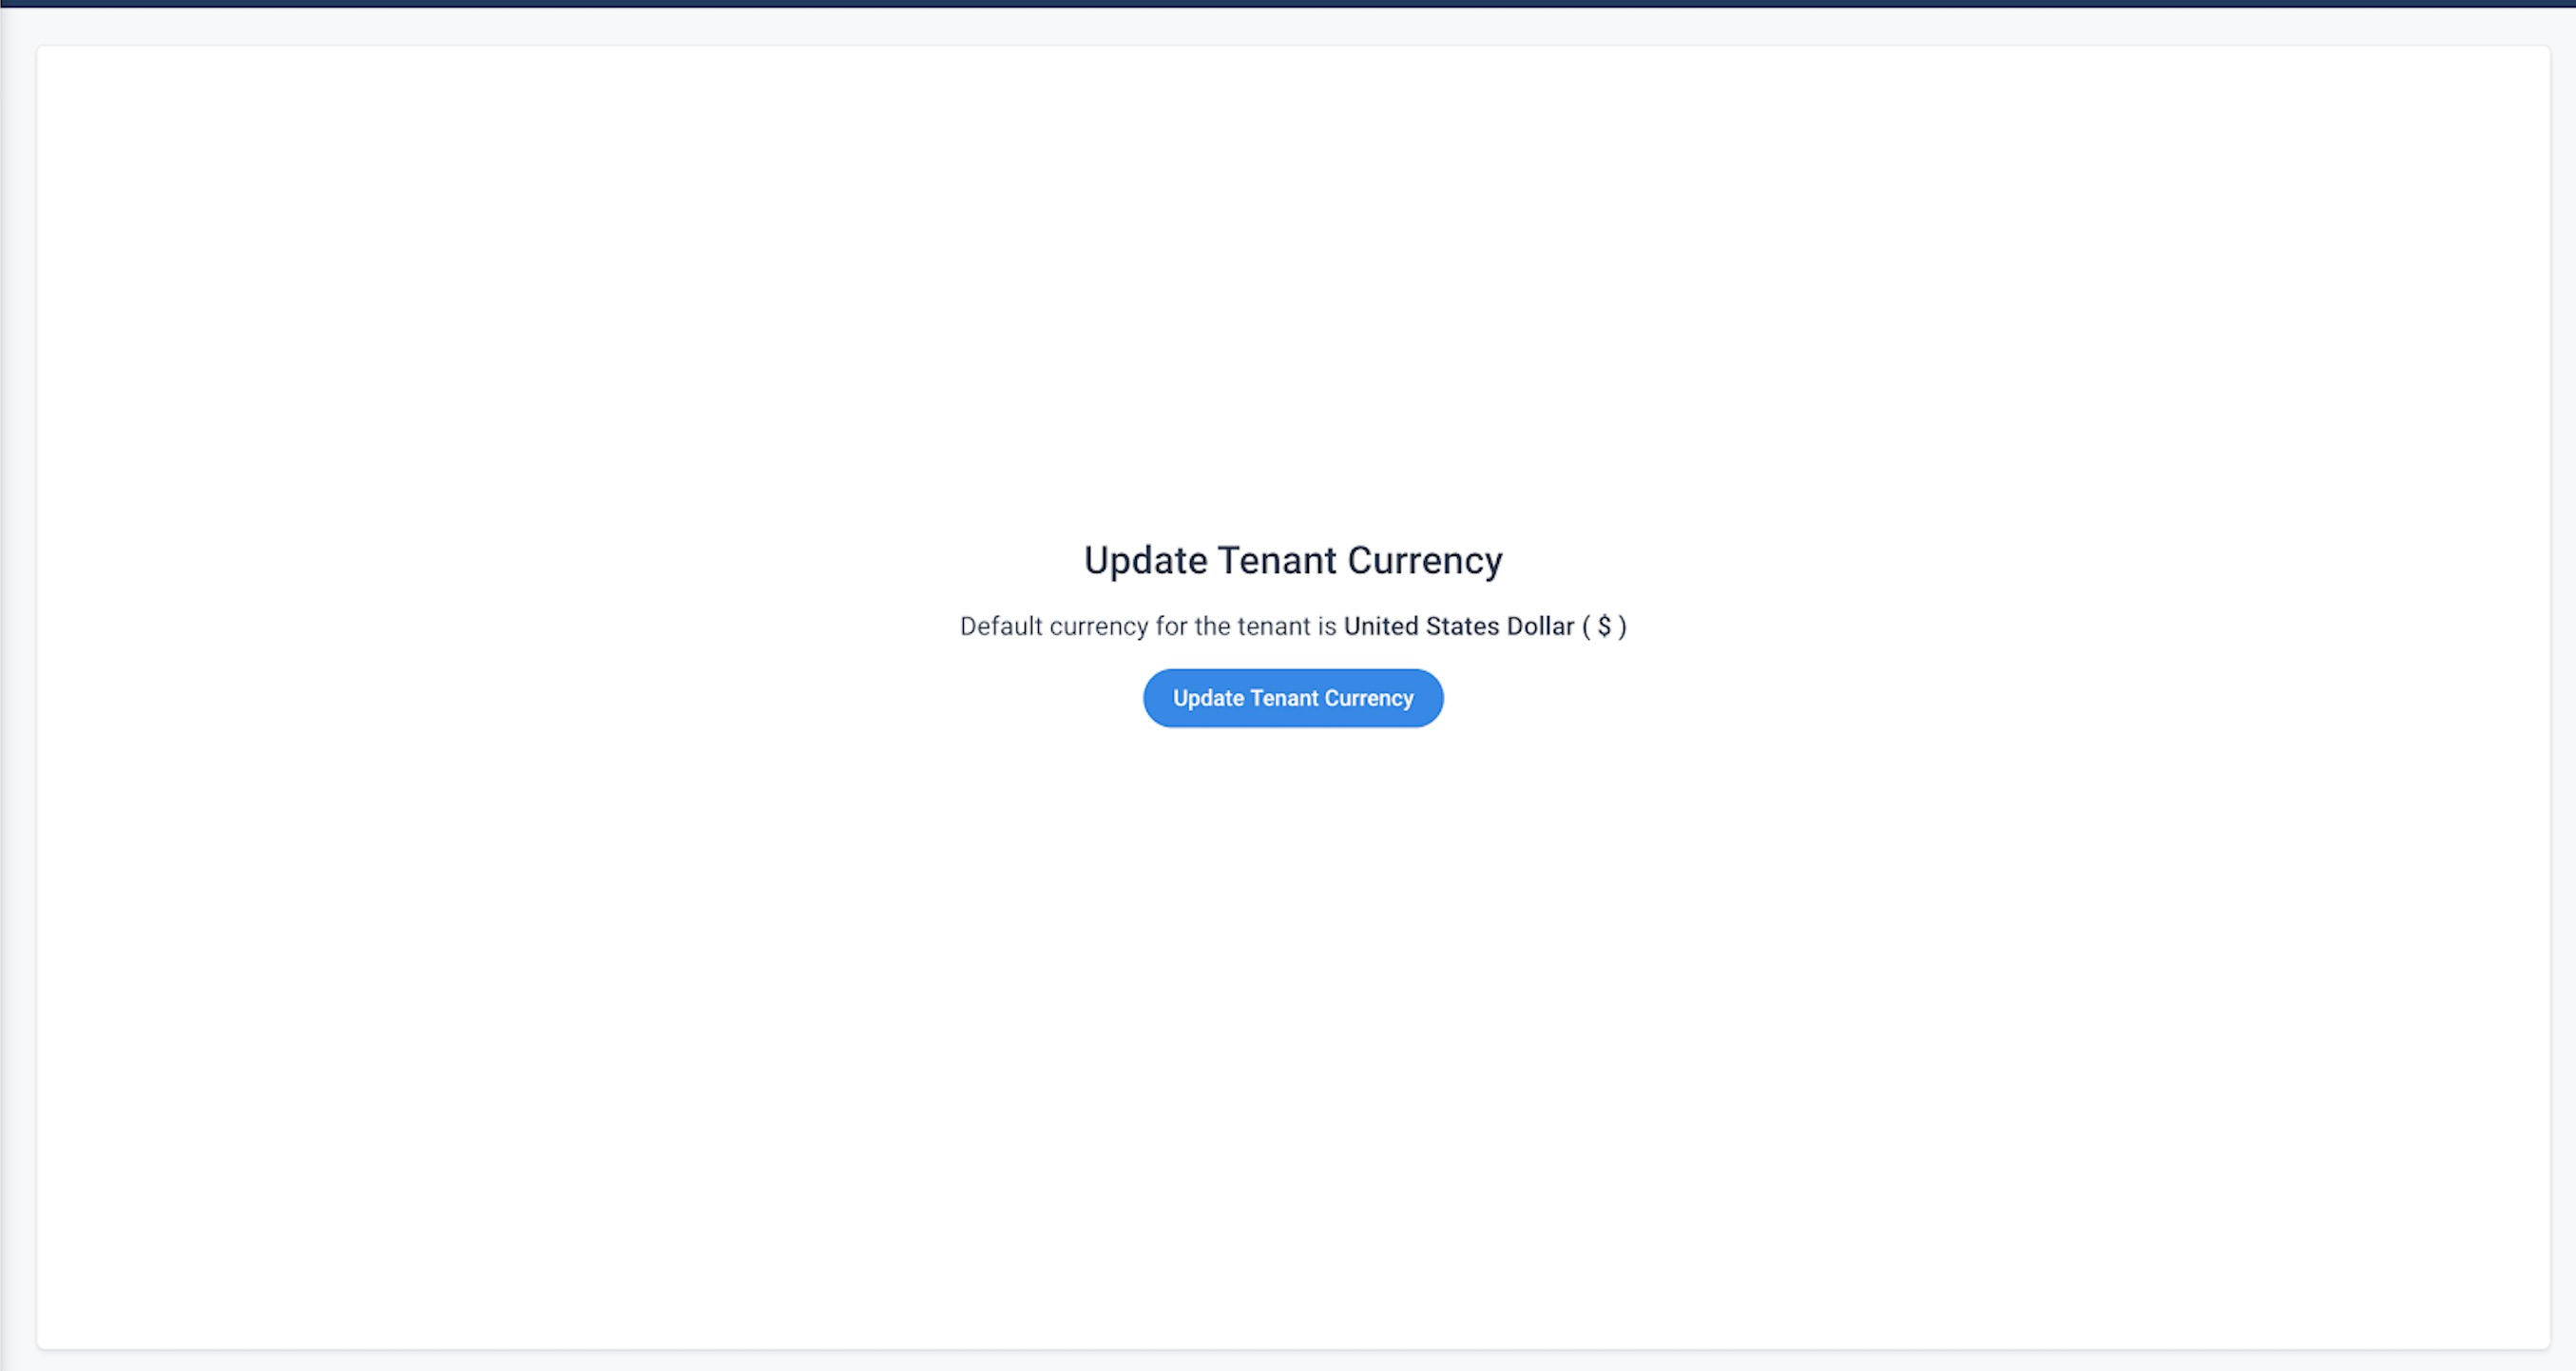
The default currency for the tenant is the United States Dollar (USD). Admins can change the Tenant Currency as shown below:
- In the global navigation pane, type Currency Management in the search field.
- Click Currency Management in the search results.
- Click Update Tenant Currency.
- Select a different currency than the one already selected.
- Click Update.
Note: Tenant Currency is also called Corporate Currency.
Additional Resources
For more information on managing data in Gainsight, refer to the following articles:
- Gainsight Matrix Data Architecture Overview
- Gainsight Data Management
- Usage Data Overview
- Gainsight Objects
- Basic Operations in Data Management
- Data Operations
- Gainsight Company Object
- Gainsight User Object
- Gainsight Person Object Model
- Dropdown List
- MDA Joins
- Data Import Lookup