Design Email Templates for Group Send
| IMPORTANT: This article explains how CSMs can design email templates specifically for use with the Group Send feature. It applies only to Group Send. For information on email templates in JO, refer to the Email Template Builder article. |
|---|
Email Templates in Group Send includes a robust designer with a variety of configuration options to help you create attractive and actionable email communications for your users.
Overview
In order to design a template, it is essential to create a template. For more information, refer to the Create Personal Email Templates section in the Group Send User Guide article.
Once the template is created, the email designer page opens automatically. On the designer page, you can enter text, add images, links, attachments, videos, tokens and much more that can be tailored to meet organizational and branding needs.

Add Text
To add texts in the email template layout:
- Click the text element in the email template layout.
- Delete the default Insert your text here text.
- Enter the required text.
- Select the text.
- Select one or more options from the formatting section such as font type, font size, font color, bold, italic, underline, link, and so on.

- (Optional) To apply style to Text:
- Select the text element.
- Click the Style tab.
- Use the Dimension and Border And Background settings to apply one or more formatting options.
For more information on available styles, refer to the Style section.
Note: You can add images in the Text element directly using the Rich Text Editor Toolbar.
Write with AI
The Write with AI feature helps in quickly drafting email content. It uses Generative AI to automatically generate text for your email templates based on user prompts. It elevates your email experience by leveraging AI to boost efficiency and personalization in your email communications.
To add texts to the email template using AI:
- Click Write with AI. A list of available prompts appears.

- Select the required prompt from the available options, or use the Type prompt or edit field to add a custom prompt. The suggested AI-generated text appears.
- (Optional) Select a different prompt from the dropdown to make further edits to the suggested text.
- (Optional) Click the Regenerate icon to revise the suggested text.
- Click Add to insert the AI-suggested text.

Ensure the following key points regarding the use of AI model in Gainsight:- All responses are generated solely by AI and may include inaccuracies or hallucinations. We advise users to exercise discretion and verify all information as needed.
- Gainsight does not apply any additional intelligence or modifications to the responses generated by the GPT model. Our platform simply facilitates the delivery of these AI-generated responses.
- To use the Write with AI feature, ensure to turn on the Write with AI toggle from Administration > Gainsight AI > AI Settings.
Add Preheader
You can define Preheader in addition to the email subject. The preheader appears in email clients as preview text, similar to standard marketing emails. The preheader is separate from the email body and is not displayed within the email content.
- If a Preheader field is configured in the email template, it is used.
- If the Preheader field is empty but it is present in the existing template code, it is used.
- If no preheader is defined, the first line of the email is used.
To add preheader:
- Click Add Preheader.
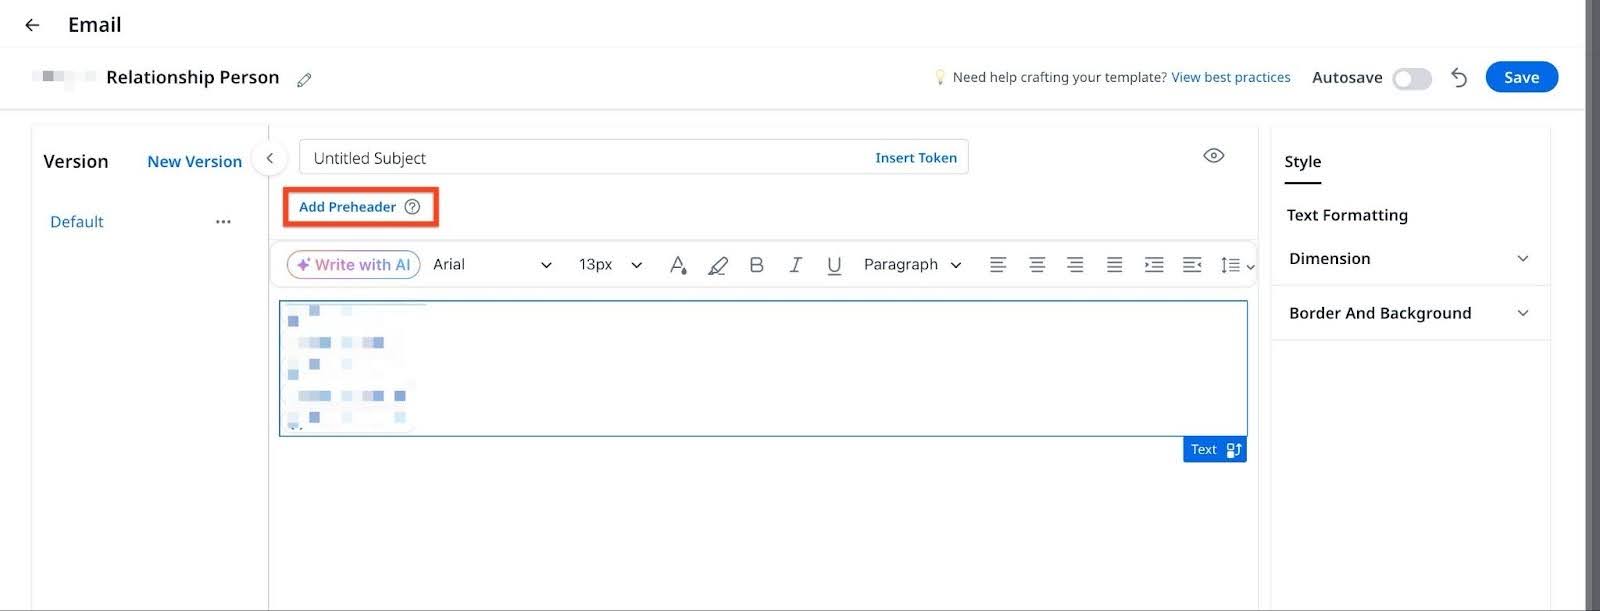
- Add a preheader text.
- (Optional) Click Insert Token to add a token and to add dynamic variables that insert personalized information.
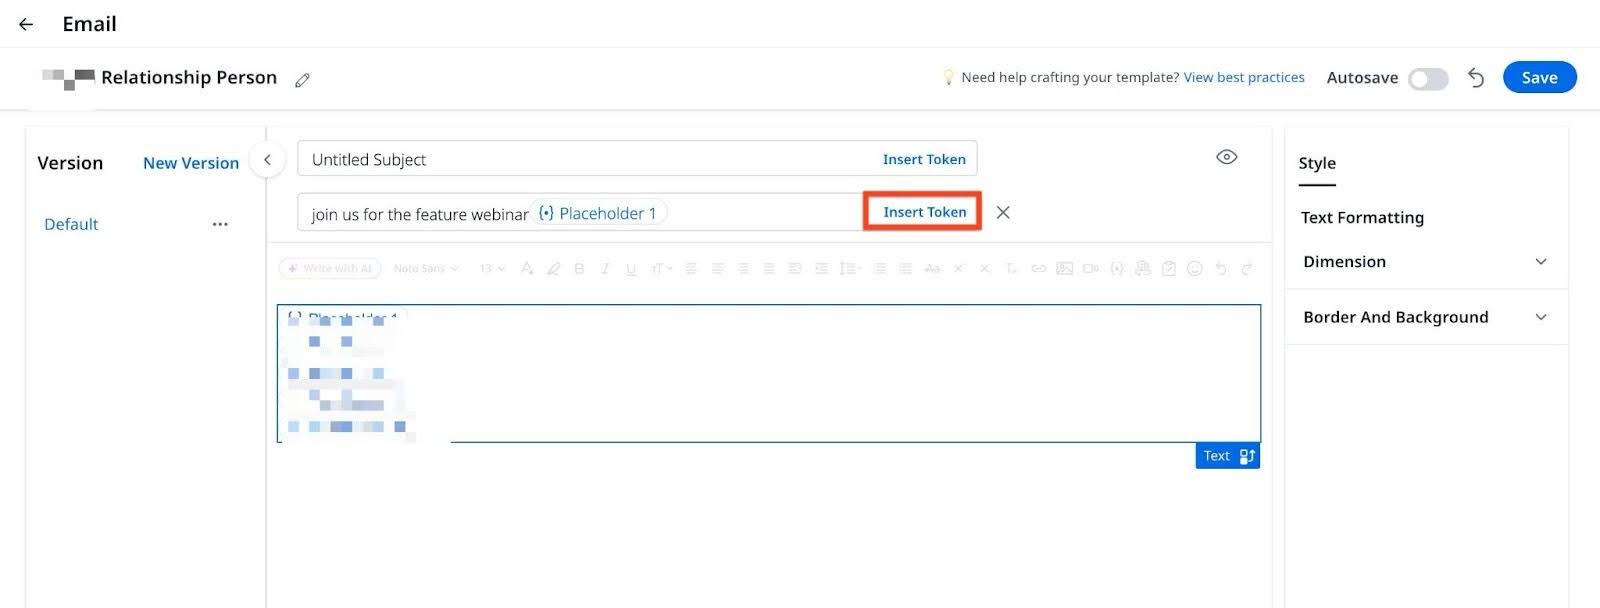
Define Token Properties, and click Update. For more information on token properties, refer to the Add Token section.

Add Image
To add images in the email template layout:
- From the toolbar, click the Image icon to add an image. The Image Properties page appears.

- From the Image Properties page, choose one of the following methods:
- Upload: Click Upload Image to upload an image from the system.
- Choose from Library: You can upload images once and reuse them across multiple templates without re-uploading using the Choose from Library option in Upload tab.This is ideal for frequently used assets such as logos, signatures or brand images. To add images in image library:
- Click Choose from Library. The Image Library dialog box appears.

- Click Upload Image to add a new image, or select an existing image from the uploaded list.
- Click Insert.

- Click Choose from Library. The Image Library dialog box appears.
- Web Address: Enter the URL of an image.

- (Optional) Add Alternate text for the image for SEO purposes.
- (Optional) Click Add Link to enter a URL that must open when a user clicks the image. The Image Link Properties section appears.
- Enter the redirection link.
- (Optional) Turn on the Link Tracking toggle button.
Note: Link Tracking allows you to monitor user engagement by tracking clicks on links within emails. - Click Update.

- (Optional) To apply styles to Image:
- Select the image element you added.
- Click the Style tab.
- Apply one or more options from the Dimension, Border And Background and Mobile Settings sections.
For more information on available styles, refer to the Style section.

Note
- Image size must be less than or equal to 2 MB.
- Image must be in one of the following formats: PNG, JPG, JPEG or GIF
Add Link
To add a link in the email template:
- From the toolbar, click the Link icon to add a link.

- Enter the Display Text for the link.
- (Optional) Click Add link description for screen readers to read aloud to add description of link.
- In the Link field, enter the URL.
- (Optional) Turn on the Link Tracking toggle button.
Note: Link Tracking allows you to monitor user engagement by tracking clicks on links within emails - Click Insert Token to add a token. For more information, refer to the Add Token section.
- Click Update.

Add Table
Tables inserted natively through the toolbar support full table operations, including adding and removing rows and columns.
Tables that are copied and pasted from external sources into the editor do not support table operations.
To add table in email template layout:
- Click Insert Table. The Configure Table dialog box appears.
- Enter the value for Rows and Columns.

- Click Update.
- Use the available options to customize the table according to your preferred style.

Add Attachment
To add attachments in the email template layout:
- From the toolbar, click the Attachment icon to add an attachment.

- Select a file from the system. The attachment is added.

Note: The maximum size of each file you can attach is 5 MB, and the cumulative size of your attachments and email body must not exceed 30 MB.
Add Video
To add videos in the email template layout:
- From the toolbar, click the Video icon to add a video. The Video Properties page appears.

- Enter a video link in Video Link field.
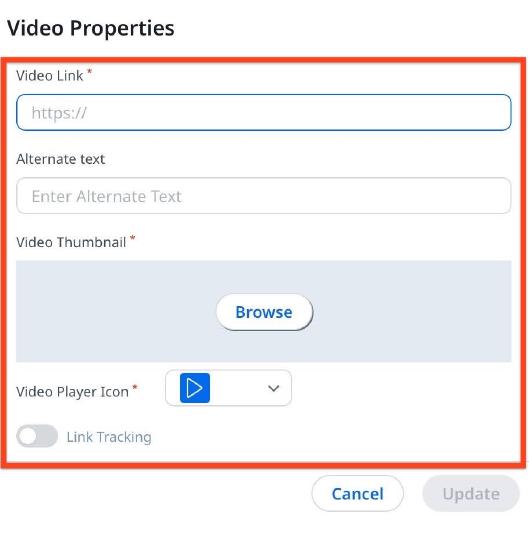
- Enter the Alternative Text.
- In Video Thumbnail, click Browse and select an image from the system.
- Select the Video Player Icon.
- (Optional) Turn on the Link Tracking toggle button.
Note: Link Tracking allows you to monitor user engagement by tracking clicks on links within emails. - Click Update.
- (Optional) To apply style to Video:
- Select the added video element.
- Click the Style tab.
- Apply one or more options from the Dimension, Border And Background and Mobile Settings sections.
For more information on available styles, refer to the Style section.

Add Token
To add tokens in the email template layout:
- From the toolbar, click the Token icon to add a Token. The Token Properties window appears.

- In the Display Name field, enter a label for the tokenized field.
- In the Default Value field, enter the text that is added if the token value is missing.
- Select required value from the Default Mapping drop-down menu.

- Select required value from the Value Type drop-down menu.
- CURRENCY
- DATE
- NUMBER
- TEXT
- Click Update.
- (Optional) To apply style to Token:
- Select the added token element.
- Click the Style tab.
- Apply one or more token formatting options.

For more information on available styles, refer to the Style section.
Note: For a Company Person, the currency is determined by the Company-level setting. For a Relationship Person, the currency is based on the Relationship-level setting.
Insert Smiley
You can choose from a variety of social media icons available from the Insert Smiley. You can select up to five icons at a time.
To add smiley:
- From the toolbar, click Insert Smiley icon to add an emoji.

- Click an emoji to insert it into the email template layout.
Style
The Style tab allows you to apply different styles and formats to the elements to personalize your emails. Refer to the following table for available styles and formatting options for each element:
| Element | Text Settings | Dimensions | Border and Background | Mobile Settings |
|---|---|---|---|---|
| Image | NA | Width (px, %) Height (px) Alignment - left,right,center |
Border Style Border width (px) Border Colour Note: Windows Outlook currently doesn't support borders on images. |
Turn on the Mobile Responsive toggle to ensure content displays clearly on mobile devices. |
| Link | Font Font size(px) Font Color Font Weight (Bold,Normal) Font Syle (Normal,Italic) Text Transform |
NA | NA | NA |
| Video | NA | Width (px, %) Height (px) Alignment - left,right,center |
Border Style Border width Border Colour Note: Windows Outlook currently doesn't support borders on thumbnail image. |
Turn on the Mobile Responsive toggle to ensure content displays clearly on mobile devices. |
| Token | Font Font size(px) Font Color Font Weight (Bold,Normal) Font Syle (Normal,Italic) Text Transform |
NA | NA | NA |
| Text | Rich Text Editor Toolbar | Padding- Left,right,top,bottom (px) | Border Style Border width (px) Border Colour Background Colour |
NA |