Configure SAML SSO with OneLogin in Gainsight
The article explains how admins can set up Single Sign-On (SSO) for Gainsight applications using OneLogin.
Overview
Configure Single Sign-On (SSO) with OneLogin to give users secure, centralized access to Gainsight. Once authenticated in OneLogin, users can seamlessly access all authorized Gainsight applications without needing to log in separately to each one.
Prerequisites
To successfully configure SAML-based Single Sign-On (SSO), both the OneLogin and Gainsight administrators must create and configure the SAML application in their respective platforms:
- OneLogin Administrator: Set up the SAML application in the OneLogin portal.
- Gainsight Administrator: Mirror the configuration by creating the corresponding SAML app within the Gainsight platform.
Set up SAML SSO in OneLogin
Follow the steps below to set up SSO in OneLogin:
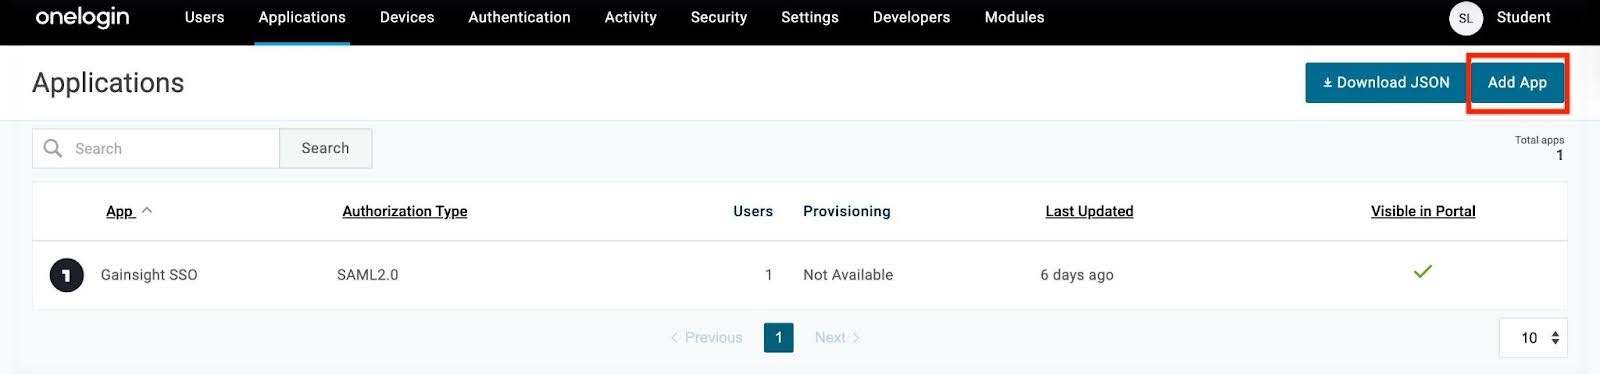
- Sign in to OneLogin and click Administration. The Administration page appears.
- Click the Applications tab, then select Applications from the dropdown menu. The Applications page appears.

- Click Add App. The Find Applications page appears.
.jpg?revision=1)
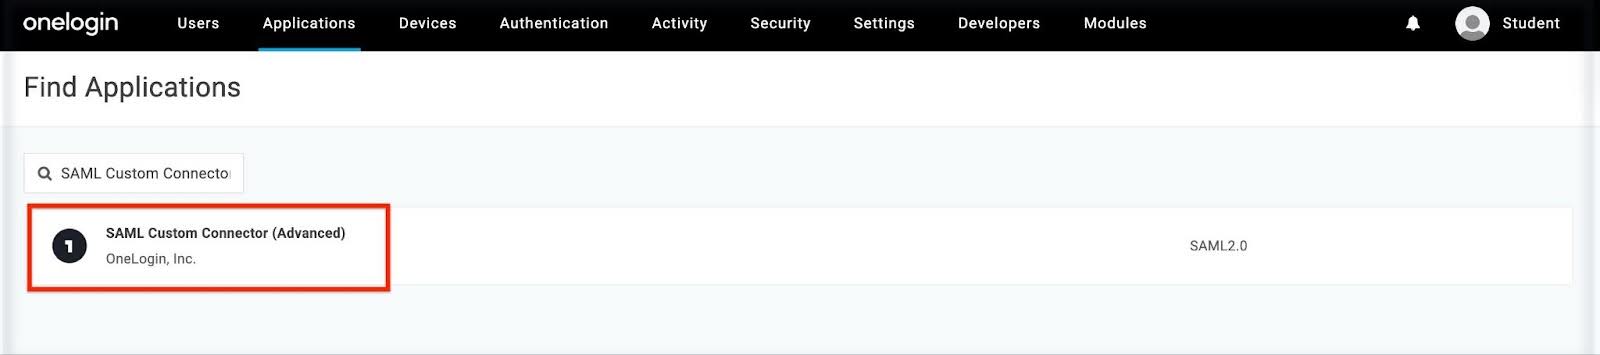
- In the Search Box, enter SAML Custom Connector (Advanced) and select the result. The Configuration page appears.
.jpg?revision=1)
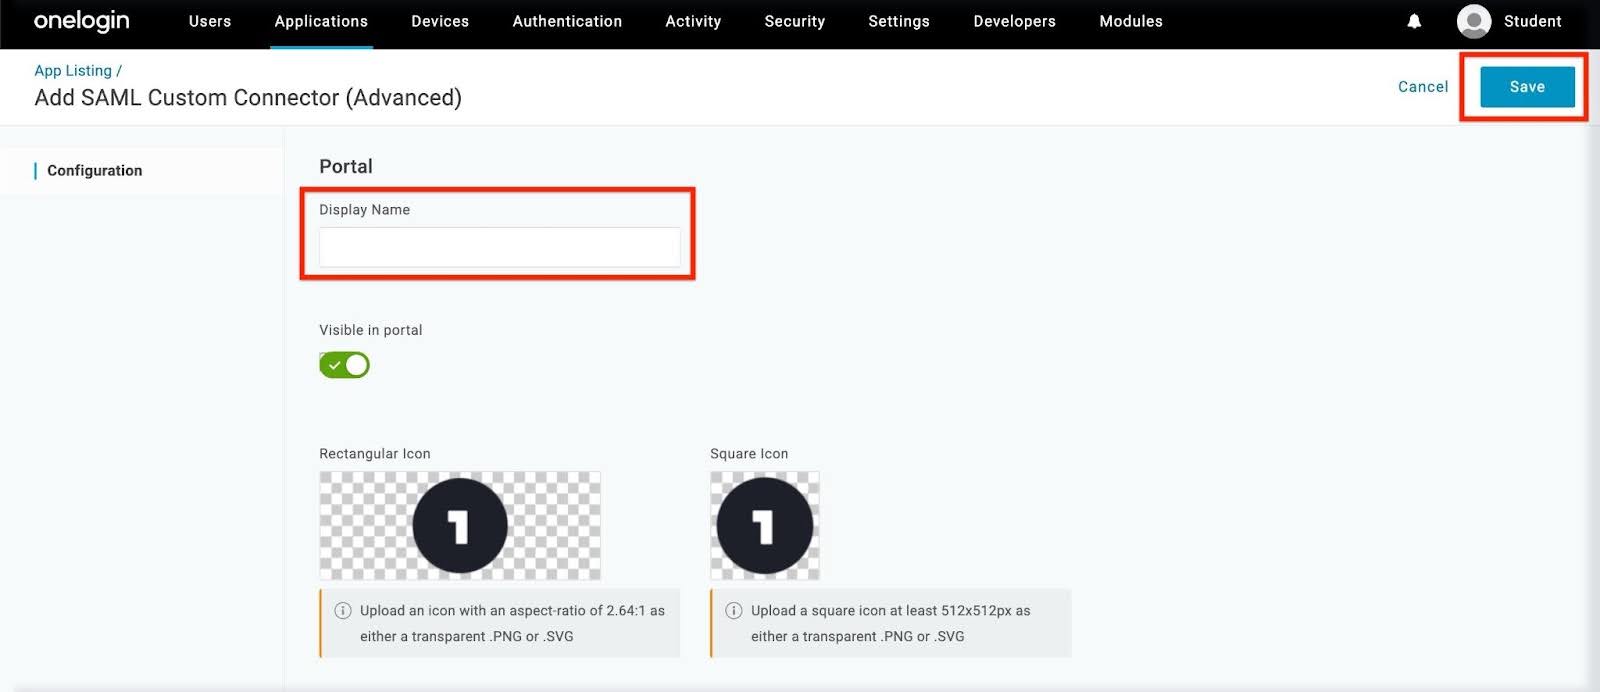
- Enter a Display Name for the application.
- Click Save.
.jpg?revision=1)
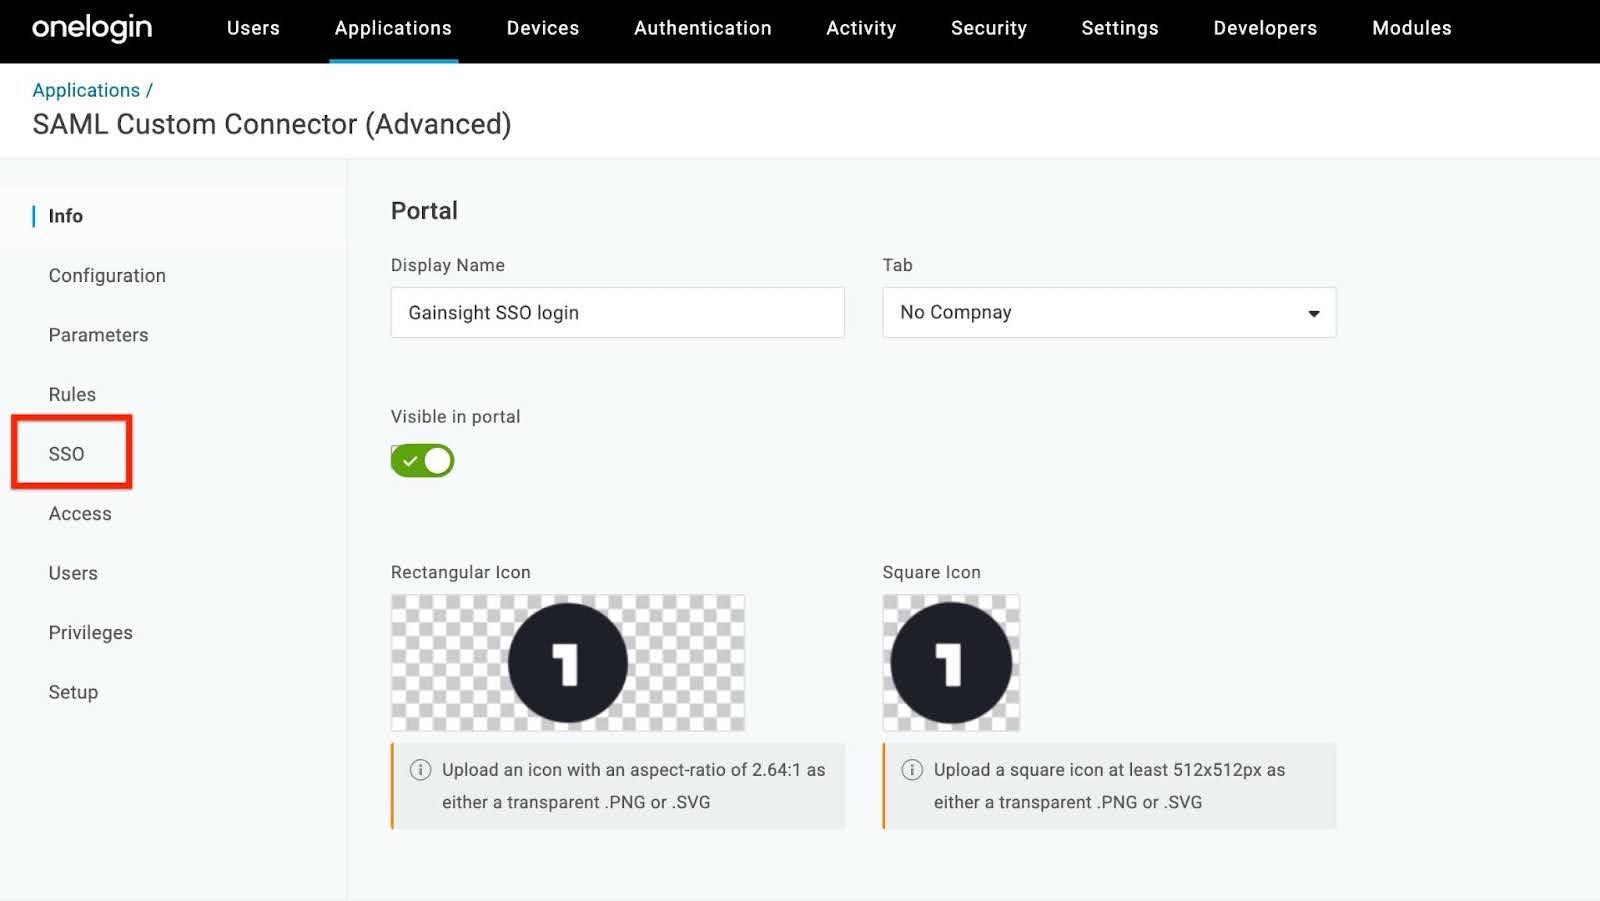
- From the left pane, click SSO. The Enable SAML2.0 page appears.
.jpg?revision=1)
- Under SAM 2.0 Endpoint(HTTP), click the Copy to Clipboard icon.
.jpg?revision=1)
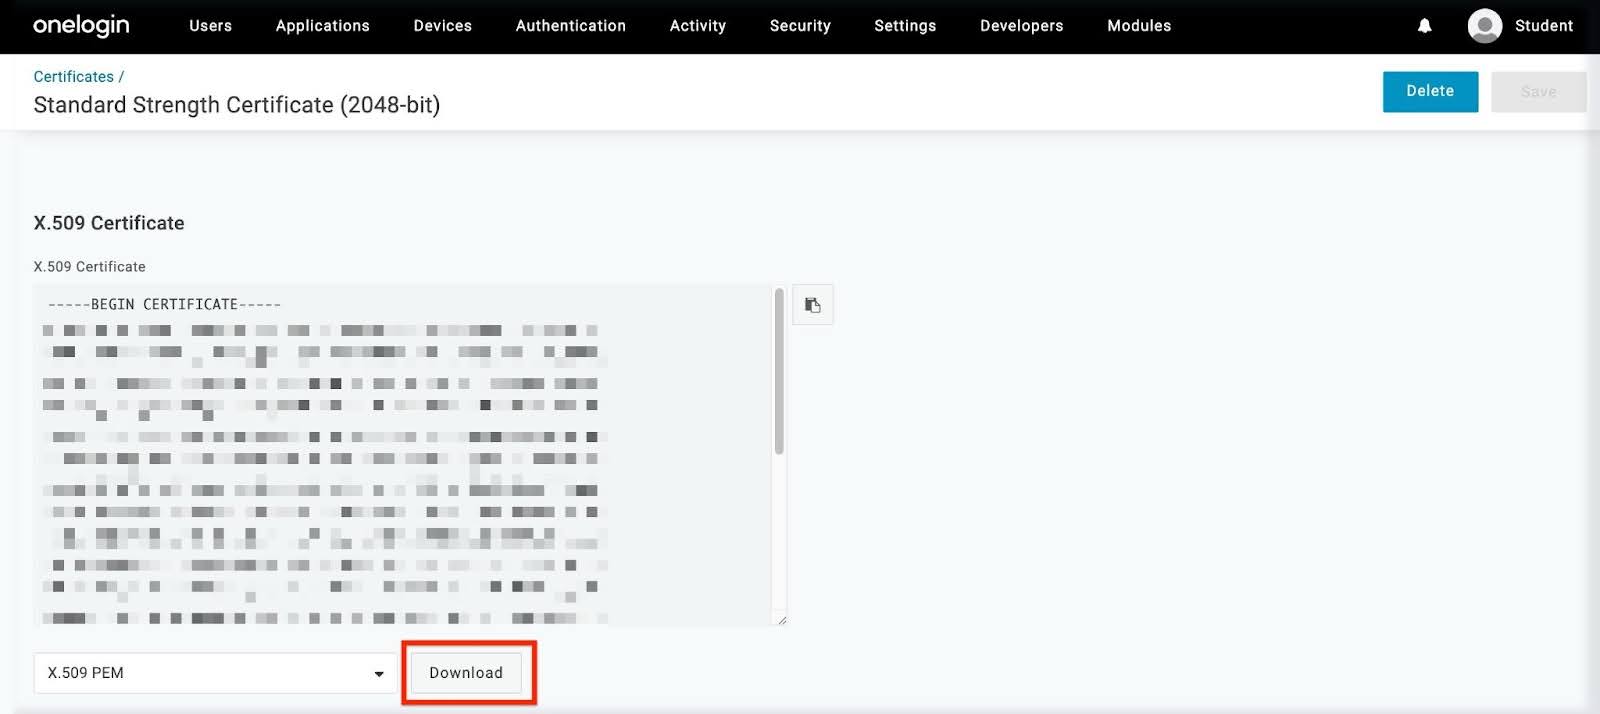
Note: Save the copied endpoint for later use in Gainsight. - Click View Details, scroll down, and click Download. To download the X.509 PEM certificate.
.jpg?revision=1)
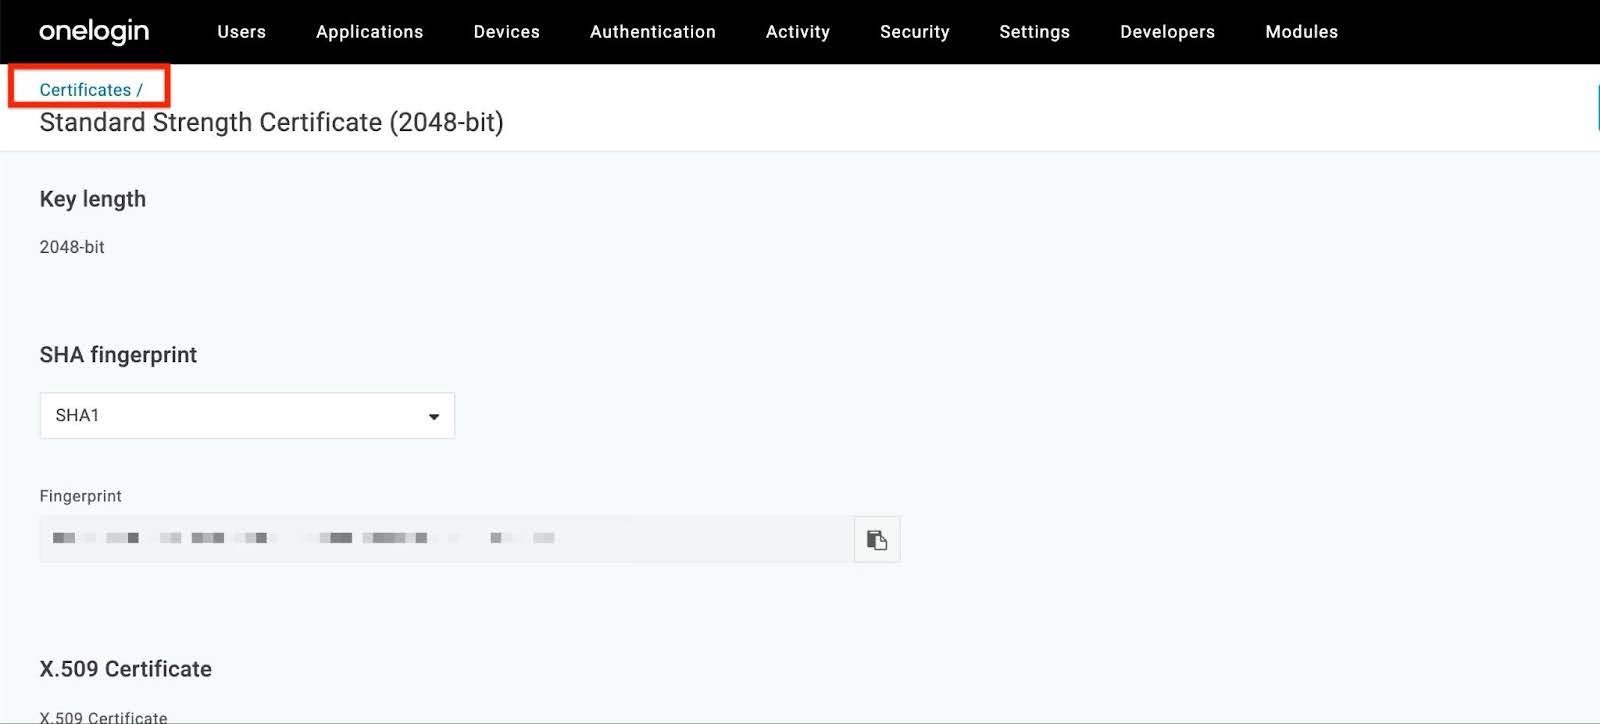
Note: By default, the X.509 PEM is selected; ensure this remains the same. - Click Certificates at the top. The Info page appears.
.jpg?revision=1)
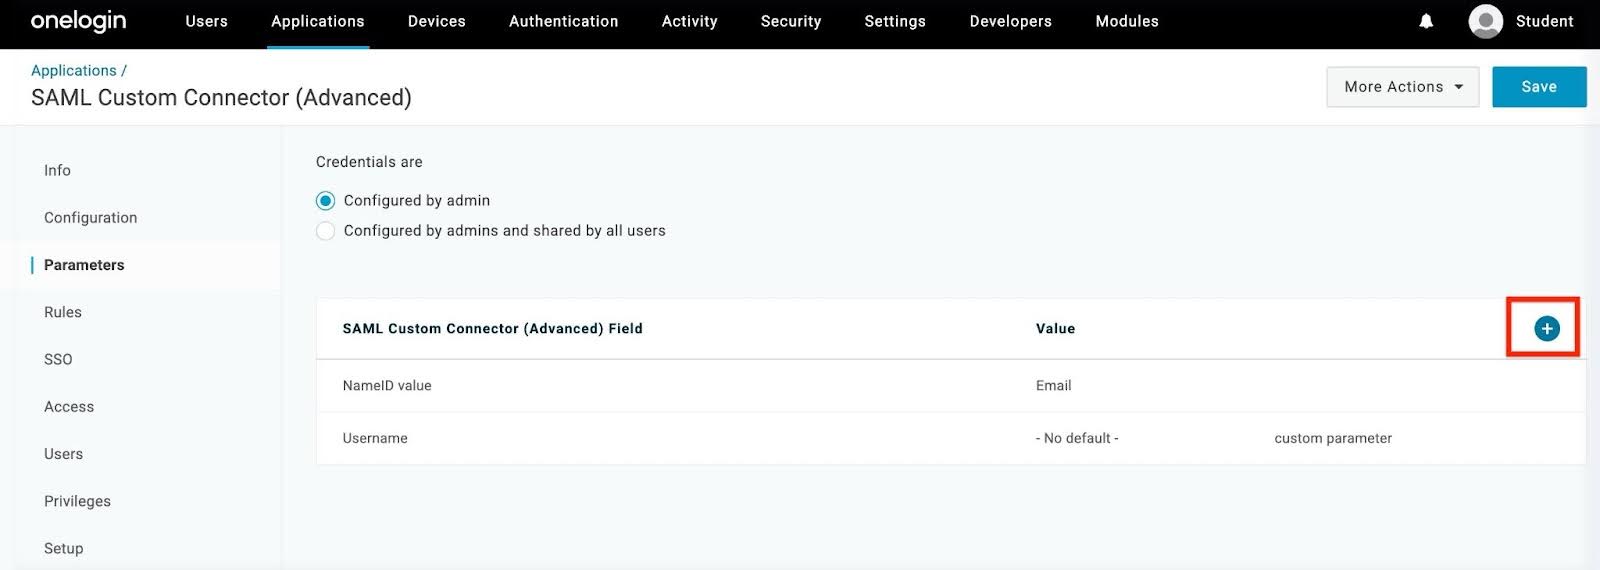
- From the left navigation pane, click Parameters. The Parameters page appears.
- Click the Plus icon to create a new field. The New Field dialog box appears.
.jpg?revision=1)
- Enter the Field Name as Username.
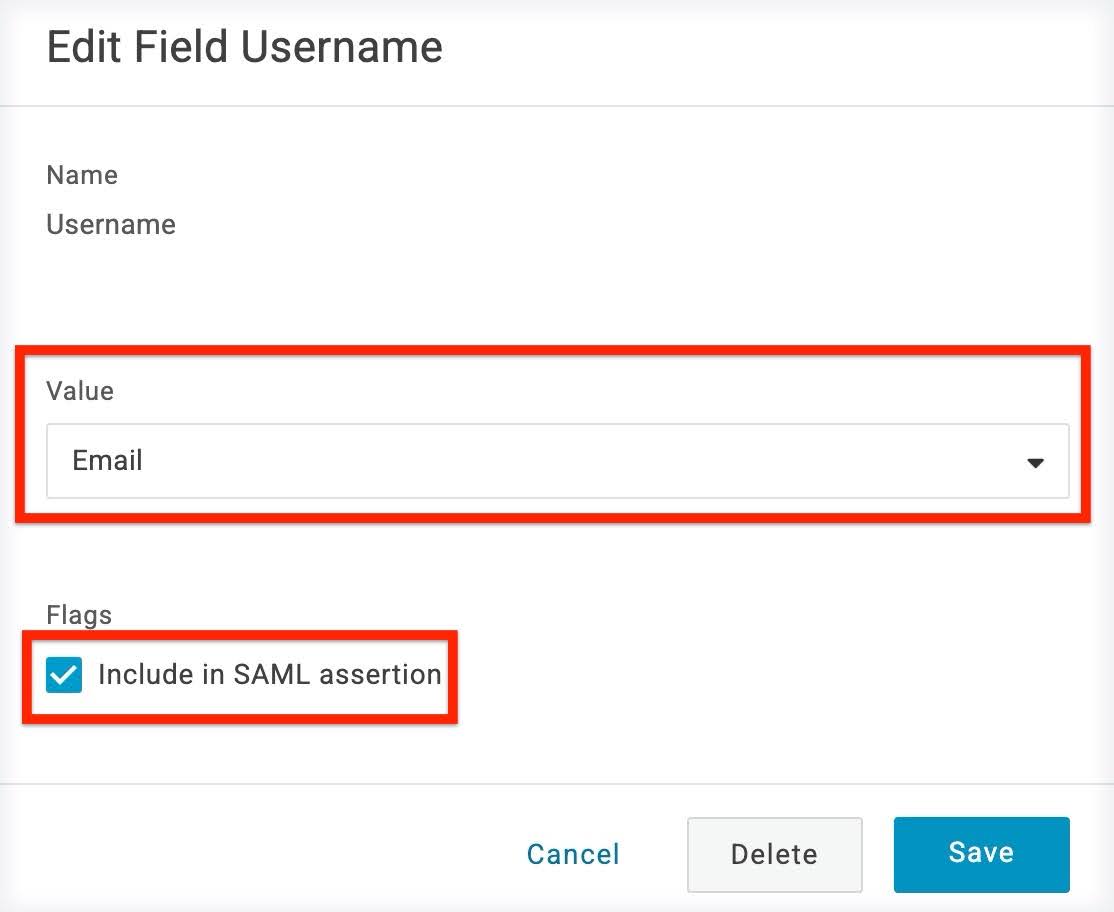
- Click Save. The Edit Field Username page appears.
- On the Edit Field Username dialog box, provide the following details:
- Set Value to Email.
- Select the Include in SAML assertion checkbox.
.jpg?revision=1)
- Click Save.
Setting up SAML in Gainsight
Follow the steps below to set up SAML in Gainsight:
- Sign in to Gainsight and navigate to Administration > Users and Permissions > User Management. The User Management page appears.
- Click the Authentication tab.
.jpg?revision=1)
- From the Add Authentication dropdown menu, select SAML. The SAML Mechanism dialog box appears.
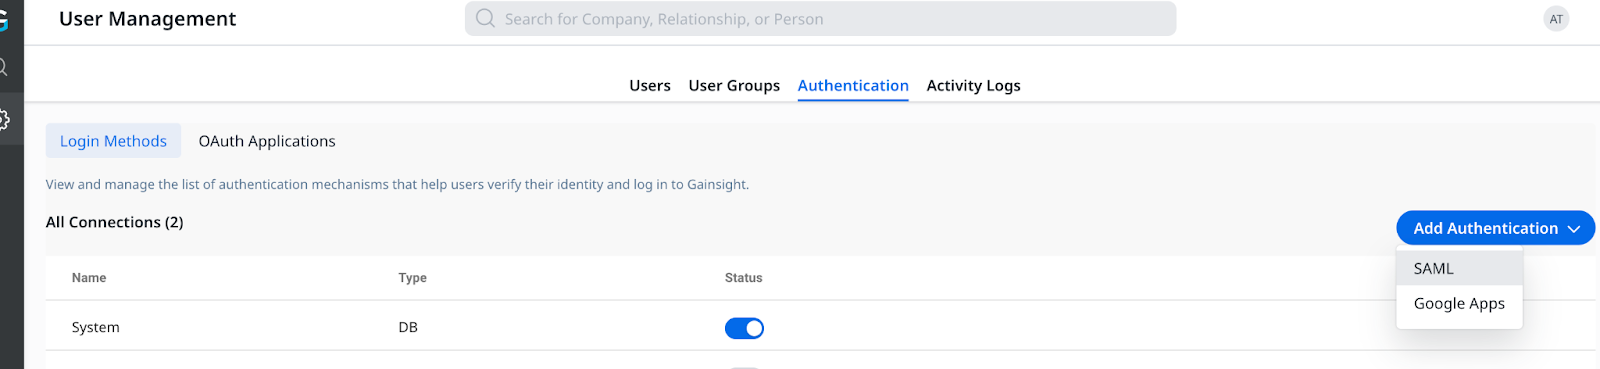
- In the SAML Mechanism dialog box, provide the following details:
- Name: Enter a descriptive name for the app. For example: OneloginSSO.
- Email Domain: Enter your organisation's domain.
- Sign In URL: Paste the SAML 2.0 Endpoint(HTTP) URL copied from OneLogin.
- Certificate: Upload the X.059 file downloaded from OneLogin.
.jpg?revision=1)
- Click Save. The newly added connection appears in the Connections list.
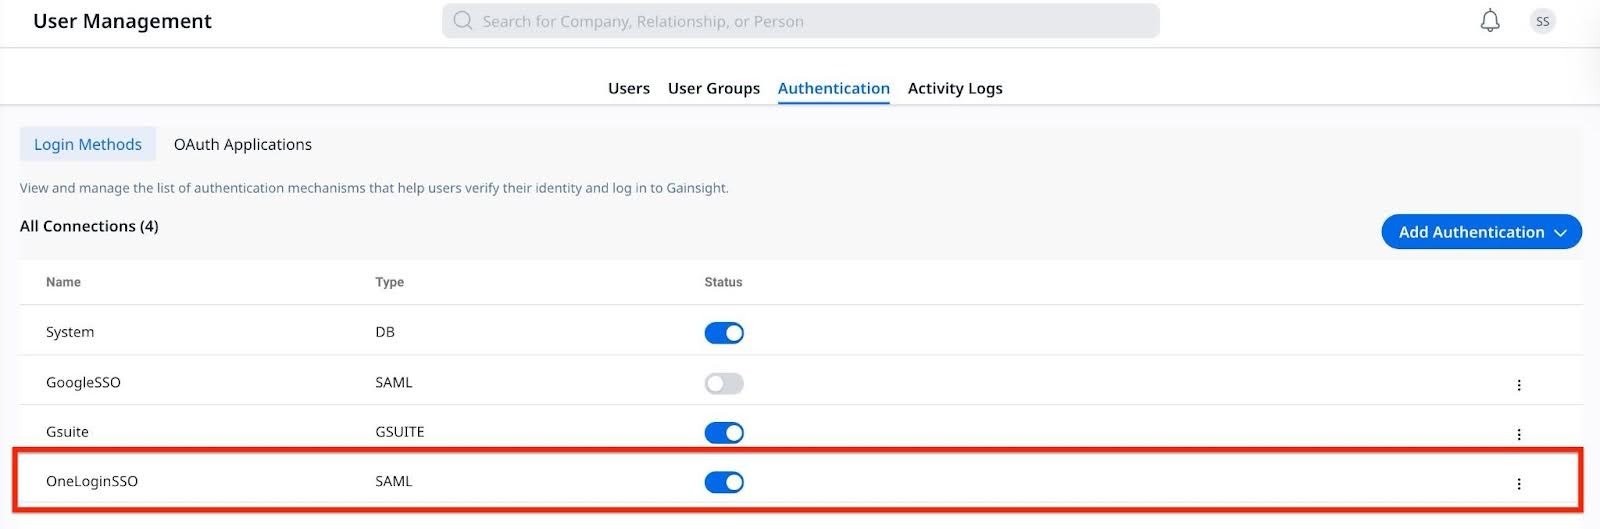.jpg?revision=1)
- Click the three vertical lines next to the newly added Connection, and select Edit. The SAML Mechanism dialog box appears.
.jpg?revision=1)
- Click Download to download the metadata XML.

- Extract the AssertionConsumerService Location and Entity ID from the downloaded XML file. Open the XML file and locate the following:
- AssertionConsumerService Location: This is the content in quotations for the location in line 27 from the example image below.
.png?revision=1)
- Entity ID: Find the Entity ID at the top of the file. It is the blurred-out section from the example image below.
.png?revision=1)
Finalize OneLogin Configuration
Complete the OneLogin configuration by updating the application with values from the Gainsight metadata. Follow the steps below to configure the OneLogin page:
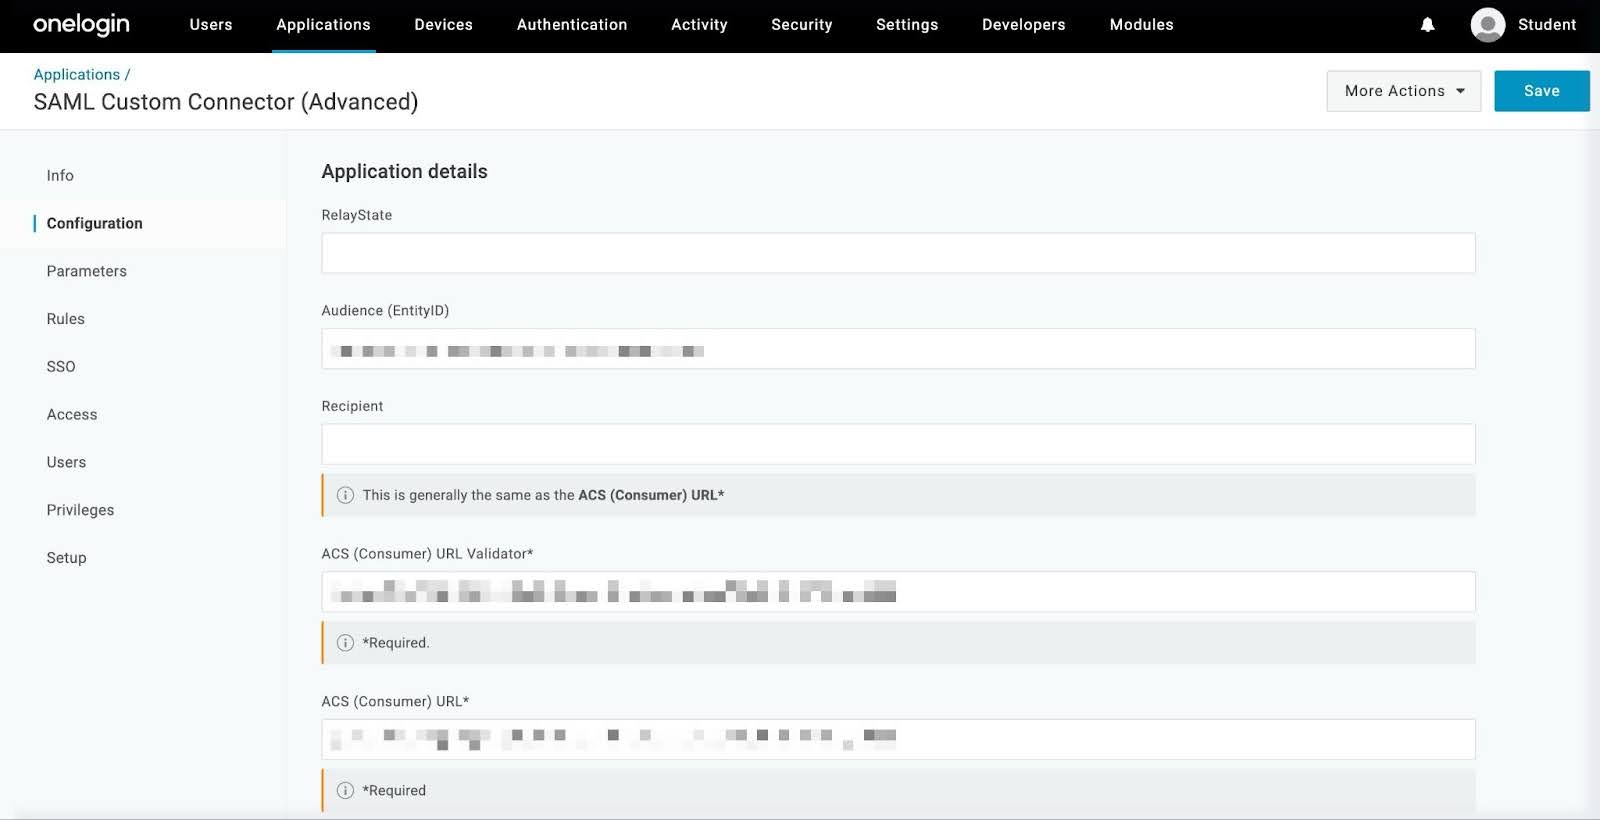
- Navigate to the OneLogin Application setup.
- In the left navigation pane, click Configuration.
- On the Configuration page, enter the following values from the Gainsight XML:
- Audience (EntityID): Enter the Entity ID.
- ACS (Consumer) URL Validator: Enter the AssertionConsumerService Location URL value.
- ACS (Consumer) URL: Enter the same ACS (Consumer) URL Validator (the AssertionConsumerService > Location URL).
.jpg?revision=1)
-
Click Save.
The SSO Login setup is complete. Assign users to the newly created OneLogin application to enable access to Gainsight.