
Share Dashboards
Gainsight NXT
This article explains how Customer Success Managers (CSMs) can share a dashboard as a link or PPT through email with internal user(s) from the Dashboards tab.
Overview
Share Dashboards feature allows CSMs to share a dashboard with internal user(s), for example the Monthly Renewals dashboard with the CRO of the company, a CSM can generate a report and see how many CTAs each of his CSMs are working on, a CSM can schedule a risk dashboard with their manager, etc. To enable CSMs to share a dashboard, the dashboard must first be configured for sharing by the admin. Refer to the Configure Dashboard for Sharing article for information on how admins can configure a dashboard for sharing.
Notes:
-
CSMs can share the configured dashboard through email as a link, with optional security settings. The internal users (recipients) need to be added as Gainsight users into the Gainsight User object. For more information on how a Gainsight user can be added, refer to Gainsight User Object article.
-
If users are unable to open the email link, contact your Gainsight Admin for help resolving the issue.
-
CSMs can see the dashboards that are assigned by admins, using Dashboard Permissions.
Share Dashboard
To share a dashboard:
-
Navigate to the Dashboards page, from the dropdown list, select the required dashboard.
Notes:
- The dashboard shown in the Home page is in the original state as created by the admin. The recipient will receive the dashboard in its original state.
- Any modifications done to reports in the Dashboards page must be saved before sharing.
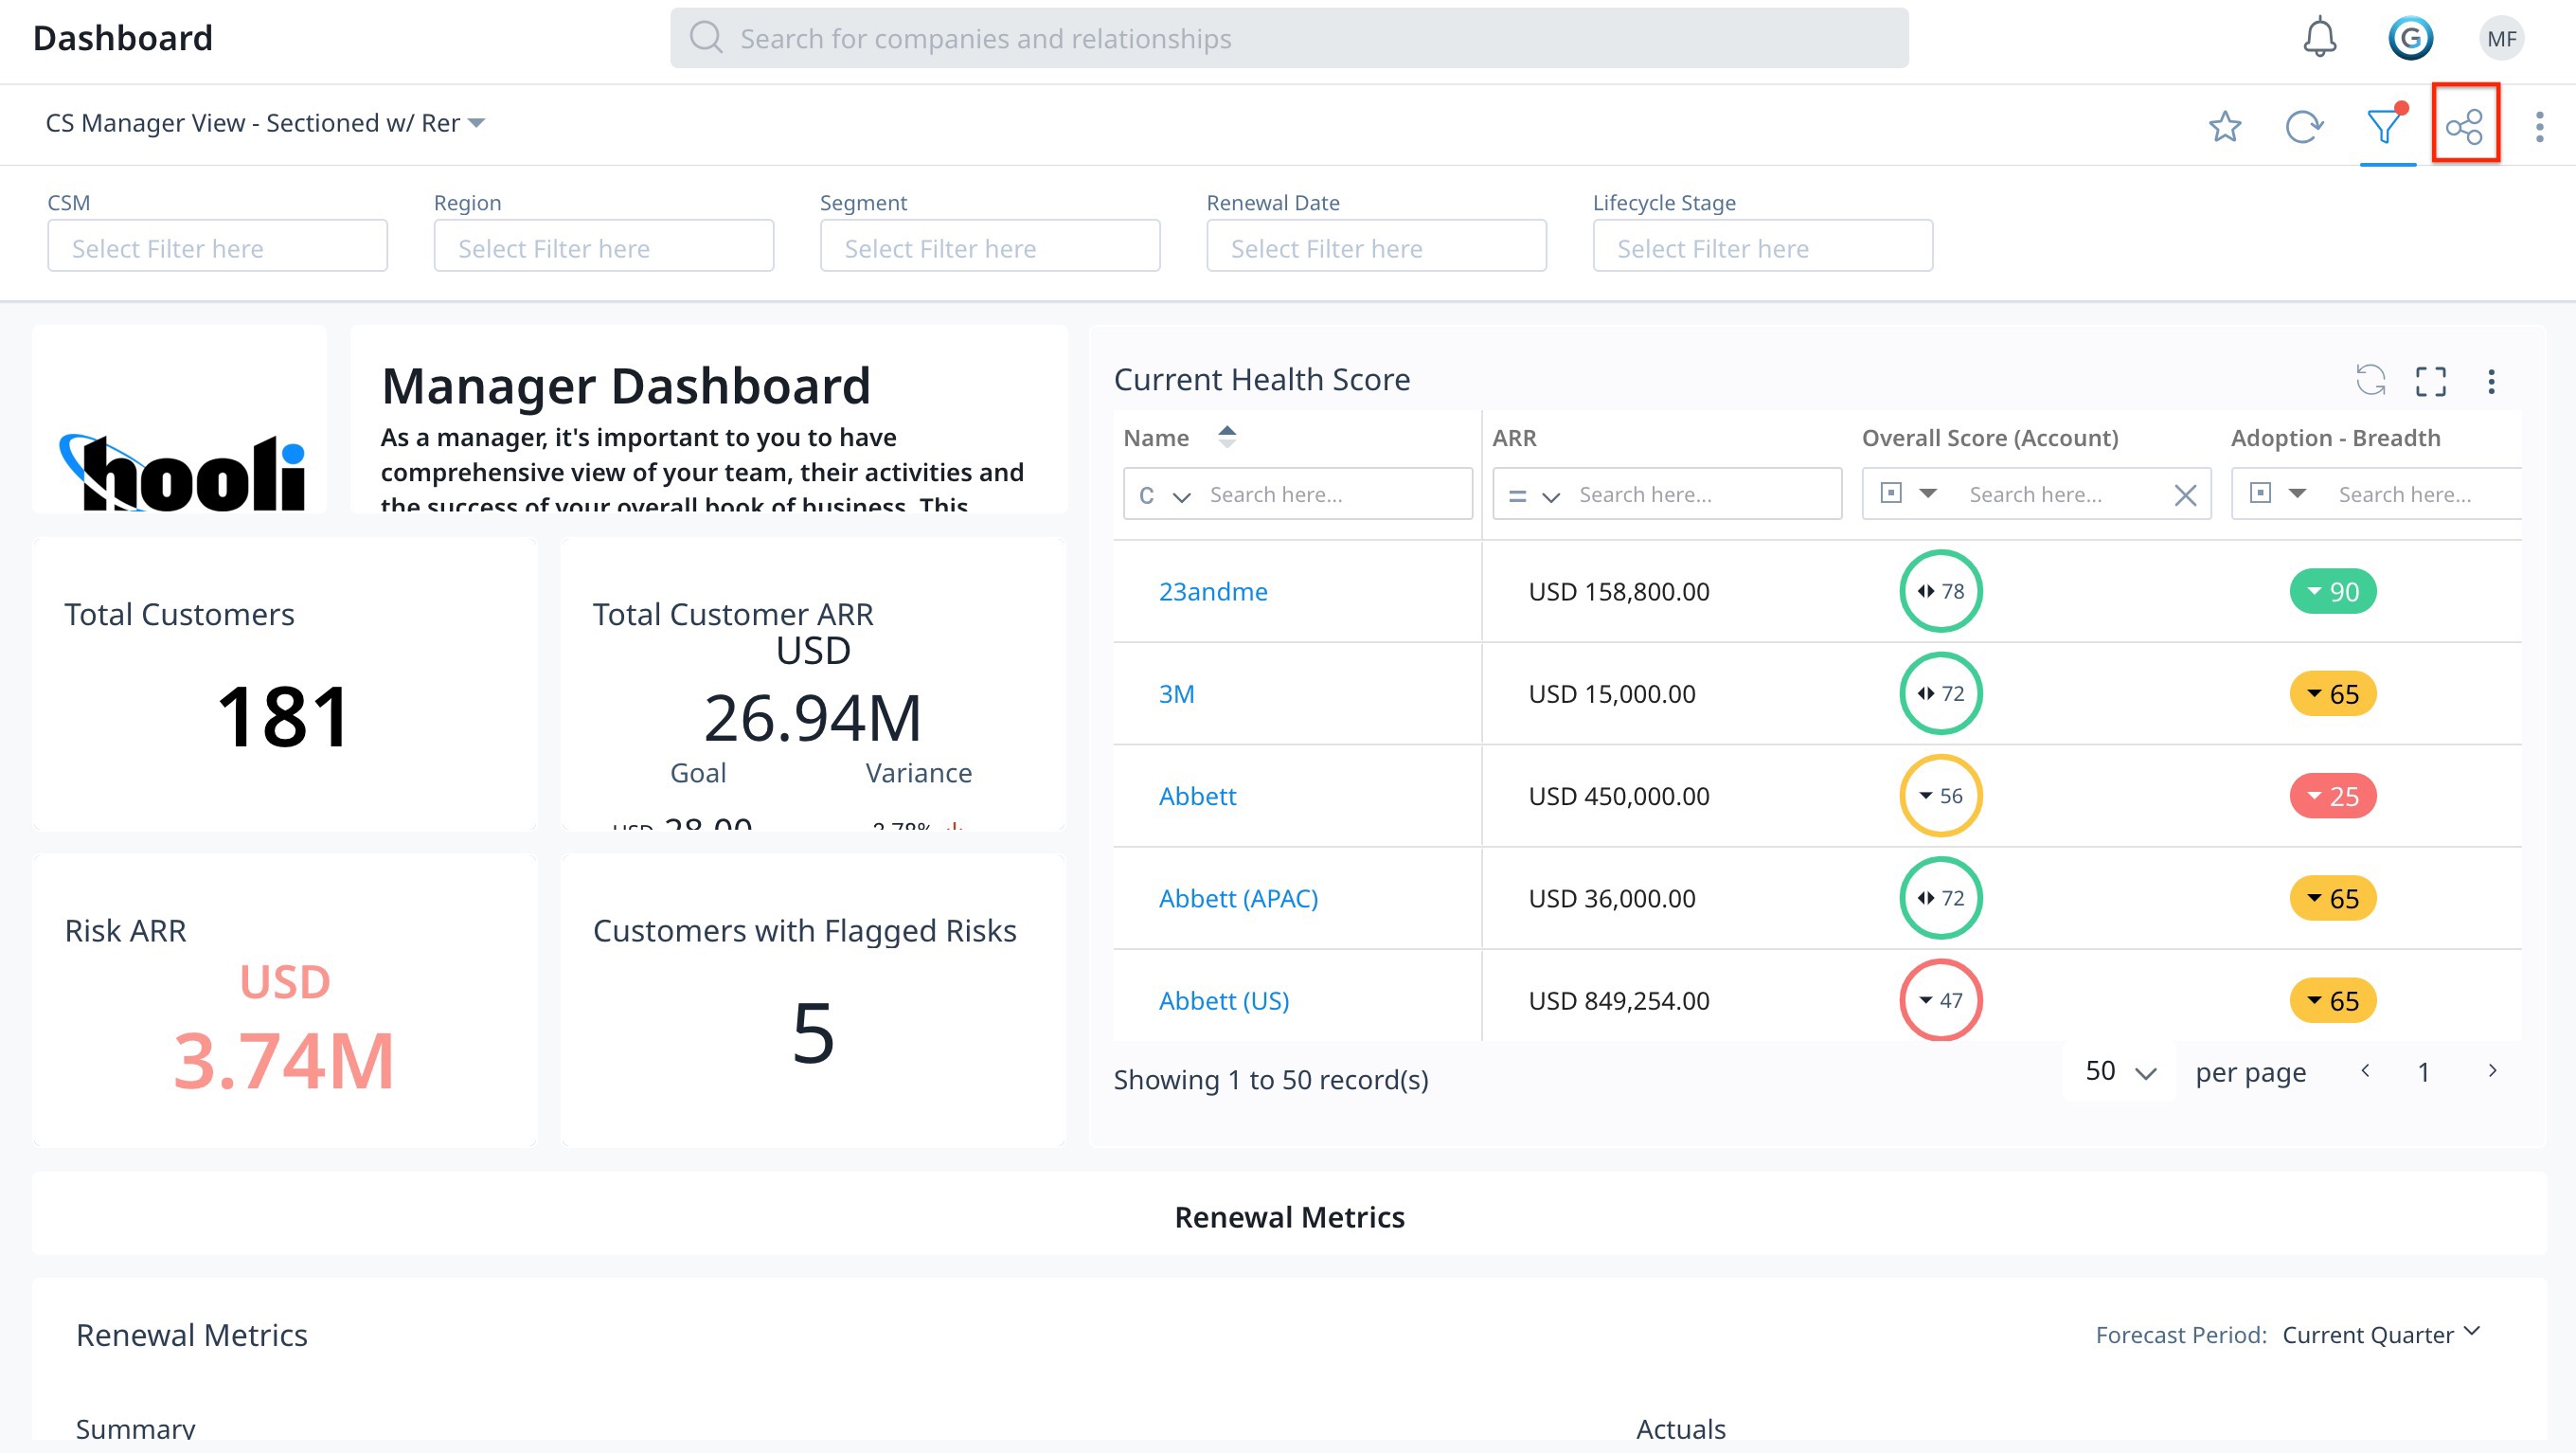
- Click the Share icon. The Share Dashboard page appears.
- In the Select User dropdown, search and select the users with whom you want to share the dashboard.
Notes:
- The recipient must be added as a Gainsight user into the Gainsight User object, in order to receive the dashboard via email.
- Multiple recipients can be added to the list of Users.
- Enter details in the Subject field.
- (Optional) Enter details in the Note field. You can use the rich text editor to format the note. The formatting is preserved in the shared dashboard email.
- In the Share as section, select one of the following options:
-
PPT: Sharing the dashboard as a PPT enables the following setting:
-
(Optional) In the Security & Access section, turn on the Enable OTP Verification toggle if you want recipients to complete a verification step before downloading the file.
-
-
Image: Sharing the dashboard as an Image enables the following setting:
-
(Optional) In the Security & Access section, turn on the Enable OTP Verification toggle if you want recipients to complete a verification step before downloading the file.
-
-
Link: Sharing the dashboard as a Link enables the following settings:
-
Select Domain: From the Select Domain dropdown list, select the domain of your choice.
-
(Optional) In the Security & Access section, turn on the Enable OTP Verification toggle if you want recipients to complete a verification step before accessing the shared dashboard.
-
(Optional) Select the Turn Off Download checkbox if you want to prevent recipients from downloading data from the reports or charts shared with them.

Note: The Turn Off Download and Select Domain options apply only to Link shares and have no effect on PPT and Image share types.
For more information on OTP verification for each share type, see OTP Verification for Shared Dashboards.
-
-
- Share Type: In the Share Type section, select either Share now or Schedule for setting the sharing criteria.
- One Time: Select this option to share the dashboard with users immediately. The shared link automatically expires in 120 days by default. Set the expiration date as required from the Set Expiry Date field.
- Schedule: Select the required schedule type.
- Daily: Select either Every Weekday (Mon-Fri) or Everyday to share the dashboard with users on a daily basis.
- Weekly: Select the preferred day in a week for sharing the dashboards.
- Monthly: Select a preferable Date or Day in a month to schedule sharing on a weekly basis.
To schedule the sharing:
- Select either Daily or Weekly or Monthly.
- From the On dropdown, select one of the following:
- Every Weekday ( Mon-Fri)
- Every Day
- Every - define the number of days.
- From Starting From and Till Date dropdown, select the dates to schedule sharing.
- From the Schedule Run Time dropdown, select Once or Repeat.
- Set the time based on the above selection.
- From the Select a Time Zone, select the Timezone region.
- Click Share.
Notes:
- Whenever Admins make any changes to the dashboard’s sharing settings, CSMs must share the dashboard again for the latest changes to be reflected.
- Any global filters applied by the admin while configuring the dashboard will be honored in the shared dashboard. Recipients are not allowed to add additional global filters, but the filter values for unlocked filters can be changed.
- Sharing private dashboards provides access to users under the Give access to specific users group with View permission.
Copy and Share Dashboard URL
CSMs can copy the Dashboard URL and share the dashaboard with users. Sharing via this method provides Admins and CSM executives with convenient dashboard access without compromising authentication.
To copy and share the dashbaord:
- Navigate to Dashboard page.
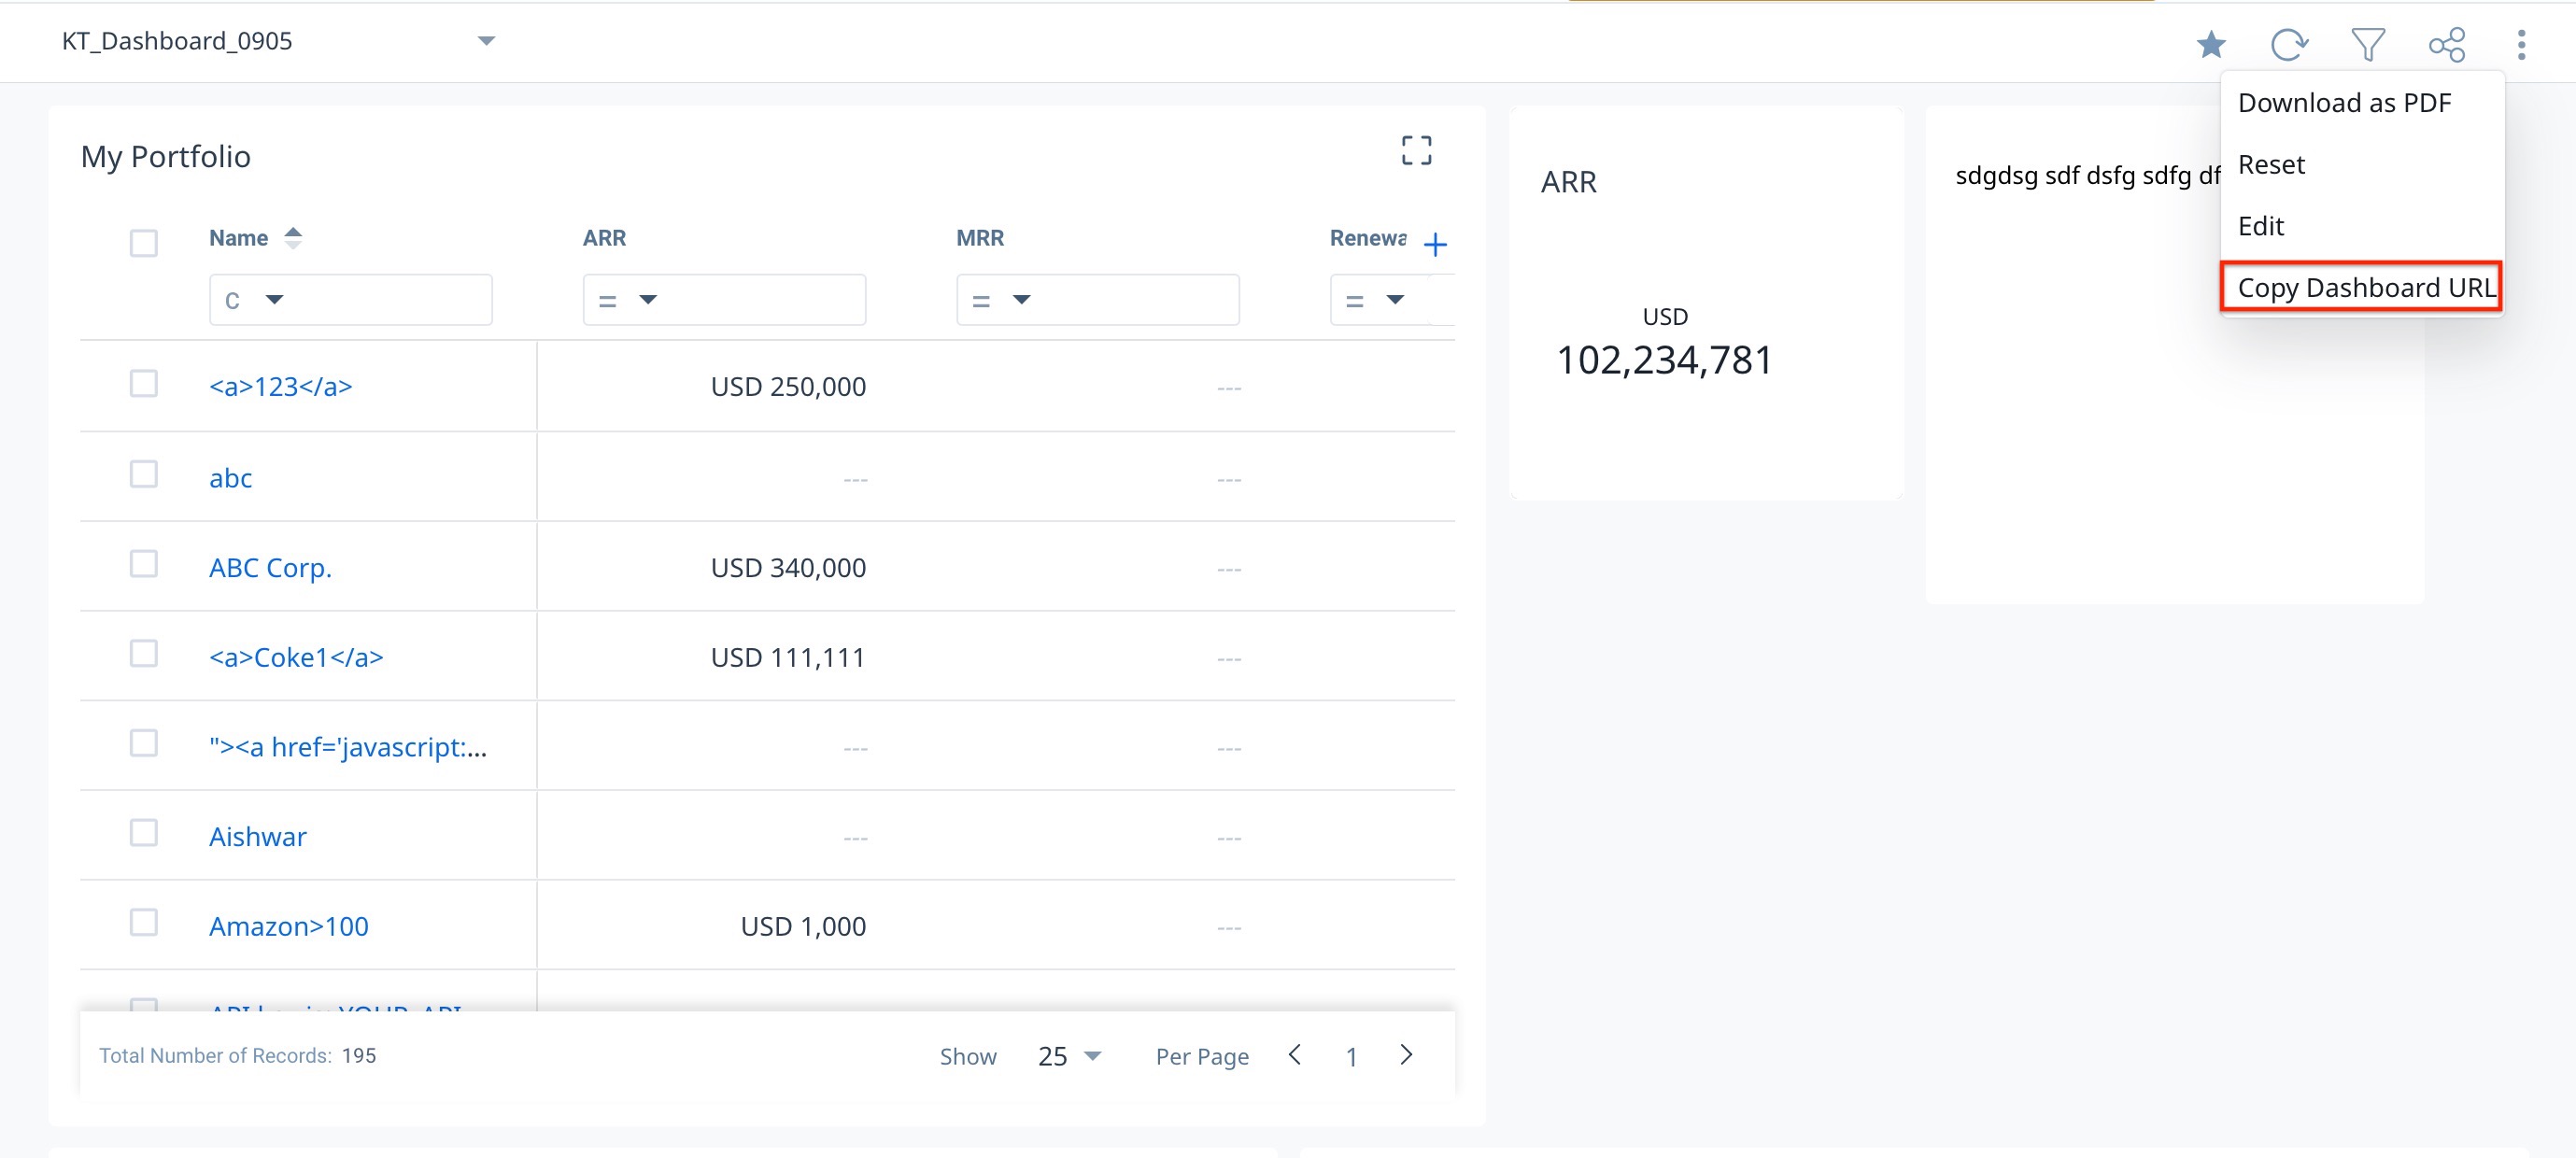
- From the three vertical dots menu. Click Copy Dashboard URL.
Once copied, CSMs or Admins can share the link with other users.
Manage Shared Dashboards
The CSMs can use the Manage tab in the Share Dashboard configuration page to either edit or revoke access to the dashboards shared with users. To manage shared dashboards:
- Navigate to Administration > Dashboards.
- Click the Share icon. The Share Dashboard page appears
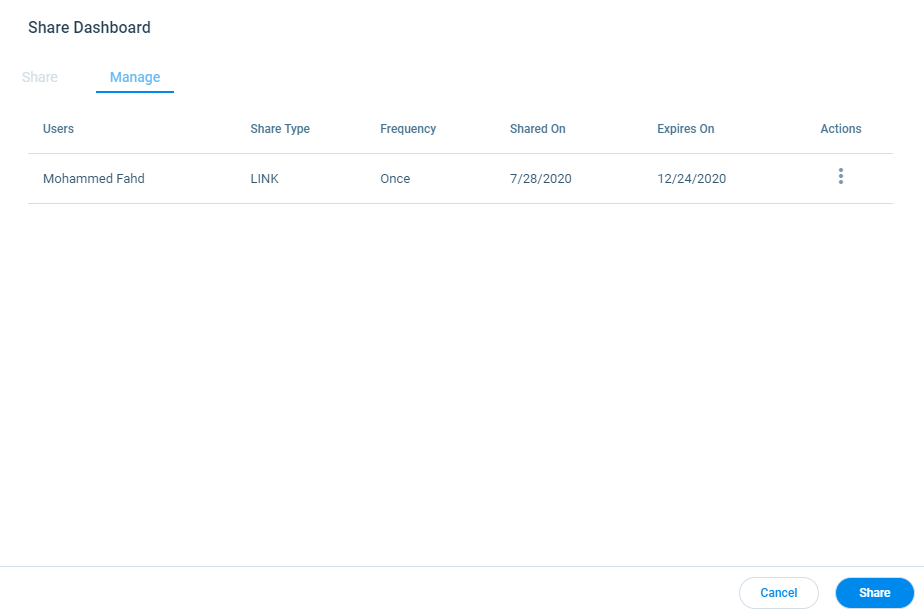
- Select the Manage tab. This page displays a list of users with whom the dashboard is shared. The following details are displayed:
- Users: Displays the user name.
- Share Type: Indicates the dashboard is shared as Link.
- Frequency: Displays Once, if the dashboard is shared using Share now option. Displays Recurring, if the Schedule option is selected for sharing.
- Shared On: Displays the date on which the Dashboard was shared.
- Expires On: Displays the date on which the shared dashboard link expires.
- Actions: Click the Context menu under Actions.
- Click Edit to edit the settings for shared dashboards.
- Click Delete to revoke access for a user.
- Click Share, to accept the changes made to the user list and share the dashboards.
Edit Share
CSMs can edit the settings for shared dashboards on the Edit Share page.
- From the Context menu under Actions, click Edit.
- In the Edit Share page, perform the following functions:
- To make changes, select the checkbox next to I want to make changes.
- Change Domain as required.
- Turn on or turn off the Enable OTP Verification toggle in the Security & Access section.
- Select or Deselect the Disable Download checkbox.
- Change the Expiry date, if the dashboard is shared as a link.
- Change the Schedule, as required.
When you change the OTP setting on a dashboard that has already been shared, Gainsight displays a warning. Confirm the change to proceed. Changes apply to all previous shares as well.
Revoke Access
From the Manage page, CSMs can revoke access of a user from accessing a dashboard.
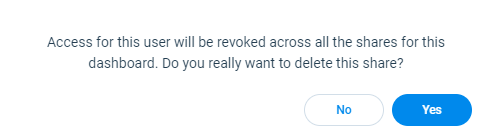
From the Context menu under Actions, click Delete. The following message is displayed. Click Yes to cancel access for the selected users.
OTP Verification for Shared Dashboards
When you turn on the Enable OTP Verification toggle in the Security & Access section, recipients must complete OTP verification before accessing or downloading the shared dashboard.
- Link shares: The recipient is redirected to the Gainsight site to complete OTP verification before accessing the dashboard in the browser.
- PPT and Image shares: The recipient is redirected to the Gainsight site to complete OTP verification before the file download begins. If OTP verification is turned off, the recipient accesses the download link directly.
- When a file is shared with OTP verification turned off, Gainsight generates a direct link. Recipients access the file through this direct link without any verification. Turning on OTP verification later does not affect previously shared direct links.
- When a file is shared with OTP verification turned on, Gainsight generates a Gainsight-hosted link. Turning OTP verification on or off later applies to all existing shares of that file.
- Link shares are always Gainsight-hosted. Turning OTP verification on or off for Link shares applies to all existing and future shares.
The OTP setting applies globally to a dashboard. Gainsight applies it to all shared instances and share types, including previously shared links and files.
When you change the OTP setting on a dashboard that has already been shared, Gainsight displays a warning. Confirm the change to proceed.
View Shared Dashboard
When a dashboard is shared by a CSM to internal users (Full and Viewer license users), a notification is sent to the recipient's email address. The email notification includes a link to the dashboard, the expiration date of the link, and information if the link requires OTP verification or not. Recipients will perform the following steps to access the shared dashboard:
- Click Click here to view button in the email notification.
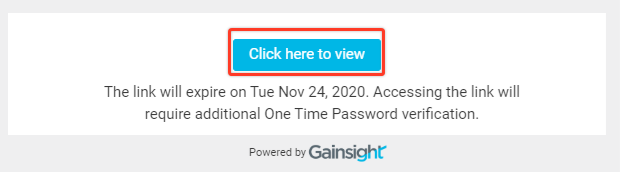
Note: Admin can revoke the access to a user on a link of a shared dashboard, and perform other actions like managing the dashboards and links shared. When recipients click Click here to view to access a link that has been revoked, a login error screen appears.
- In case the OTP access is invalid, the same message is displayed.
- In both cases mentioned above, the recipients need to contact the person (CSM/AM) who shared the link.
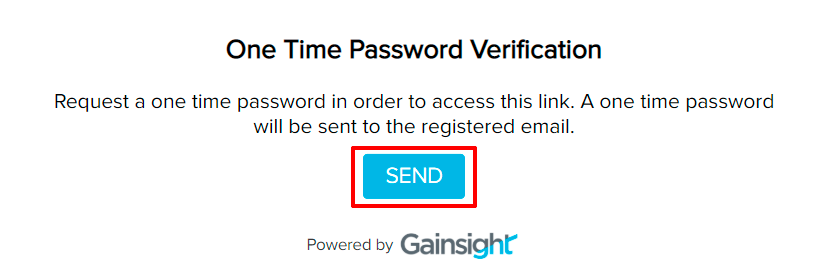
- Click SEND to request an OTP password to be sent to the registered email ID.
- Recipients will receive an email that contains One Time Password.
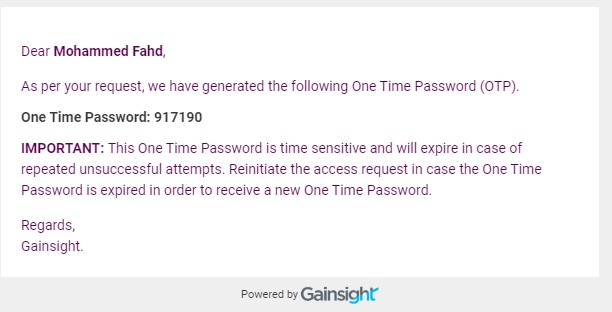
IMPORTANT: This One Time Password is time-sensitive. And in case of repeated unsuccessful attempts, the link becomes invalid. Reinitiate the access request in case the OTP is expired.
- Enter the OTP received, to access the link.
- Click RESEND, if recipients do not receive the OTP.
Note: The OTP is valid for 5 minutes. If it expires, the recipients should send a request to the CSM/AM to share the dashboard again.
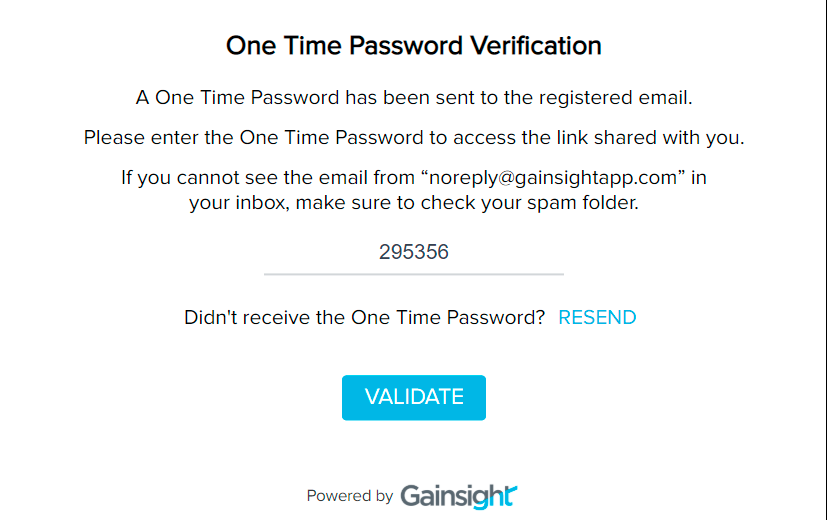
- Click VALIDATE. The shared dashboard is displayed.
Note: The dashboard view is read-only and additional filters cannot be added to the reports or Global Filters. You can export the reports in the dashboard if the admin has enabled export.
For information on how admins can configure a dashboard for sharing, refer to the Configure Dashboard for Sharing article.