Global Filters For Dashboards
Gainsight NXT
This article explains the Global Filter functionality in Dashboards.
Overview
Global Filter enables admins to create filters at the dashboard level. These filters allow you to slice and dice one or more reports on a dashboard in one go. It does not matter which object the report is built on. Global Filters are configured in the Dashboard Builder page.
Global Filter Examples
- Date filter: To view the Revenue, Support Ticket, and Usage data in one dashboard, you can create a date filter that applies to all the reports. This enables you to view data across these reports for the same period. You can also choose the Date field on all the required objects. For example: Booking Date from Revenue, Date from Usage, and so on.
- Region filter: As an executive, you can view the performance of various CS motions, like CTAs Closed, Tasks Open, ARR Information from the customers, and Survey responses, filtered by regions such as EMEA and APAC.
- Team member’s view: As a Customer Success Manager (CSM) team manager, during your 1:1s with team members, you want to view all the customers that a CSM owns by their Health Score or all the CTAs the CSM owns, you can choose the User field that defines the ownership. In the case of a customer, you can choose the CSM field and in the case of CTA, you can choose the Assignee field.
- Company Team Filter: Activates filtering based on assigned company teams.
- Relationship Team Filter: Activates filtering based on assigned relationships.
Feature Toggle Requirements for Company and Relationship Teams Filter
|
Feature Toggle |
Description |
|
Company Team Enabled |
Check the availability of the Company Team Objects. |
|
Relationship Team Enabled |
Check the availability of the Relationship Team Objects. |
|
Layout Team Filter Enablement |
Activates the Team filters based on Gainsight Home layouts. |
Note: Without these feature toggles, Company Team and Relationship Team filtering options will not be available.
For more information on Company and Relationship Filters, refer to the Configure Gainsight Home article.
Create a Global Filter
To create a Global Filter:
- Navigate to Administration > Dashboard Builder.
- Open or edit a Dashboard.
- Click Add Global Filter icon. The Global Filter window is displayed.
- Configure the following fields in the Details Section:
- In the Name field, enter a name for the filter.
- From the Object dropdown list, select the required object.
- From the Field dropdown, select the reference field.
Notes:
- The reference field is used to infer the datatype of the filter. In the case of the Picklist data type, the Picklist values are used as filter values.
- Admin can lock a filter by toggling the Lock this filter switch. If the admin chooses to lock a filter, the end-user cannot modify it in the Dashboards page. Each time if the admin changes the filter value for a locked filter, it is automatically updated in the Dashboards page.
- A Lock icon is shown on the Global Filters to which the Admin has restricted access.
-
Configure the following fields in the Widget Section:
- Select the checkbox next to the Report Widgets, for which the global filter is to be applied.
- From the corresponding Map the Fields dropdown list, select the field for which you want to apply the filter.
-
Click Save.
Notes:
- Global Filter is only created in the Dashboard Builder. It is not actually applied in the Dashboard Builder page.
- Filters cannot be applied to a field that is already consumed in a different global filter. An error message is displayed when you try to do so.
- Currently, Global Filter can consider only the first lookup in the order, because it doesn't understand Who/What ID construct.
Once the filters are created, the Dashboard Configuration page appears.
- Hover over the Filter created, the reports to which the filter is added are highlighted.
- Click Select Filter enter the filter value in the Value text box.
- Click Save. The filter value is now applied to all the reports associated with that Global Filter.
- Click Clear to clear the filter values.
- Click Save Layout, to apply the Global Filters to the Dashboard.
Edit or Delete the Global Filters
Admins can edit or delete Global Filters. To edit or delete filters:
- Click the Context menu next to the created filter.
- Select Configure to edit the filter.
- The Global Filter page is displayed.
- Edit the filter as required and click Save.
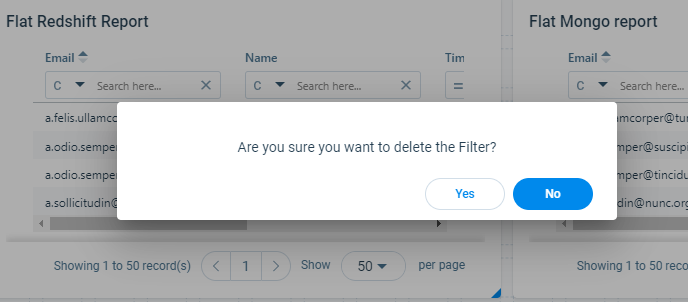
- From the Context menu, select Delete. The following window is displayed. Select Yes to delete the filter.
Dashboards Page
The applied filters in the above section can be viewed in the Dashboards page.
To view the applied filters:
- Navigate to Dashboards page.
- From the Dashboard Search dropdown list, select the required Dashboard.
The Global Filters created are displayed in the dashboard. For information on how to add filters, refer to the Dashboards Overview article in the Additional Resources section at the end of this article.