SAP Attachments for End Users
This article provides an overview of the Attachments feature and explains how CSMs can upload, delete, edit, download, and add tags to the attachments.
Overview
CSMs and customers frequently share documents and links with each other which is currently captured only in Timeline entries. However, searching for specific attachments within Timeline can be challenging. The Attachments feature centralizes all shared files, making it easier to find and manage them. In addition to emails, users can manually upload files shared through other channels using Attachments.
The Attachments tab in C360, R360, or Sidebar allows you to upload, delete, edit, download, and add relevant tags linked to specific contract documents or records.
Supported file formats include:
- Images: .jpg, .png, .jpeg, .gif, .bmp
- Documents: .pdf, .doc, .docx, .txt
- Spreadsheets: .xls, .xlsx, .csv, .xlsm
- Emails and Calendar Files: .eml, .ics, .msg
- Presentations: .ppt, .pptx.
- Video: .avi, .flv, .wmv, .mov, .mp4
- Audio: .wav, .aiff, .flac, .alac, .mp3, .aac, .wma, .ogg
Prerequisites
Ensure that you have the required permissions to access C360/R360. If you are not able to access it, contact your admin.
Note:
- To enable you to view the Attachments tab in C360, admins must first add Attachments in the Configure Sections of 360 Layouts.
- Users with the Viewer or Viewer Analytics license do not have permission to download attachments.

For more information on how to configure 360 layouts, refer to the Configure 360 Layouts article.
Work with Attachments
The Attachments listing page provides an organized interface for managing your documents shared with customers efficiently.

The following capabilities help you quickly search, categorize, and perform actions on your attachments with ease:
- Search: Locate a specific file name.
- All Attachments: Choose either File or Link to view the corresponding files.
- Tags: Manage tags for easier file categorization and search.
- Manage Columns: Customize the column menu to display preferred details, making it easier to manage and view attachments and associated information.
- More Options: Access additional actions such as download, edit, and delete from the context menu.
Here are some ways the Attachment page helps CSMs efficiently manage and organize various file types:
- Attach files or links
- Downloads Attachments
- Edit Attachments
- Delete Attachments
- Add Tags to Attachments
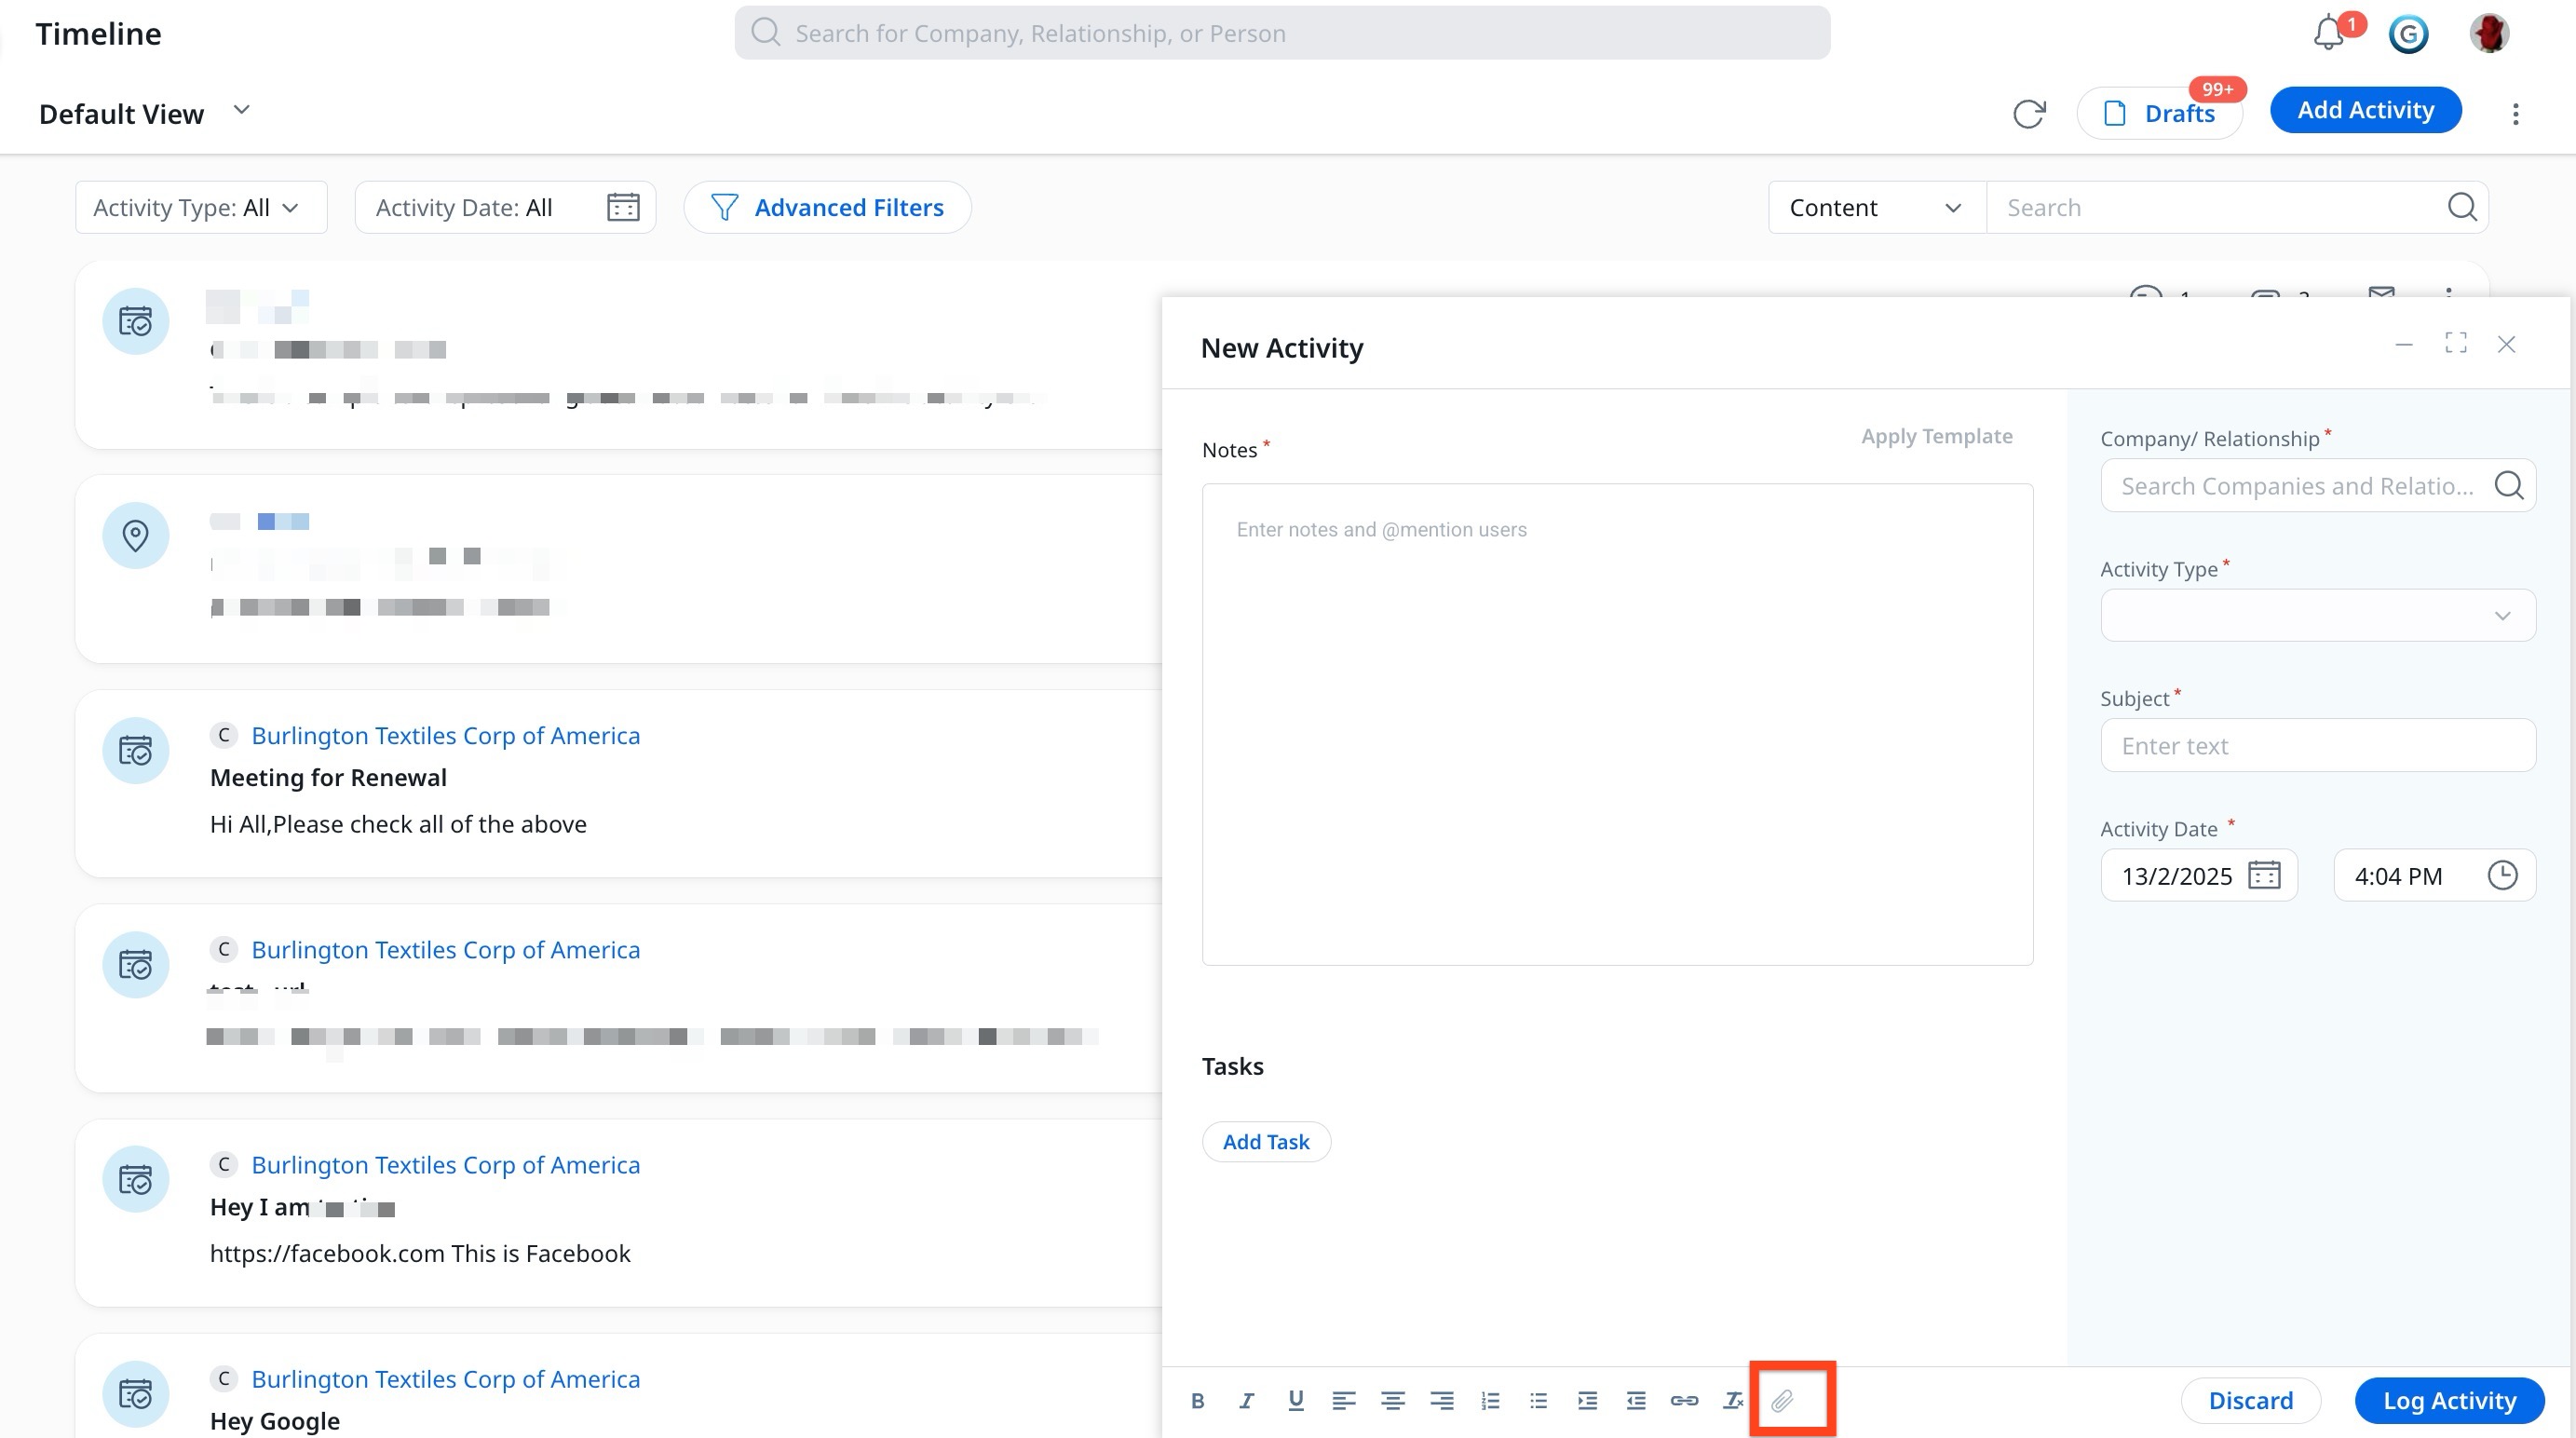
Attach Files or Links
Attach files or links to enhance your C360/R360 records, making important information easily accessible.
To attach files and links:
- Navigate to C360/R360 > Attachments tab.
- Click Create.
- Click Attachments.
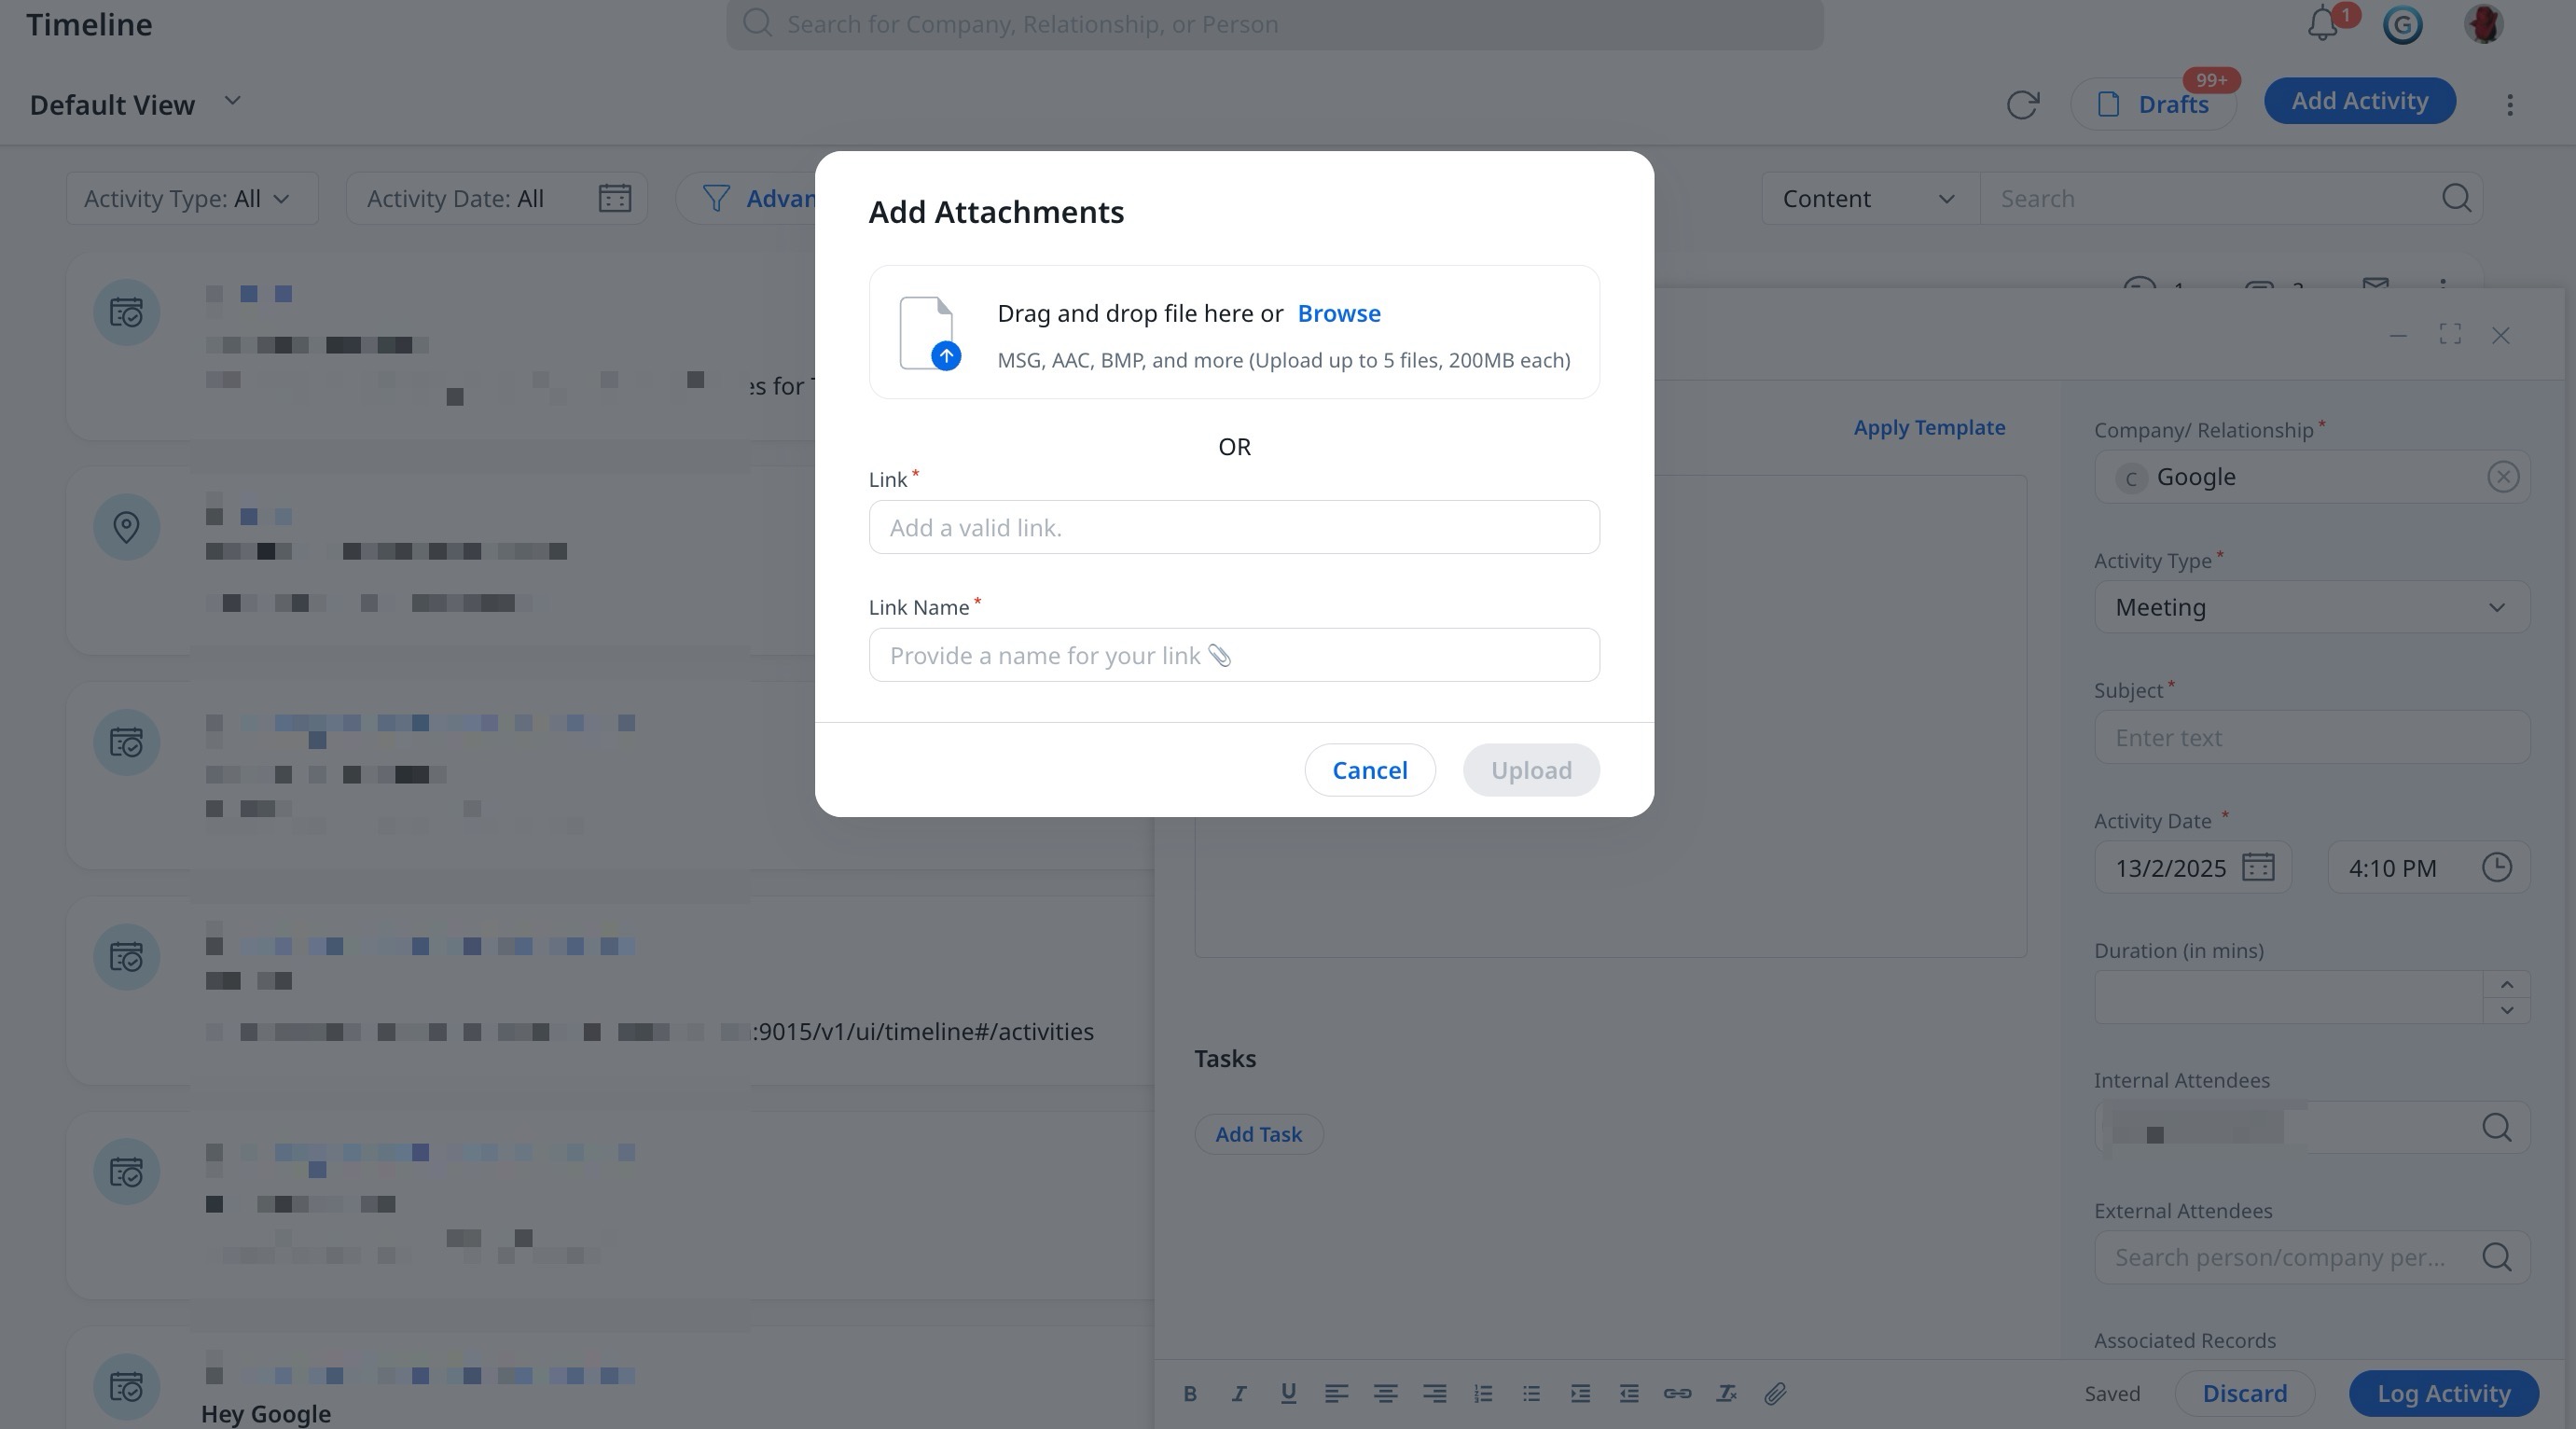
- Perform one of the following actions:
- Add a file:
- Click the upload icon or click Browse to upload a file from your system.
- (Optional) Click Go back if you need to make any changes.
Note: You can upload a maximum of five files at a time.
- Add a link:
- In the Link field, enter a valid URL.
- In the Link Name field, enter a name for the URL.
- Add a file:
- Click Upload to save the files or links.

Note: Files are scanned for viruses during the upload process. If a virus is detected, the file cannot be uploaded. Please check your file and upload it again.
Download Attachments
You can download attachments from the attachments lists.
To download attachments:
- From the three-horizontal dots menu, click Download. Alternatively, hover over the required file and click the download icon.
- The selected files are downloaded to your local folder.
Note
- Files are scanned for viruses during the download process. If a virus is detected, the file cannot be downloaded.
- Users can upload up to 5 files at a time with a maximum file size of 200 MB per file.
- If any links are selected, they are ignored and the remaining files are downloaded.
Edit Attachments
The Attachments page allows you to modify attachment names to ensure consistency or correct errors.
To edit an attachment name:
- From the three-horizontal dots menu, click Edit. The edit page appears.
- Modify the attachment's name as required.
- Click Update to save changes.

Delete Attachments
The Attachments page allows you to delete attachments from C360/R360. To delete an attachment:
- From the three horizontal dots menu, Click Delete.

- Confirm by clicking Yes, delete them.
Note: Deleted attachments from both C360 or Timeline can be restored from the Recycle Bin. For more information on how to restore deleted attachments, refer to the Restore Deleted Attachments section.

- (Optional) For bulk delete, select all the required files and click the Delete button.

Note: A maximum of 10 attachments can be deleted at once.
Add Tags to Attachments
Tags in the Attachment page help you easily identify and retrieve files. These tags work like labels, allowing you to quickly find specific attachments using relevant keywords or categories.
To add tags:
- Hover over on Click to add tag.
- Select an existing tag or create a new one from the Search or Create tag dropdown.
- Click outside the box or press the Enter Key to save the tag.
- (Optional) Click the delete icon to remove the tag.

Note: You can provide a maximum of 10 tags to each file or link and the length of each tag cannot exceed 20 characters.
Attachments in Timeline
You can add attachments (links and files) in the timeline activity to keep a track of all the relevant documents and links at a place. Below are the capabilities for attachments in timeline:
- Attachment Upload and Management
- Users can add files and links to any activity using the Attachment icon in the Activity Composer. A maximum of five files can be added per activity, with each file size limited to 200 MB.
- You need to have a company or relationship linked to an activity before uploading an attachment.

- The Add Attachments window supports drag-and-drop, browsing files, or adding links.
- Attachments in the timeline follow the same view and structure as Global Attachments on C360. For more information on global attachments, refer to the Attach Files or Links section of this article.
- Users can add files and links to any activity using the Attachment icon in the Activity Composer. A maximum of five files can be added per activity, with each file size limited to 200 MB.
- Security and Virus Scanning
- All uploaded files undergo virus scanning.
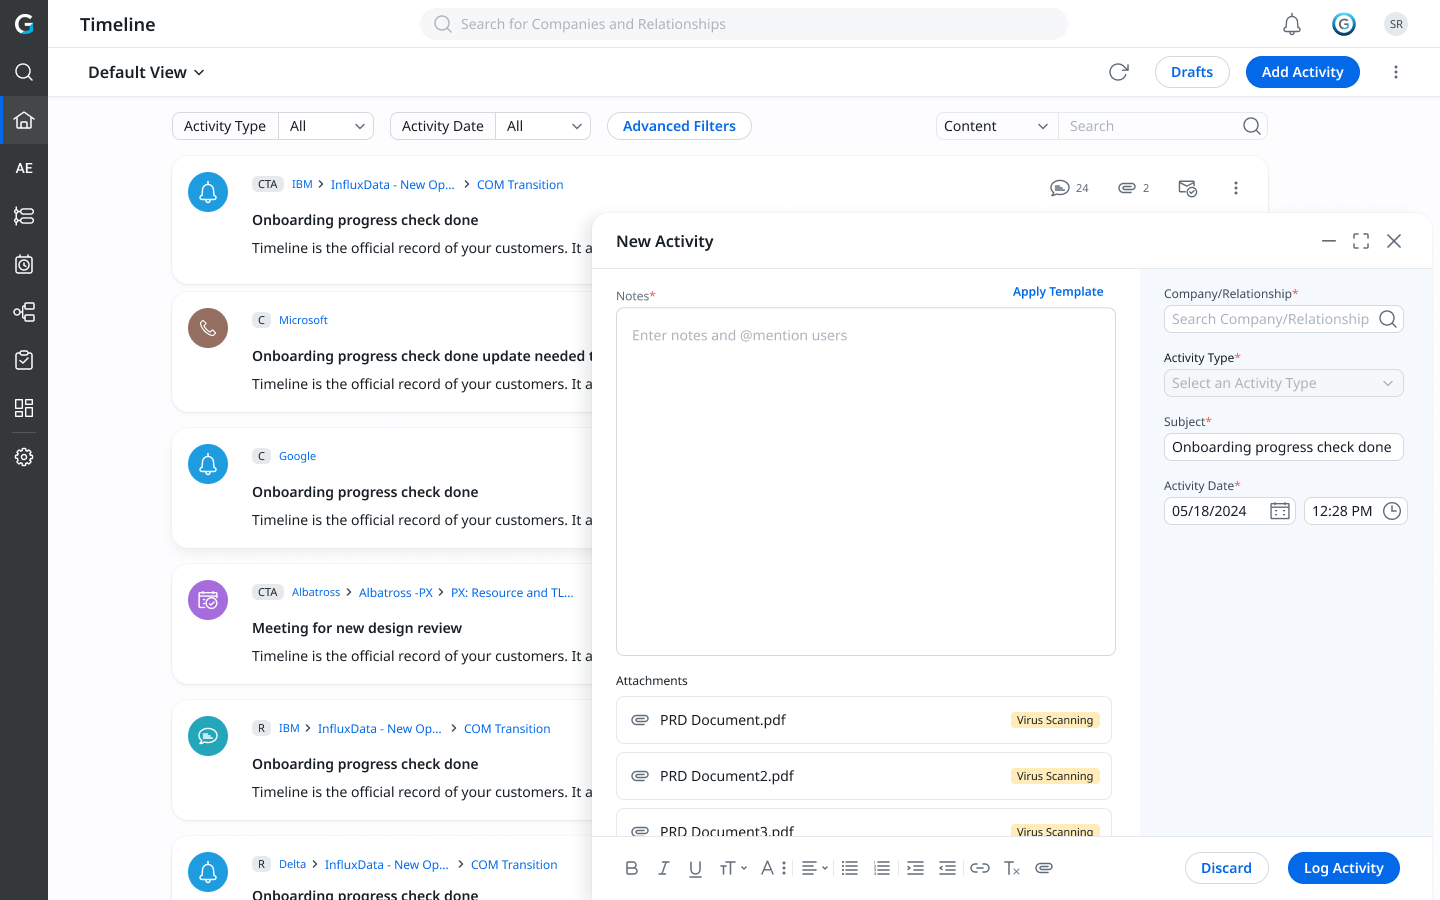
- If a file contains a virus, it cannot be accessed or downloaded.

- Password-protected files initiate a pop-up notification for user awareness.
- All uploaded files undergo virus scanning.
- Draft-Saving and Background Uploads
- Timeline automatically saves drafts in the background while the composer is open.
- Activities can be saved/logged while files are being uploaded.
- Large file uploads do not interrupt the saving process.
- Viewing and Managing Attachments
- Users can see the total number of attachments, including both files and links in the timeline activity.

- When opening an activity, the count of files and links will be displayed.
- Users can see the total number of attachments, including both files and links in the timeline activity.
Timeline Attachments on Global 360 layout
Attachments uploaded via Timeline will have a Source labeled Timeline in 360 layout. Only the author of the Timeline activity can edit or delete attachments. Users can add or remove tags only if they are the author of the attachment.

Restore Deleted Attachments
Admins can restore deleted attachments from the Recycle Bin for both the C360 and Timeline pages. Follow the steps below to restore an attachment:
- Navigate to Administration > Recycle Bin.
Note: Deleted records with Attachments as the item type refer to files removed from either the C360 page or a Timeline activity.

- (Optional) Click the Filter icon to expand the filter options available in the recycle bin. Because deleted records are displayed as unique IDs, you can use filters to identify the specific attachment you want to restore.

Follow the steps below to use filter:- From the Item Type dropdown list, select an item type.
- From the Deleted On dropdown list, select a date or date range to filter records.
Options include:- Today
- Yesterday
- This Week
- Custom
- From the Deleted By dropdown list, select the name of the user who deleted the attachment. You can select multiple names. A filtered list appears based on your selection.
- (Optional) To search for restored activities, use the Restored On and Restored By fields.

- From the list of deleted records, select the checkbox next to the attachment you want to restore. These records have Attachments listed as their Item Type.
- Click Restore. A confirmation popup appears.

- (Optional) Select the Notify me via email checkbox to receive a confirmation email after the records are successfully restored.

- Click Restore.
The Job Status is changed to In Progress.
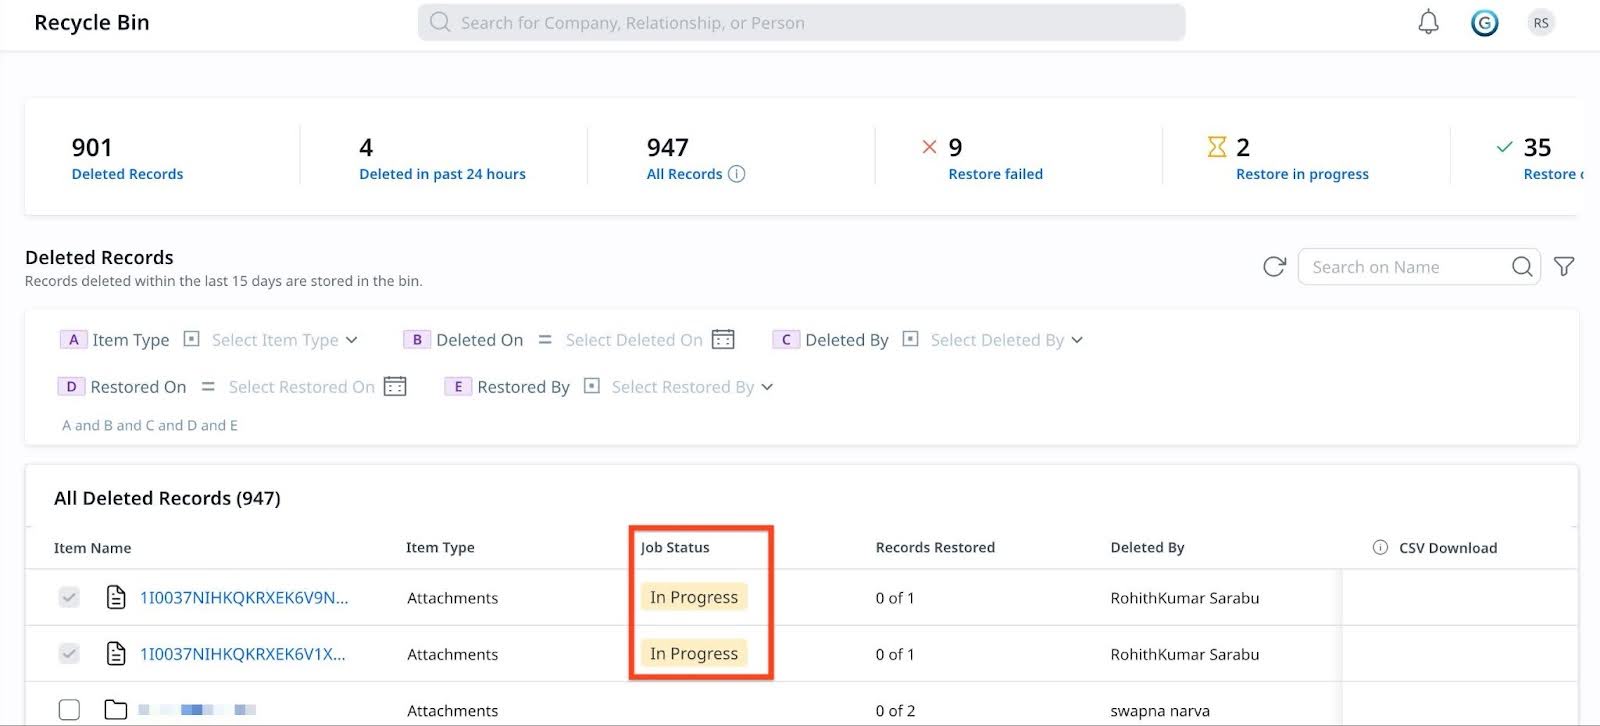
After a successful restore, the job status changes to Completed. The time required may vary based on the file size.


The attachment is restored to the corresponding C360 page or Timeline activity from which it was deleted.
Limitations
- Attachment Links are not supported when activity is shared via email.
- Attachment option is only enabled if a company or relationship is assigned to the activity.