SCIM Provisioning for Dashboard Users
This article helps Skilljar admins set up and manage user provisioning for the Skilljar Dashboard using SCIM.
Overview
SCIM (System for Cross-domain Identity Management) 2.0 is an open standard that enables centralized management of Skilljar Dashboard access directly from your identity provider (IdP), such as Okta, Microsoft Entra ID, or OneLogin, etc. When connected, dashboard user accounts are created, updated, and deactivated automatically as dashboard user changes.
With SCIM provisioning enabled, the identity provider becomes the single source of truth for Dashboard access, eliminating manual overhead and reducing compliance risks associated with orphaned accounts.
- SCIM provisioning is only available on the Professional and Enterprise packages.
- SCIM manages Skilljar dashboard users only. It does not provision learner accounts. Learner access remains managed through SSO, API, or self-registration.
How SCIM Works
SCIM has two integrated capabilities:
- Automated SCIM Provisioning (User Lifecycle Management): Creates a dashboard account when a user is added to a Skilljar-mapped IdP group and deactivates access when they are deprovisioned. It also reactivates existing accounts for returning team members to prevent duplication.
- Identity Provider Role Sync: Skilljar reads identity provider (IdP) group memberships and maps them to corresponding Skilljar roles (for example, global admin, live training admin). When a user's group changes in the IdP, their Skilljar permissions update automatically.
Prerequisites
- Verify you have Global Administrator permissions in the Skilljar Dashboard.
- Access to your identity provider's admin console to configure the SCIM application.
Enable SCIM Provisioning
To enable SCIM provisioning, refer to the sections below;
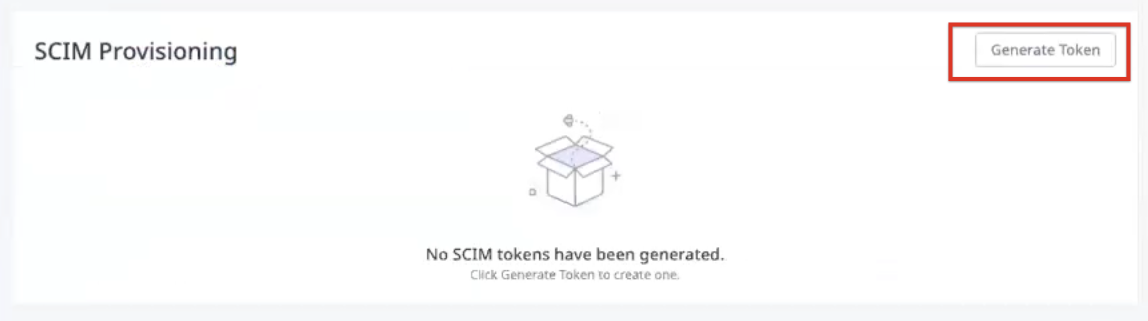
Generate a SCIM Token
To connect your IdP to Skilljar, you must first generate a secure token from your Skilljar dashboard.
- Open your Skilljar dashboard.
- Expand the Organization header and select Settings.
- Navigate to SCIM Provisioning in the Skilljar Dashboard.
- Click Generate Token. The Generate SCIM Token dialog box appears.
- In the Token Name field, enter a descriptive name for the token (for example, Okta Production or Azure AD Staging).
- Set an expiration period for the token.

- Click Generate. The token appears.
Note: The token value is displayed only once.

- Click Copy. The token is copied to your clipboard.
Configure Identity Provider
After generating the token, set up a SCIM 2.0 application in your IdP using the following details:
- In your identity provider's admin console, create a new SCIM 2.0 application.
- In the SCIM base URL field, enter https://api.skilljar.com/scim/v2/.
- Enter the SCIM token copied from Skilljar
- Configure user provisioning and deprovisioning in the SCIM application settings.
- Enable group pushes so that identity provider group memberships sync to Skilljar roles.
- Assign the relevant users and groups to the Skilljar SCIM application in your identity provider.
Skilljar supports any SCIM 2.0 compliant IdP, such as Okta, Microsoft Entra ID, OneLogin, and more.
Map Identity Provider Groups to Skilljar Roles
After configuring the IdP, assign the correct Skilljar roles by configuring group-to-role mapping in your IdP application settings. This ensures users receive the appropriate access level upon provisioning.
Skilljar supports both limited and full role configurations. For more information on available roles and their permissions, refer to the Skilljar Dashboard Roles and Permissions article.
Manage SCIM Tokens
You can manage your SCIM tokens from Settings in the Skilljar Dashboard.
Revoke a Token
To revoke a SCIM token:
- On your Skilljar dashboard, navigate to Settings > Organization > SCIM Provisioning.
- Click the three-dots horizontal icon for the token to revoke.

- Click Revoke. A confirmation dialog box appears.
- In the confirmation dialog box, click Confirm. The token is immediately revoked.
Revoking a token stops all provisioning and deprovisioning events immediately. Users already provisioned in Skilljar remain active, but no new changes from your identity provider are processed until a new token is configured and connected.