Email Engagement for Releases
This article explains how to create and send a Release Email Engagement in PX. You can send this Email to notify your customers about new product releases.
Overview
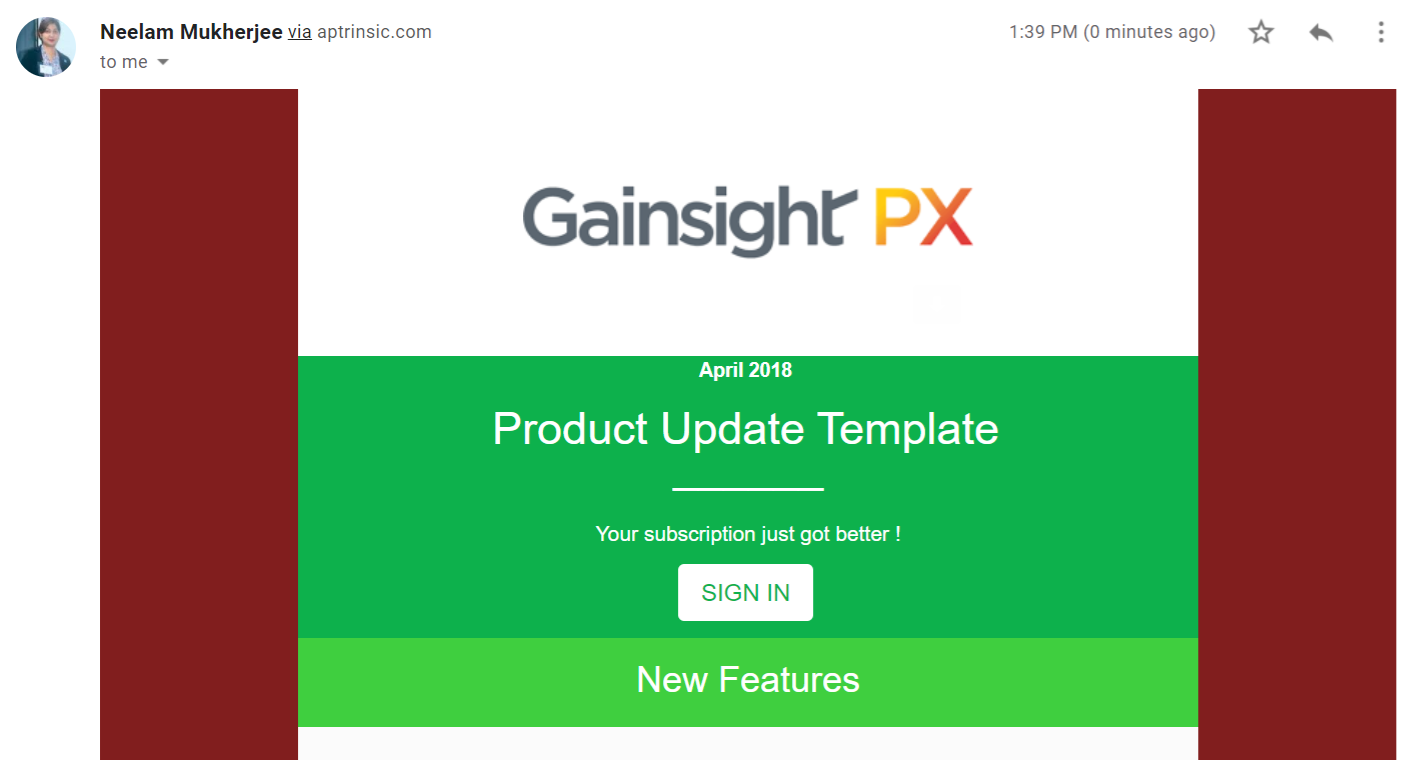
Email engagement allows you to send emails to your users. For example, you can send a mass email to a select group of users to announce a product release. This article explains how to create an Email engagement to announce release related information.
Create Email Engagement
This section explains the procedure to create and send an email engagement.
To create an email engagement:
- Click the Engagements icon from the left pane.
- Click Create.
- Enter a name for the engagement.
- Select the Email engagement.
- Select a subscription, if you are using multiple subscriptions.
- (Optional) Enter a description.
- Click Create.
You can build the Email Engagement Release by using the following steps:
Audience
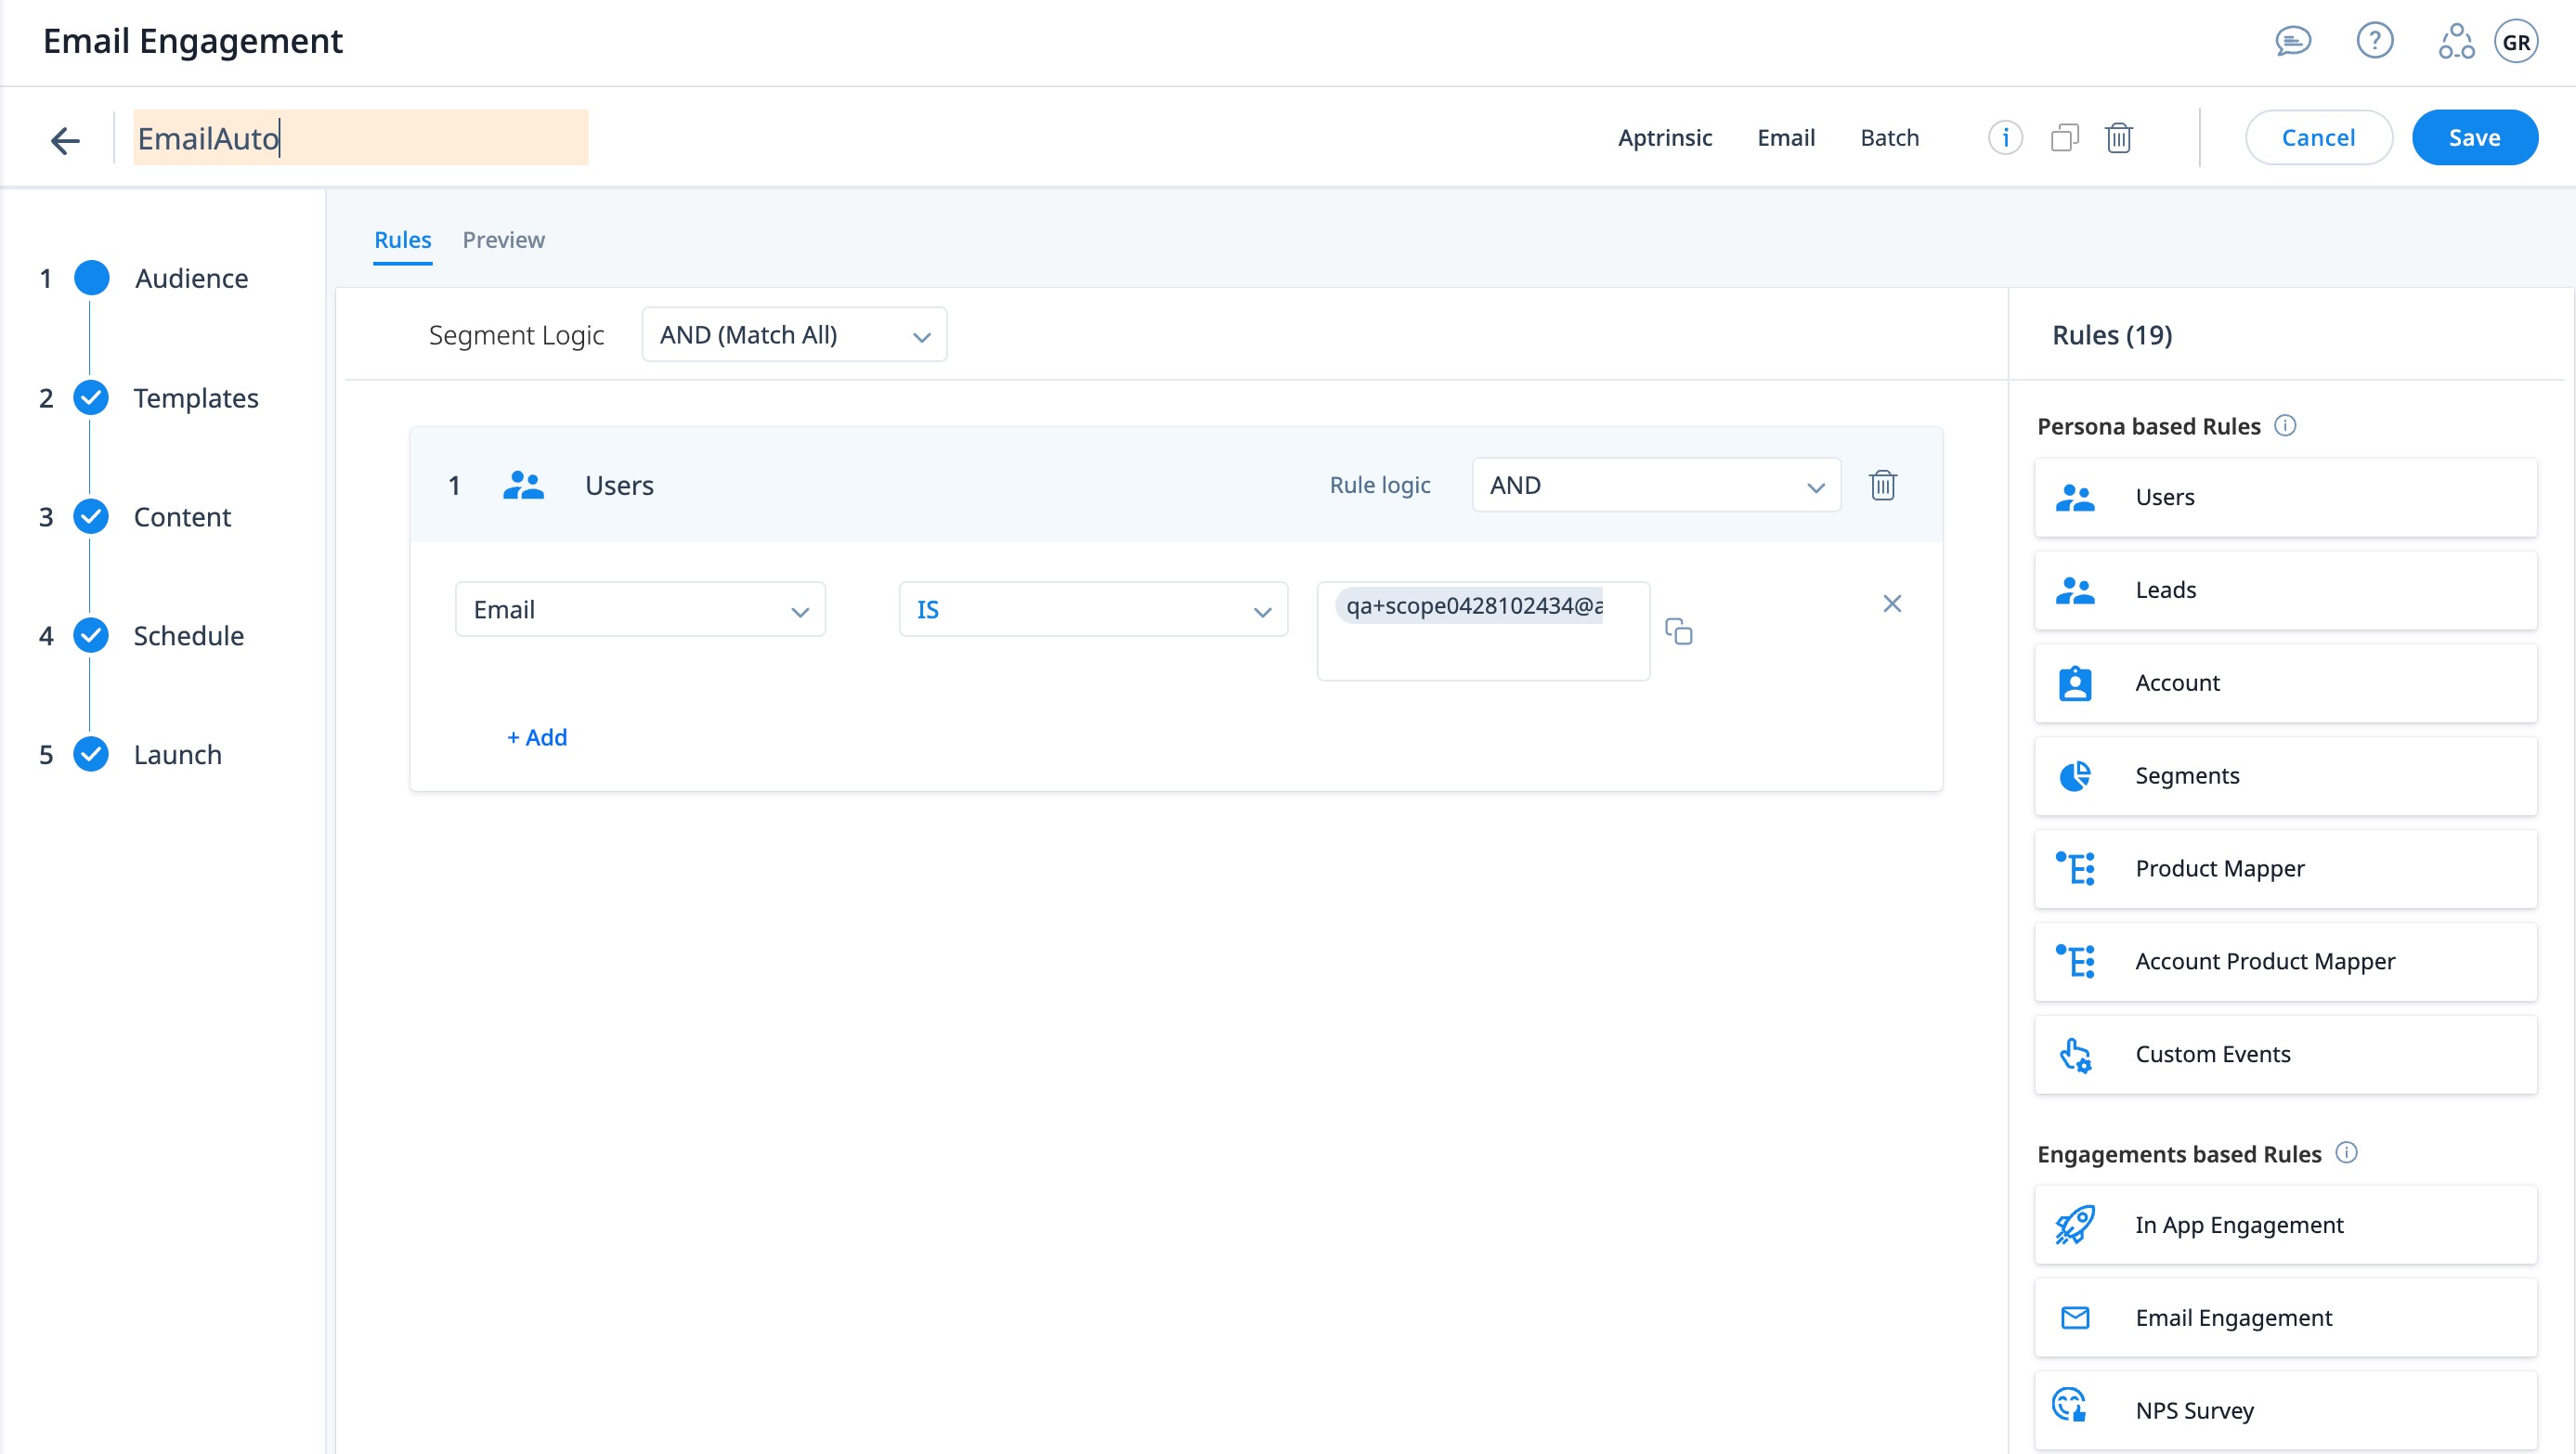
This section explains how to set the audience for your release announcement Email. For this example release announcement Email, the target audience will be administrators.
To set the audience:
- Click the Audience section.
- Click Users.
- Select Role from the drop-down menu.
- Select the IS operator.
- Type admin and select the same from the matching suggestions.
Note: In-App Engagement rule allows you to deliver targeted and personalized email engagements to the qualified users based on their specific interactions with the application. This helps improve engagement rates by ensuring that users receive content that is relevant to them.
Templates
This section explains the process of selecting templates and creating content for your emails.
- Click The Templates section.
- Select a template from the Saved Templates/Default Templates/Recently Used/Content History options.

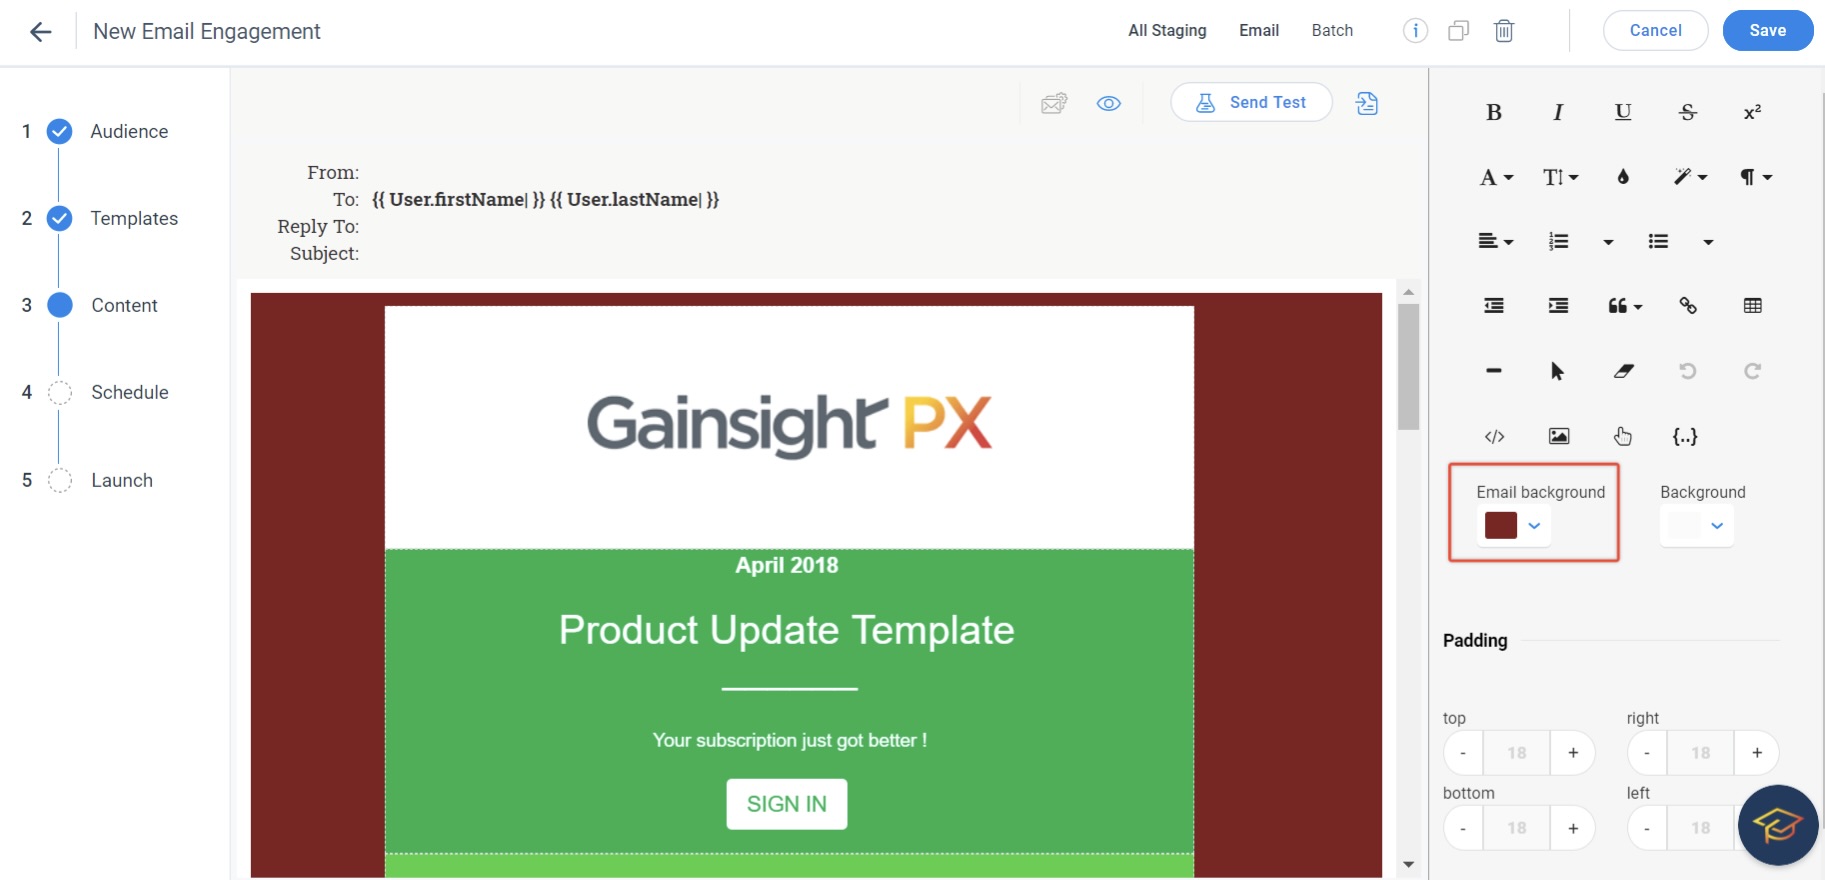
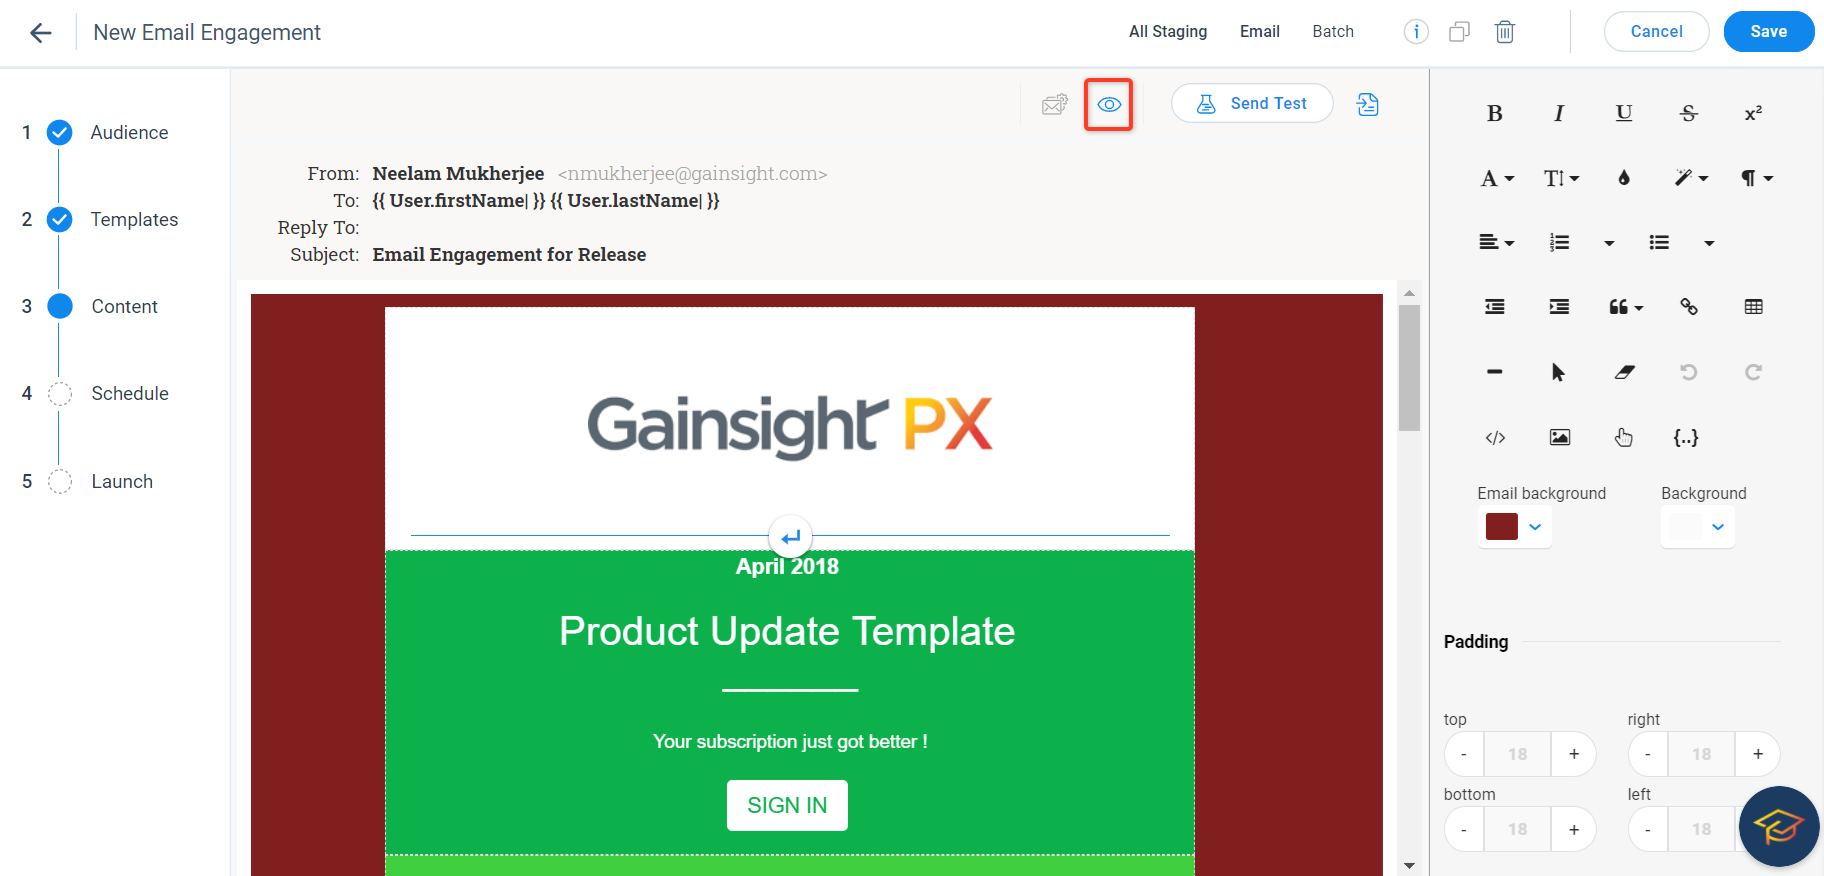
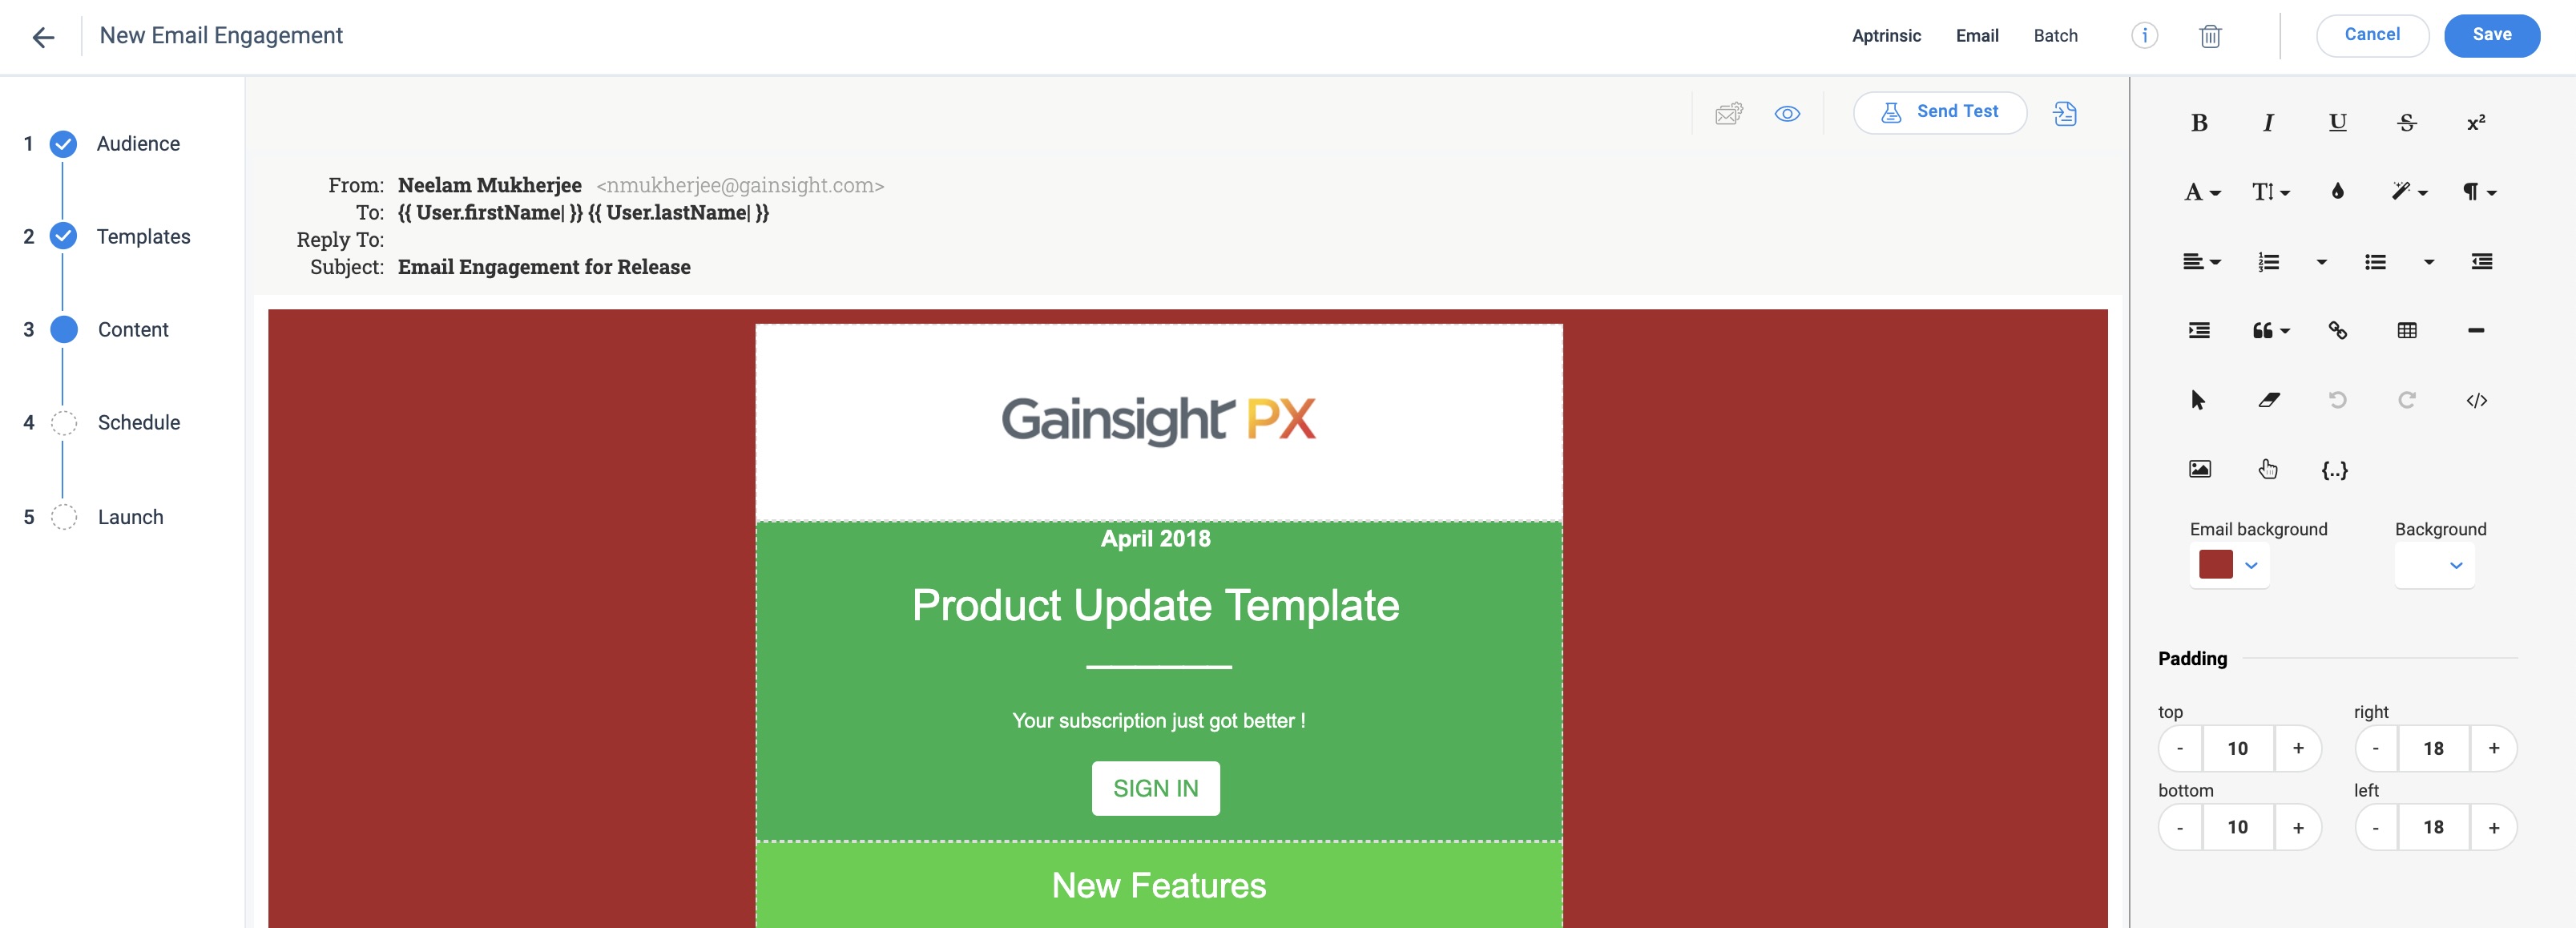
Content
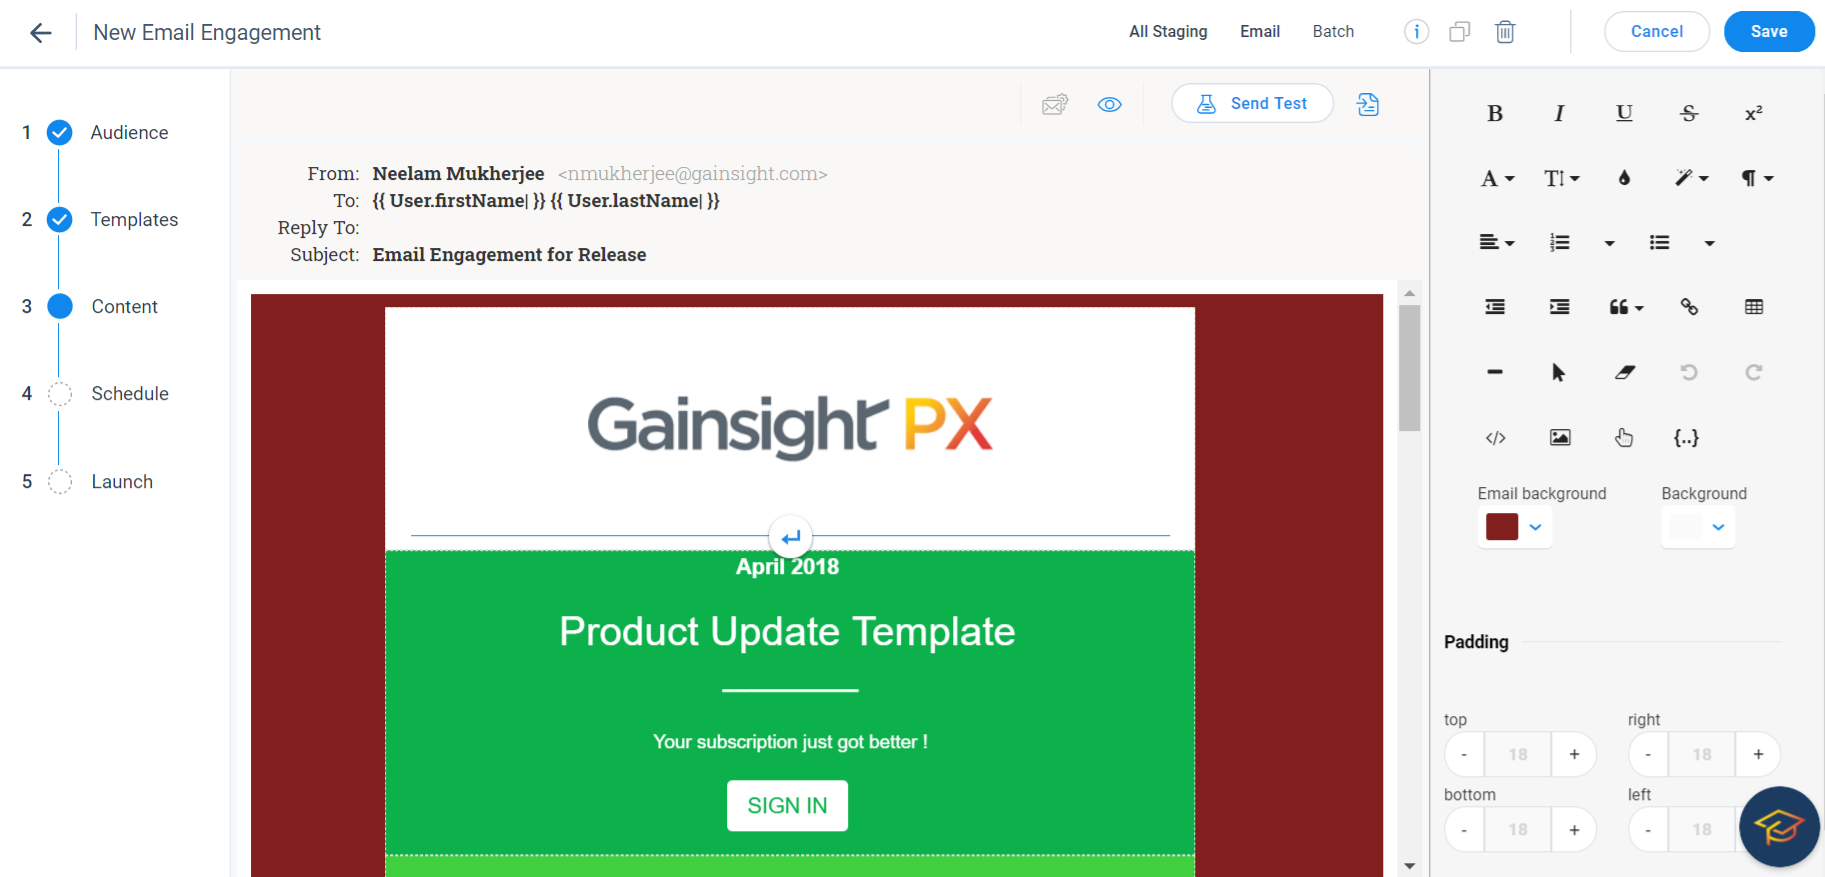
In this section, you can edit or create content for your email engagement:
-
Edit the Email content as required using the available options.
Set the required color for the Email background.
- Click the Email settings icon.
- In the From drop-down menu, select the user from whose email address you wish to send the email. The email you select here will appear as the sender for the recipient. You can also select the sender from the Senders tab. The Senders tab also allows you to create a new user, if the required user does not exist.
- Select a user from the Reply to drop-down menu. The selected user receives the email if the recipient replies.
- In the To drop-down menu, select a token to address the recipient.
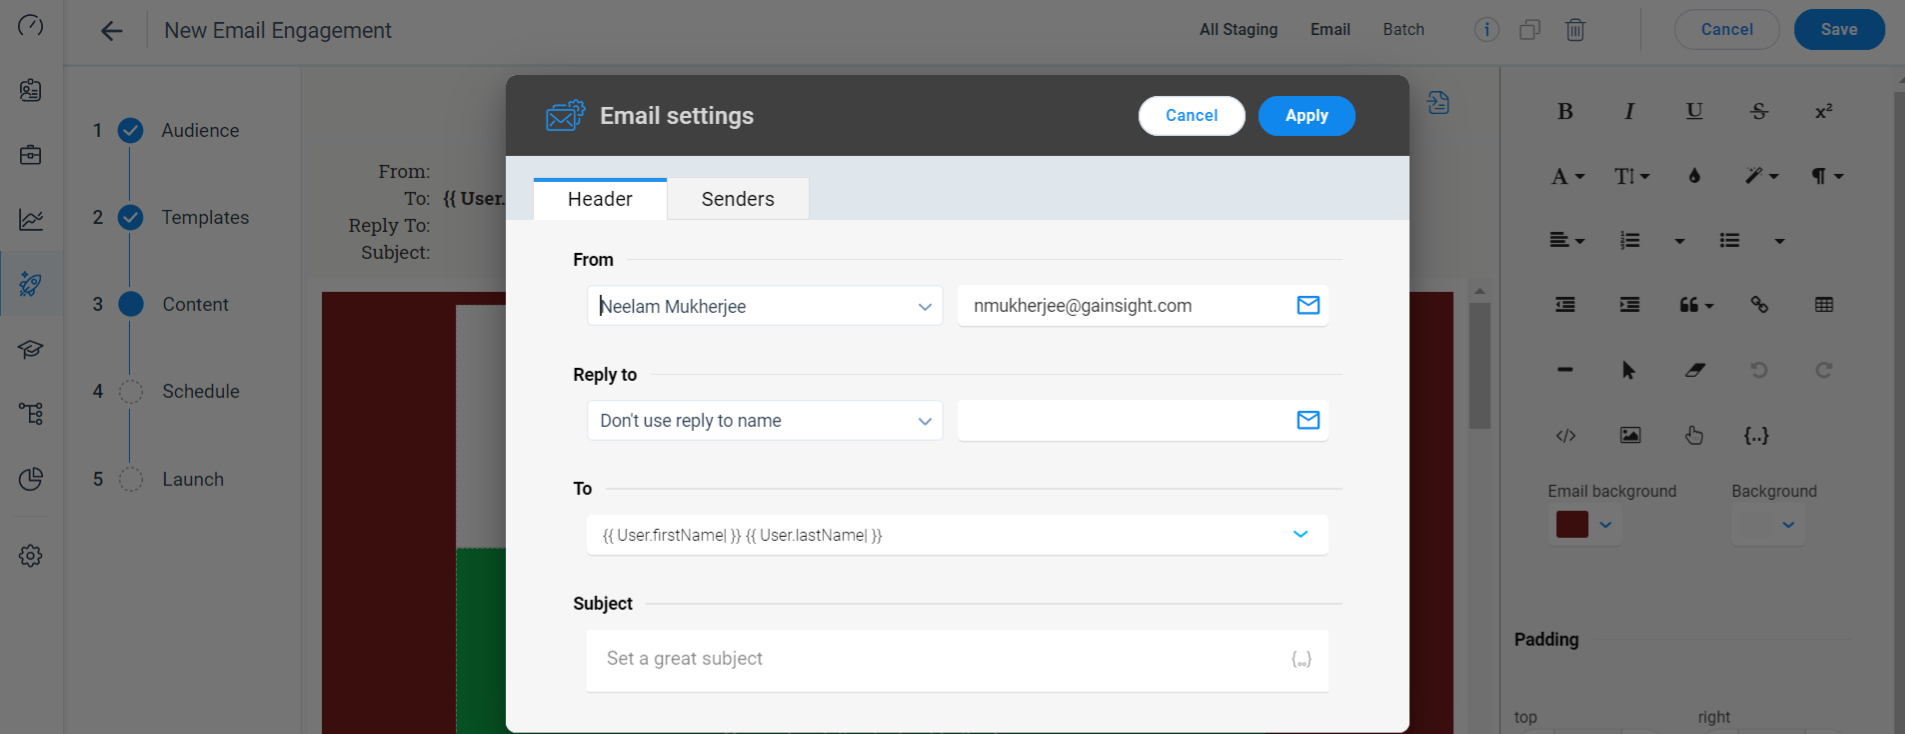
- Enter a subject for the email.
- Click Apply.
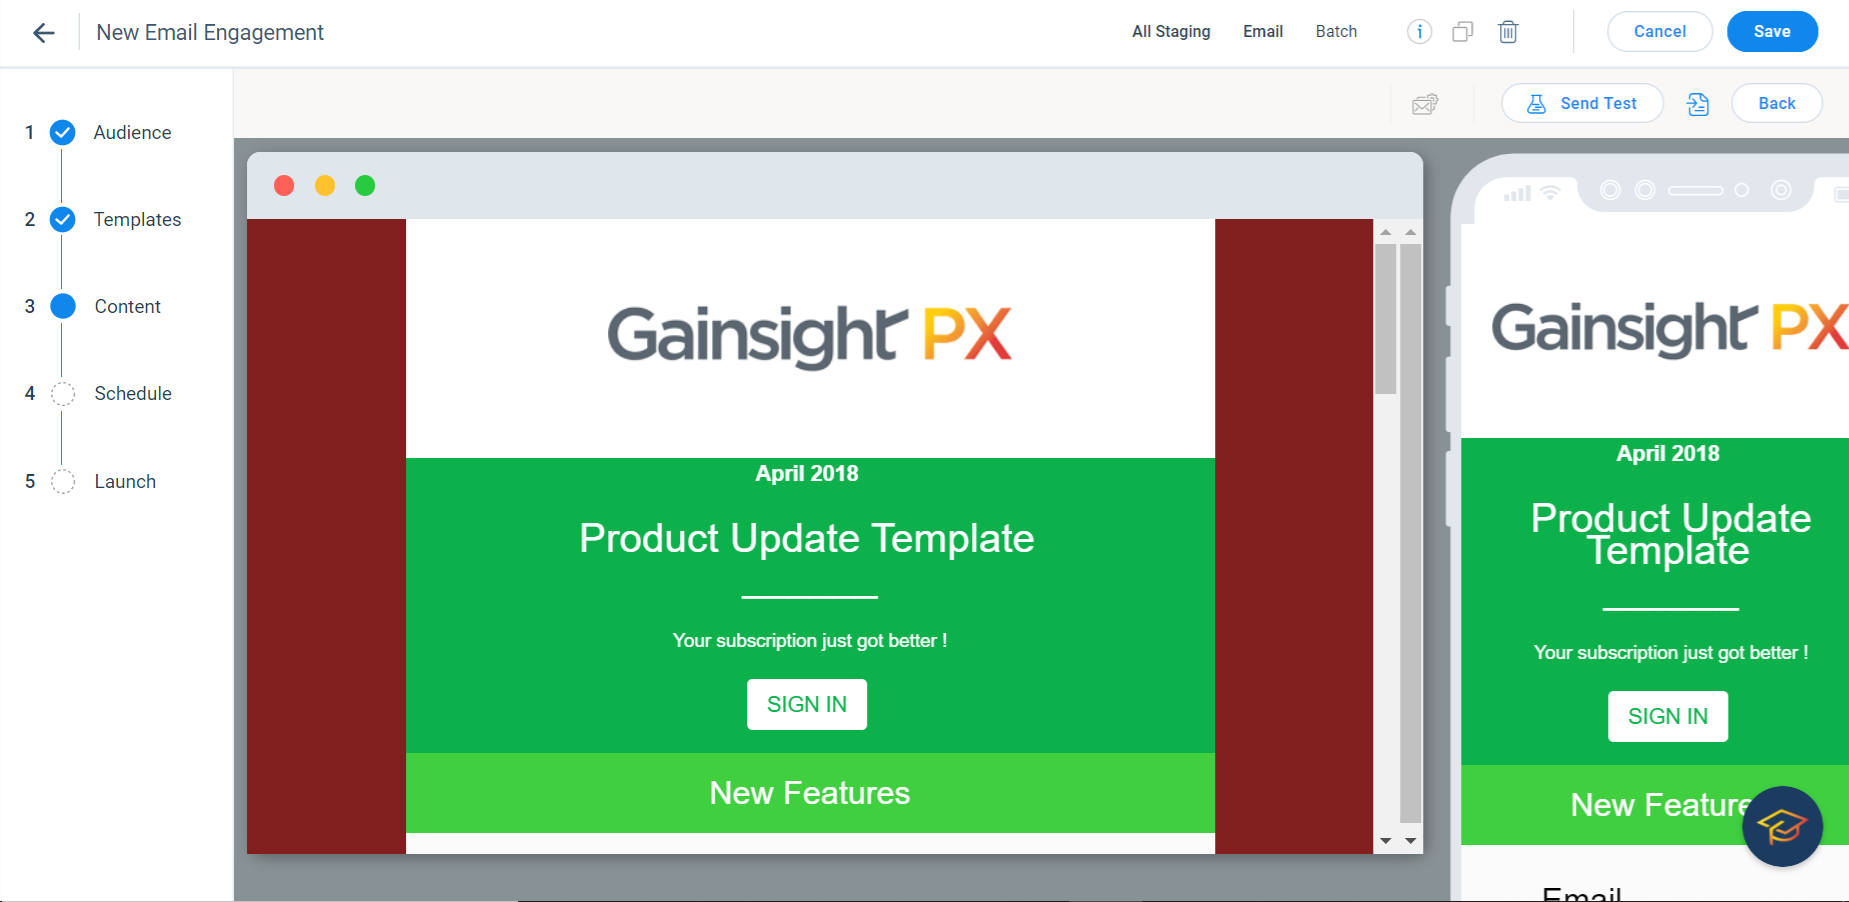
-
Click the 'Click to preview' icon to check how your email will be displayed on desktop and mobile.
- See how your email will be displayed on desktop and mobile.
- (Optional) Click Send test to send a test mail.
Steps are applicable only if step 10 is executed.
- Select the sender’s email.
- Select the recipient's email.
- Click Send.
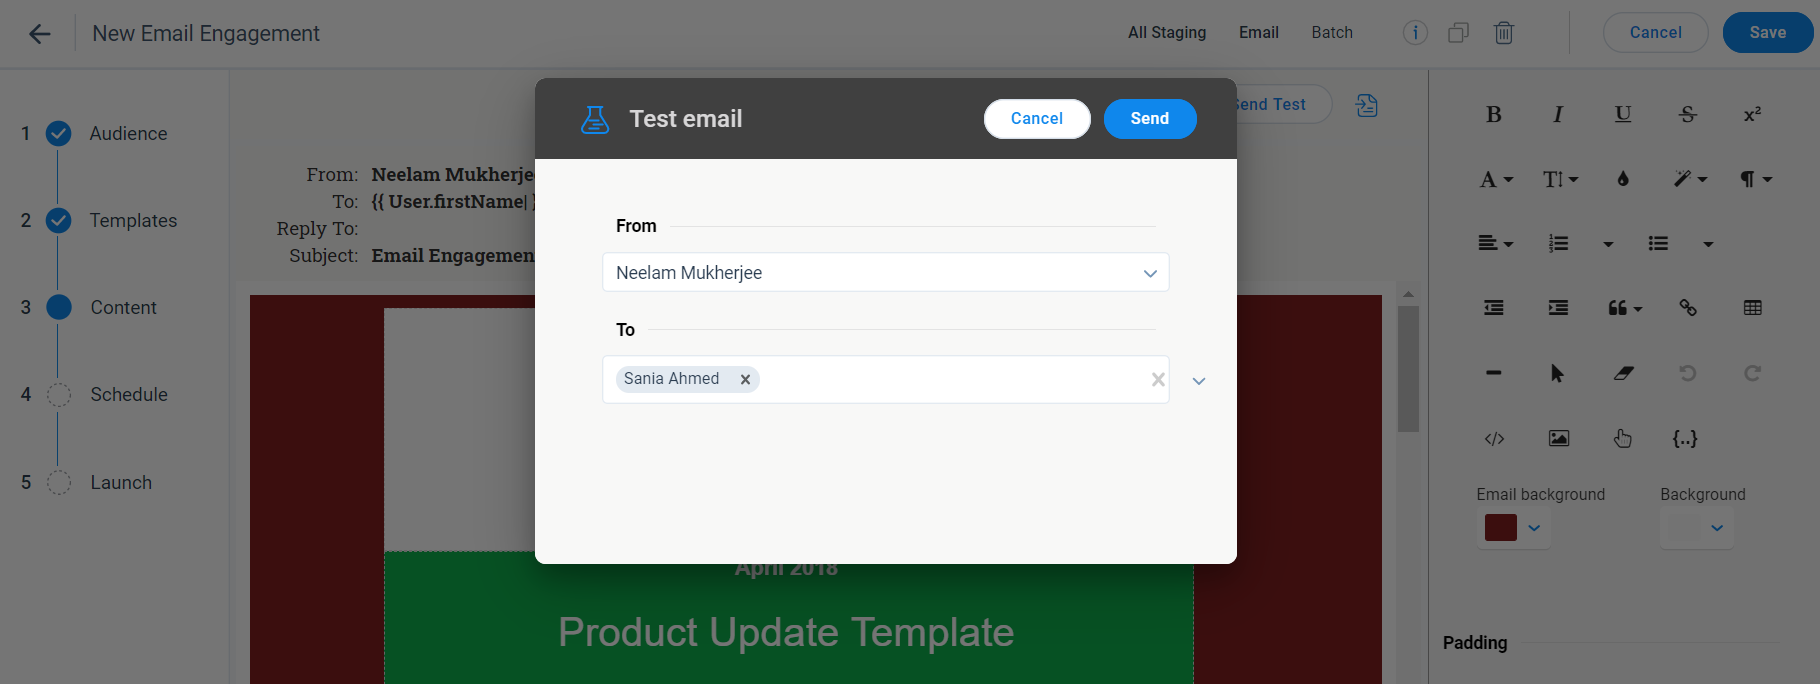
The recipient now receives a test mail.
Schedule
While scheduling an Email engagement, you can only set a specific time and not a time range, as in the case of other engagements. The Email is triggered at the set time.
In the following image, the Email is triggered at 9pm on 2 Sep 2020, as per the Timezone setting.

To set a time range, you must enable the Recurring schedule. In the following image, all qualifying users will receive the Email on Monday at 9pm, during the selected date range; 2 Sep to 22 Oct, 2020.
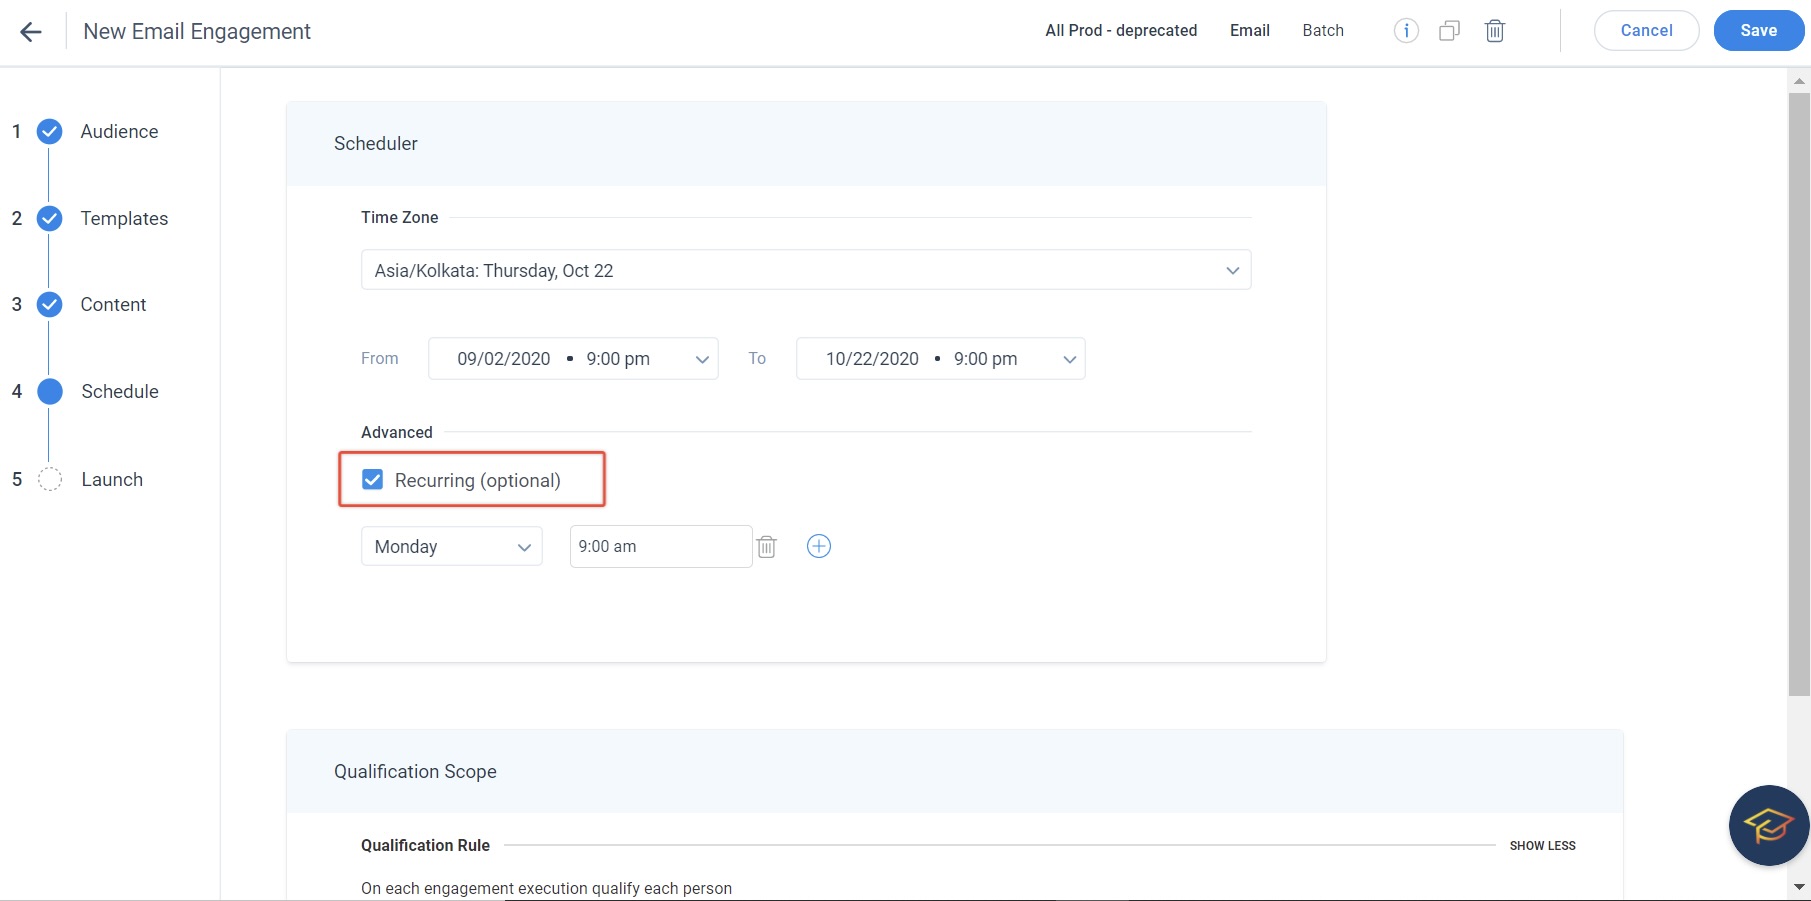
Qualification Scope: The Email Qualification scope has the following options:
- Only Once: The Email is sent to users only once, even though users match the criteria multiple times.
- Every Time: The qualifying users receive the Email every time the scheduler is reset.
- Once every: Each user is re-qualified to receive the email within a specific schedule. The frequency at which the user receives the mail depends on the frequency selected in this field.

Launch
The Launch section displays a summary of all the configurations for your engagement. You can launch an engagement or pause a launched engagement from this section.
In case of a configuration error in the engagement section, an exclamation (!) is displayed next to the respective section and the Launch section. You can launch an engagement only if all the sections have a checkmark next to them.