Configure Share360
Gainsight NXT
Overview
Gainsight Sharing gives admins the ability to use customer insight to align the stakeholders of your customer, partner or vendor on a single source of truth. This enables everyone involved in a company to coordinate and prioritize their actions around a unified understanding of health. Share 360 enables end-users to easily access information (read only mode) outside of Gainsight through a web page.
With the Share 360 feature, Admins can create, configure, manage, and delete Share 360 layouts. Admins can use the feature to help Customer Success Managers (CSMs)/Account Managers (AMs) to share customer information/360 view (in read-only mode) with Gainsight users and Person(s) records. This feature provides stakeholders with a quick snapshot of the customer’s key information in preparation for meetings with the customer. This is configurable by Admins and may contain a Summary, Company Attributes, Related List reports, Relationships, Scorecards, Person, and Success Plan sections.
The configured information can then be shared through an email as a link, with optional security settings with the recipient’ ID. The recipient can to be added into either the Gainsight User or Person object.
This article explains how to configure, share, and manage the Share 360 view, which is composed of the following seven standard sections:
- Summary
- Attributes
- Related List (Reports)
- Relationships
- Scorecards
- Success Plan
- Person
The following image shows the High-Level Workflow for Shared 360 layouts. To open a 360 layout, navigate to Administration > 360 Layouts > click the edit icon of the layout you want to open.
Limitations
- A maximum of ten layouts can be created for the C360, and five for each Relationship type.
- Users can choose to add an optional One Time Password (OTP) that can be generated for a maximum of five times per link and the end-user can re-try it three times. There is also an option to set up an expiration date.
- Person section cannot be added to the Shared R360 Layouts.
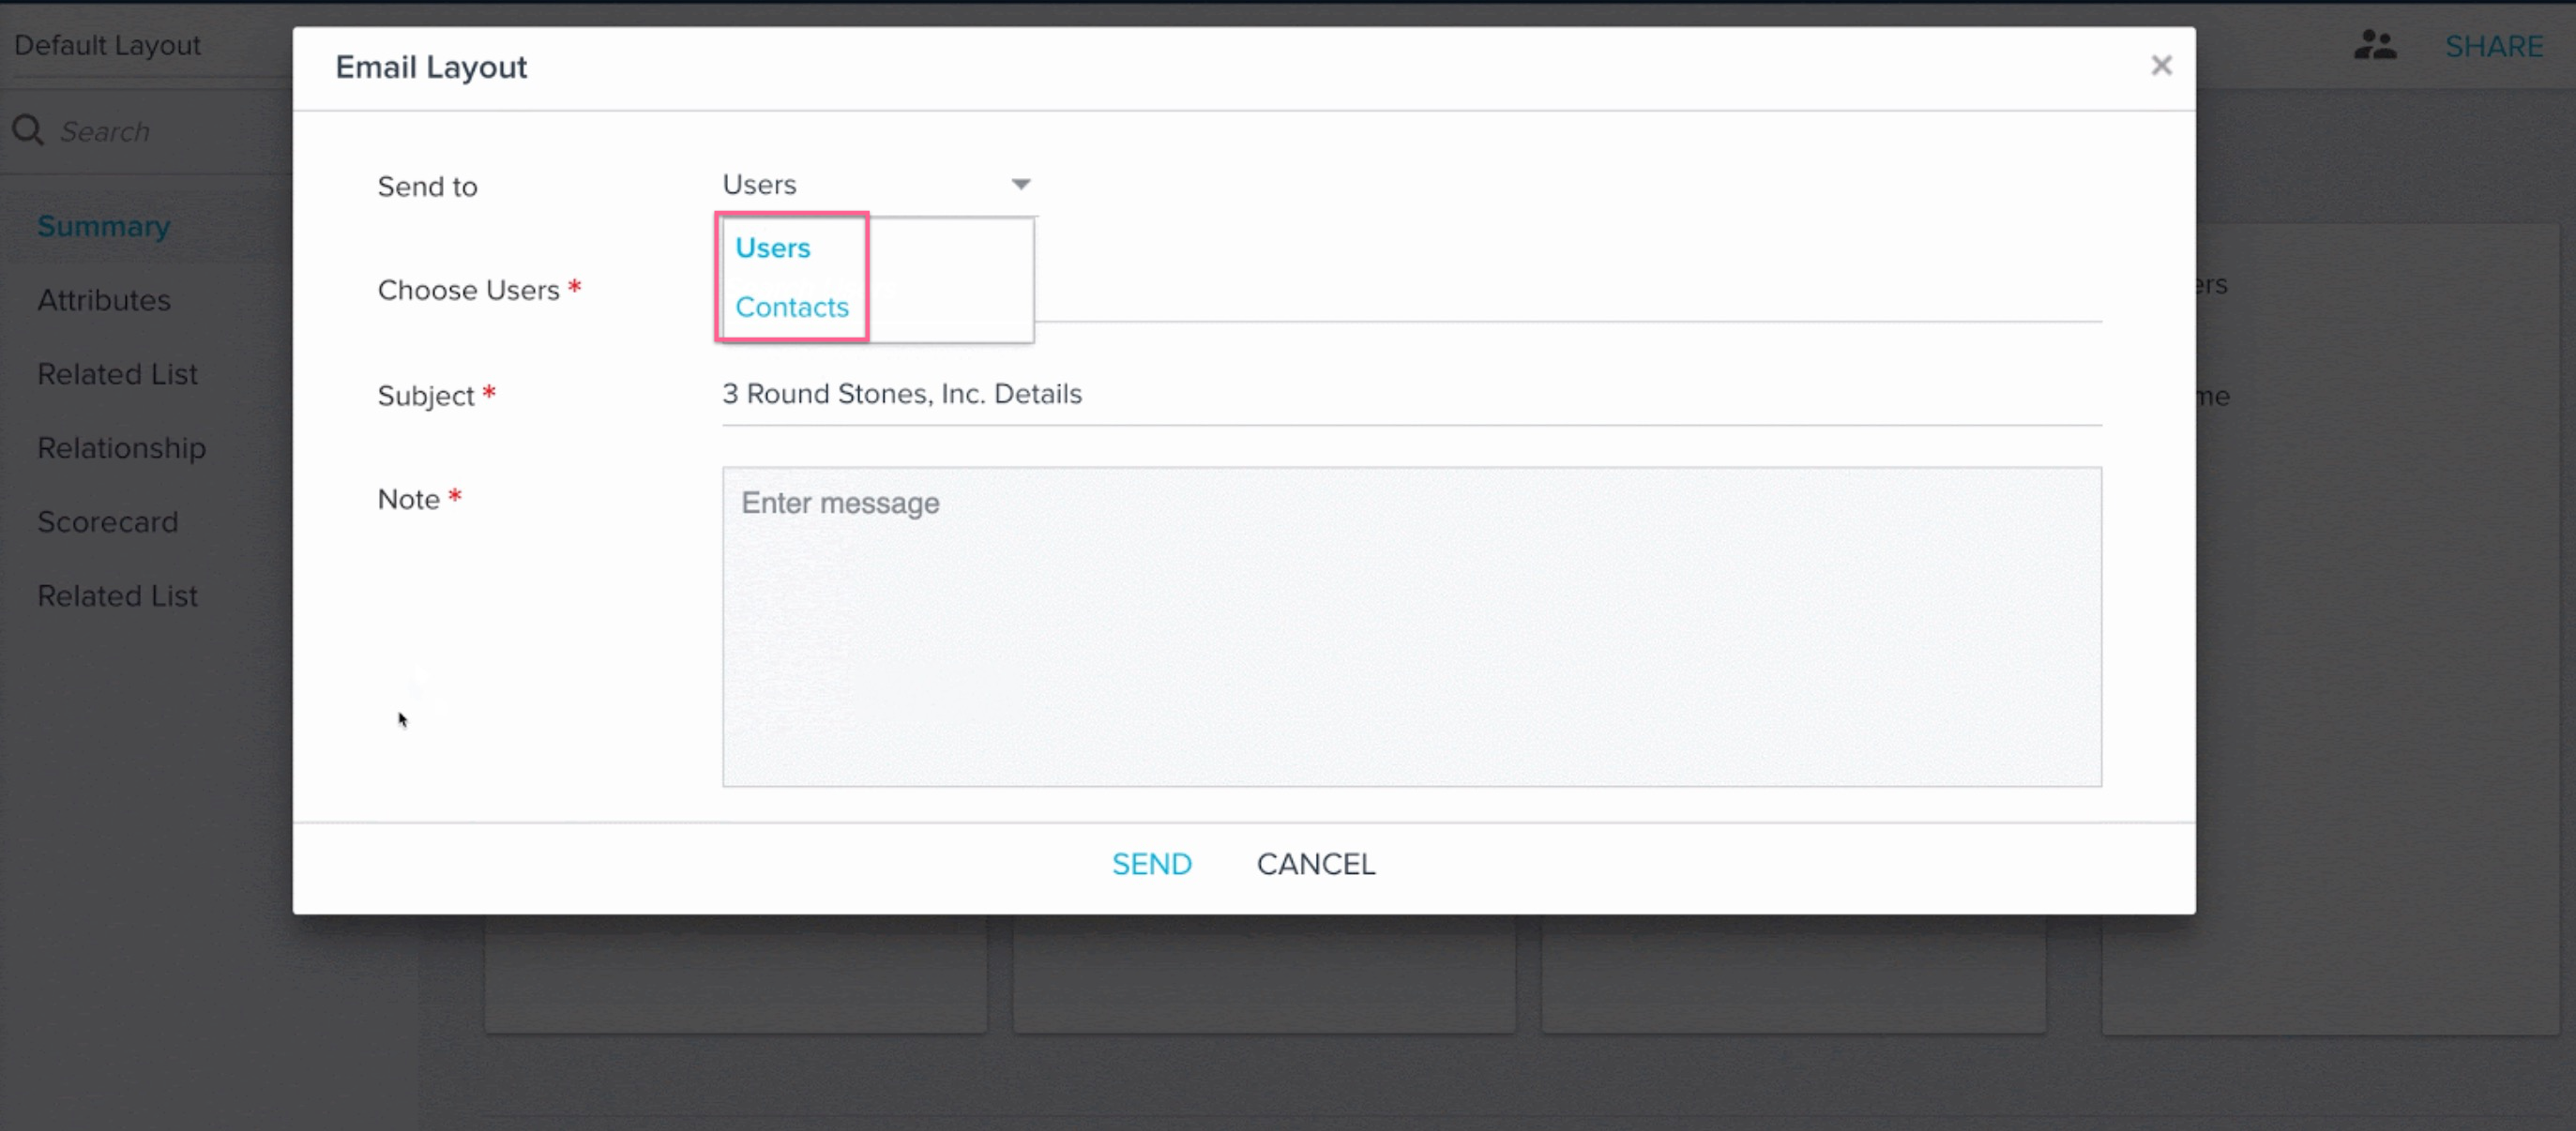
Note: C360/R360 layouts can be shared with internal Gainsight Users or Person(s). If CSMs/AMs select Users option from the Send to drop-down list in the Email Layout dialog box, records from the User object are available to select in the Choose Users field. Similarly, if the Contacts option is selected, records from the Person object are available to select in the Choose Contacts field.
Permission
To configure 360 Layouts, Admin should have navigation permission to the 360 Layouts page through a Permission Group. Admins can manage Navigation permissions from the Permission Groups page under Administration > Permission Groups. For more information on this configuration, refer to the Permission Groups article.
Create Share 360 for C360/R360 Layouts
Admins can create separate 360 Layouts for Companies and each Relationship Type. Perform the following steps to create a 360 Layout:
- Navigate to the Administration > 360 Layouts.
- Select either the C360 LAYOUTS or R360 LAYOUTS tab to create 360 Layouts for either companies or specific Relationship Type.
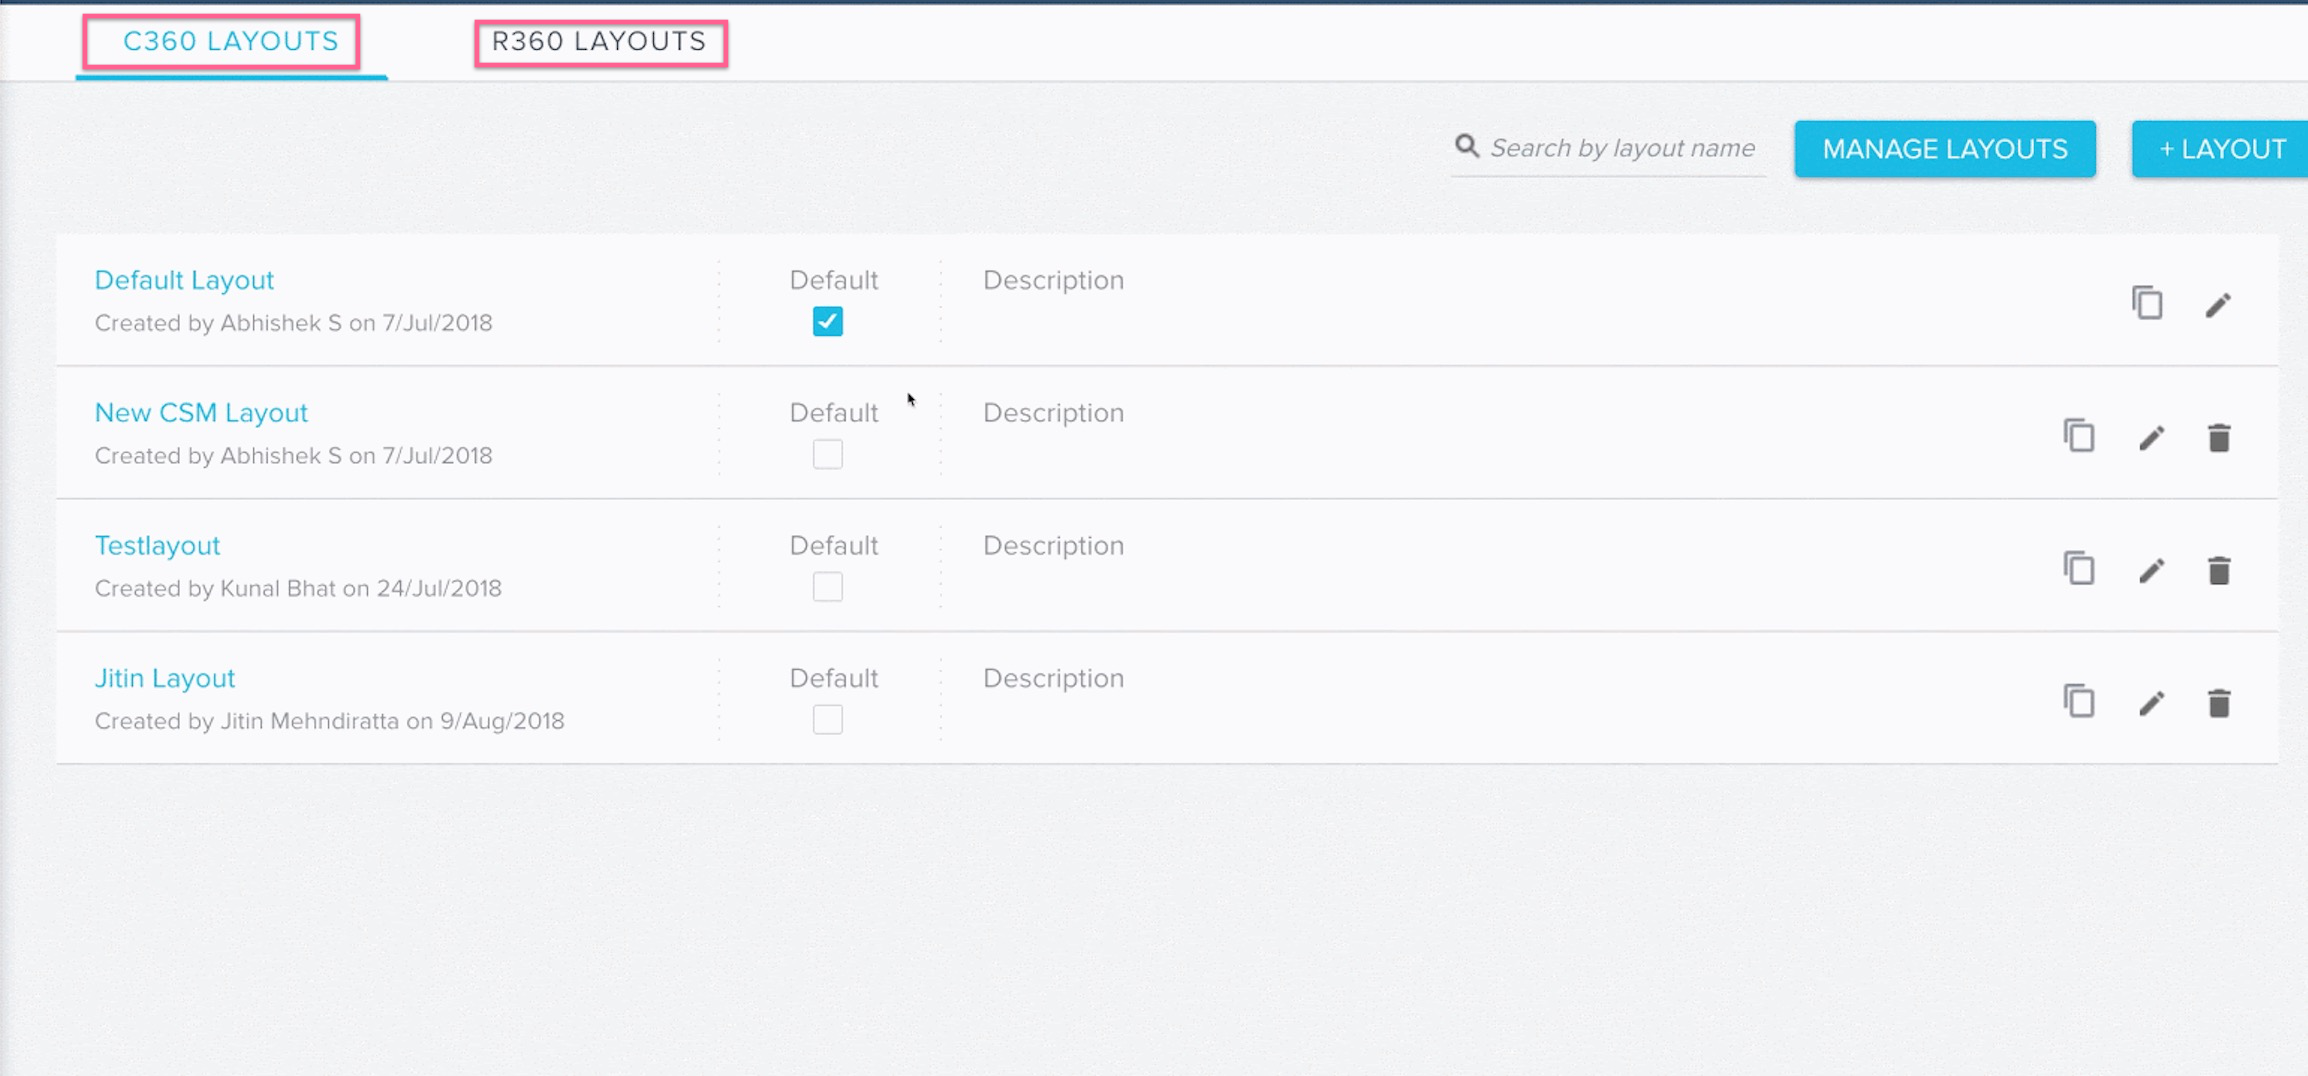
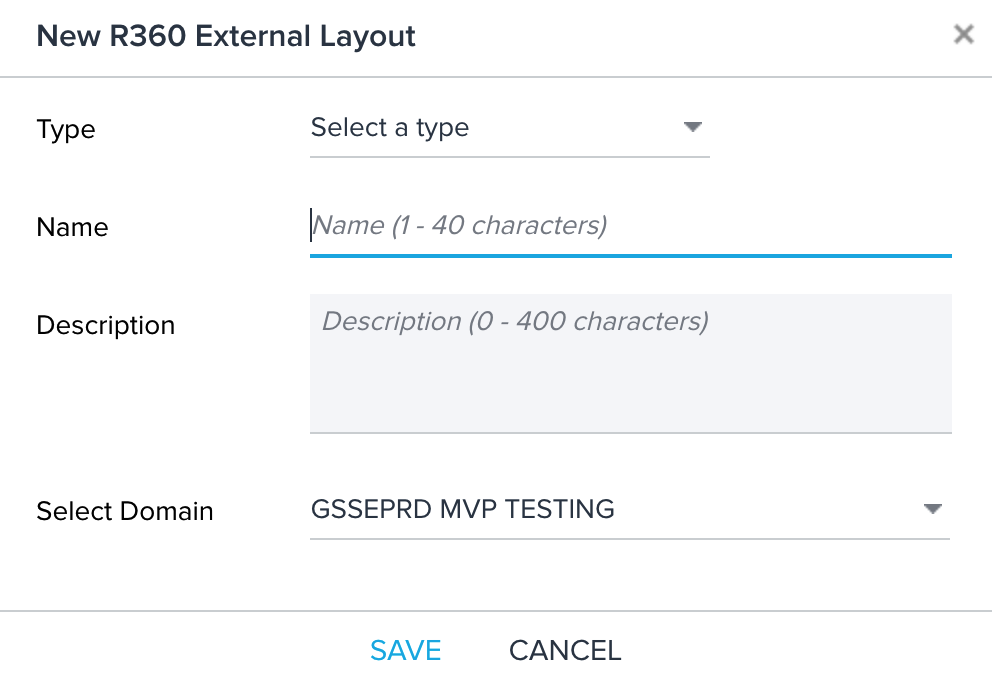
- Click +LAYOUT to display the new C360/R360 External Layout dialog window.
- Enter following details to the Layout:
- Name of the layout
- Description of the layout
- Select the domain to host the Layout
Note: When a layout is created for Relationships, the admin should select the Relationship type for which the layout is created, as shown in the following image.
-
Click SAVE.
Configure Share 360
This section describes how Admins can configure 360 layouts for CSMs, who share relevant customer information with end users. To configure Share 360 Layout:
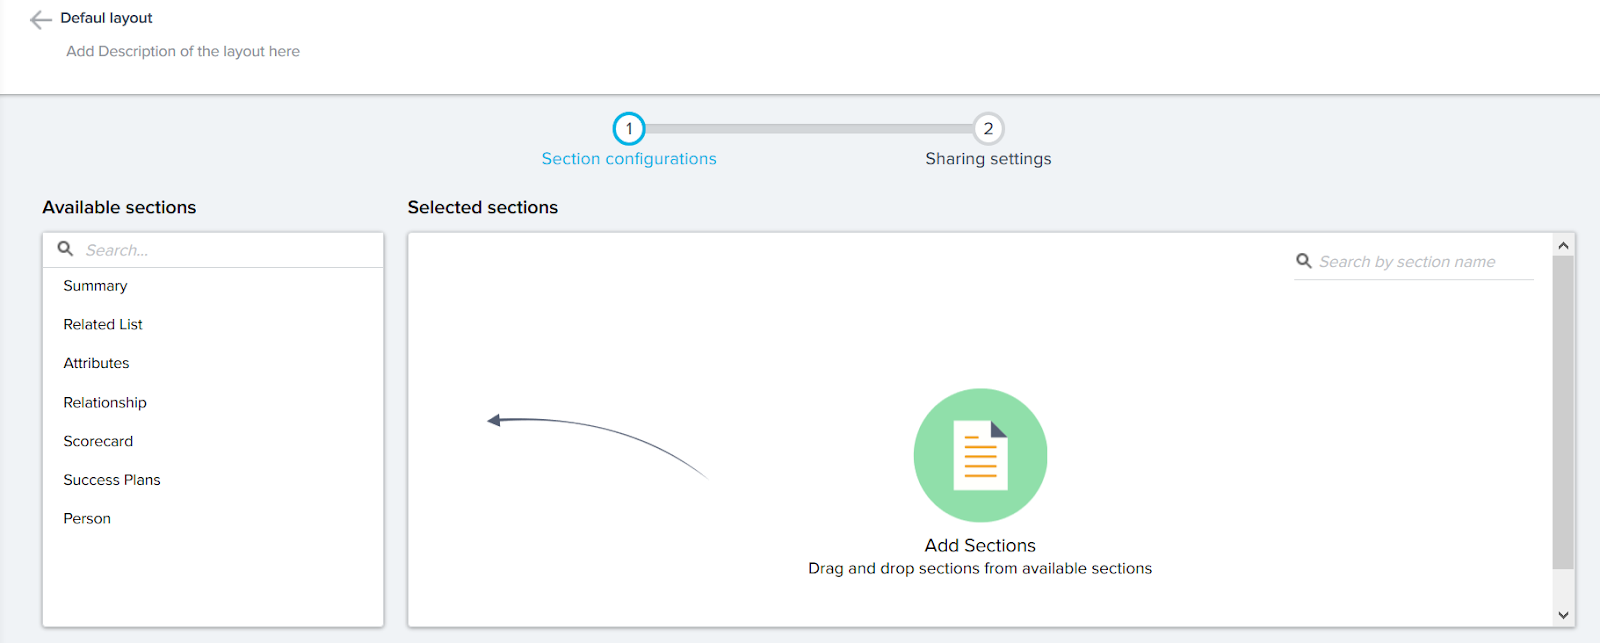
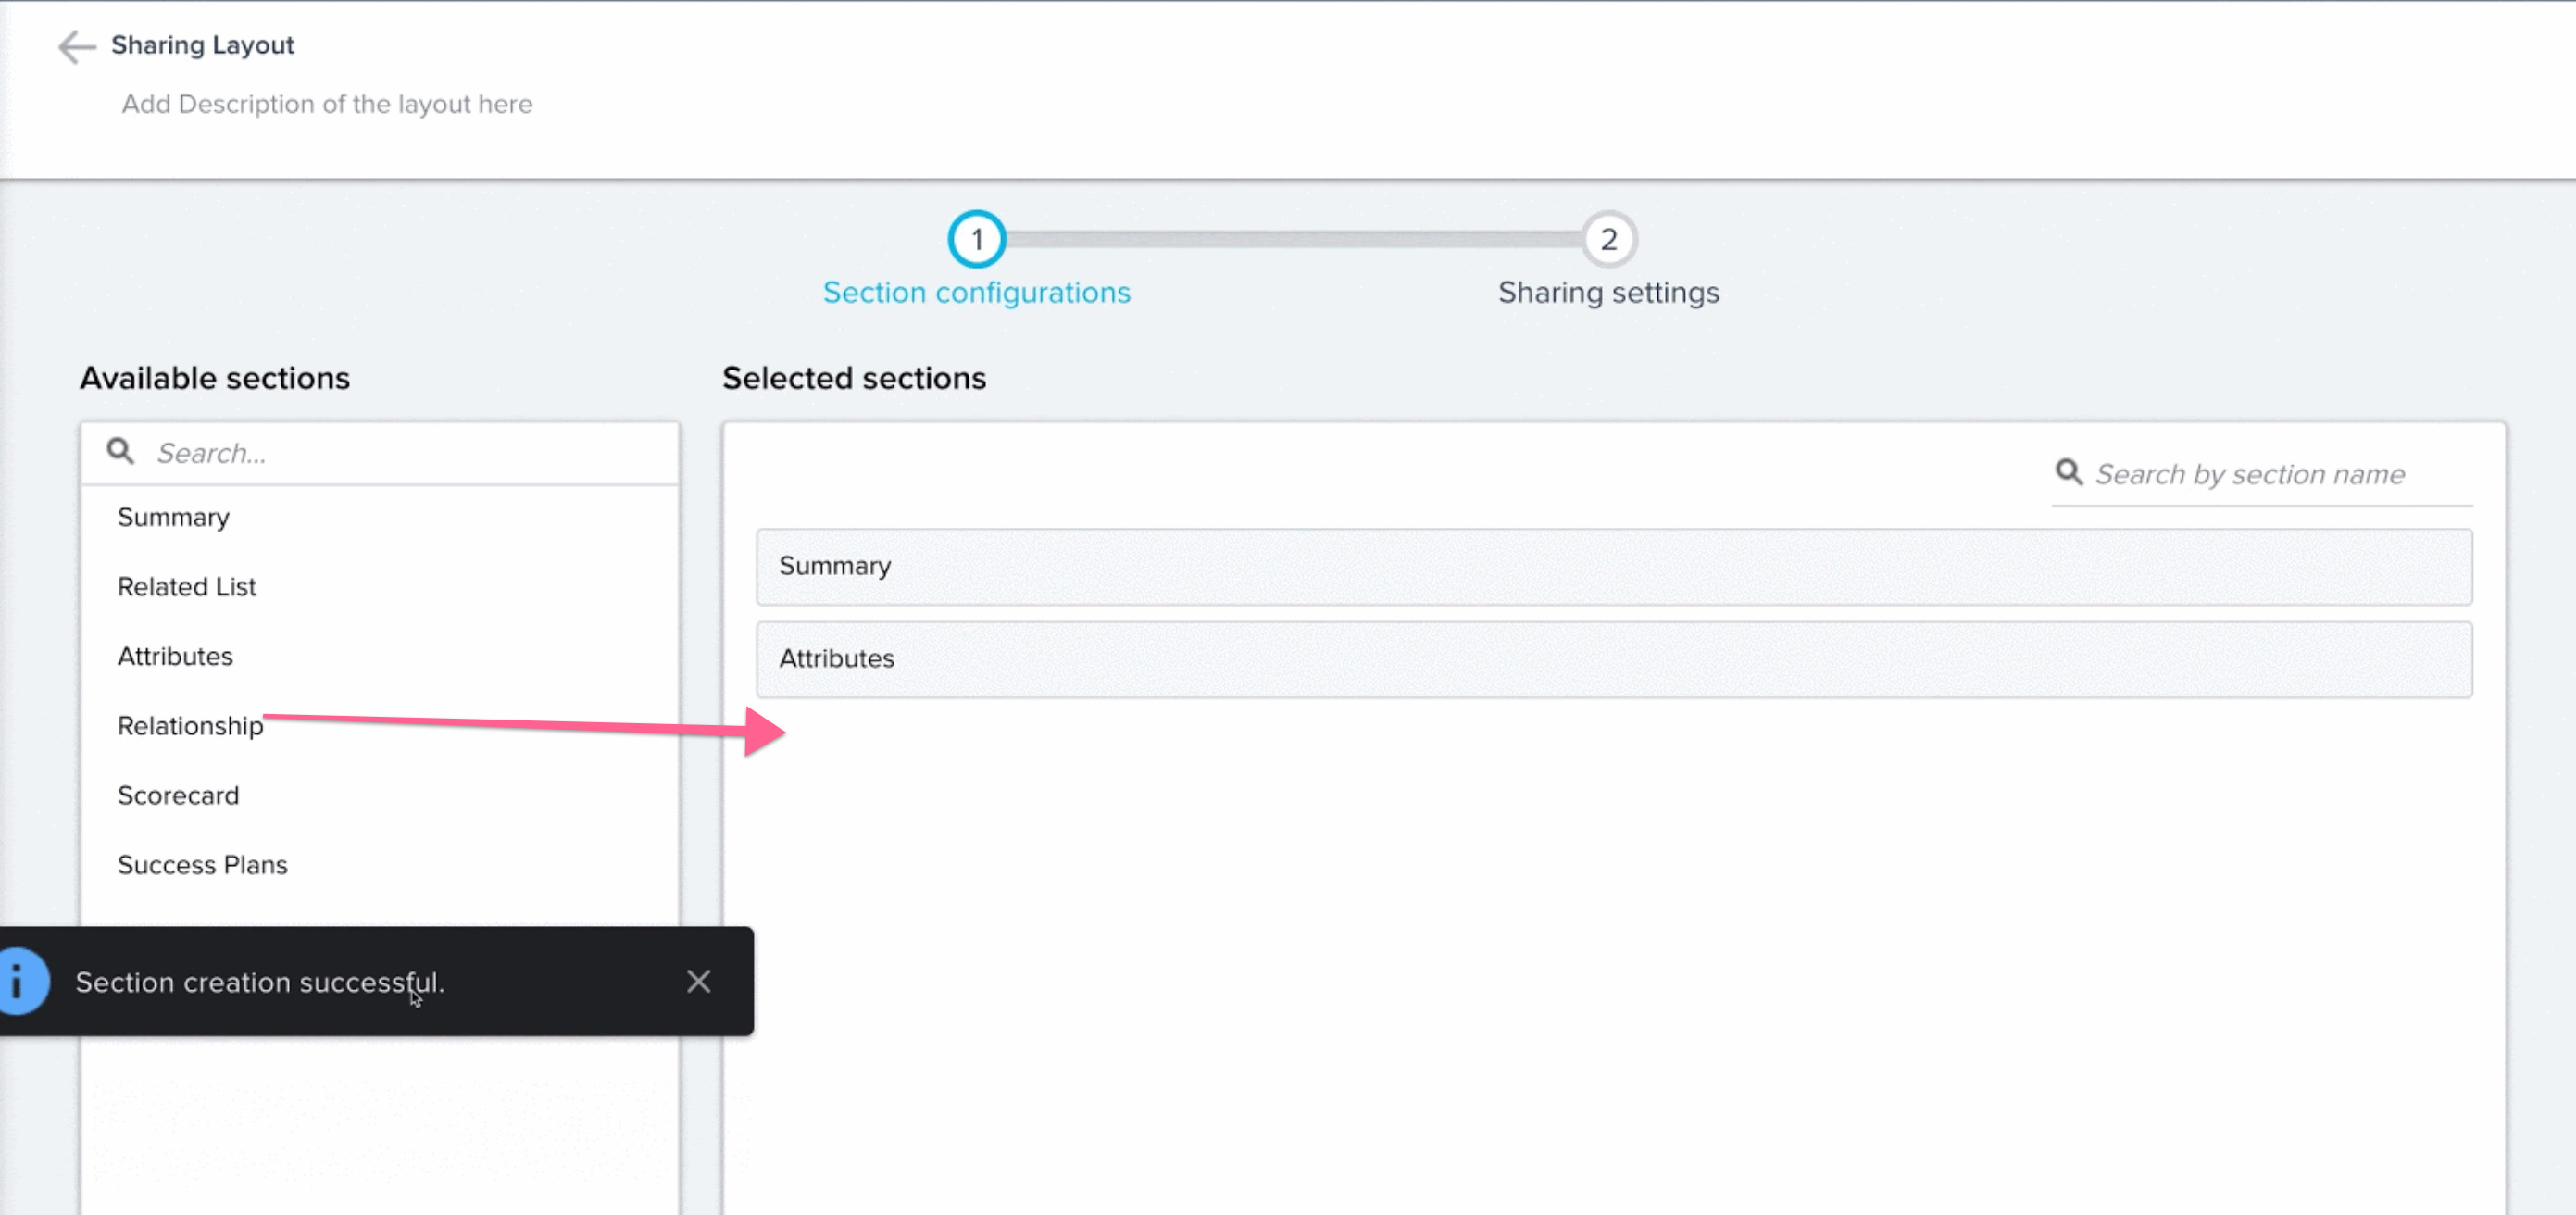
- Click the EDIT icon of the relevant layout. The layout Section configurations page appears.
![]()
- On the Section configurations page, add sections from the Available sections on the left pane to Selection sections on the right pane. The following section types are available in the Available sections pane while configuring the layout.
- Summary (you can add only one summary)
- Related List (No limitation)
- Attributes (No limitation)
- Relationships (only available for C360 layouts)
- Scorecards
- Success Plans
- Person (only available for C360 layouts)
- Hover over a selected section to display the gear and delete icons.
- Click the gear icon to open the Configure Section dialog box.
Note: The Relationship, Scorecard, and Success Plan sections do not have the gear icon to configure.
![]()
- Configure the following sections as shown below:
- Summary: Select the Fields and Widget report types and add them to the summary of the layout. For more information on the configuration of the Summary section, refer to the Configure 360 Summary article.
- Related List: In the Related List section configuration, select an object, add reports created on this object to the Related List section. For more information on the configuration of the Related List section, refer to the Configure Related List Sections article.
- Attributes: Click +Field to add fields as attributes from the Company and its dependent objects. For more information on the configuration, refer to the Configure 360 Attributes Section article.
Note: You can drag and drop Attributes sections multiple times.
- Relationships: This section does not have additional configuration options.
- Scorecards: This section does not have additional configuration options.
- Success Plans: This section does not have additional configuration options.
- Person: You can configure additional settings like Add Person, List View, Detail View and Chart View. For more information, refer to the Configure 360 Person Section article.
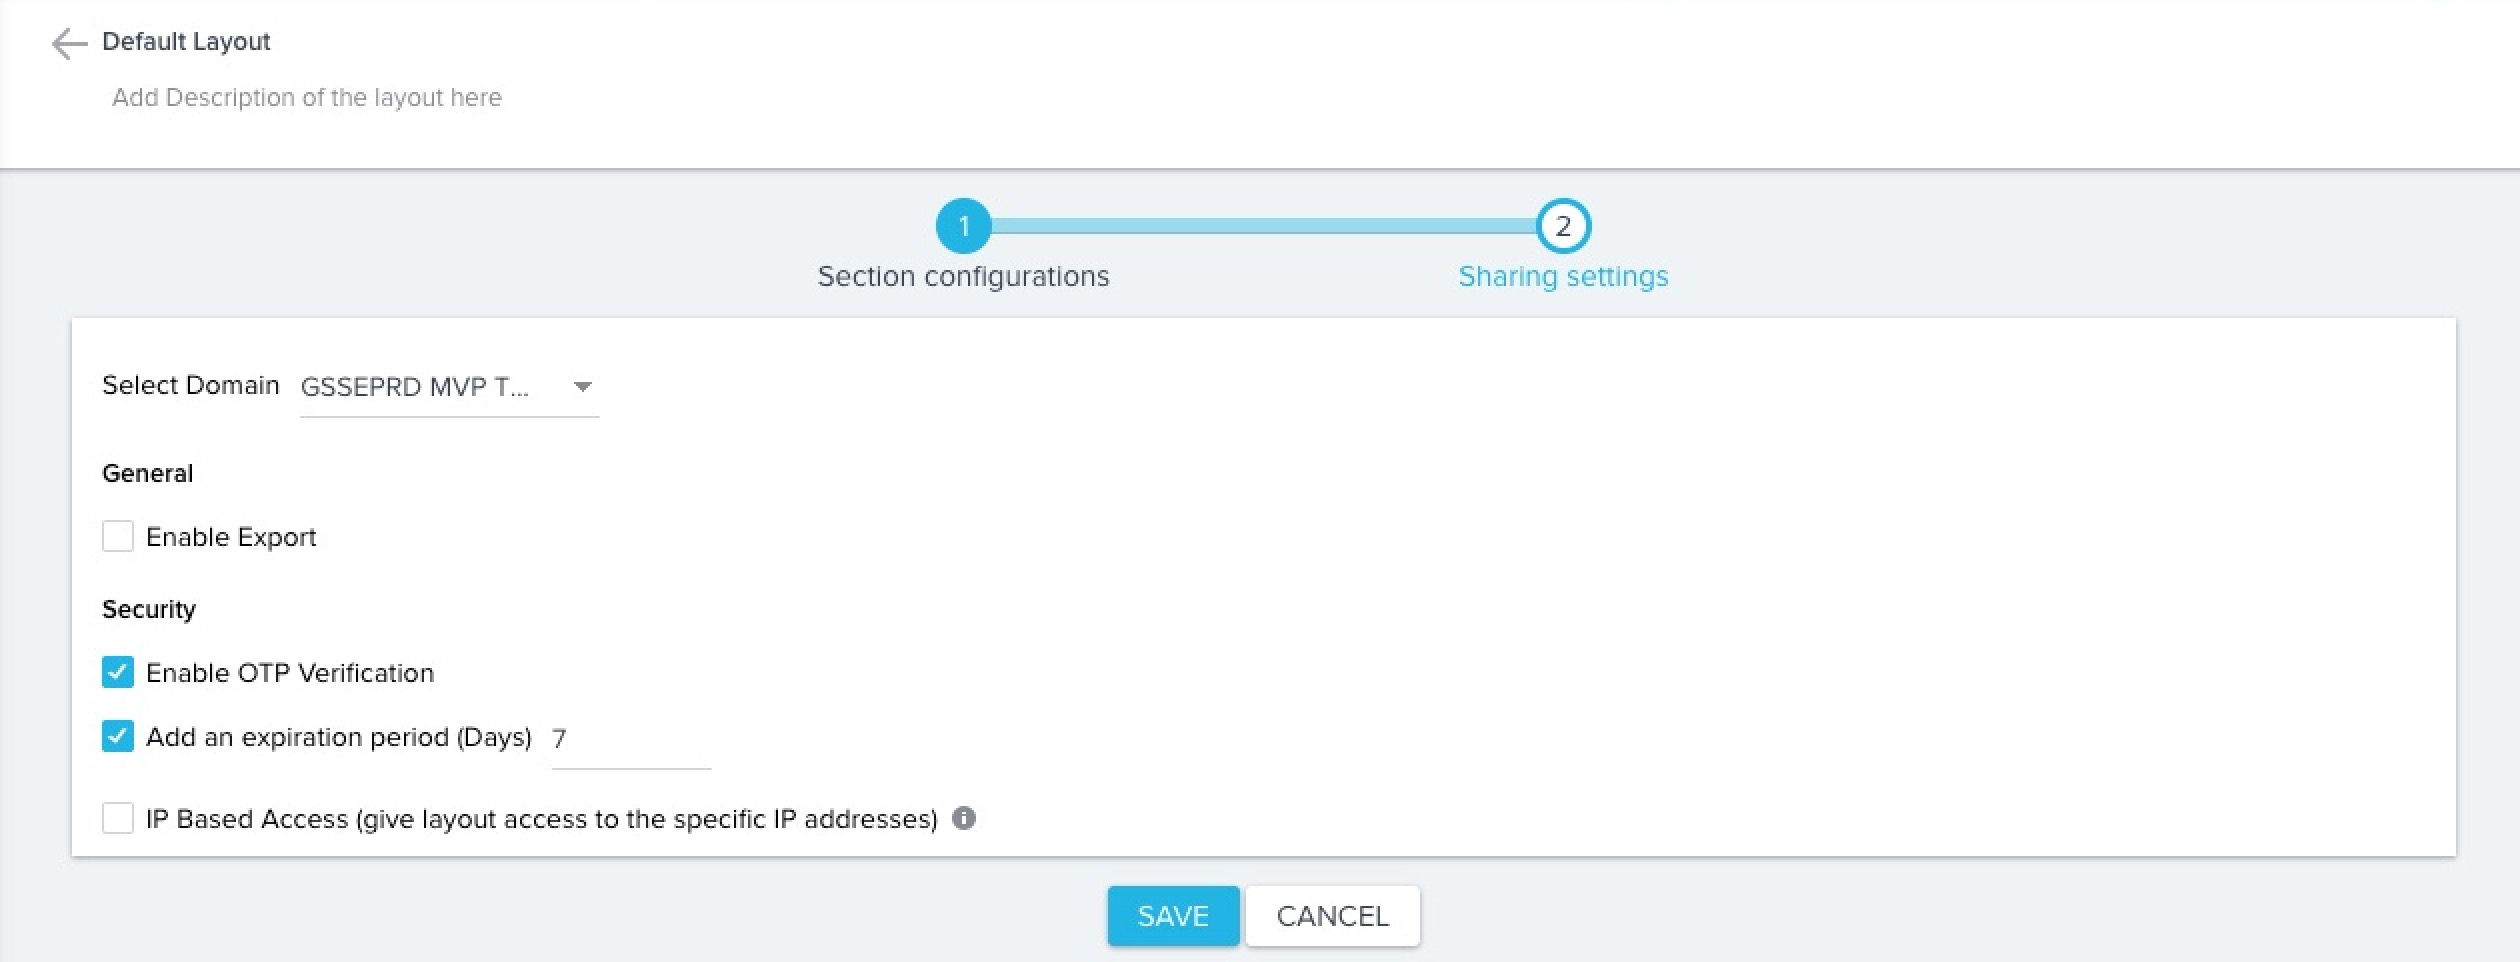
Sharing Settings for Share 360
You can configure a layout’s security settings as follows:
- Enter the following details in the Sharing settings:
- Select Domain: Select domain to host the Layout.
- Enable Export: Click this checkbox to allow sharing for the 360 Layout.
- Enable OTP Verification: Click this checkbox to provide an additional layer of security to protect sharing data with external people and prevent misuse. The users who access the link will be sent a unique OTP verification code to the email id. Only after the OTP is entered will the users be allowed to access the link. The validity period of the OTP is as long as the expiry period of the link.
- Add an expiration period (Days): Click this checkbox to establish an expiry period for the shared 360 page. The shared link has a default expiry period, which can be configured by the admin and is applicable to the layout.
- IP Based Access: Click this checkbox to ensure the shared page link can be accessed only by end-users with a specific IP address. Multiple IP addresses can be added by clicking + as shown below.
-
Click SAVE.
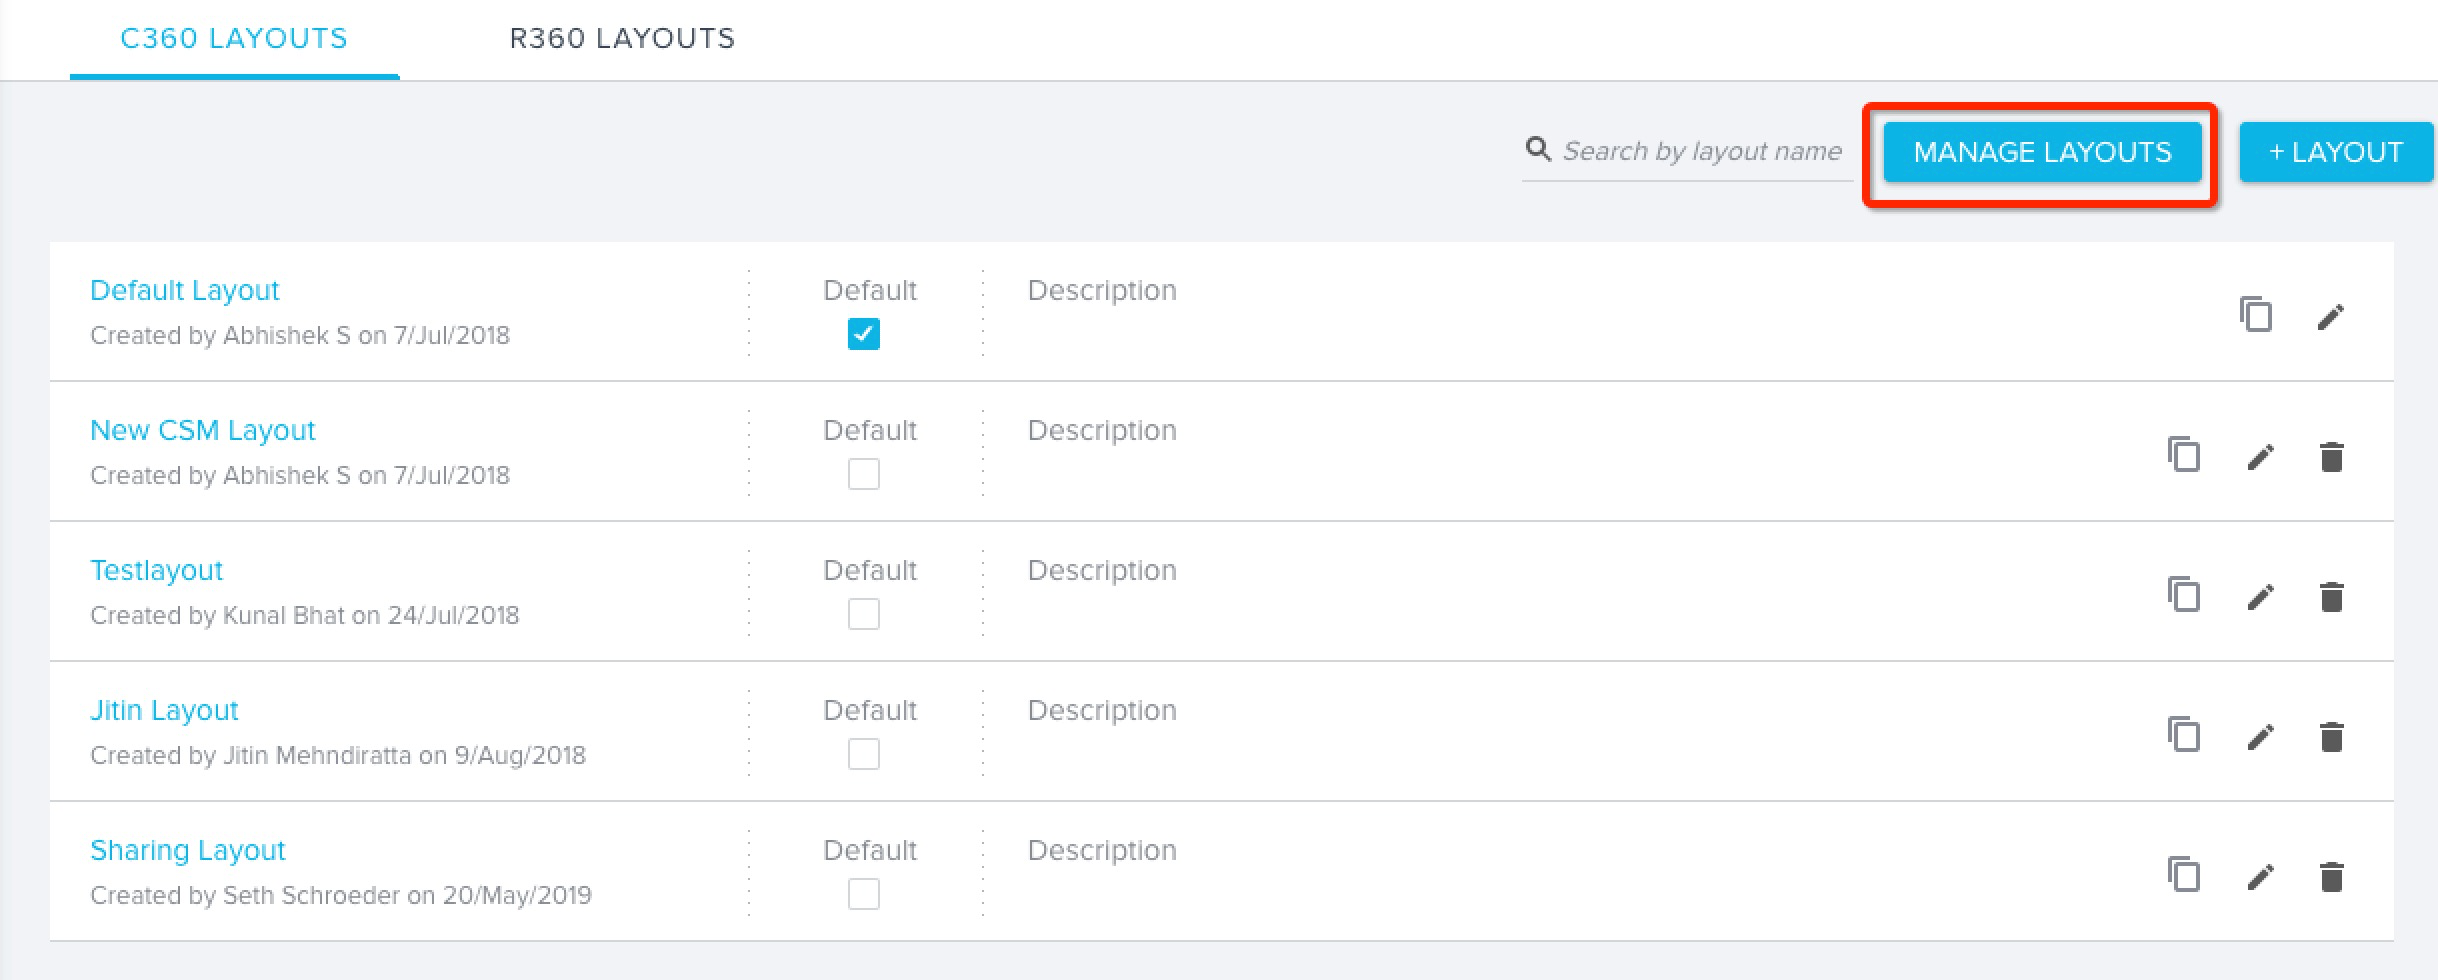
Manage Layout
Manage Layout enables the admin to revoke access to a layout and specific recipients. To access the Managed Layouts page, perform the following actions:
- Navigate to Administration > 360 Layout > select either the C360 LAYOUTS tab, or the R360 LAYOUTS tab.
- Click MANAGE LAYOUTS.
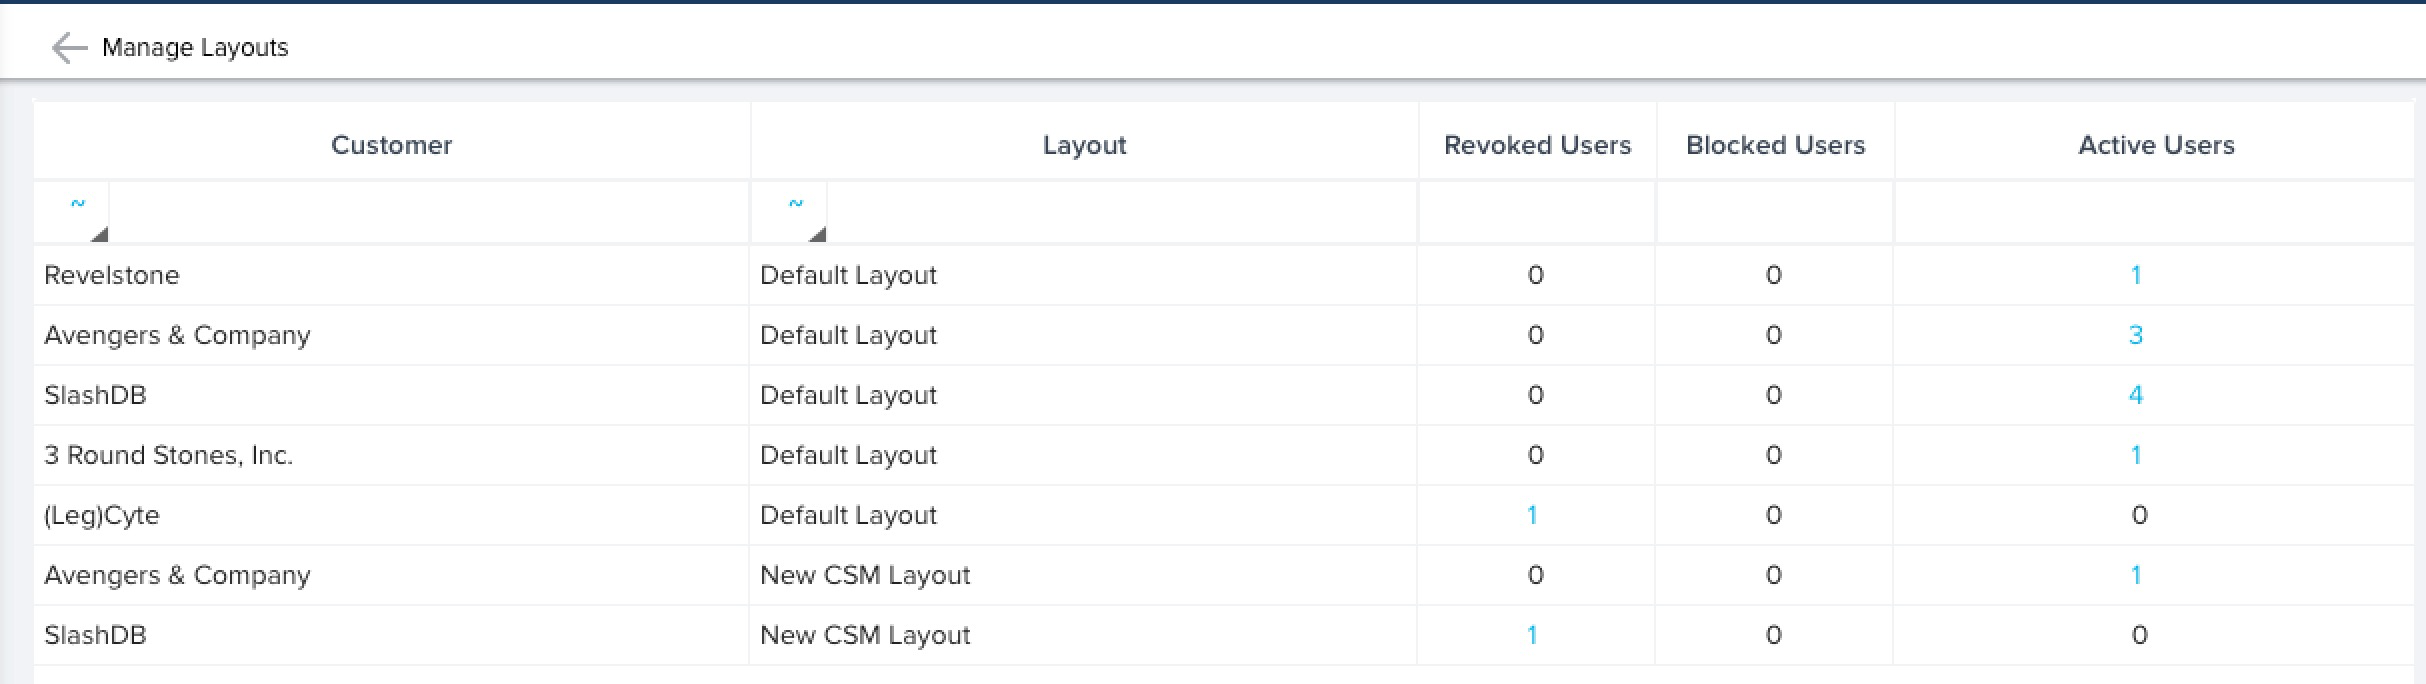
The Manage Layouts page displays the Customer, Layout name, Revoked Users, number of Active Users, and Blocked Users for each layout.
Revoke Layout Access
There are two different methods in revoking access to a Layout as shown below:
- Revoke access to a 360 page from all the recipients to which it was shared.
- Revoke access to a 360 page from an Active user.
Perform the following steps to revoke access to a 360 page:
- Hover over the specific customer’s shared 360 page that you want to revoke. The REVOKE ACCESS button appears.
- Click REVOKE ACCESS. This displays the following message.
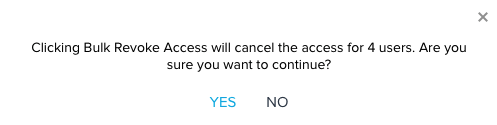
Note: The content of the message will change depending on the number of users affected.
-
Click YES to revoke access to the selected shared 360 page from all the Active users.
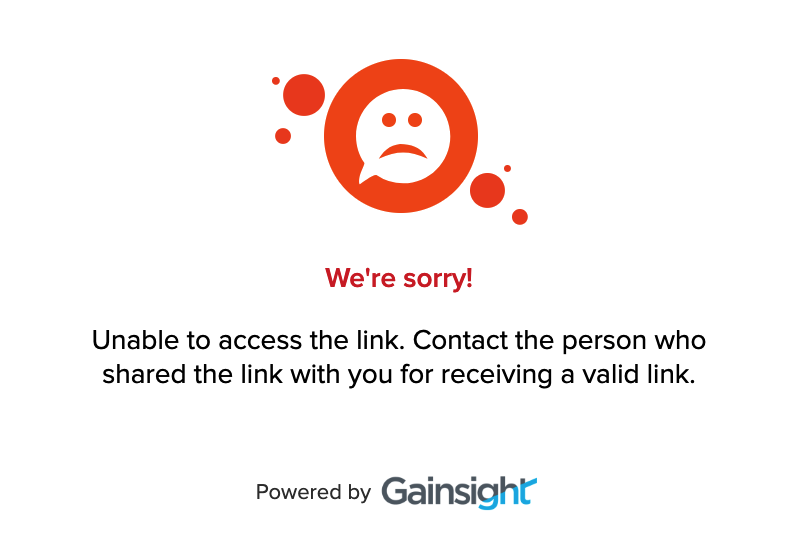
Note: If end-users try to access the same link that has already been revoked, the following error message will be displayed.
- Click the number of Active users to fetch their sharing details.
- Click the Delete icon of an Active user to revoke access from the specific shared 360 page.
You can also click the number of Revoked or Blocked Users to see their earlier sharing details as shown below:
Delete Layout
Admins can delete layout(s), even if they were shared with end-users. The layout link that was shared with end-users becomes invalid immediately after the layout is deleted.
Note: Admins cannot delete the default Shared Layout.
To delete a layout, take the following steps:
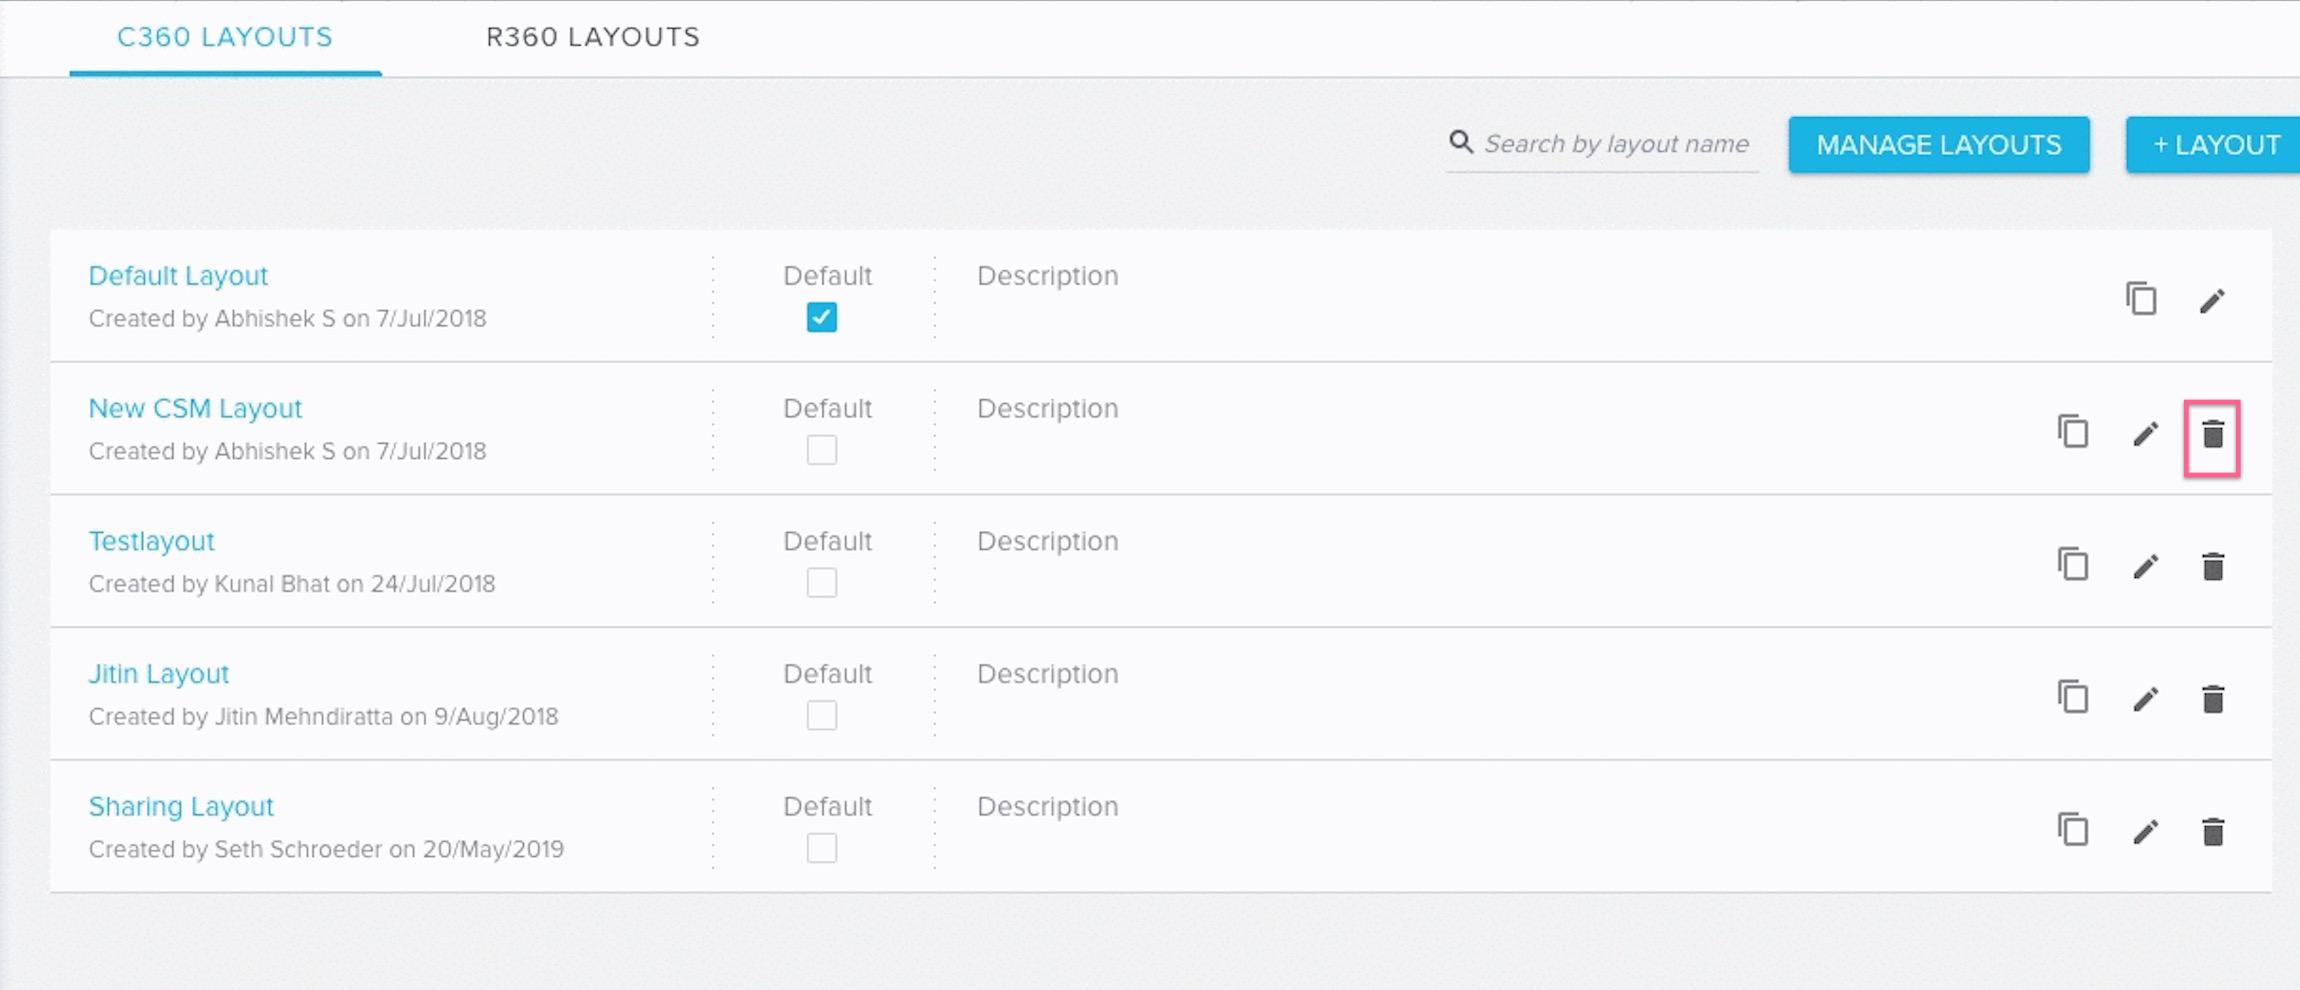
- Navigate to Administration > 360 Layout > select either the C360 LAYOUTS tab, or the R360 LAYOUTS tab.
- Click the DELETE icon of the layout that you want to delete. This displays a dialog to confirm the deletion.
- Click Yes.
Notes:
- If a layout is not shared with an end-user, admins can delete it directly. If a layout is already shared with end-users, admins should revoke the access to the end-users first and then delete the layout. Refer to Manage Layout for more information on revoking access.
- When a layout (link) is shared for R360 with the end-users and the Relationship is deleted, the page does not display any data when the end-users access the share 360 page and shows an error message.