Gainsight Bulk API
Gainsight NXT
IMPORTANT NOTE: Gainsight is upgrading Connectors 2.0 with Horizon Experience. This article applies to tenants which are yet to be upgraded to the Horizon Experience of Connectors 2.0. If you are using Connectors 2.0 with Horizon Experience, you can find the documentation here.
This article explains the configurations in Gainsight Bulk API to load data into the Gainsight objects through cURL commands.
Overview
Gainsight Bulk API is a channel to load data into the Gainsight objects through cURL commands. It allows the user to load data based on Job ID which reads the fields mapping information from the job defined.
Admins can load data into the Gainsight Company and custom objects using Gainsight Bulk API.
Limitation: Gainsight recommends creating a maximum of 4 Bulk API data jobs per hour. If you must exceed this limit, contact support@gainsight.com for approval.
Note: If you are a developer and want to load your business data into Gainsight objects through APIs without having to login to Gainsight product, refer Gainsight's API Documentation.
Following are the advantages of Bulk API:
- Job creation and maintenance is easy
- Data import into standard objects is available
- Field Mapping available in the UI
- Ability to set up Data import Lookup with multiple field mapping
- Update Keys functionality for Update/Upsert operations
- Notification emails for Success and Failure of data import
- Track in detail Execution Logs and Audit Logs
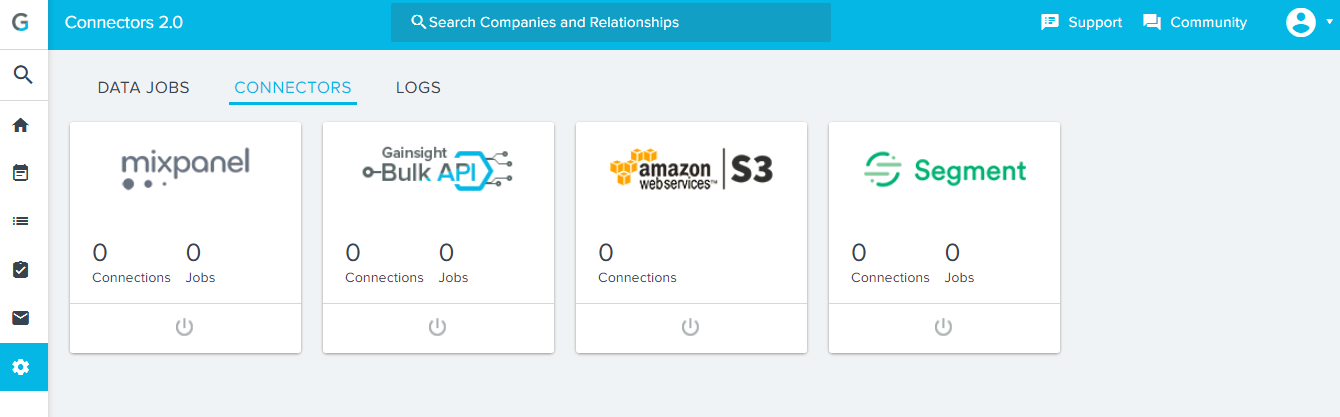
To access the Gainsight Bulk API, navigate to Administration > Connectors 2.0 > Connectors tab
You can see all of the connectors in the Connectors tab and jobs performed through Bulk API and their execution logs in the DATA JOBS and LOGS tabs respectively.
This article describes how to:
- Create a Connection
- Ingest Data into the Gainsight Object from a CSV file
Create a Bulk API Connection
Before loading data into an object through Gainsight Bulk API, admins should create a Connection. The system allows users to create one connection per tenant. Under one connection, admins can perform multiple jobs to ingest data into the objects. To create a connection:
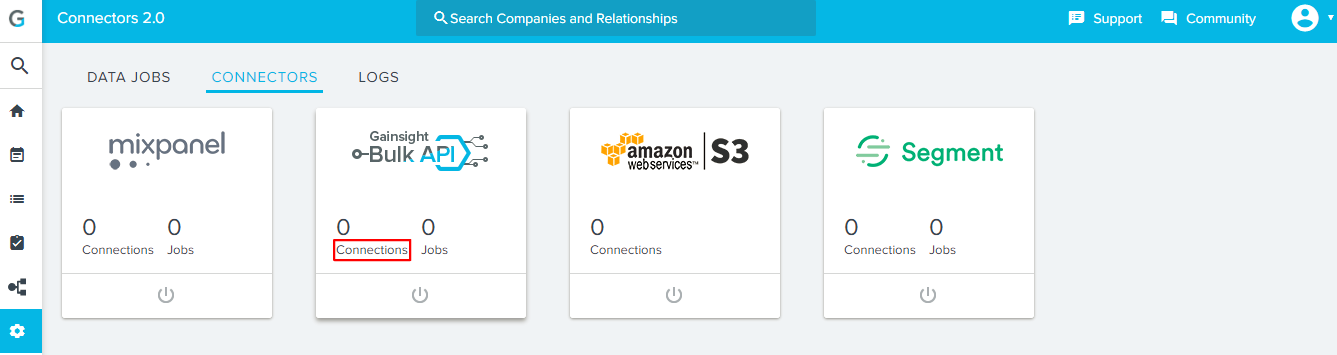
- Click Connections.
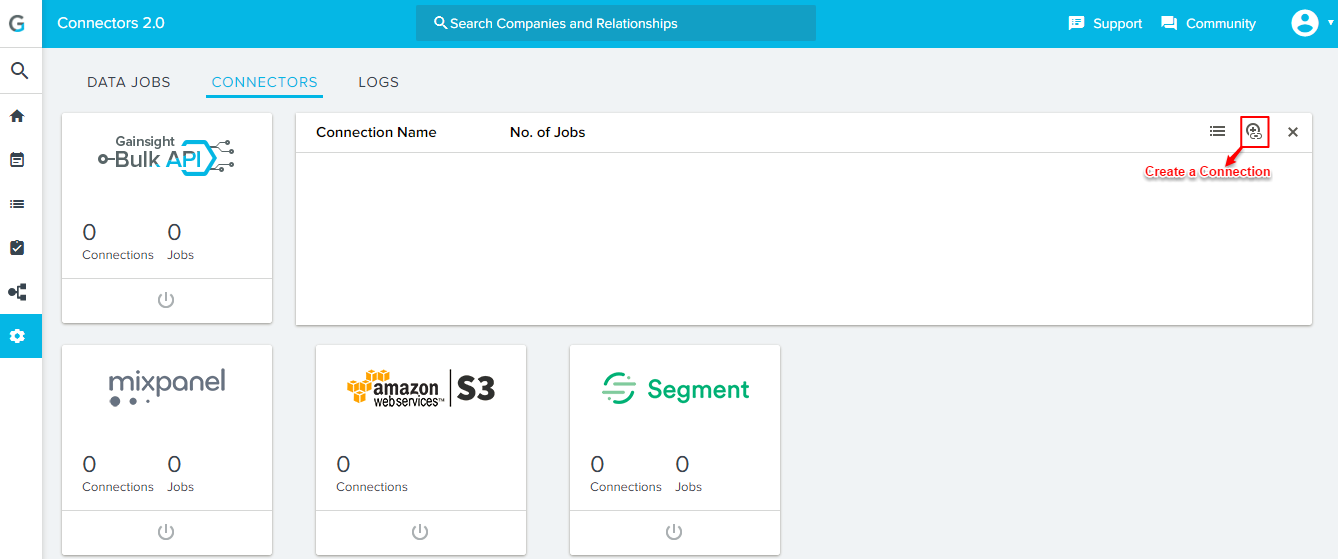
- Click the Create Connection icon.
- Enter the Connection Name and click GENERATE ACCESS KEY. A New Access Key is generated. If you want to reset the access key at any time later, click RESET ACCESS KEY.

- Copy the Access Key and save to use it later.
- Click CREATE. A Connection is successfully created.
Ingest Data into Gainsight Objects from a CSV file
Here we ingest records from CSV file CompanyDetails.csv into Company Object. The names, records, and Access Key used in this document are just for reference only. Records in the CSV file with the headers Name, Industry, Employees, Original Contract Date, Renewal Date, ARR, CSMFirstName and CSMLastName are shown below:
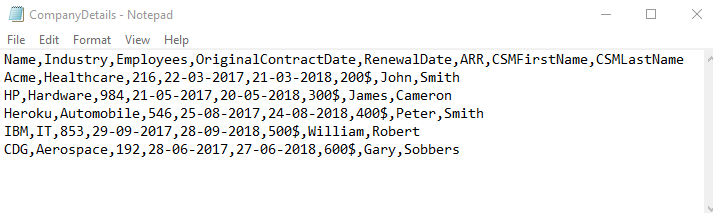
Notes:
- Ensure that the CSV file name do not have any spaces.
- SM First Name and Last Name are added here, to use them in Derived Mappings.
Make sure that the formats of the Date and DateTime values in the CSV file are supported in Gainsight. For the list of supported formats in Gainsight, refer Gainsight Data Management.
Admins can create multiple jobs to ingest data into the objects. To create a Job:
- Click the Create Job icon.
-
Three sections, Job Details, Field Mappings, and cURL API appears.
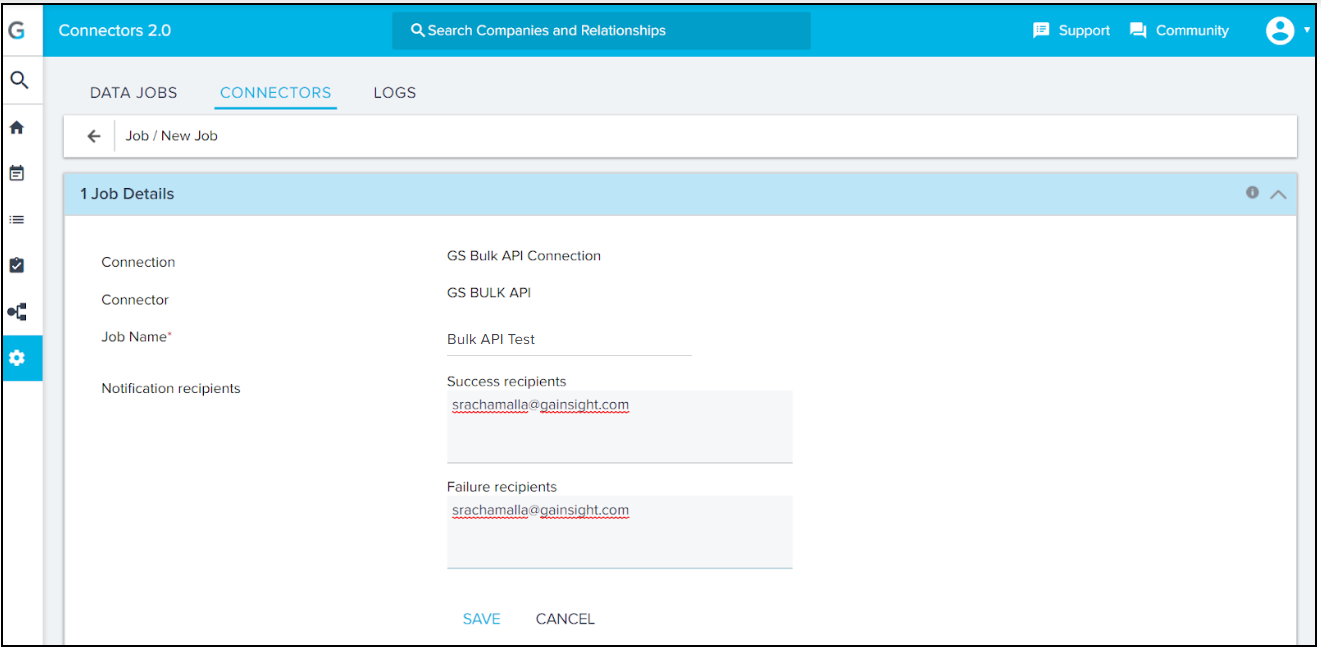
Job Details section
- Enter a unique Job Name in the Job Details section.
- In the Notification recipients, enter:
- Success recipients: If a job has partial/full data import success, a success notification email is sent to the email address entered here.
- Failure recipients: When all records fail to import, a failure notification email is sent to the email address entered here.
- Click SAVE. System will validate for any job with same name. If it finds a duplicate job name, it will show an error Job name already exists. You should always assign a unique job name.
Field Mappings section
-
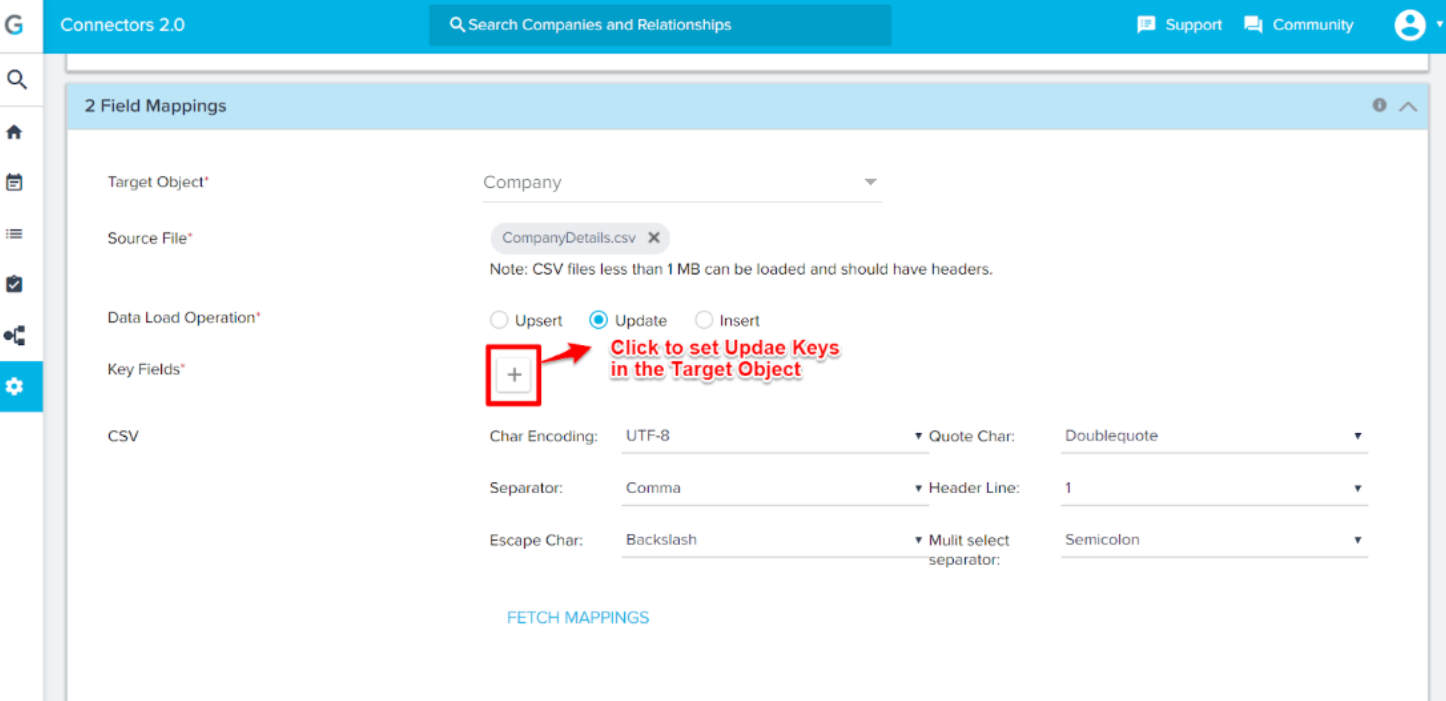
Navigate to Field Mappings section and enter the following details:
- Select Target Object into which you want to ingest data. For example, select Company Object. Once a job is saved with specific Target Object, it cannot be changed before ingesting data.
- Click Browse to select a source CSV file from the local machine and to upload. Select CompanyDetails.csv file to upload. Make sure that the CSV file has headers. The CSV file is uploaded in this section to select mapping between CSV headers and Gainsight object fields. You can ingest data from the CSV file of size upto 80 MB.
- Select the appropriate Data Load Operation. Here we are performing Insert data load operation. For Update and Upsert operations, click + to set key fields which can be used as identifiers.
- CSV Properties: Select appropriate CSV Properties. Recommended CSV properties:
- Character Encoding: UTF-8
- Separator: , (Comma)
- Quote Char: “ (Double Quote)
- Escape Char: Backslash
- Header Line: 1 (Mandatory)
- Multi select separator: ; (Semicolon)
Notes:
- Gainsight Bulk API always supports the files which are encoding with UTF-8 only.
- A separator is used to separate the values of different fields in a CSV. User should use same separator in the job configuration which is used in the CSV file to upload. By default , (comma) is selected as separator but users can change it as required.
- Quote Character is used to import a value (along with special characters) specified in the Quotation while importing data. It is recommended to use same Quote Character in the job configuration which is used in the CSV file to upload. By default, Double Quote is selected in the job configuration but users can change to Single Quote as required.
- Escape character is used to include special character in the value. By default, Backslash is used as Escape Character before special character in the value. It is recommended to use Backslash in CSV file to avoid any discrepancy in the data after loading.
- Multi select separator is used to separate the multiple values of a field of data type multi select dropdown list. User should use same Multi select separator in the job configuration which is used in the CSV file to upload. By default ; (Semicolon) is selected as separator but users can change it as required.
- Click Fetch Mappings. A success message showing Fields Fetched Successfully appears.
- In the Mappings tab:
-
Map the target object fields with the source CSV headers appropriately.
-
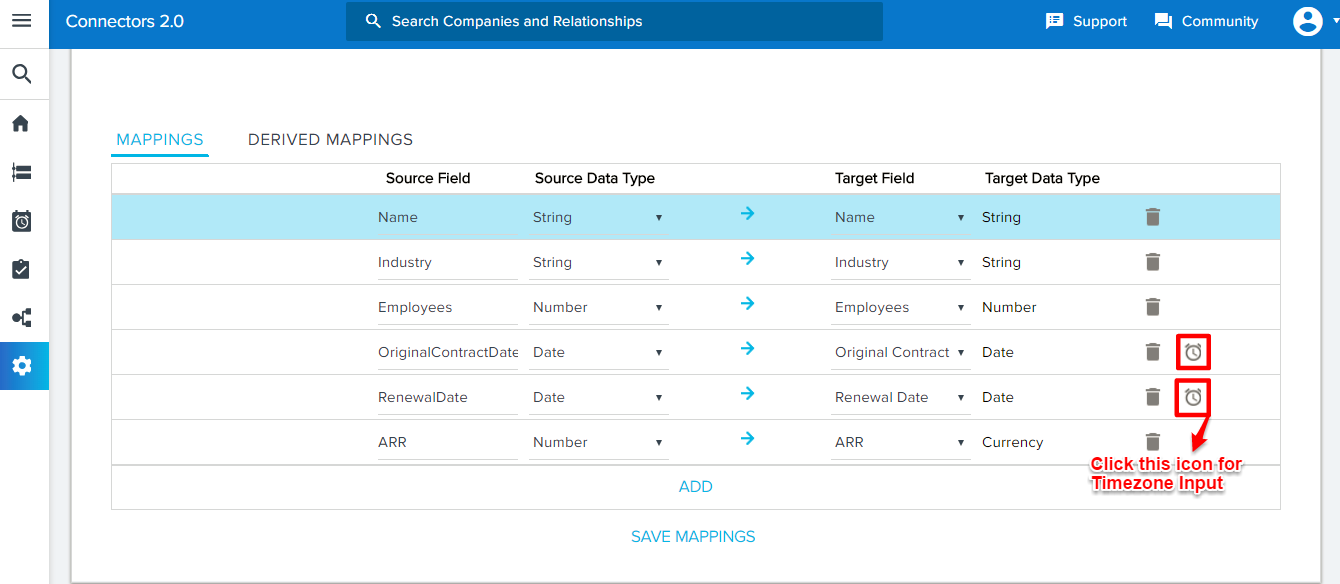
- While mapping the fields, select a data type for a field in the source. It shows all the fields in the target object with the corresponding possible data types. Select the required field in the target object. The table below shows the source data types with the corresponding possible target data types:
| Source Data Type | Target Data Type |
| String | String, Dropdown list, Email, GSID, Rich Text Area, Multiselect Dropdown List |
| Number | Number, Percentage, Currency |
| Boolean | Boolean |
| Date | Date |
| DateTime | DateTime |
Example: If you select a Number type field in the source, it will show the fields in the target object with Number, Percentage, and Currency data types. You can select the field in the target object as required.
Complex data types (Example: Multiselect dropdown list) in the target object can be mapped from their base data types (Ex: String) in the source CSV fields as shown in the table.
- While mapping Date and DateTime fields between the Source CSV field and the Target Gainsight object:
- Click the Clock icon. Select a Timezone dialog box appears.
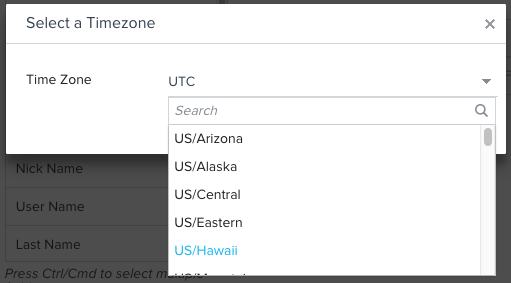
- Select a Timezone from the dropdown list and click OK. This is to assign a timezone for the Date and DateTime values. These values are then converted into UTC from the selected timezone and are stored in the Gainsight object. If you do not select a timezone, the records are considered to be in the Gainsight Timezone. The Date and DateTime values are then converted into UTC from the Gainsight Timezone and are stored in the Gainsight object.
- Click ADD to map more object fields with the CSV headers.
- In the Derived Mappings tab, click Add. Data import lookup configuration dialog appears. This is to lookup to the same or another Gainsight standard object and match fields to fetch Gainsight IDs (GSIDs) from the looked up object and populate in the target field. Derived mappings can be performed only for target fields of GSID data type.
There are two types of lookups: Direct and Self. Direct lookup enables admins to lookup to another Gainsight standard object and fetch GSIDs of the records from the lookup object. Self lookup enables admins to lookup to the same standard object and fetch GSID of the another record to the target field. For more information, refer to Data Import Lookup.

- Click + to match multiple fields between the source CSV file and looked up object to import correct GSID from the standard object into the target object. When you have multiple matches or when no match is found, you can select from the given options as needed. Click APPLY.
- When Field Mappings and Derived Field Mappings are completed, click SAVE MAPPINGS. A success message showing Job Created Successfully appears.
cURL API section
To generate the cURL command:
- Navigate to the cURL API section.
- Click GENERATE. cURL Command is generated.
Note: Sub-domain generated in the cURL command is different from the sub-domain of the current org. You can run the command as generated without changing the sub-domain. Tenant is identified uniquely with the entered access key.

- Click COPY to copy the cURL Command. Paste this cURL Command to any text editor.
- In the cURL command, enter the Access Key copied earlier and File Path as shown in the image below:
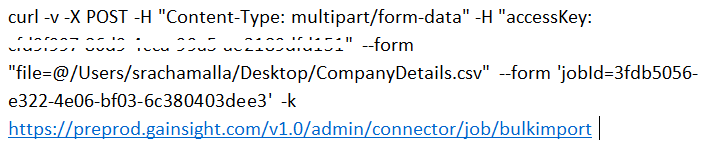
- Enter the cURL command in the Terminal or Command Prompt and submit. The data is ingested into the object successfully.|
Note: You can view the status Id of the bulk API job in the terminal, which can be used to check the status of the bulk API.
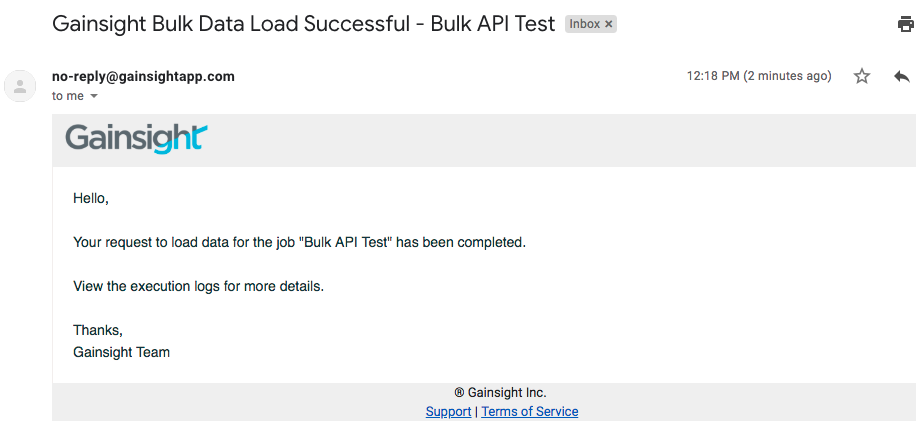
An Email is sent to the success or failure recipients to inform the success or failure of the job as shown below:
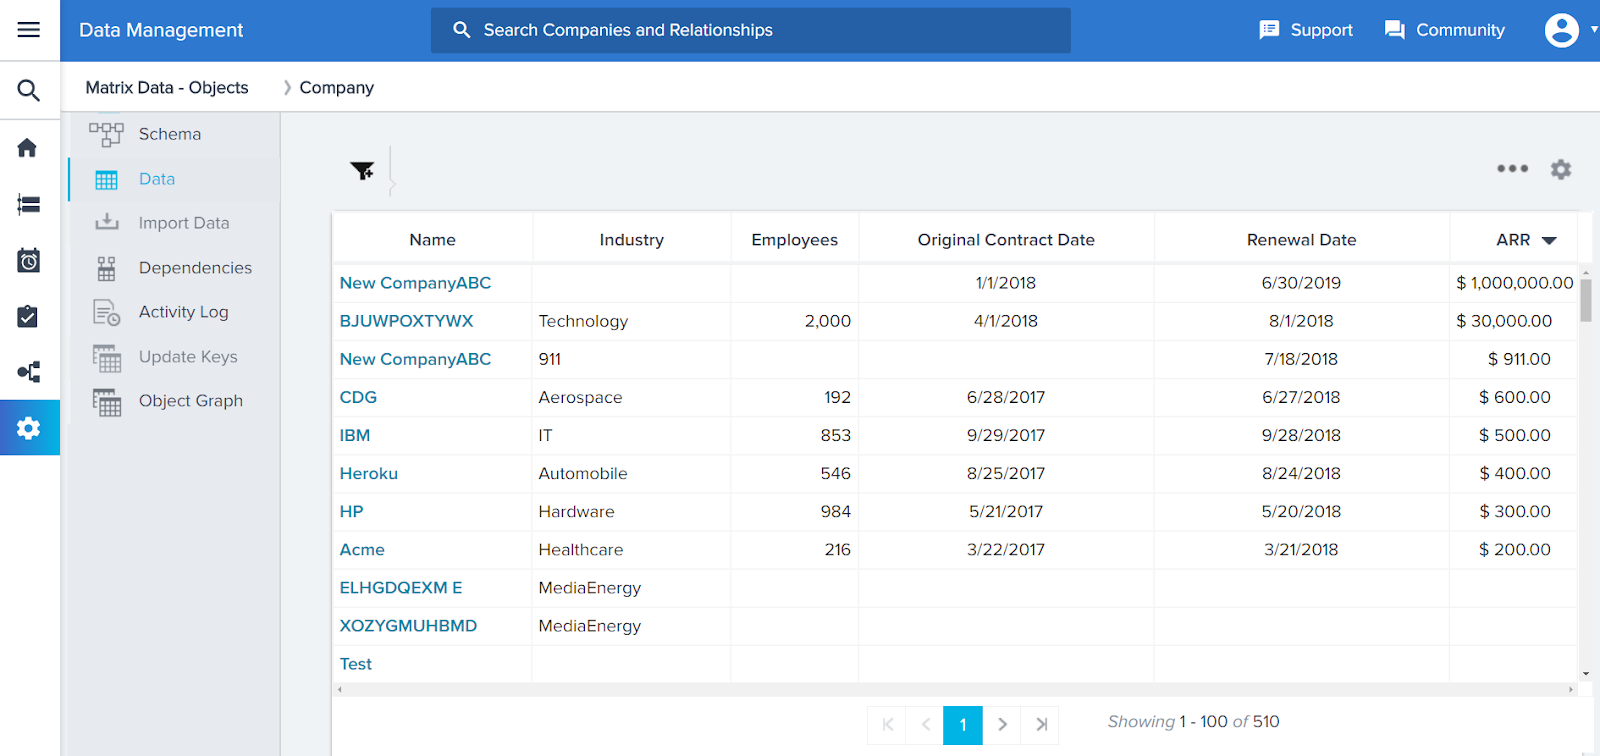
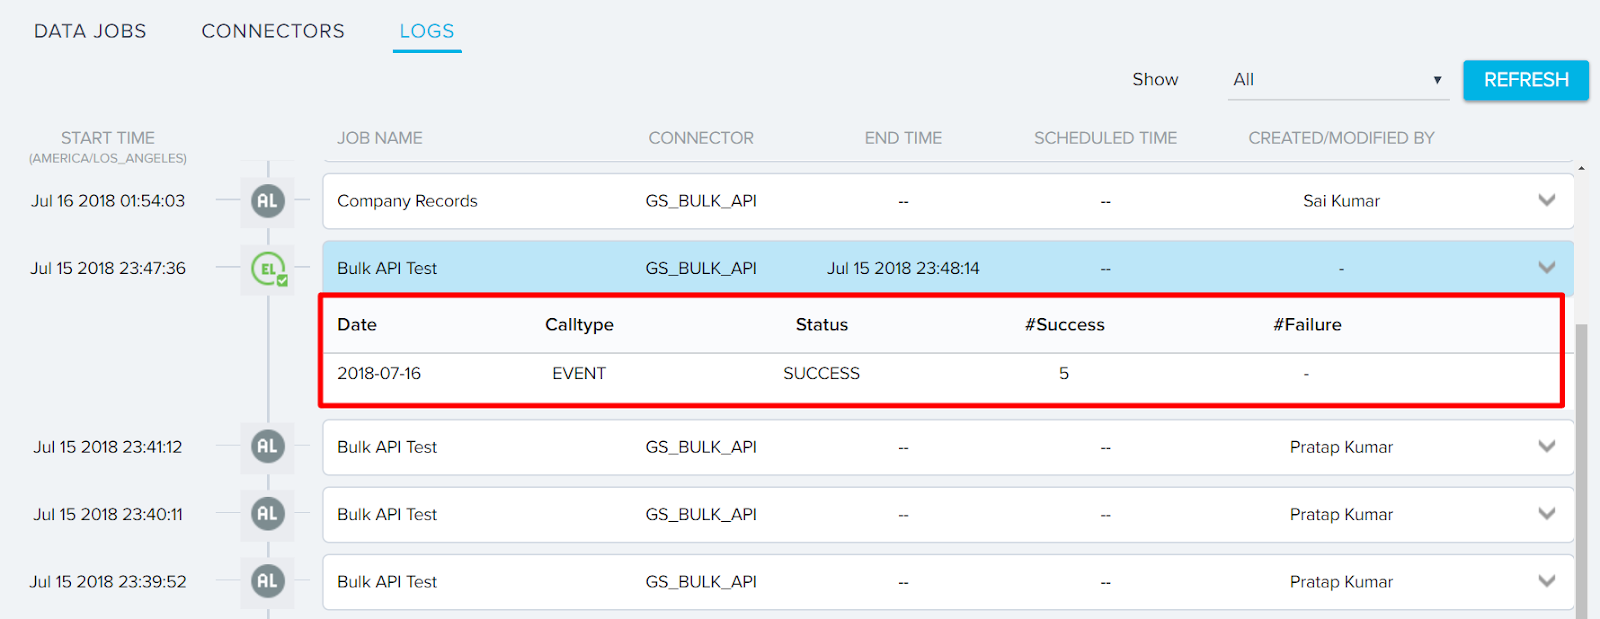
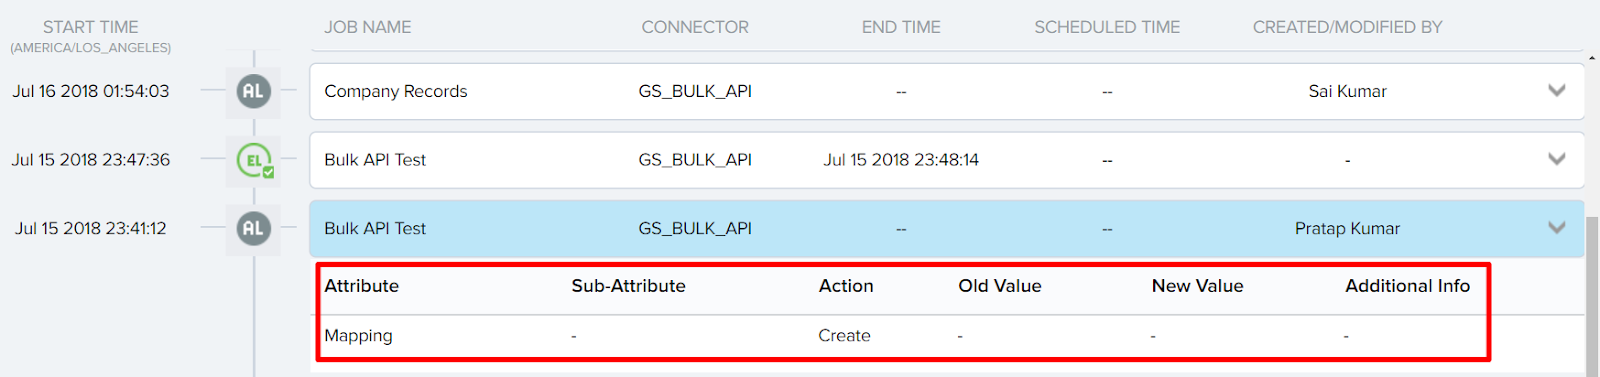
- Navigate to Administration > Connectors 2.0 > Logs. You can see Audit Log and Execution Log with success or failure for this data ingest job. For failure execution logs, you can see the reasons of data ingest failure to take appropriate action before ingesting the data again.
Execution Log:
Audit Log:
- Navigate to Administration > Customer Data > Data Management > [Click the Company object] > Data. You can see five records ingested from the CSV file with the associated fields.