Configure Note Templates
This article explains how to create a Note Template and assign it to folders in Timeline.
Overview
Note Templates help admins to associate, and maintain consistency across CSMs. Each activity can have one or more template types.
Example Business Use Case: Note Templates help CSMs standardise the content they add for different types of meetings. For a meeting like an Executive briefing, CSMs may have to add Notes as per some standard requirements for such meetings. This helps maintain consistency in the format of Notes filled by all CSMs. This would also help CSMs save a ton of time and bring efficiency to their work.
Note Templates in Timeline
Note Templates must be configured by admins for CSMs. Admins can perform the following actions:
- Create a new template
- Edit/Delete an existing Template
- Create a Folder
Create a New Template
As an admin, you can create a template and assign it to a specific Activity Type.
To create a new Note Template:
-
Navigate to Administration > Timeline > NOTE TEMPLATES.
-
Click Create Template. The Create New Template pane appears.
- Enter the following details:
|
Field Name |
Description |
|
Template Name |
Enter the name of the Note Template |
|
Activity Type |
Select a single or multiple activity type. |
|
Status |
The status of the Note Template. Select either Active or Inactive. |
|
Template Folder |
Select a folder where you want to add the Note Template. Note: By default, the Note Templates are added to the Uncategorized folder. For more information on how to create a folder, refer to the Create Folder section. |
|
Template Content |
The text/information that can be used by the CSMs. |
- Click Create.
Note Template Status
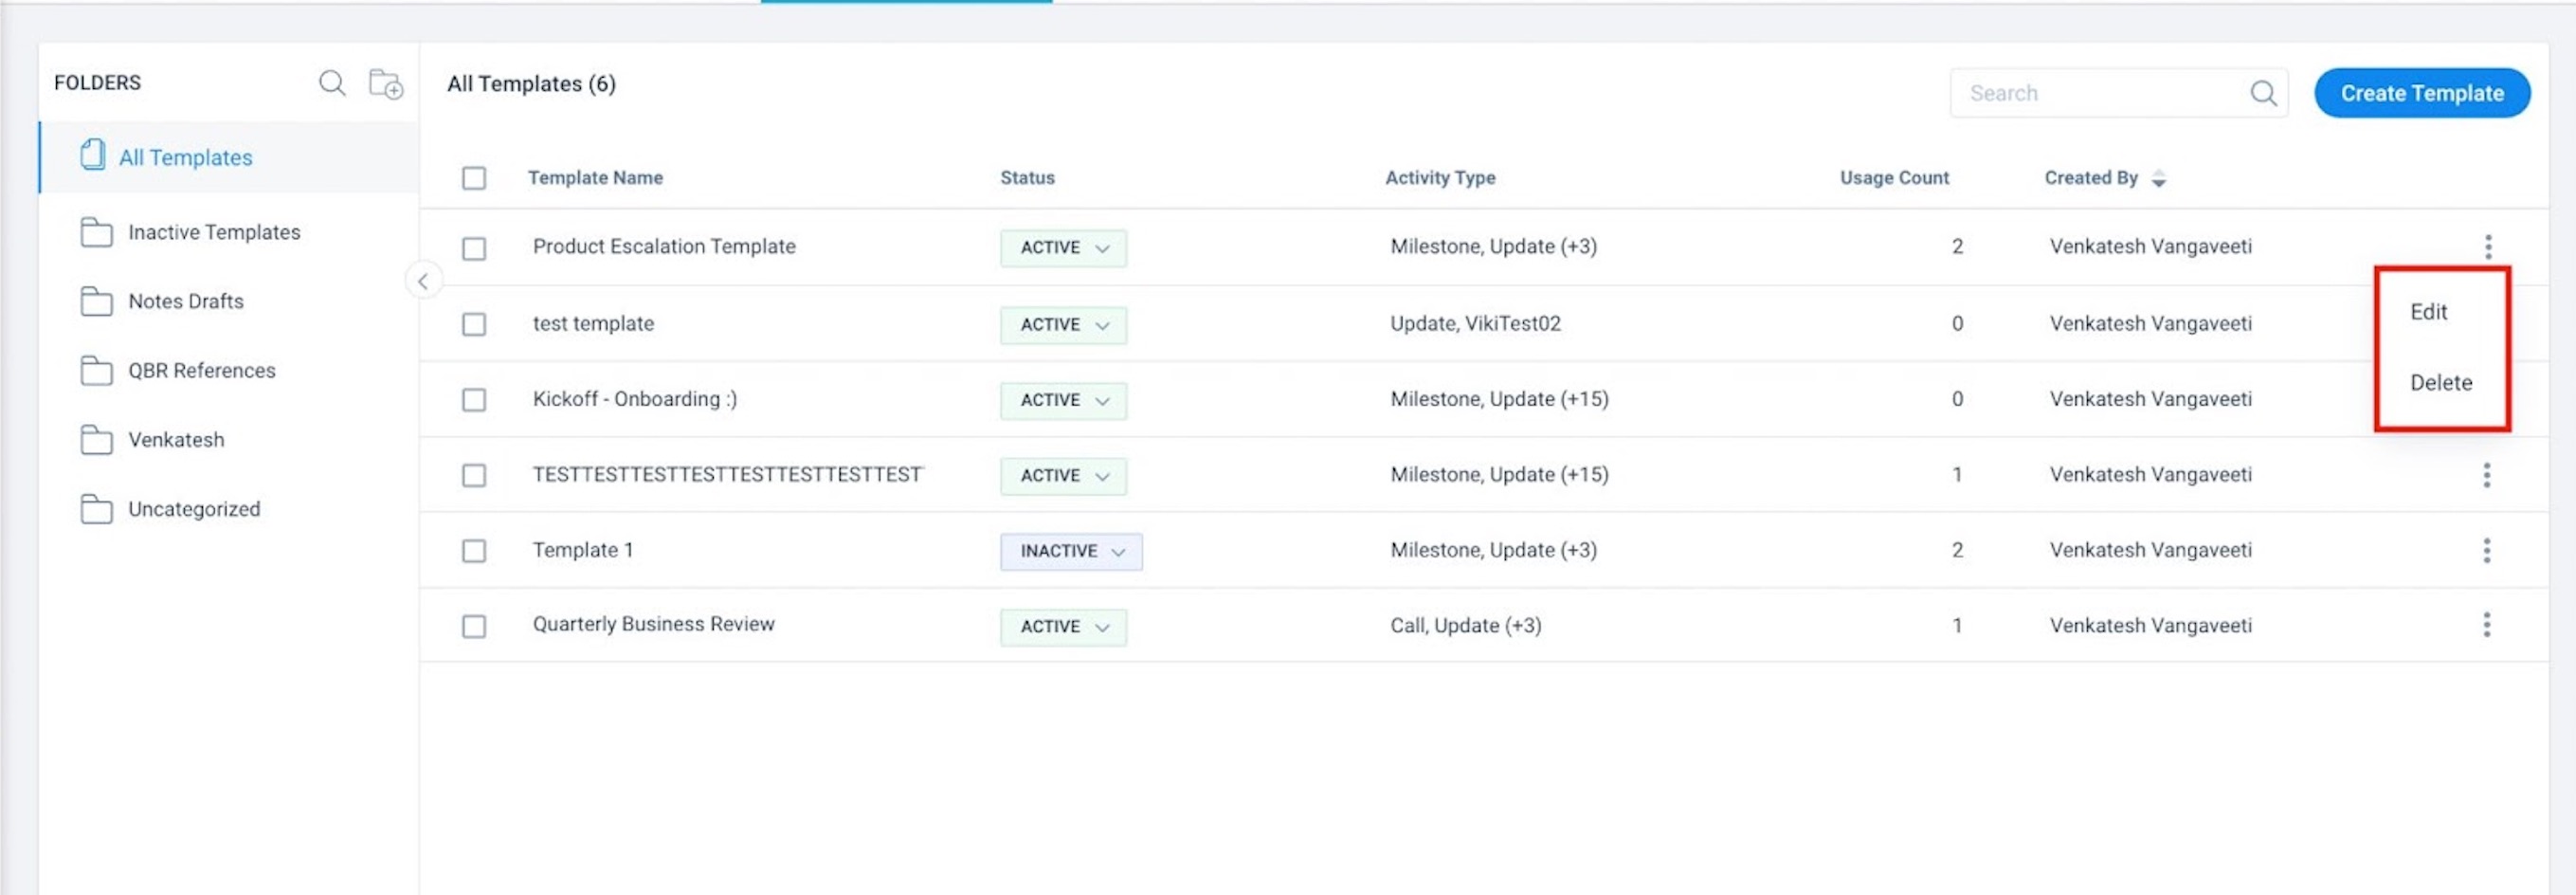
The Note Templates tab displays the list of Templates. Admin can set the status of the template to Active or Inactive from the list view.
To set the status of a template:
-
Navigate to Administration > Timeline > NOTE TEMPLATES.
-
In the All Templates section, select the status of the template in the Status column. Inactive Note Template will not be available for selection while logging the Timeline Activities.
-
Click Yes.

Notes:
- If you set the status of a template to Inactive, the template will not be available for all the Activity Types to which the template is assigned.
- You can also set the status to Active or Inactive from the Edit Note Template pane.
Edit or Delete an existing Template
Admins can modify the templates as required and delete the templates that you no longer intend to use. Use the context menu next to a template to take the following actions:
- Edit
- Delete

To edit an existing template:
- Navigate to Administration > Timeline > NOTE TEMPLATES.
- From the list view, click on the three-vertical dots icon and select Edit. The Edit Note Template pane appears.
- Edit the Activity as needed.
- Click Update.
To delete a Note Template:
- From the list view, click on the three-vertical dots icon and select Delete.
- Click Yes.
Create Folder
When a new Note Template is created, admins can add the Note Template to a folder by creating a new folder or select an existing folder.
To create a new folder:
- Navigate to Administration > Timeline > NOTE TEMPLATES.
- Click the Add New Folder icon. The Add Folder pop-up appears.
- Enter the Folder Name.
- Select the Parent Folder where you want to add the new folder.
- Click Save.
Notes:
- To move template/s to a folder, select the checkbox next to the template and click Move to, then click Yes.
- Folders with templates cannot be deleted.