How To Configure Calendar Widget in Gainsight Home
Gainsight NXT
Overview
The availability of the Calendar widget in Gainsight Home ensures that CSMs can improve their day-to-day activities such as attending customer calls, meetings from the application. CSMs can even start taking notes in the Calendar widget while attending meetings.
Note: Once admin configures the Calendar widget and enables it for a CSM, the CSM then authorizes the calendar and starts accessing all calendar events from Gainsight Home page.
For a specific calendar event, CSMs can directly add an Activity in the Timeline from the Calendar widget of Gainsight Home. For more information on how CSMs use Calendar in Gainsight Home, refer to the Calendar Widget for End Users in Gainsight Home article.
Note: Calendar widget and Timeline widget are integrated as one widget due to their close dependency.
Key Benefits for CSMs:
- Perform tasks faster and more efficiently.
- Save a lot of time and energy with less number of clicks to complete tasks.

Calendar Widget Limitations
- For updating the Calendar, the application relies on events from the Calendar system (Google Calendar and Exchange Calendar). Google Calendar does not publish events for Location and Notes updates.
- At any time only one calendar can be synced with Gainsight.
- Calendar Widget will not honor the global filters in Gainsight Home.
- Aggregated data is not supported.
- The Calendar Widget in Gainsight Home will only show the last 30 days and the next 60 days’ events.
Add Calendar Widget in Gainsight Home for Users
To add Calendar widget to Gainsight Home:
- Navigate to Administration > Gainsight Home > Configuration > click Customize Home.
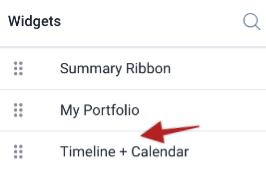
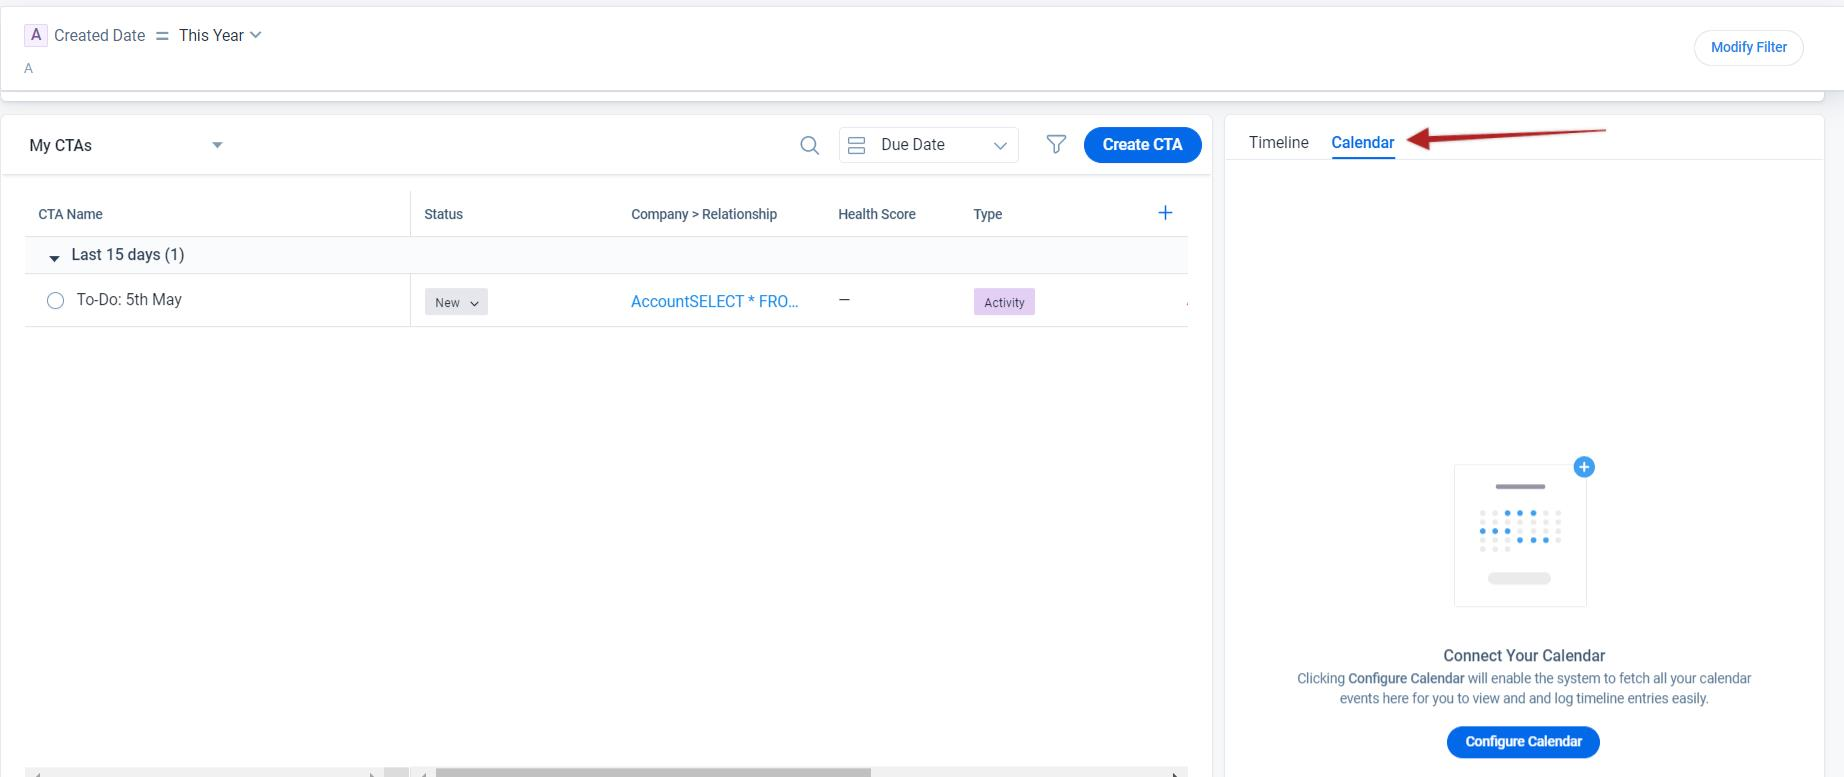
- Drag and drop the Timeline+Calendar Widget to the layout. The widget appears as a Calendar tab along with the Timeline tab.

Select Tabs
Admins can select Calendar or Timeline to be available as tabs in the widget.
To select the tabs:
- Once you add the Timeline+Calendar Widget to the layout, click the Settings icon.
- In the Select Tabs dropdown, select the Timeline and/or Calendar checkbox/es which you want your users to see.
- Click Save & Next.