Configure Multiple PX Connections in CS
This article explains how to configure multiple PX connections in your CS instance to enable the Gainsight platform.
Overview
Customers may use several PX subscriptions for different products they offer. They can manage and track product usage insights for all their PX subscriptions from a single CS subscription. This helps to streamline the process of product metric tracking of multiple products.
Key Benefits:
- Ability to view insights into user adoption as a whole, rather than for individual products being used.
- Ability to create Programs in Journey Orchestrator that trigger engagements from a specific PX subscription.
- Ability to trigger unified surveys, enablement, or health check artifacts. The survey responses can be analyzed from a specific PX subscription.
- Ability to pull data from different PX connections to create Data Designs and Reports.
- Ability to create rules in Rules Engine to view data from PX connections. For example, create a rule to view the unique users across the connections.
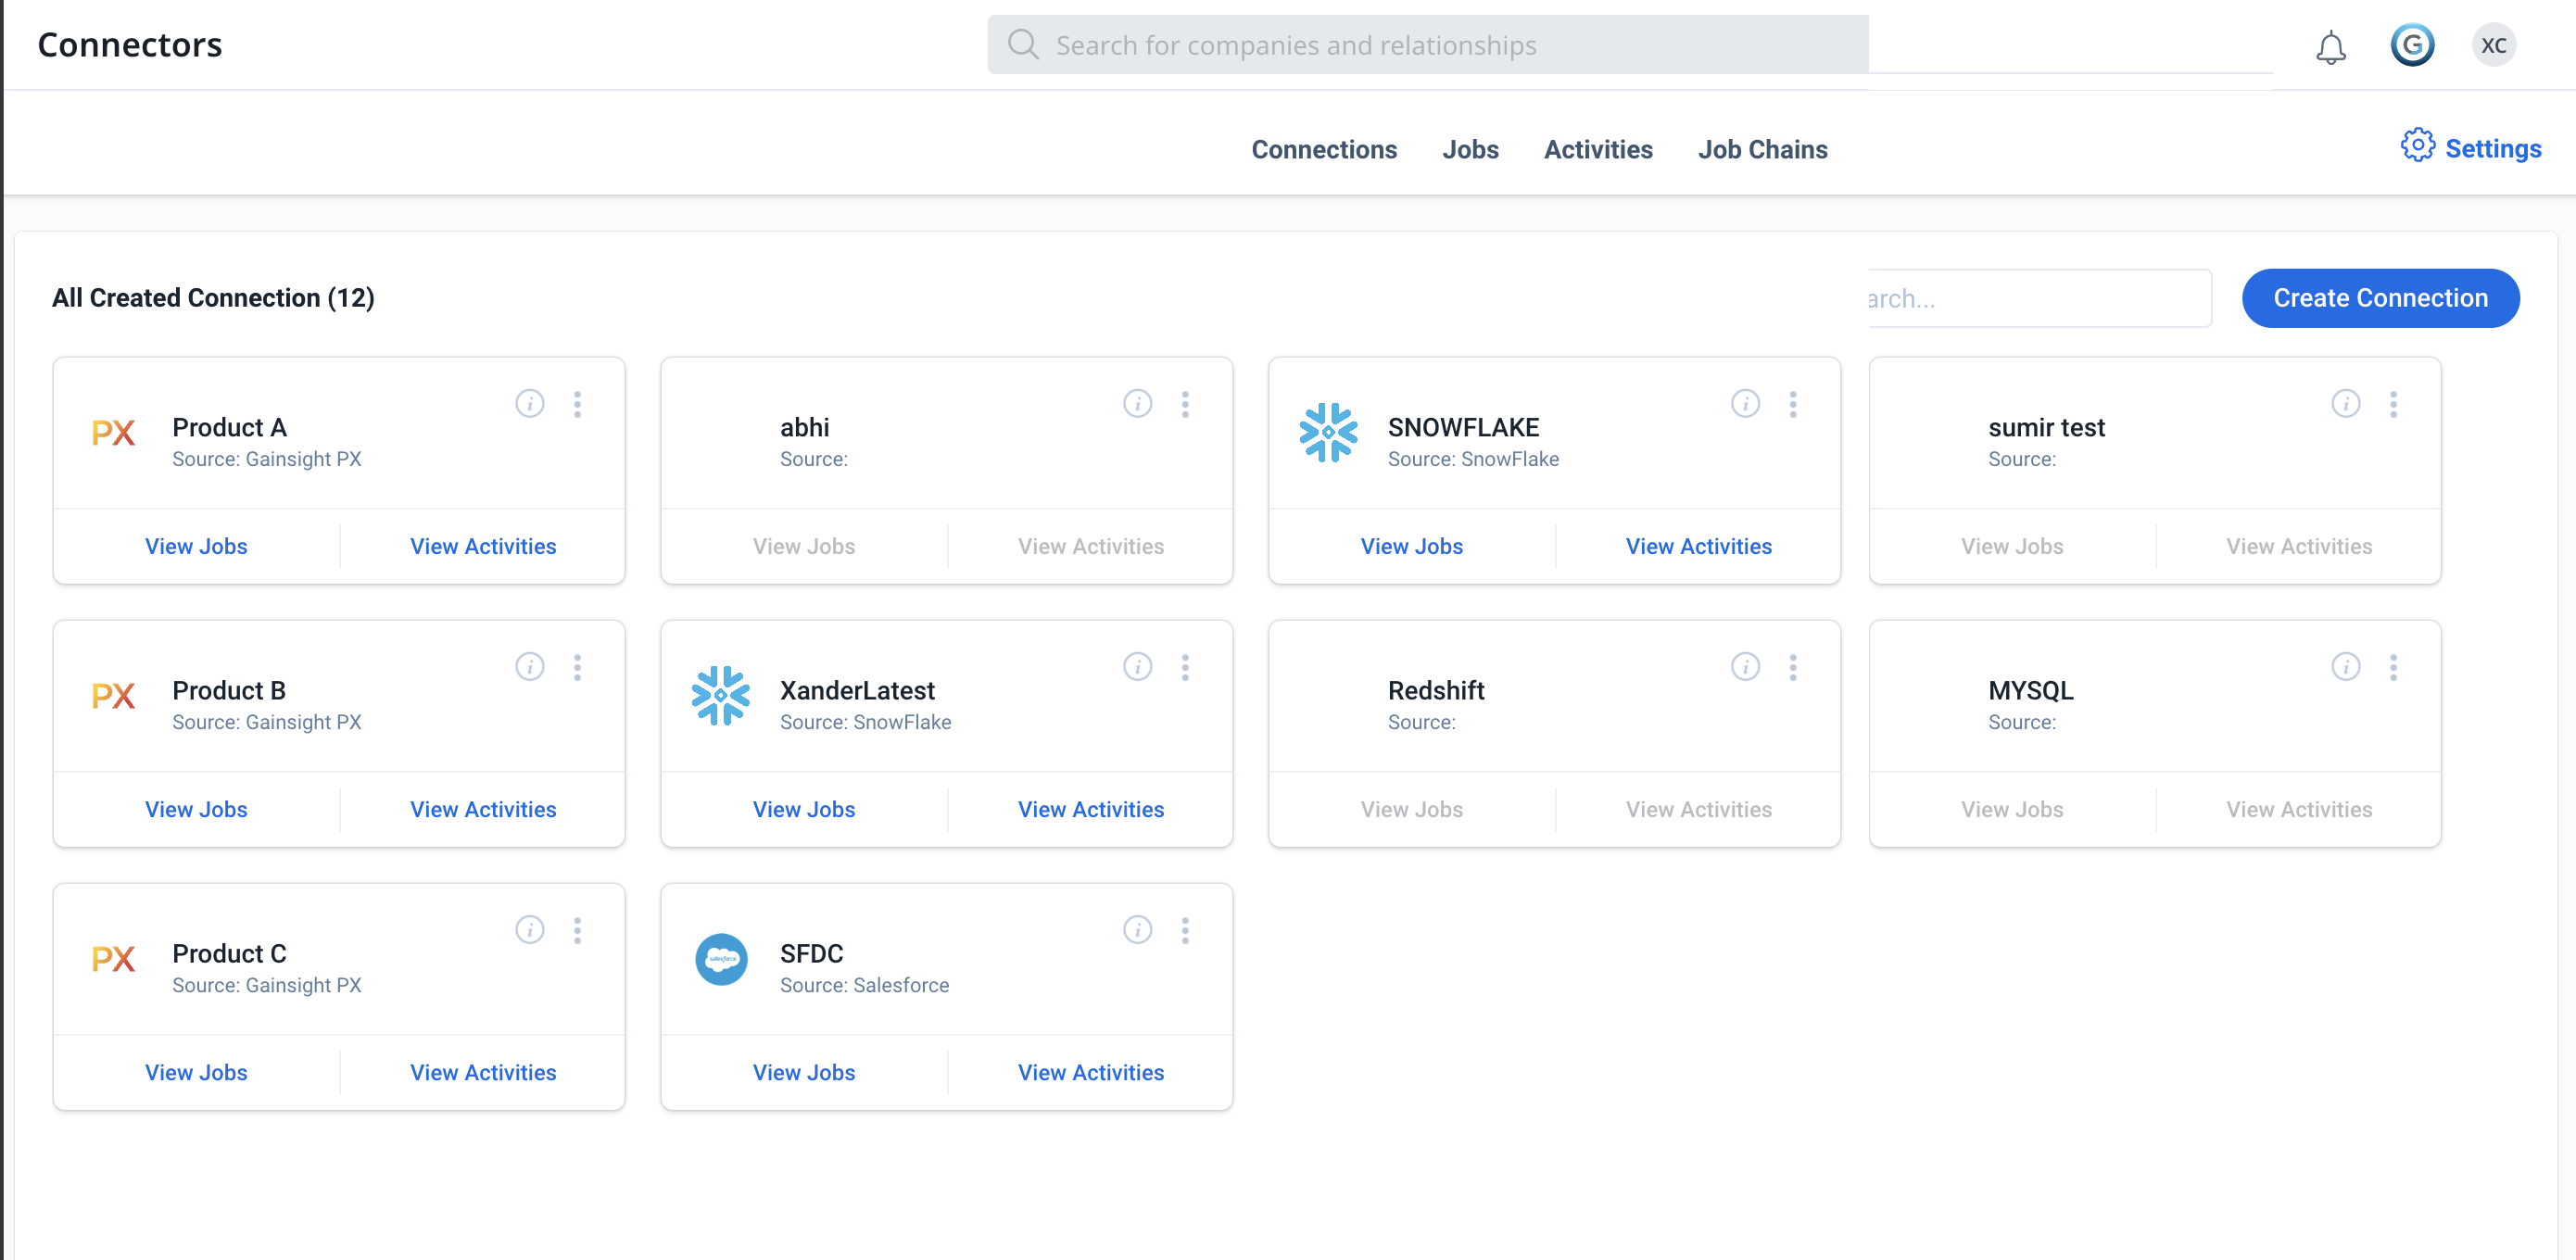
Configure Multiple PX Connections using Gainsight PX Connector
Create a connection from the Administration > Connectors 2.0 > Connections page to integrate PX with Gainsight CS. If you own multiple PX subscriptions for your products, then you can configure multiple PX connections in your Gainsight CS instance.
To create a PX connection:
- Navigate to Administration > Connectors 2.0 > Connections.
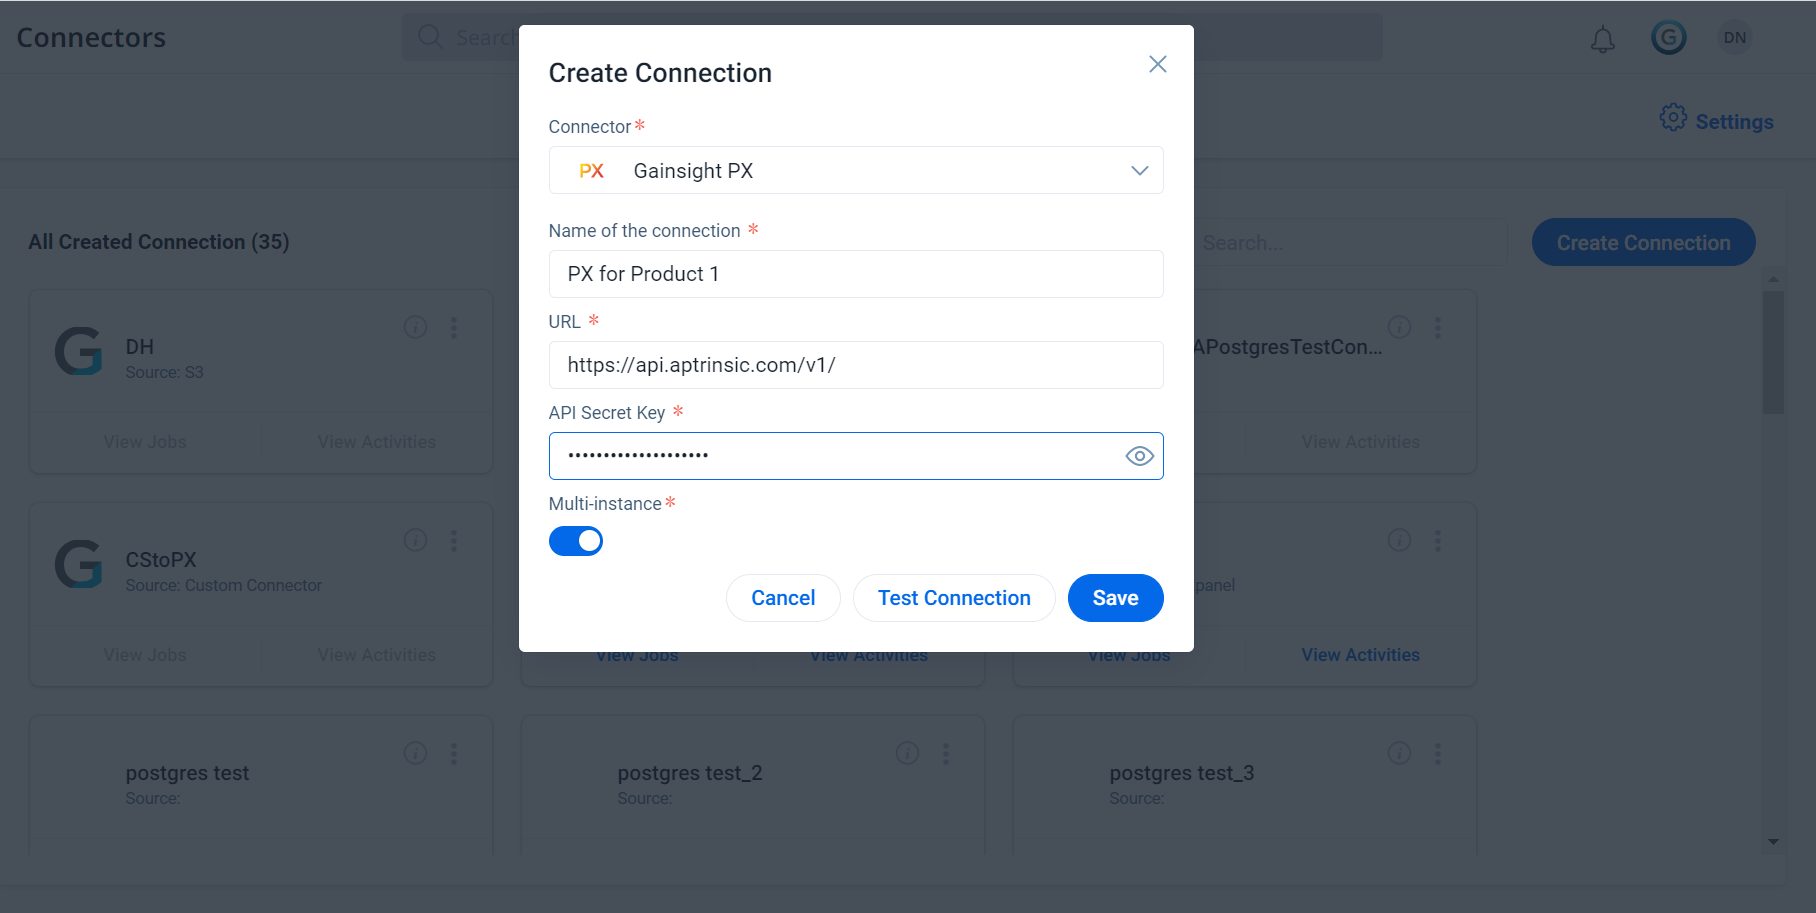
- Click Create Connection. The Create Connection dialog box appears.
- From the Connector dropdown list, select Gainsight PX.
- Perform the following actions:
- Name of Connection: Enter a name to identify the connection.
- API Secret Key: Enter the API secret key of the PX org that you want to establish a connection with.
Note: The REST API key is the API secret key of the Gainsight PX org. REST API key in PX can be created by navigating to the Settings > REST API section in Gainsight PX. Contact your Gainsight PX admin to get the API secret key
- (Optional) Test Connection: Click Test Connection to check if the entered API key is correct.
- Click Save. A connection confirmation dialog box appears.
- Click Done. (or)
- Click View Jobs to navigate to the Jobs page.
IMPORTANT: The API Secret Key for each connection must correspond to a relevant PX subscription.
Create Jobs
This section explains how to create jobs to sync data in the additional PX connections.
Prerequisite: For each PX connection, you must create a field in Company or Person model object to store the PX Account ID and the PX User ID fields from that connection. For more information on creating fields in objects, refer to the Basic Operations in Gainsight Data Management article in the Additional Resources section.
The out-of-the-box jobs (Company Sync job and Company Person Sync job) are not configured for the additional PX connections. These jobs are available only for the primary PX connection. You need to create custom jobs, select the required connection as the data source, and map the fields to bring data into staging objects. This helps to review the data before promoting it to Standard Jobs in CS. You can then configure a CDP project to perform Company Unification or Person Unification. For more information, refer to the unification articles in the Additional Resources section.
Note: Alternatively, you can build a rule in Rules Engine to identify the data from PX and populate the fields in the standard objects in CS.
To create Jobs:
- Navigate to Connectors 2.0.
- Click the Jobs tab.
- Click Create Job.
- From the Data Source dropdown, select the required PX connection.
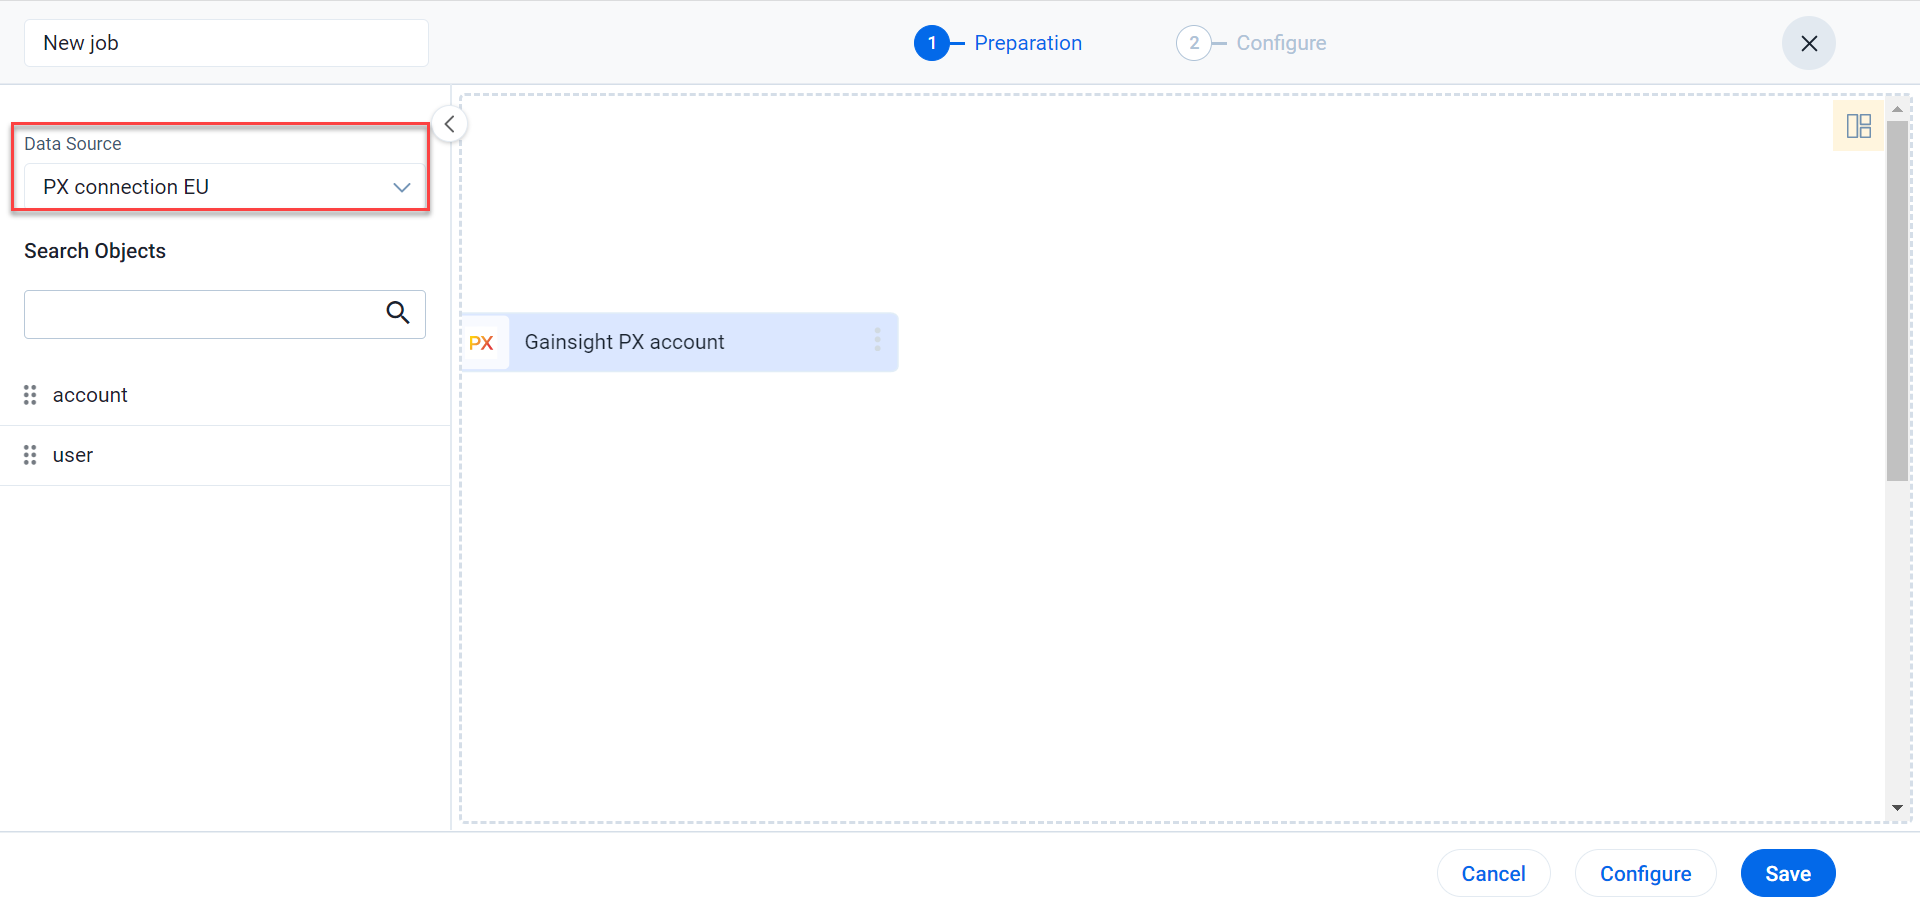
- Drag and drop the account and user objects and perform field mapping.
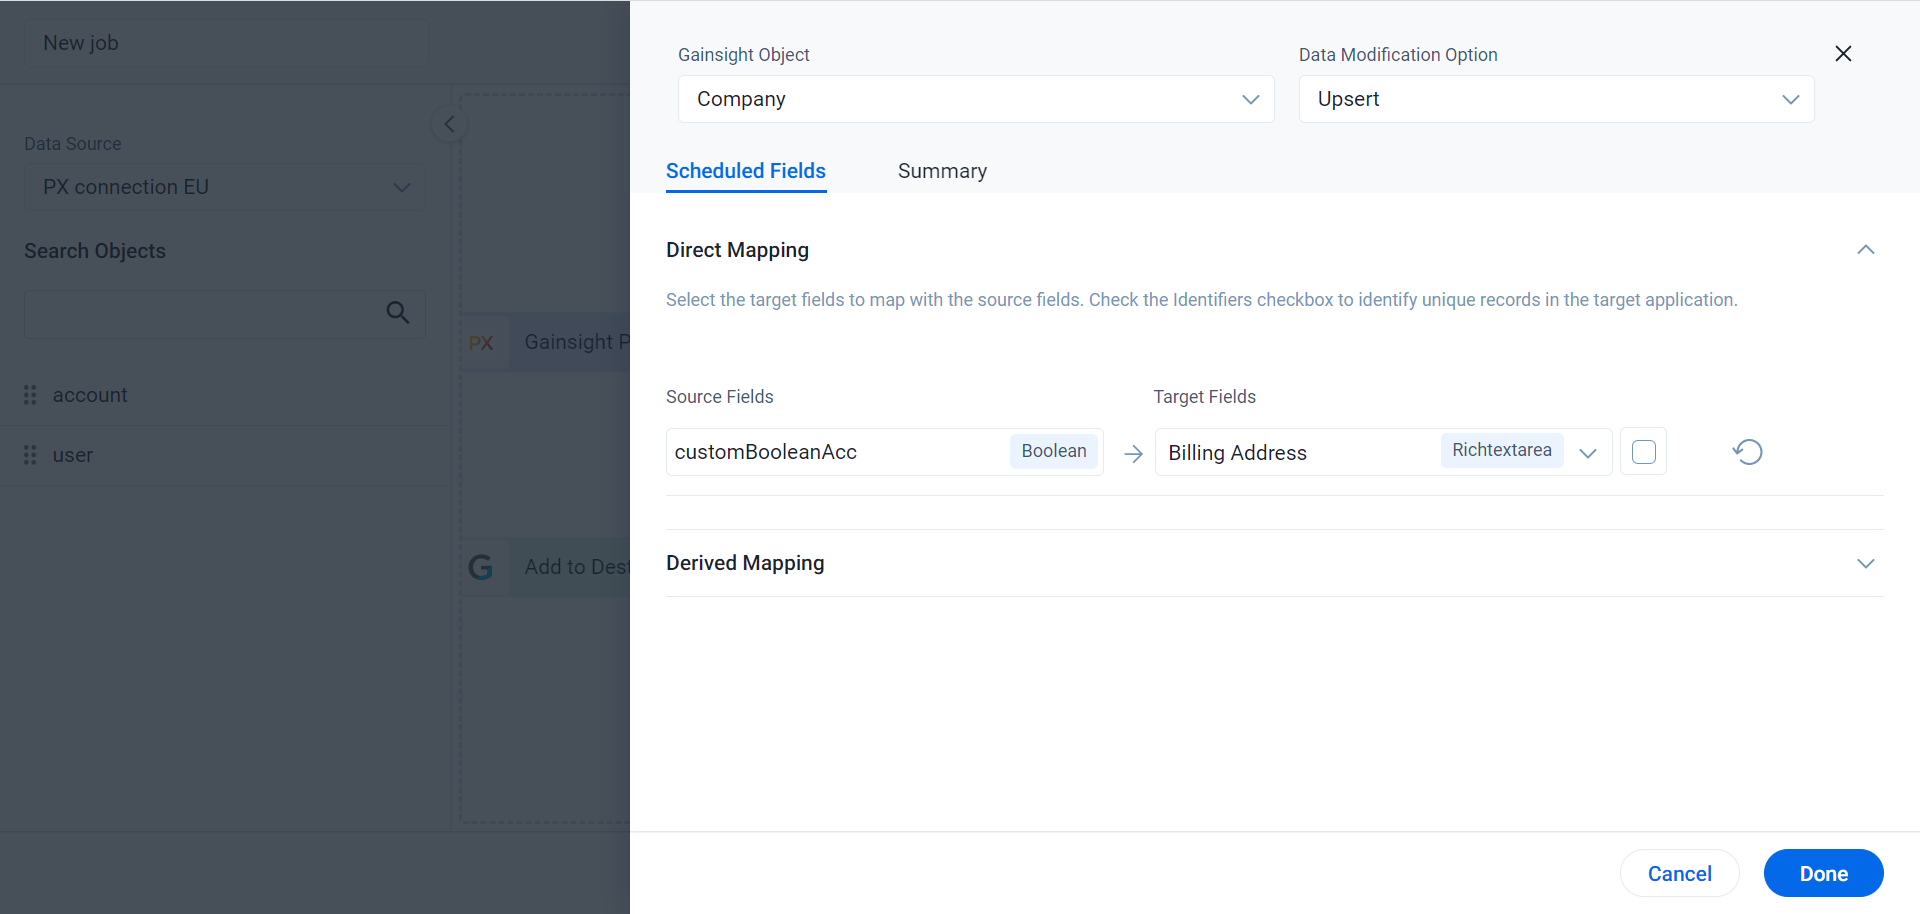
- Click the three-vertical dots menu icon.
- Select the Add to Destination option.
- Select the Gainsight Object to which you want to push the data.
- Provide the mapping details.
- Click Done. The data is pushed to the standard Gainsight objects.
For more information on configuring the connector, refer to the Gainsight PX Connector article from the Additional Resources section.
Configure Identifiers
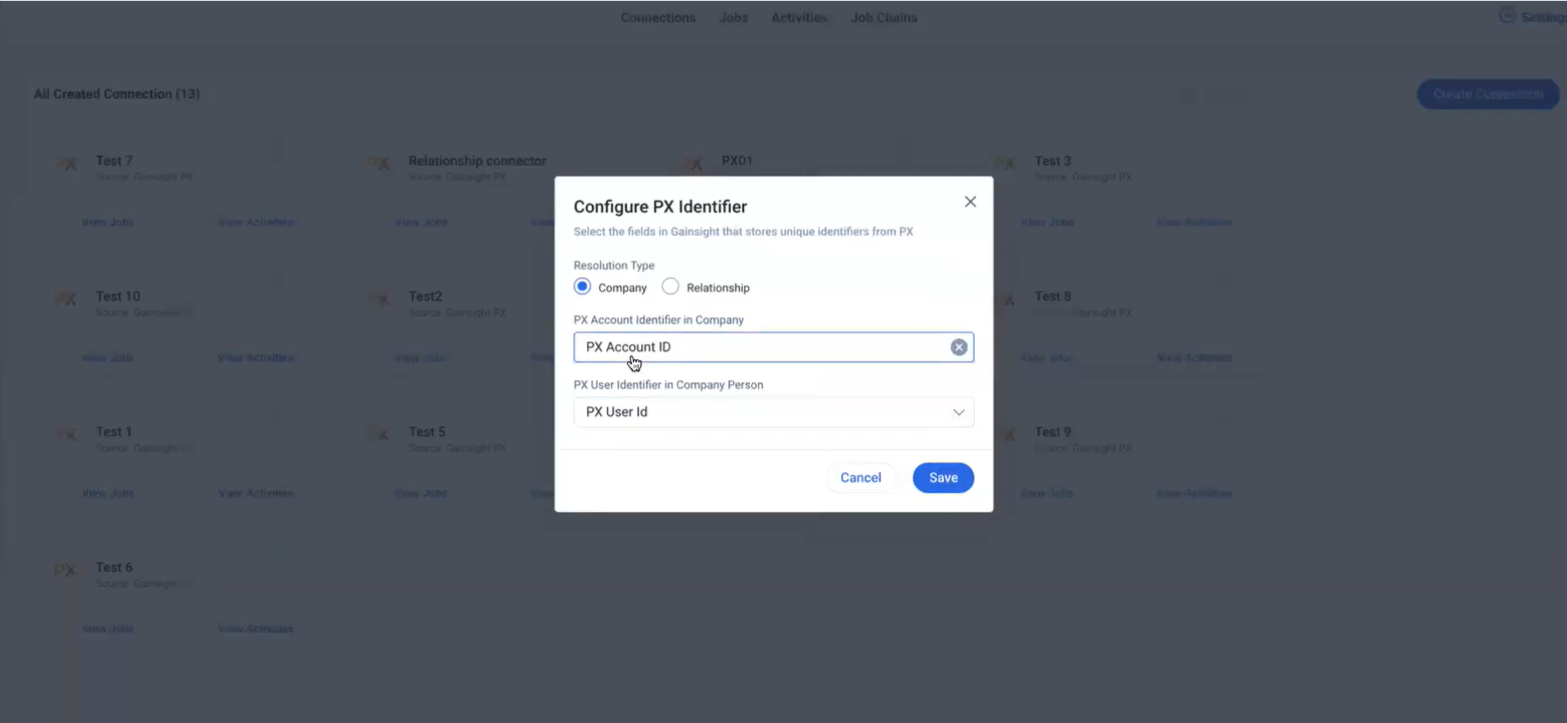
You need to configure identifiers for the PX connection, if you want to perform Survey or Journey Orchestrator integrations.
To configure PX Identifier:
- Navigate to the PX Connection.
- Click the three-vertical dots menu icon.
- From the available options, select Configure PX Identifier.
- Select the Resolution Type as Company or Relationship.
- Select the Account or User identifiers.
- Click Save.
Enable Data from Multiple PX Connections in Adoption Explorer
Once the connections are established for PX subscriptions, you can navigate to Adoption Explorer and select the required PX Connection while creating projects.
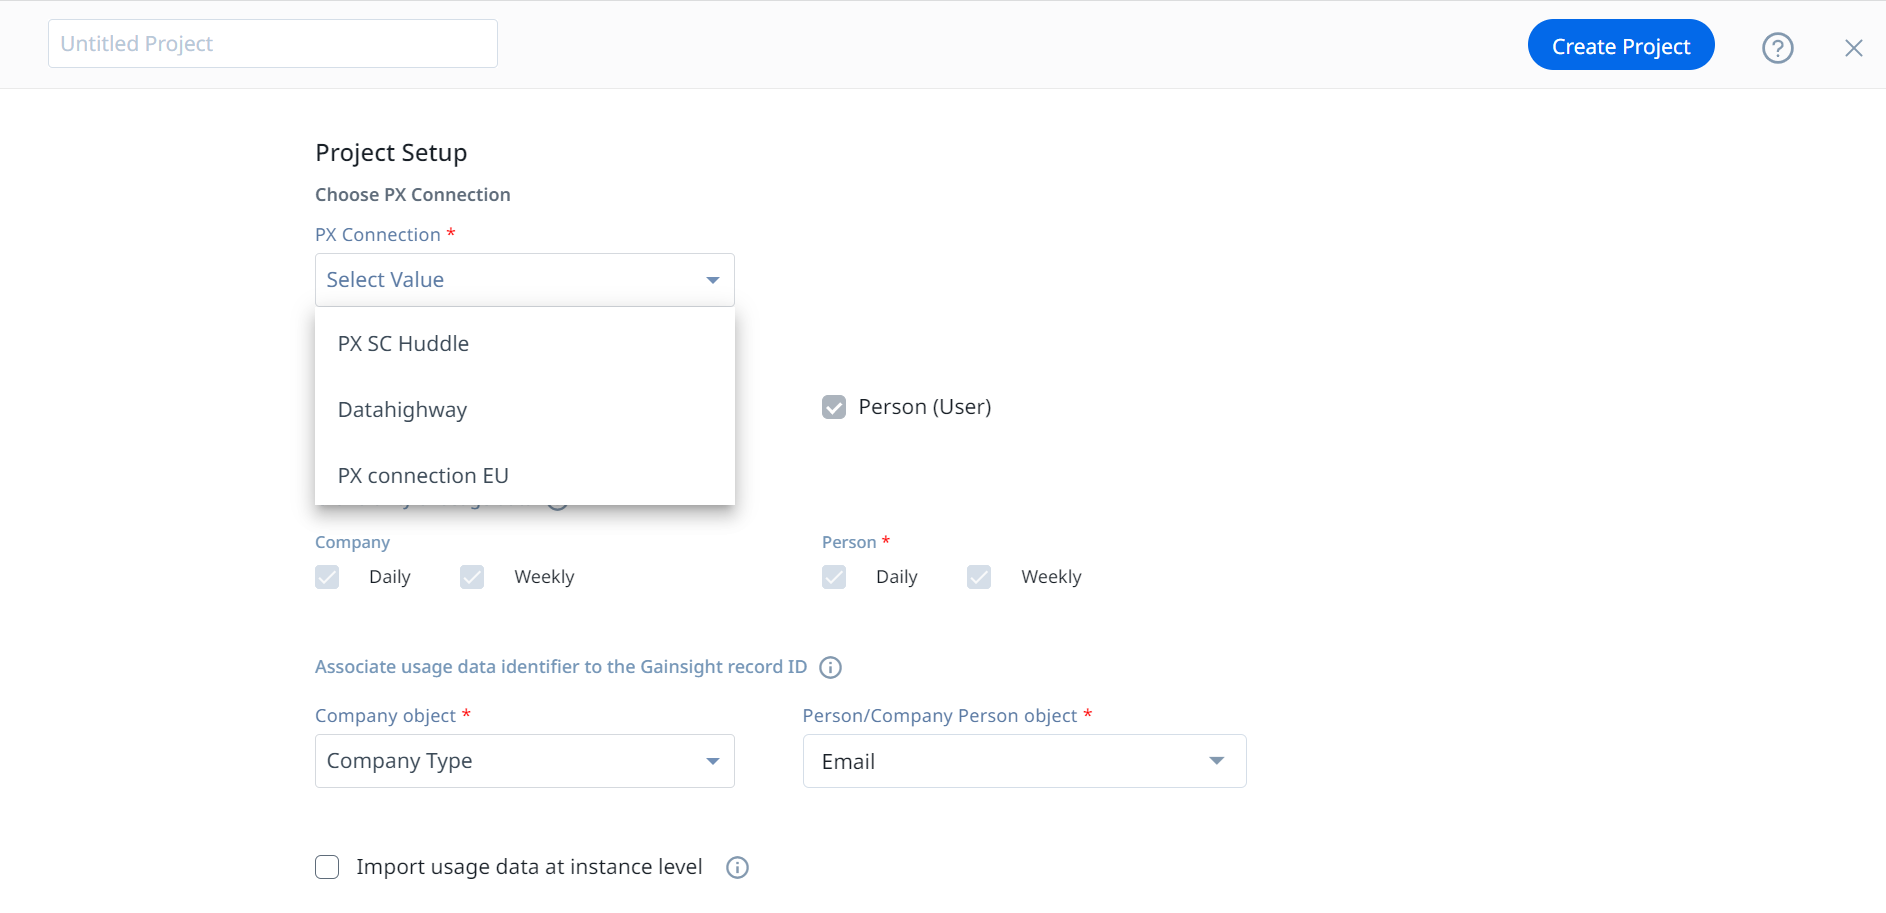
Configure identifiers, fields, and field settings based on the data you want to pull into Adoption Explorer projects.
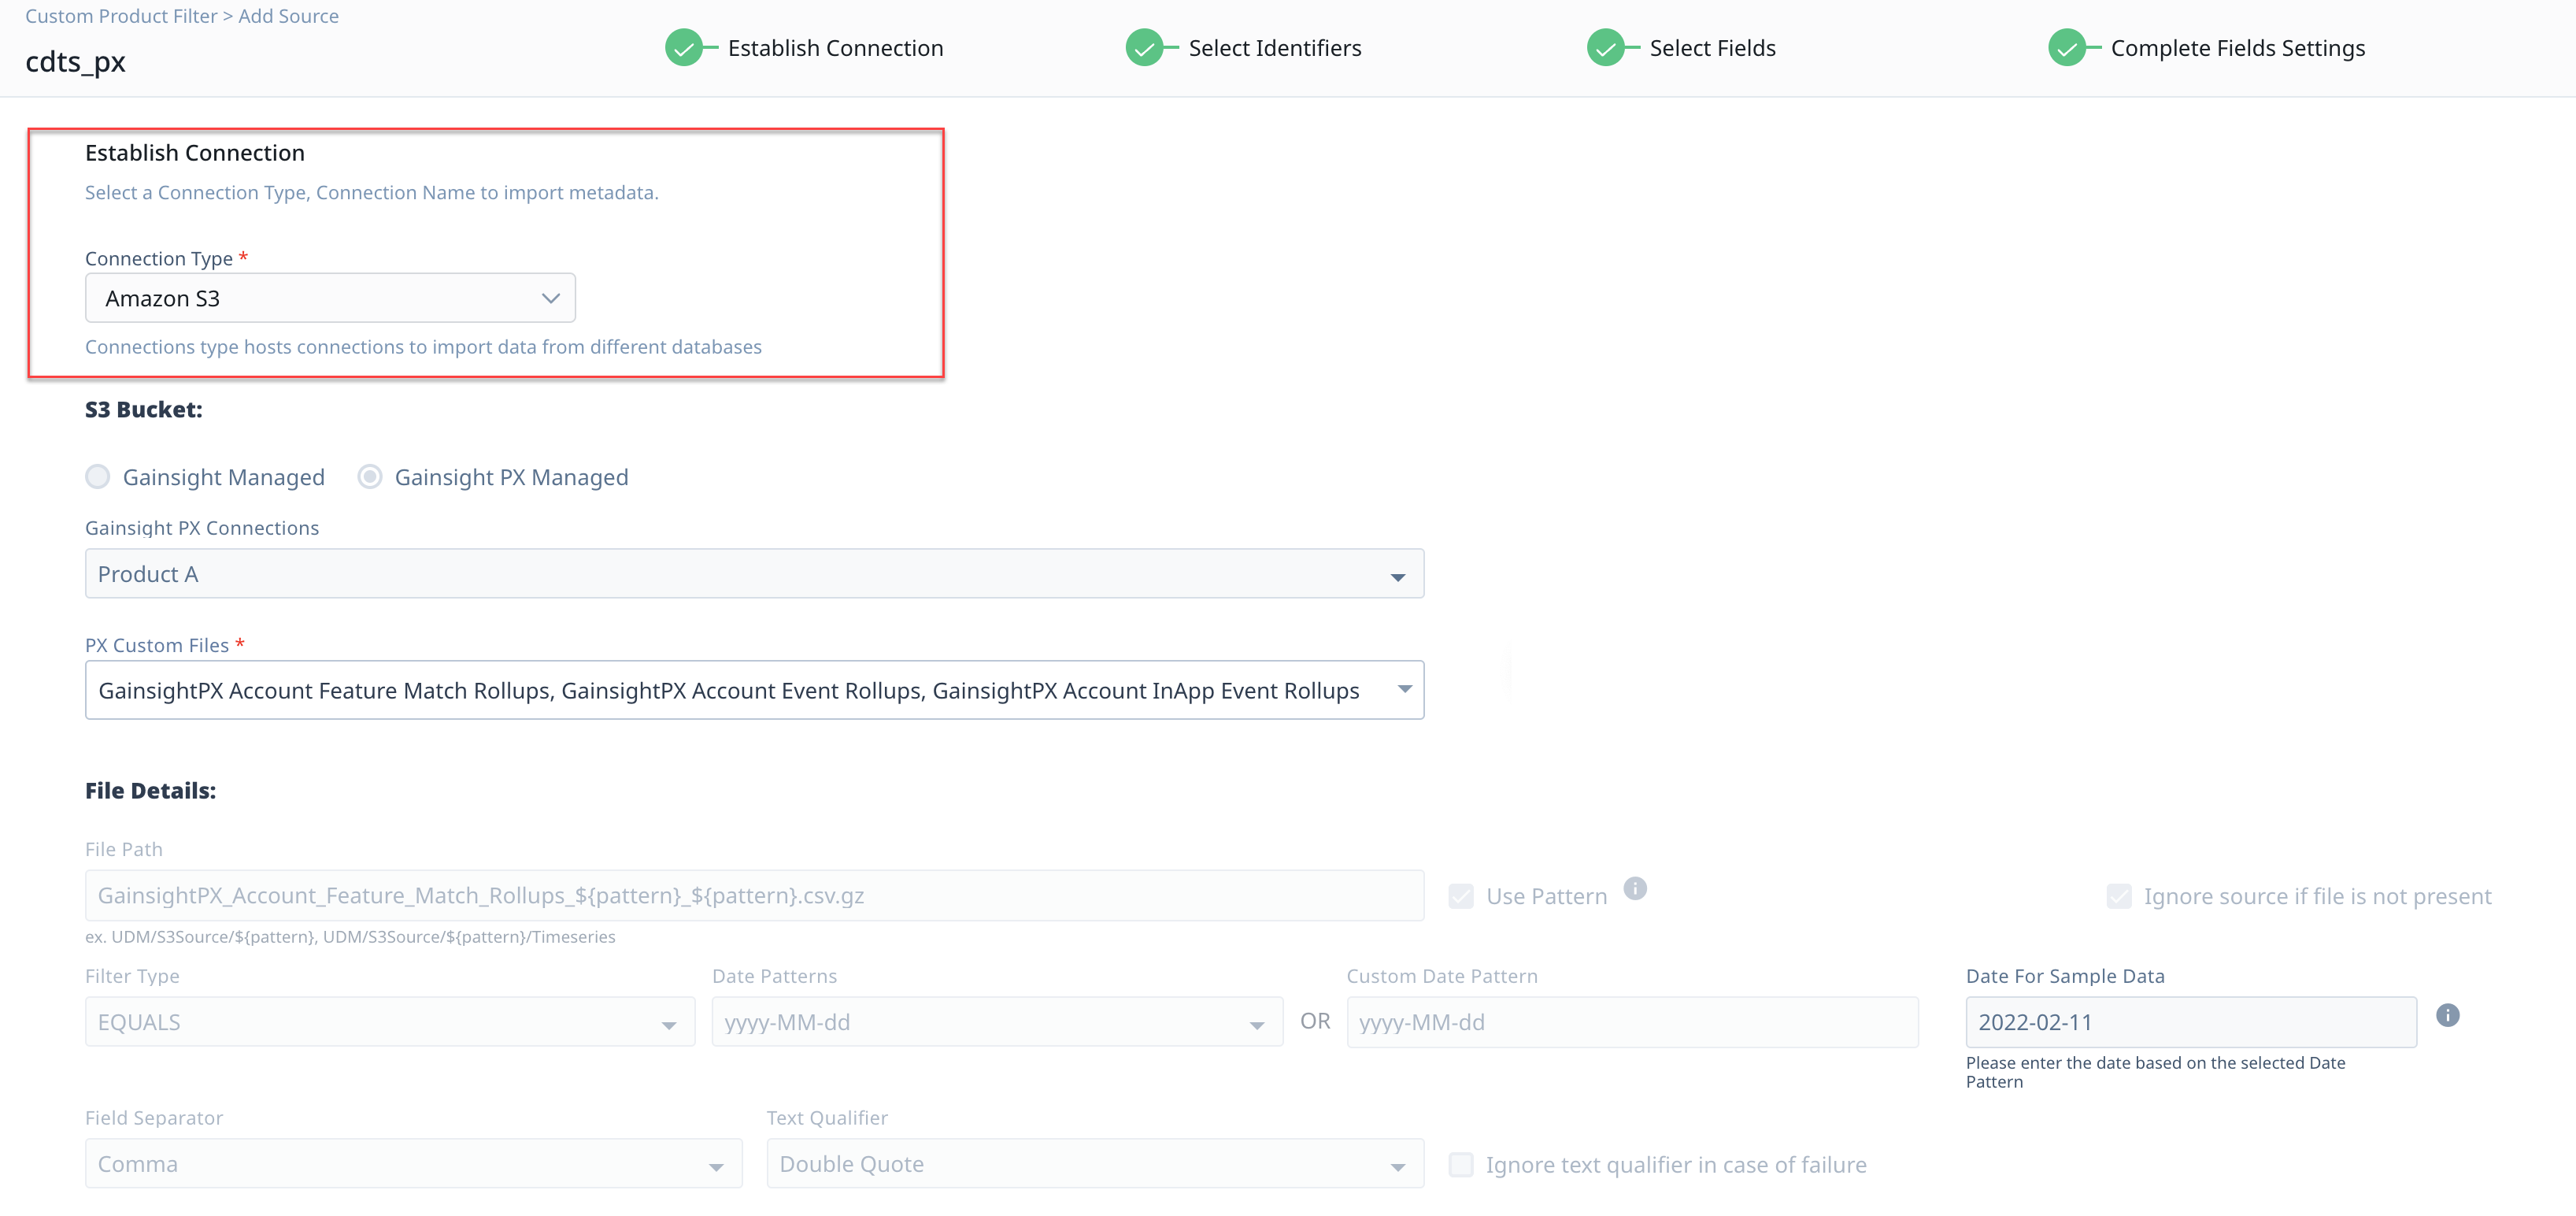
You can then create dashboards to analyze project data from different PX connections.
For more information on enabling PX data, refer to the Enable Gainsight PX Data in Adoption Explorer article from the Additional Resources section.
Trigger Engagements from a Specific PX Connection in Journey Orchestrator Programs
You can trigger PX in-app engagements from Programs, take action based on the engagement events in Programs, and analyze and measure Program and Engagement effectiveness. Using this feature, you can build programs and trigger engagements from a specific PX connection.
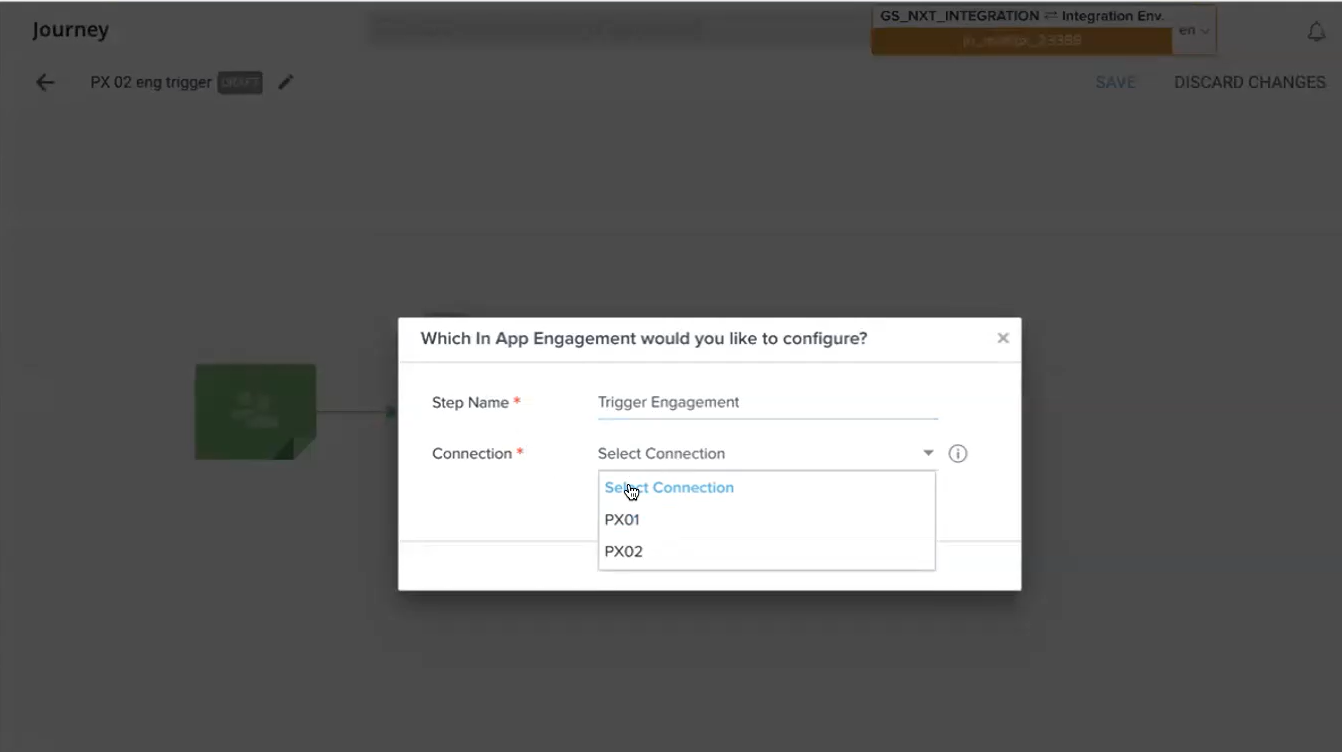
For more information on how to trigger PX engagement using Programs, refer to the Trigger PX In-app Engagements from Journey Orchestrator article from the Additional Resources section.
Configure Survey Data for Multiple PX Connections
When you sync PX survey data with Gainsight CS, you must configure the PX identifier to ensure that the data is synced accurately. Specifying the fields in the Company and Relationship model helps Gainsight to identify the required user and account information of the survey responses collected.
Note: With this feature, Gainsight also supports sync to Relationship Surveys.