Webhooks
The article describes how an admin can add webhooks and use them in notifications.
Overview
Webhooks in Staircase AI allow you to trigger real-time actions in external systems the moment a specific event occurs. Once configured, webhooks can be selected as a notification destination, enabling automated workflows across your tools without manual intervention.
This closes the gap between signal detection and action. When Staircase AI detects a risk or opportunity, it can immediately trigger a response in your connected systems without a human in the loop.
Webhooks also enable engineers to programmatically connect systems and automate workflows. For example, they can trigger a welcome email when a new decision-maker is identified or schedule a meeting when a churn risk is detected. Webhooks can also be used to automatically create tasks or support tickets based on specific events. This capability aligns with the needs of technical customers looking to integrate and synchronize their systems.
Example Business Use Case
An admin wants to automatically trigger actions in external systems when Staircase AI detects specific customer signals. By configuring a webhook and selecting it as a notification destination, Staircase AI sends the signal to the connected system in real time. This removes the need for manual monitoring and ensures faster response to critical customer signals.
Set Up Webhooks
Before you add a webhook in Gainsight, ensure that you have a working application on your server that is ready to receive requests. Each application has a dedicated endpoint URL, and the structure of that URL depends on the destination system.
For example: https://your-domain.atlassian.net/rest/api/3/issue or https://hooks.zapier.com/hooks/catch/123456/zbB61
To create webhooks:
- Navigate to Settings > Configurations > Webhooks.
- Click Add webhook. The Add webhook dialog box appears.

- Enter Label, Description (optional) and Webhook URL.

- Click Add. The Webhook secret key dialog box appears.
- Click Copy to clipboard icon to copy the webhook secret key. You’ll use it to verify that incoming calls are genuinely from Staircase

- Click Close.
You can regenerate the webhook secret key at any time using the Regenerate secret option from the three-dot vertical menu.

You can disable a webhook using the Disable option to pause notifications and re-enable it later when needed. This allows you to temporarily stop notifications without deleting the webhook.

Staircase AI transmits the secret key to the webhook endpoint as a hashed value in the request header under x-staircase-signature. This allows the endpoint to verify that the request originated from Staircase AI.
Use Webhooks in Notification
After configuring webhooks, create a notification to start receiving event alerts. To do so:
- Navigate to Settings > Notifications.
- Click Add notification to add a new notification. Alternatively, click Edit to modify an existing notification. For more information on how to configure notifications, refer to the Configure Notifications section in Set Up Email and Slack Notifications in Staircase article.
- In the Notify section, select Webhook.
- Select a webhook from the dropdown list.

- Click Save.
An example of the sent data:
Note: The request header includes the hashed secret key under "x-staircase-signature" for secure identification
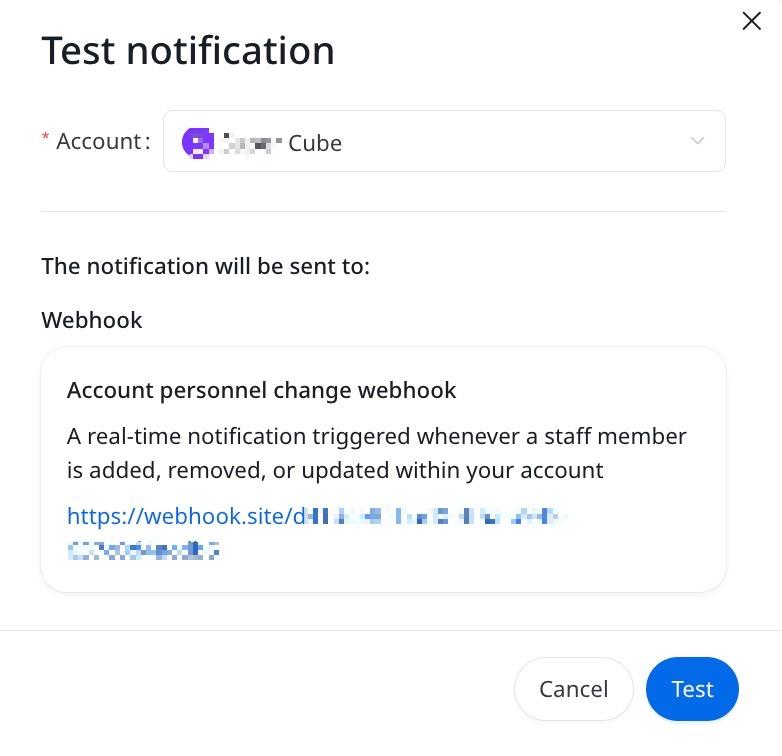
- From the three-dots vertical menu, click Test notification. The Test notification dialog box appears.

- Select an Account from the dropdown list.
- Click Test.