Track your Users and Accounts
This article explains how users and accounts are tracked or sent to your Gainsight PX subscription.
Overview
If you have already completed the initial setup steps outlined in Install PX guides, then your web application is now sending real-time events (i.e. page view, sessions, clicks) to Gainsight PX along with their respective user and account information. For more information, refer to Install PX articles from the Additional Resources section.
Here's a quick setup video:
The Identify Call
The Gainsight PX javascript SDK exposes an identify() call that your developers have added to the authentication/login area of your web application. The identify call is made during the authorization/login area of your web application and has two parameters as per this pseudo code:
aptrinsic('identify', [userObject],[accountObject]);
Note that the useObject parameter is required but the accountObject parameter is optional (i.e. when the user's account information is not available).
// required
aptrinsic('identify', {id: 'user-id'});

// optional
aptrinsic('identify', {id: 'user-id'},{id:'account-id'});
Identify your Users (Post Successful Login)
Here is a sample identify call that is passing some user and account info to your Gainsight PX subscription.
// Minimum Required
aptrinsic('identify', {id: 'user-id'});
// optional to include the account object
aptrinsic('identify', {id: 'user-id'},{id:'account-id'});
The value for the user and account id's must be unique across your Gainsight PX subscription. Typical examples of id can be a Unique Identifier coming from your database, a GUID, or the user's email address.
Default Attributes
Your Gainsight PX subscription comes loaded with a default set of user and account attributes. For more information, refer to the User and Account Model article from the Additional Resources section. The User and Account Model article lists the current set of default attributes and their detail. To see the list of all default and custom attributes, navigate to Administration > Attributes.
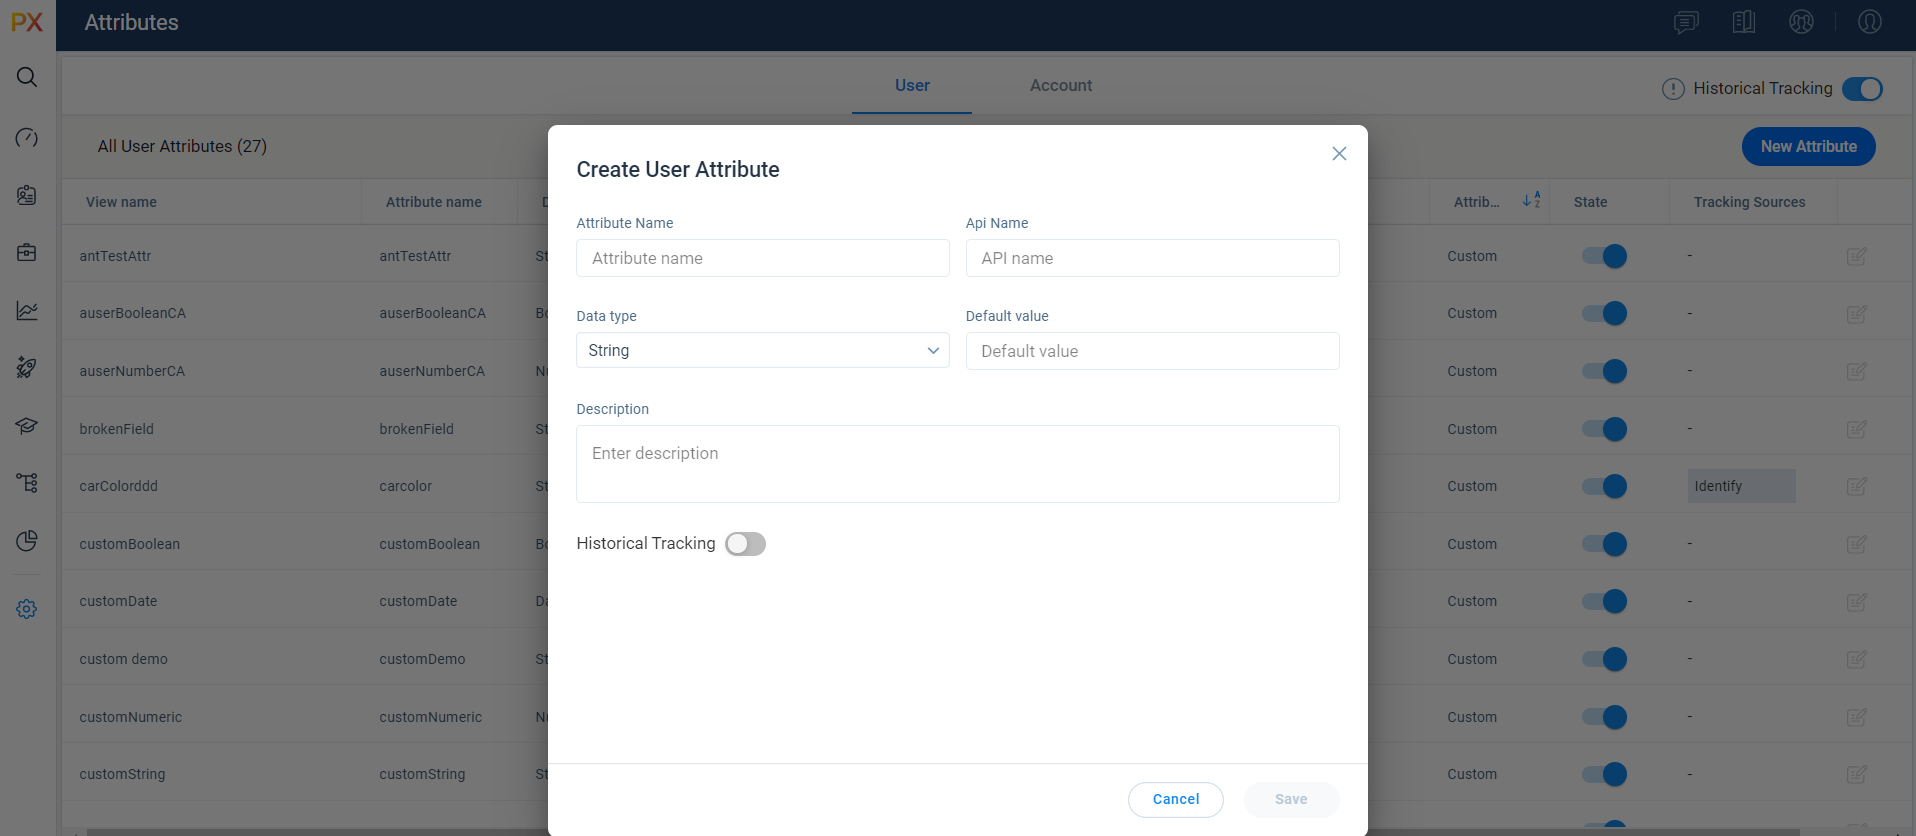
Custom Attributes
If you have user or account attributes that are not part of the default set of attributes, you can add them as custom attributes by navigating to Administration > Attributes and clicking on the +New button.
In case you are using the Date type field - you must pass it as UTC time in milliseconds
Take notice of the Attribute’s API name as this will be the name to use in your identify() call. Remember that the attribute name should match exactly what is defined as the Attribute Name in the Administration > Attributes page.
// it is recommended to include the user and account along with custom attributes
aptrinsic('identify',
 {
   'id': 'unique-user-id',             // Required for logged in app users
   'email': 'useremail@address.com',
   'signupDate': 1516234662215,//UTC in milliseconds
   'firstName': 'John',
   'lastName': 'Smith',
   "userHash": '', // optional transient for HMAC identification
   // flat custom attributes
    "plan" : "gold",
    "price" : 95.5
 },
 {
   'id':'IBM',                         //Required
   'name':'International Business Machine',

   // flat custom attributes
   'Program': 'Platinum'
 });
IMPORTANT: When sending JSON values, be sure that
- String types are enclosed in quotes
- Number types are NOT enclosed in quotes
- Date types are sent as a Long Value using Epoch time in milliseconds, like here.
Update User Attributes
// updating a user attribute dynamically

aptrinsic('set', 'user', {'firstName' : 'Elad', 'lastName' : 'Cohen', 'role': 'Software Engineer'});
Upsert Users
You can upsert a user with the email address using our PX Dataloader or PX REST API.