Enrich Custom Objects
This article explains how an admin can enrich custom object data with Company GSID or Person GSID for enhanced analytics and workflow.
Overview
Admins can ingest data from multiple sources into Gainsight by configuring data sources in Unification. The Enrich Custom Object in Unification helps admins to map this data to Company or Person data based on the GSID.
Custom dataset becomes valuable in Gainsight when associated with Company or Person GSID. With Unification leverage its capability to identify the data for the right Company or Person even when there is no exact match ID.
Enrich Custom Object Data
Enrich custom datasets to make them more valuable by associating them with Company or Person GSID.
To enrich custom object data:
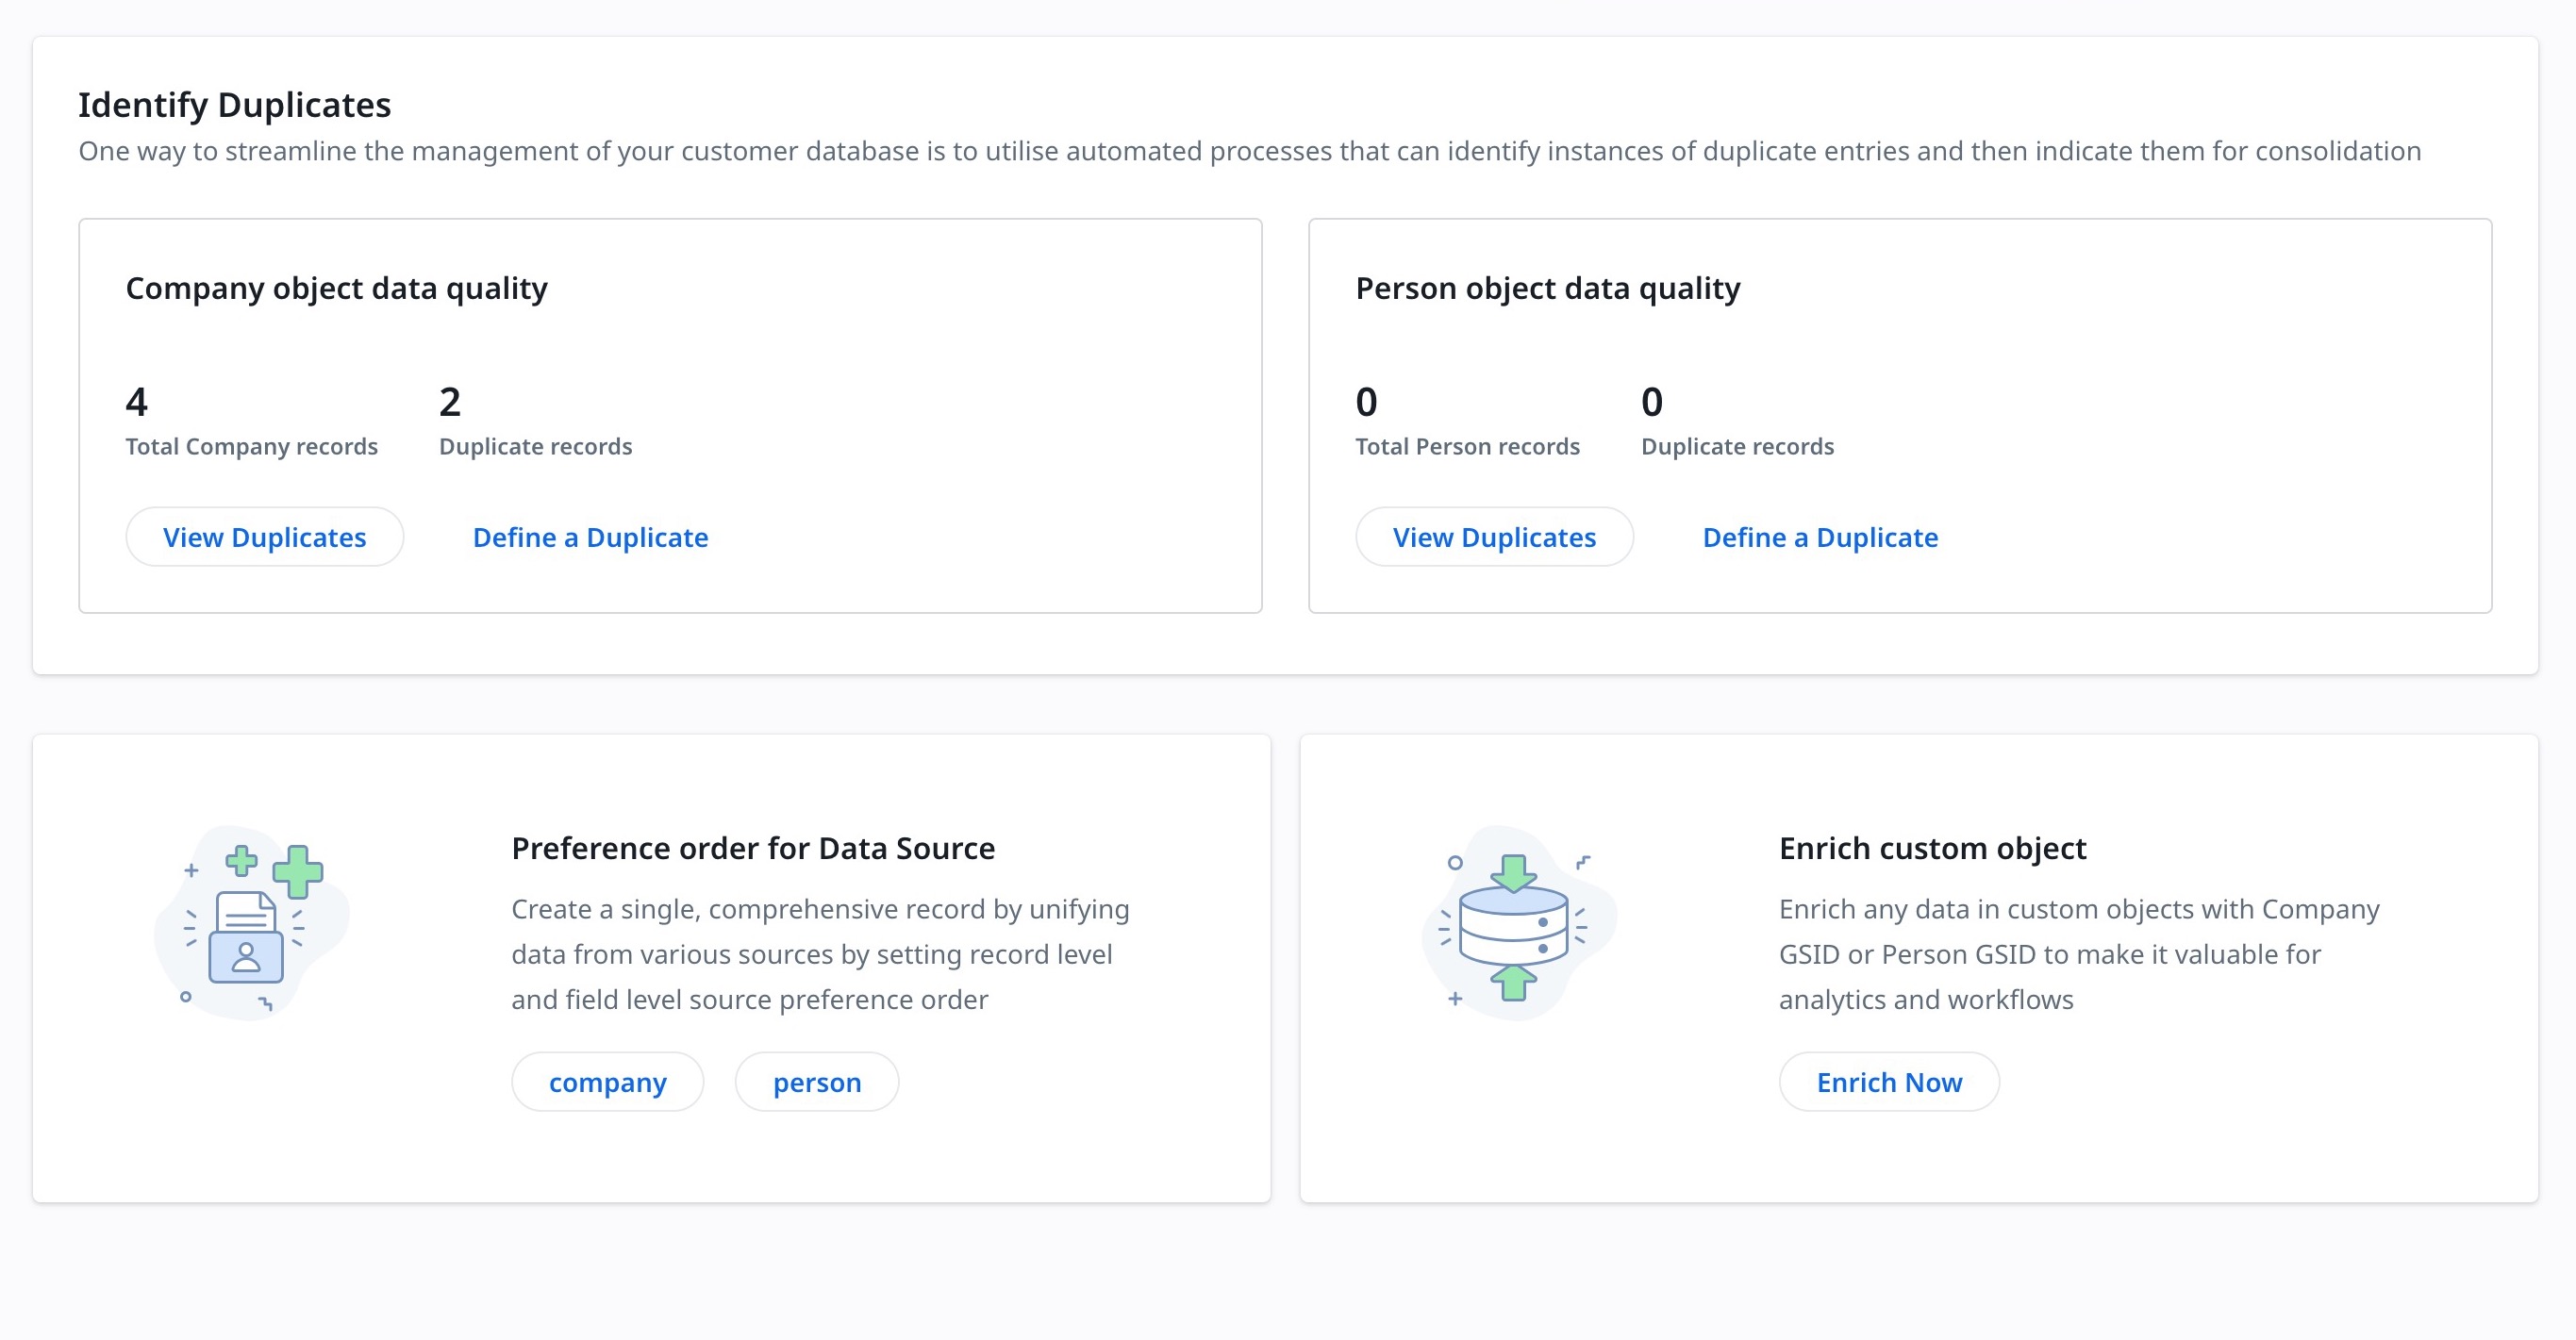
- Navigate to Administration > Unification > Click Enrich Now. The Enrich Custom Objects screen appears.
Note: The Enrich Custom Object page displays the custom objects available from the data sources.
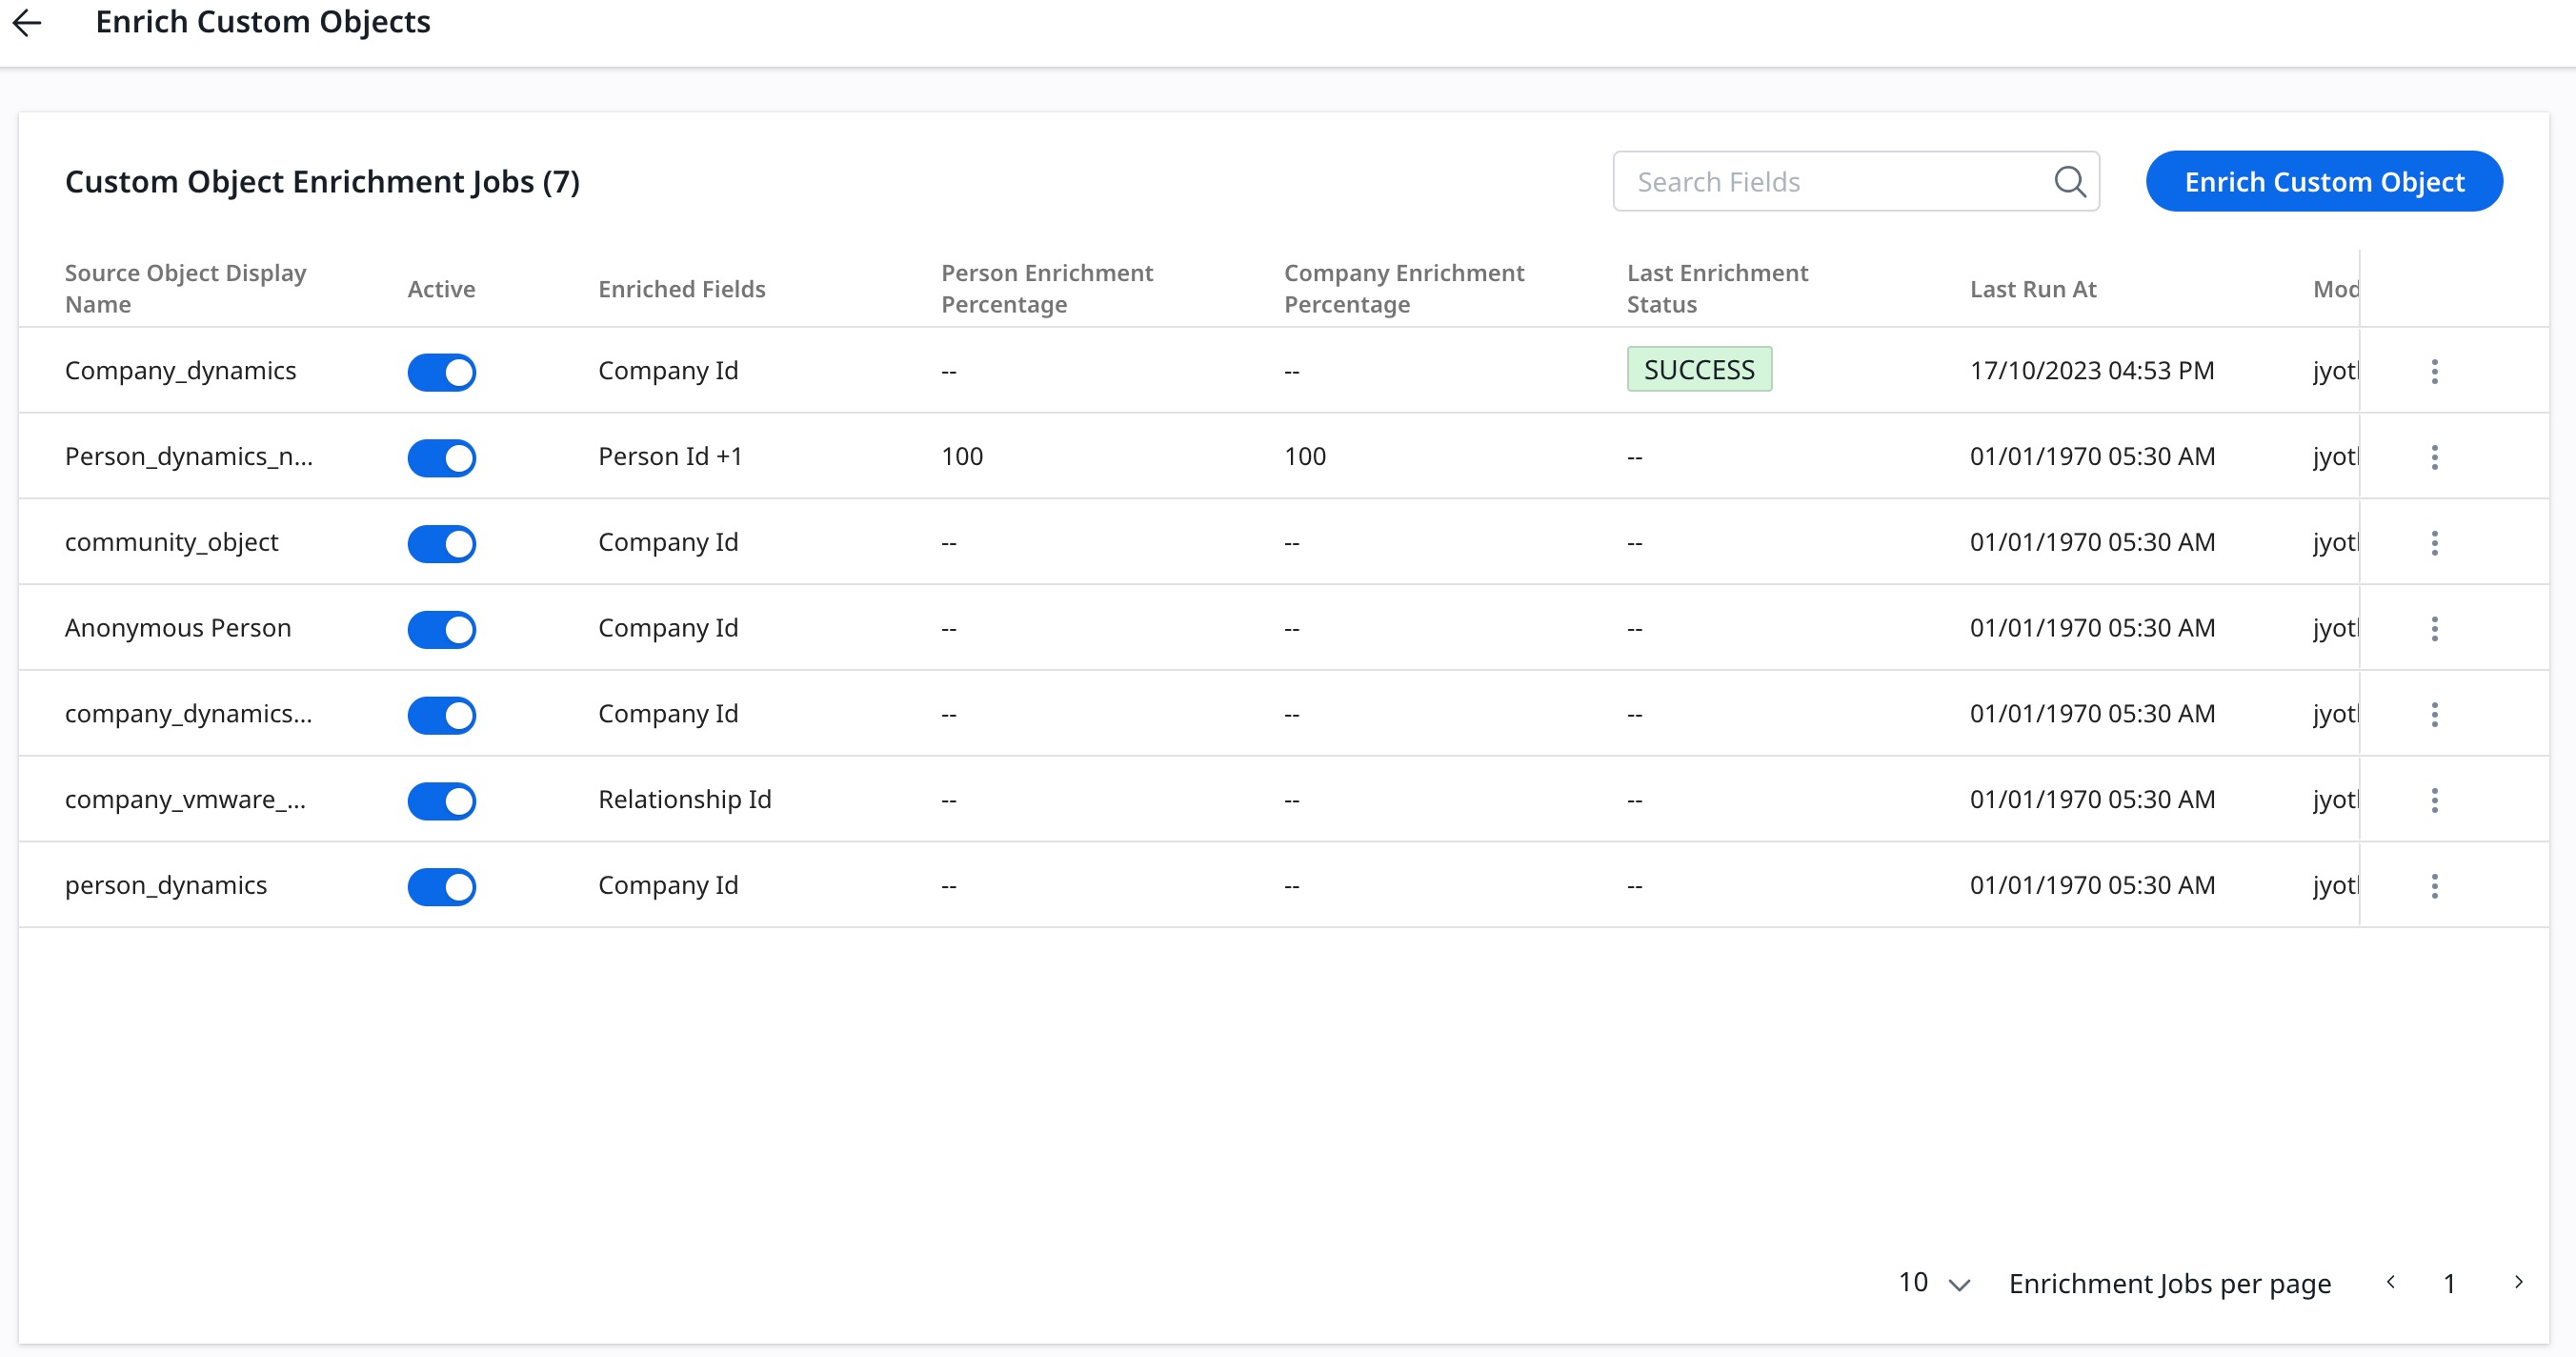
- Click Enrich Custom Object. The New Custom Object Enrichment page appears.
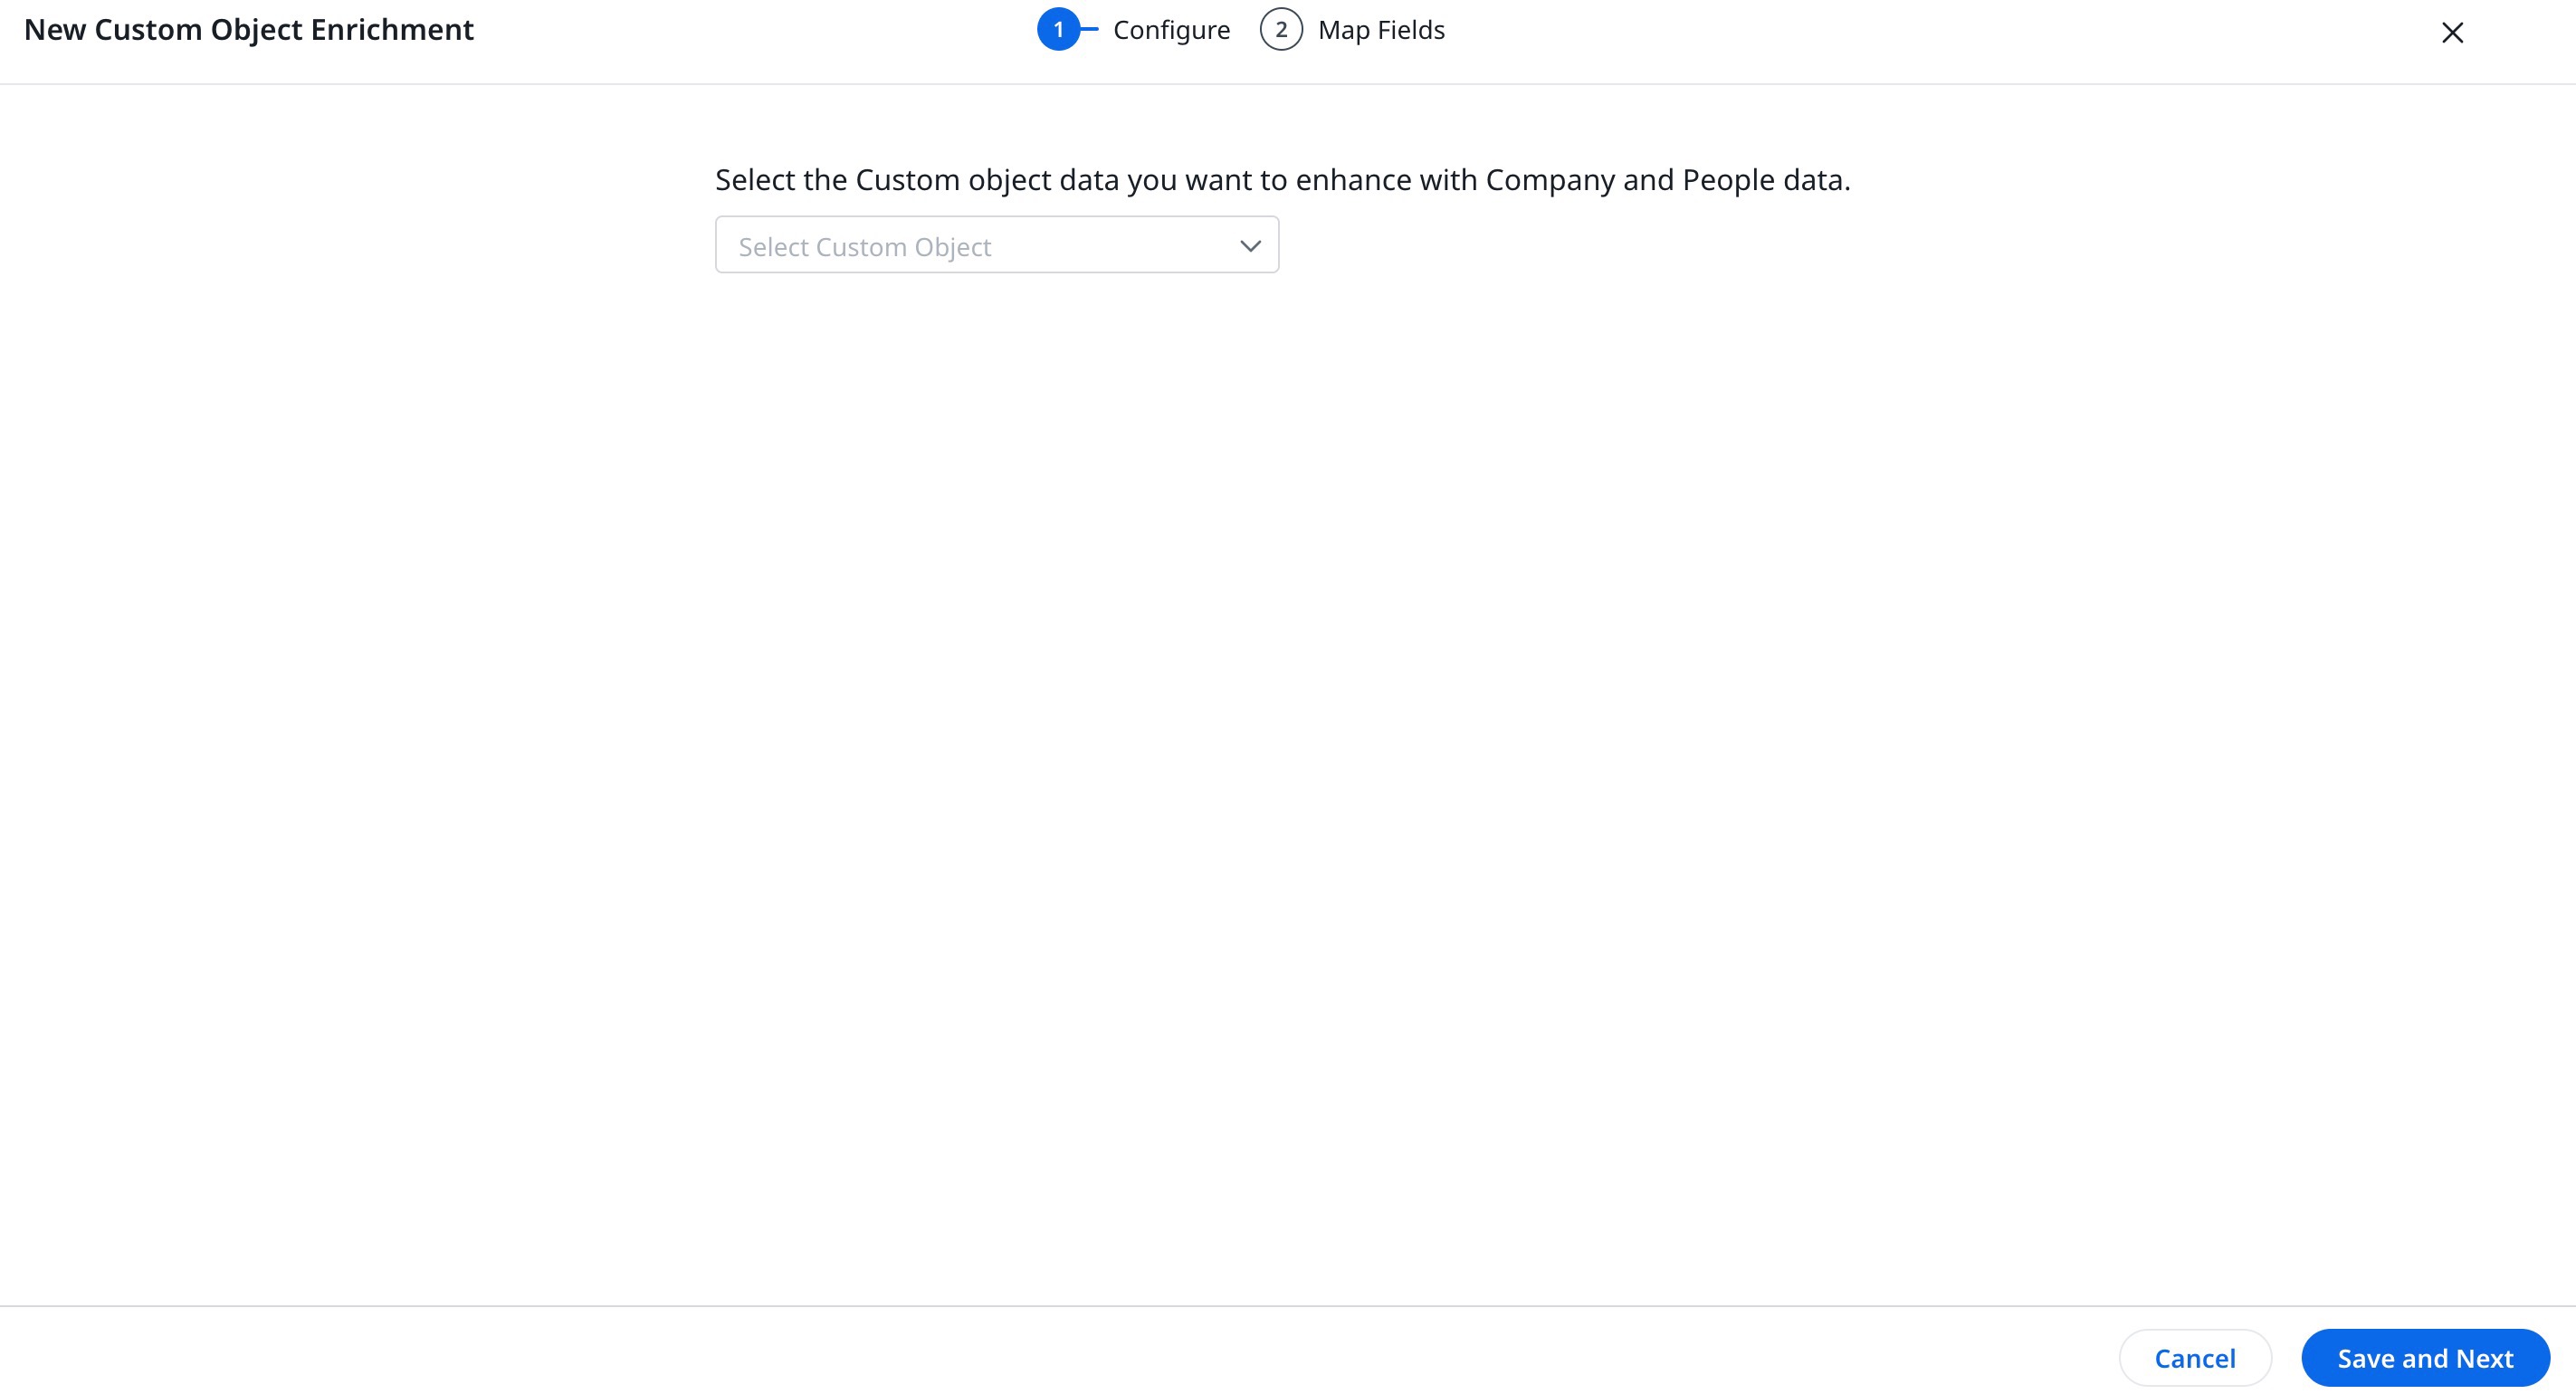
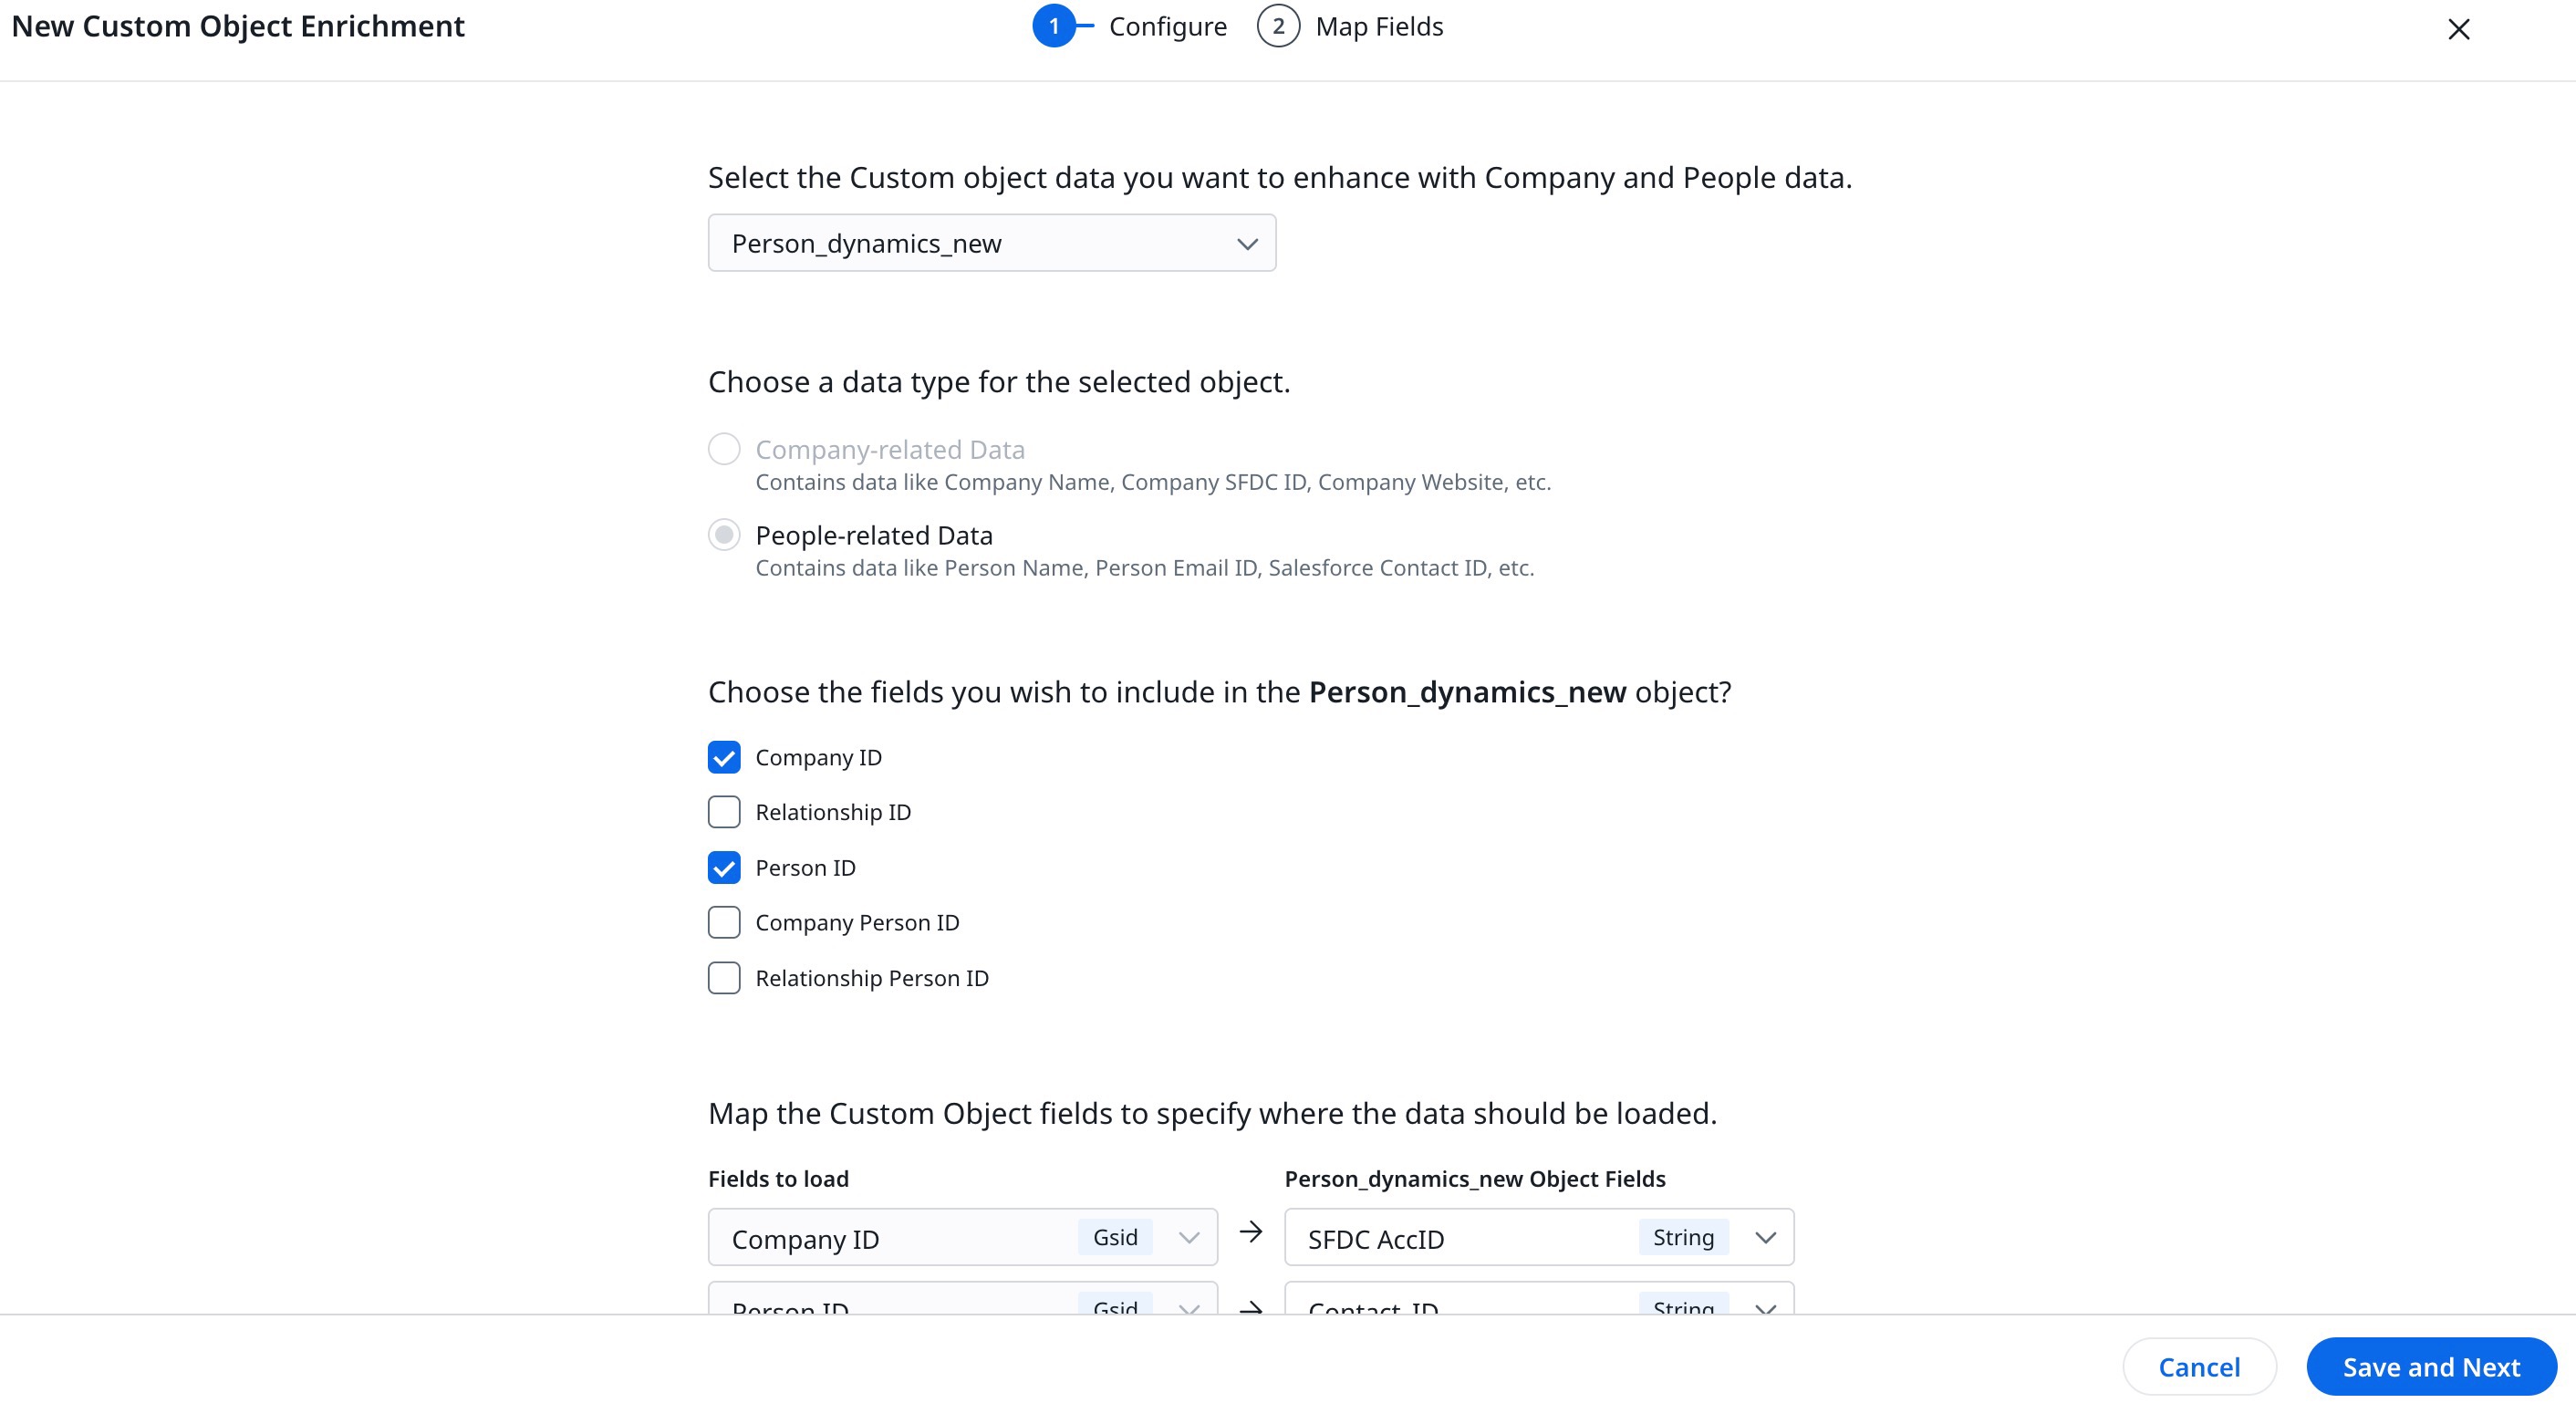
Configure Custom Object
Admins can select the object and fields to be included in the custom object.
To configure the custom object:
- From the Select Custom Object data you want to enhance with Company and People Data dropdown, select the object to enhance with data.
- Select one of the following data type for the object:
- Company Related Data: If the object has company data like Company Name, Company SFDC ID and so on.
- People Related Data: If the object has person data like Person Name, Person Email ID and so on.
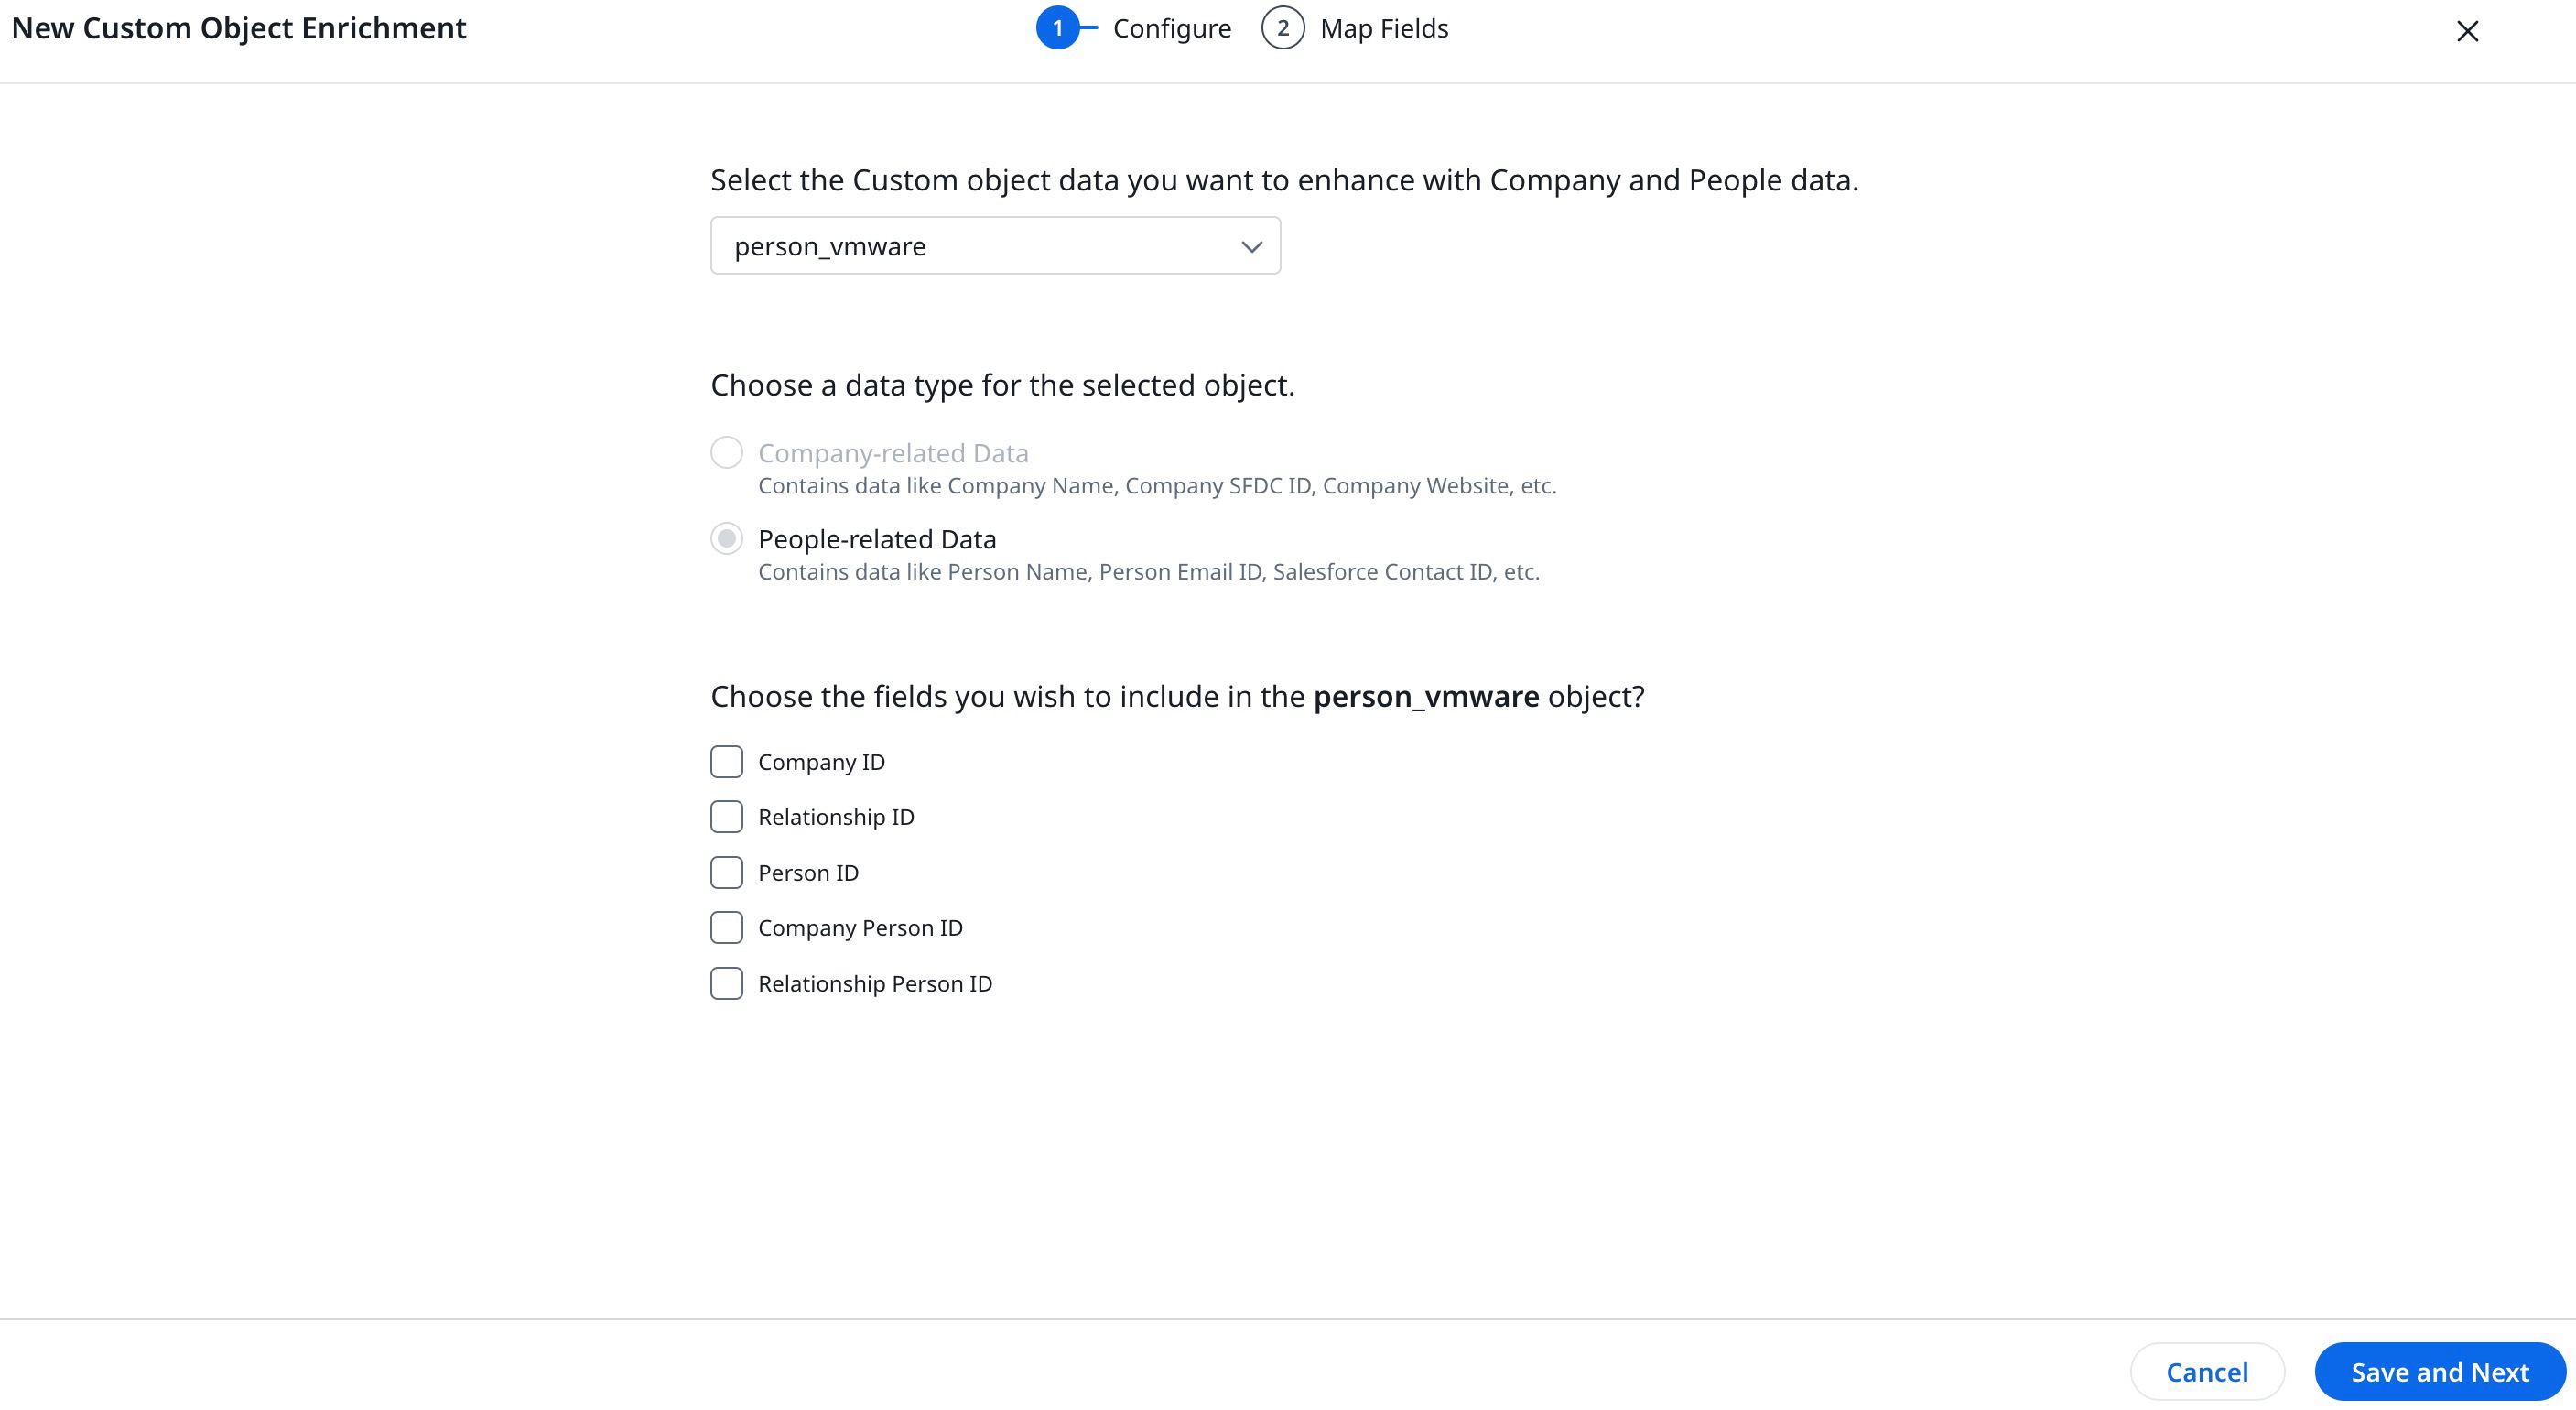
- Select the fields to be included in the custom object.
- Map the custom objects fields to specify where the IDs are loaded.
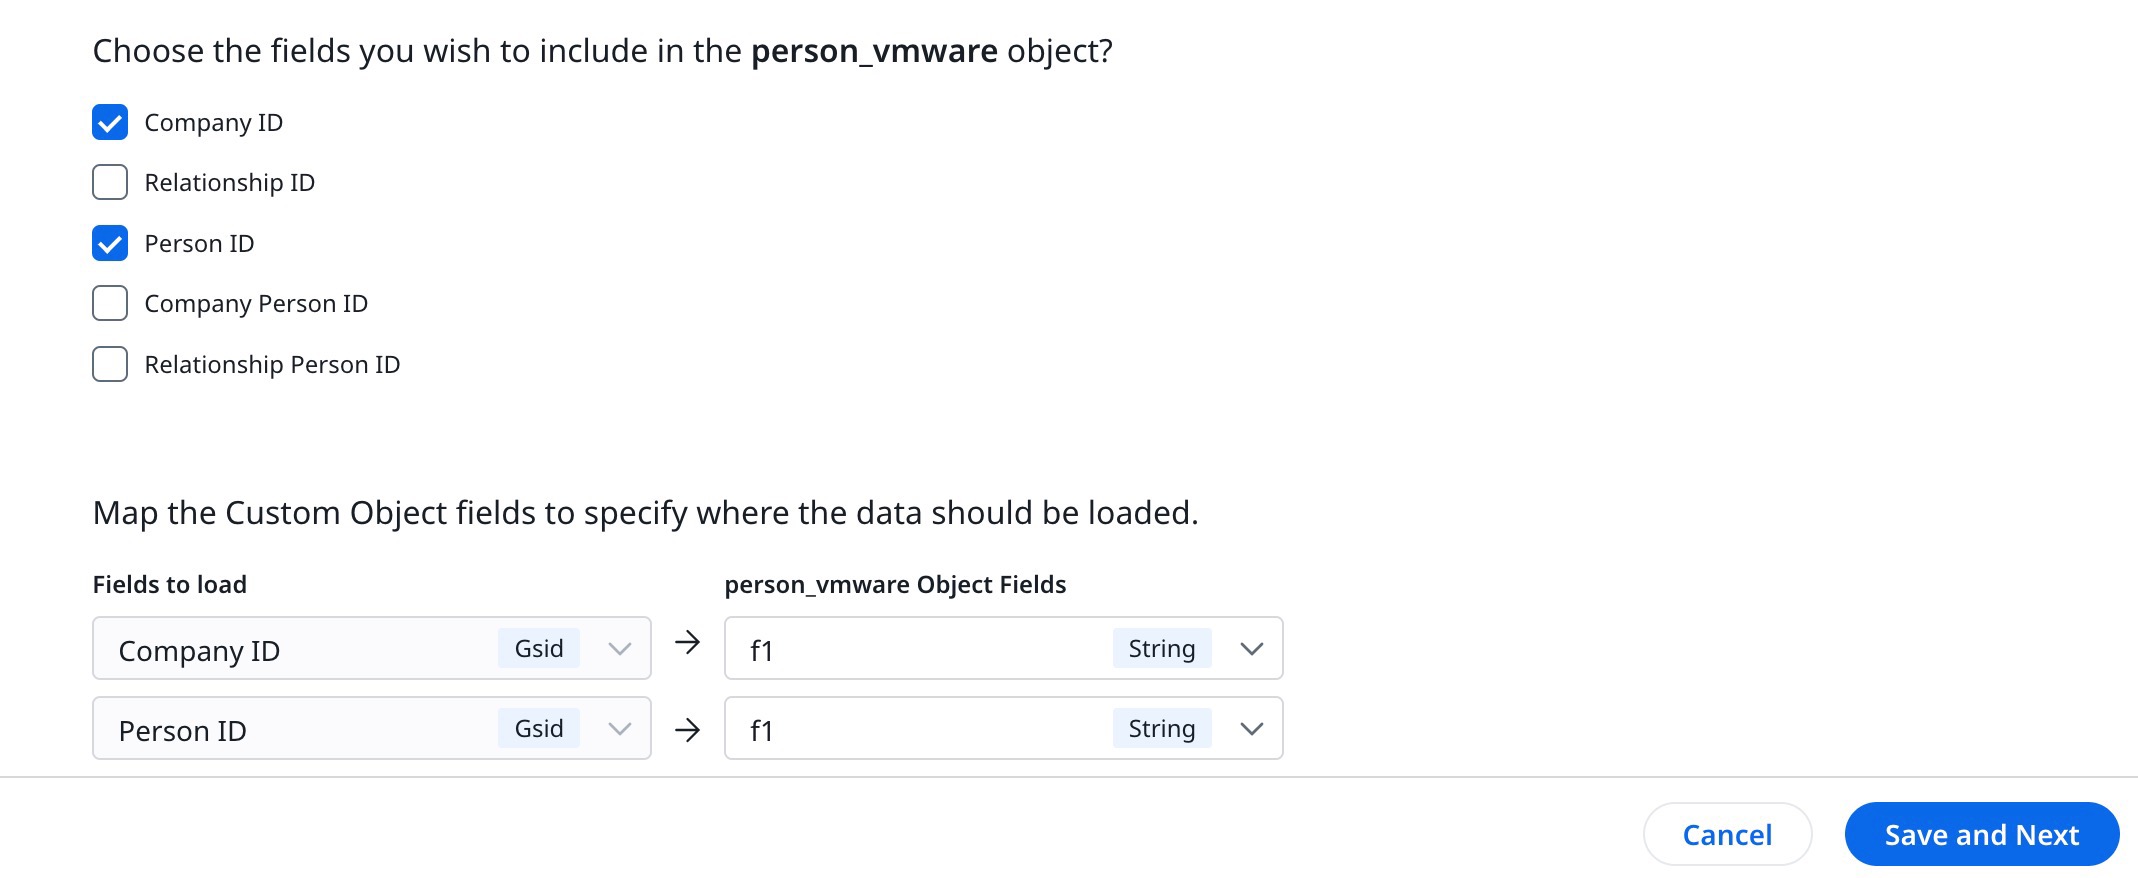
- Click Save and Next. The Map Fields page appears.
Map Fields
Admin can define the criteria to map the custom object fields that are equivalent to those in-person match criteria.
Admin can leverage any below capabilities to identify a Company or Person in the custom object.
Notes:
- The criteria are automatically reflected based on the match strength defined in the Company or Person duplicates.
- Company Match Flow is enabled only when company data is available.
- Person Match Flow and Email Domain Match Flow are enabled when person data is available.
- At least one match criteria condition needs to be mapped with equivalent fields from the custom object.
Company Match Flow
If the custom dataset has Company Name or other fields that identify Company, use Company Match Flow to map fields.
Note: Gainsight auto populates any information that admin gives when adding sources but admins can map more fields here.
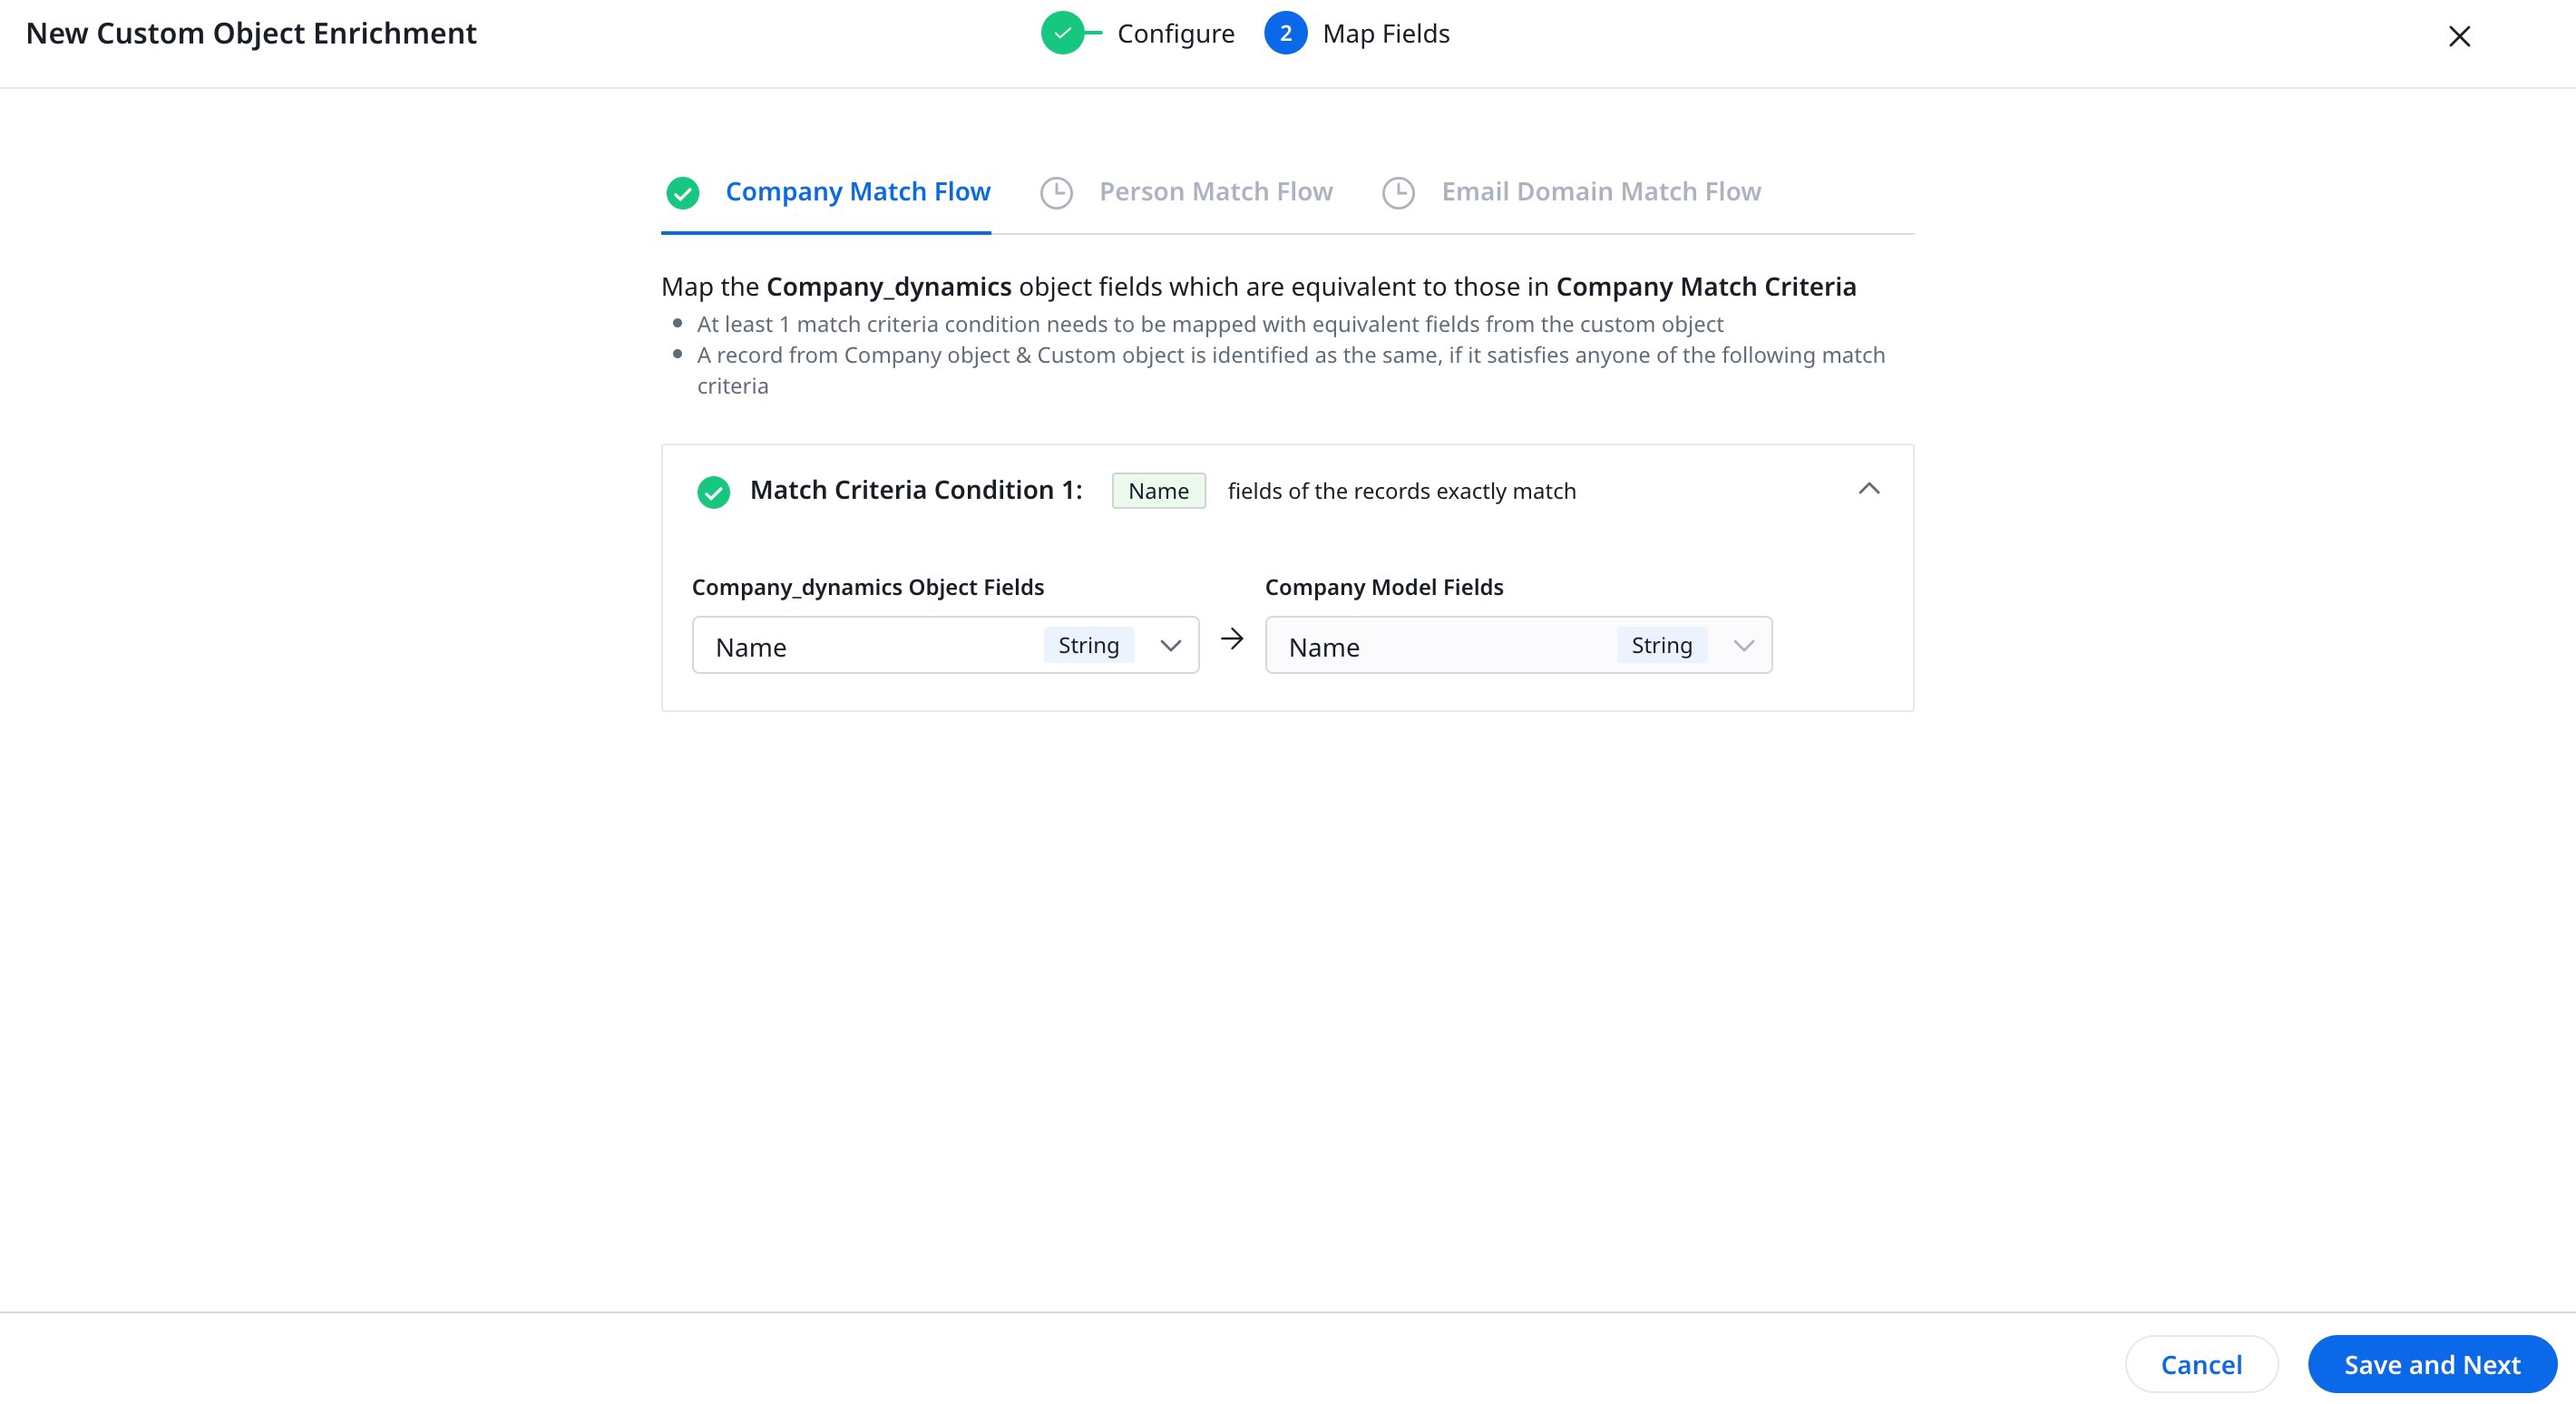
To map fields for Company Match Flow:
- Expand the Match Criteria Condition 1.
- From the Custom Object dropdown, select the field.
- Click Save and Next to proceed to the Person Match Flow tab.
Person Match Flow
If the custom dataset has Person Name or Person email or other fields that identify a Person, use Person Match Flow to map fields.
Note: Gainsight auto populate any information that admin gives when adding sources but admins can map more fields here.
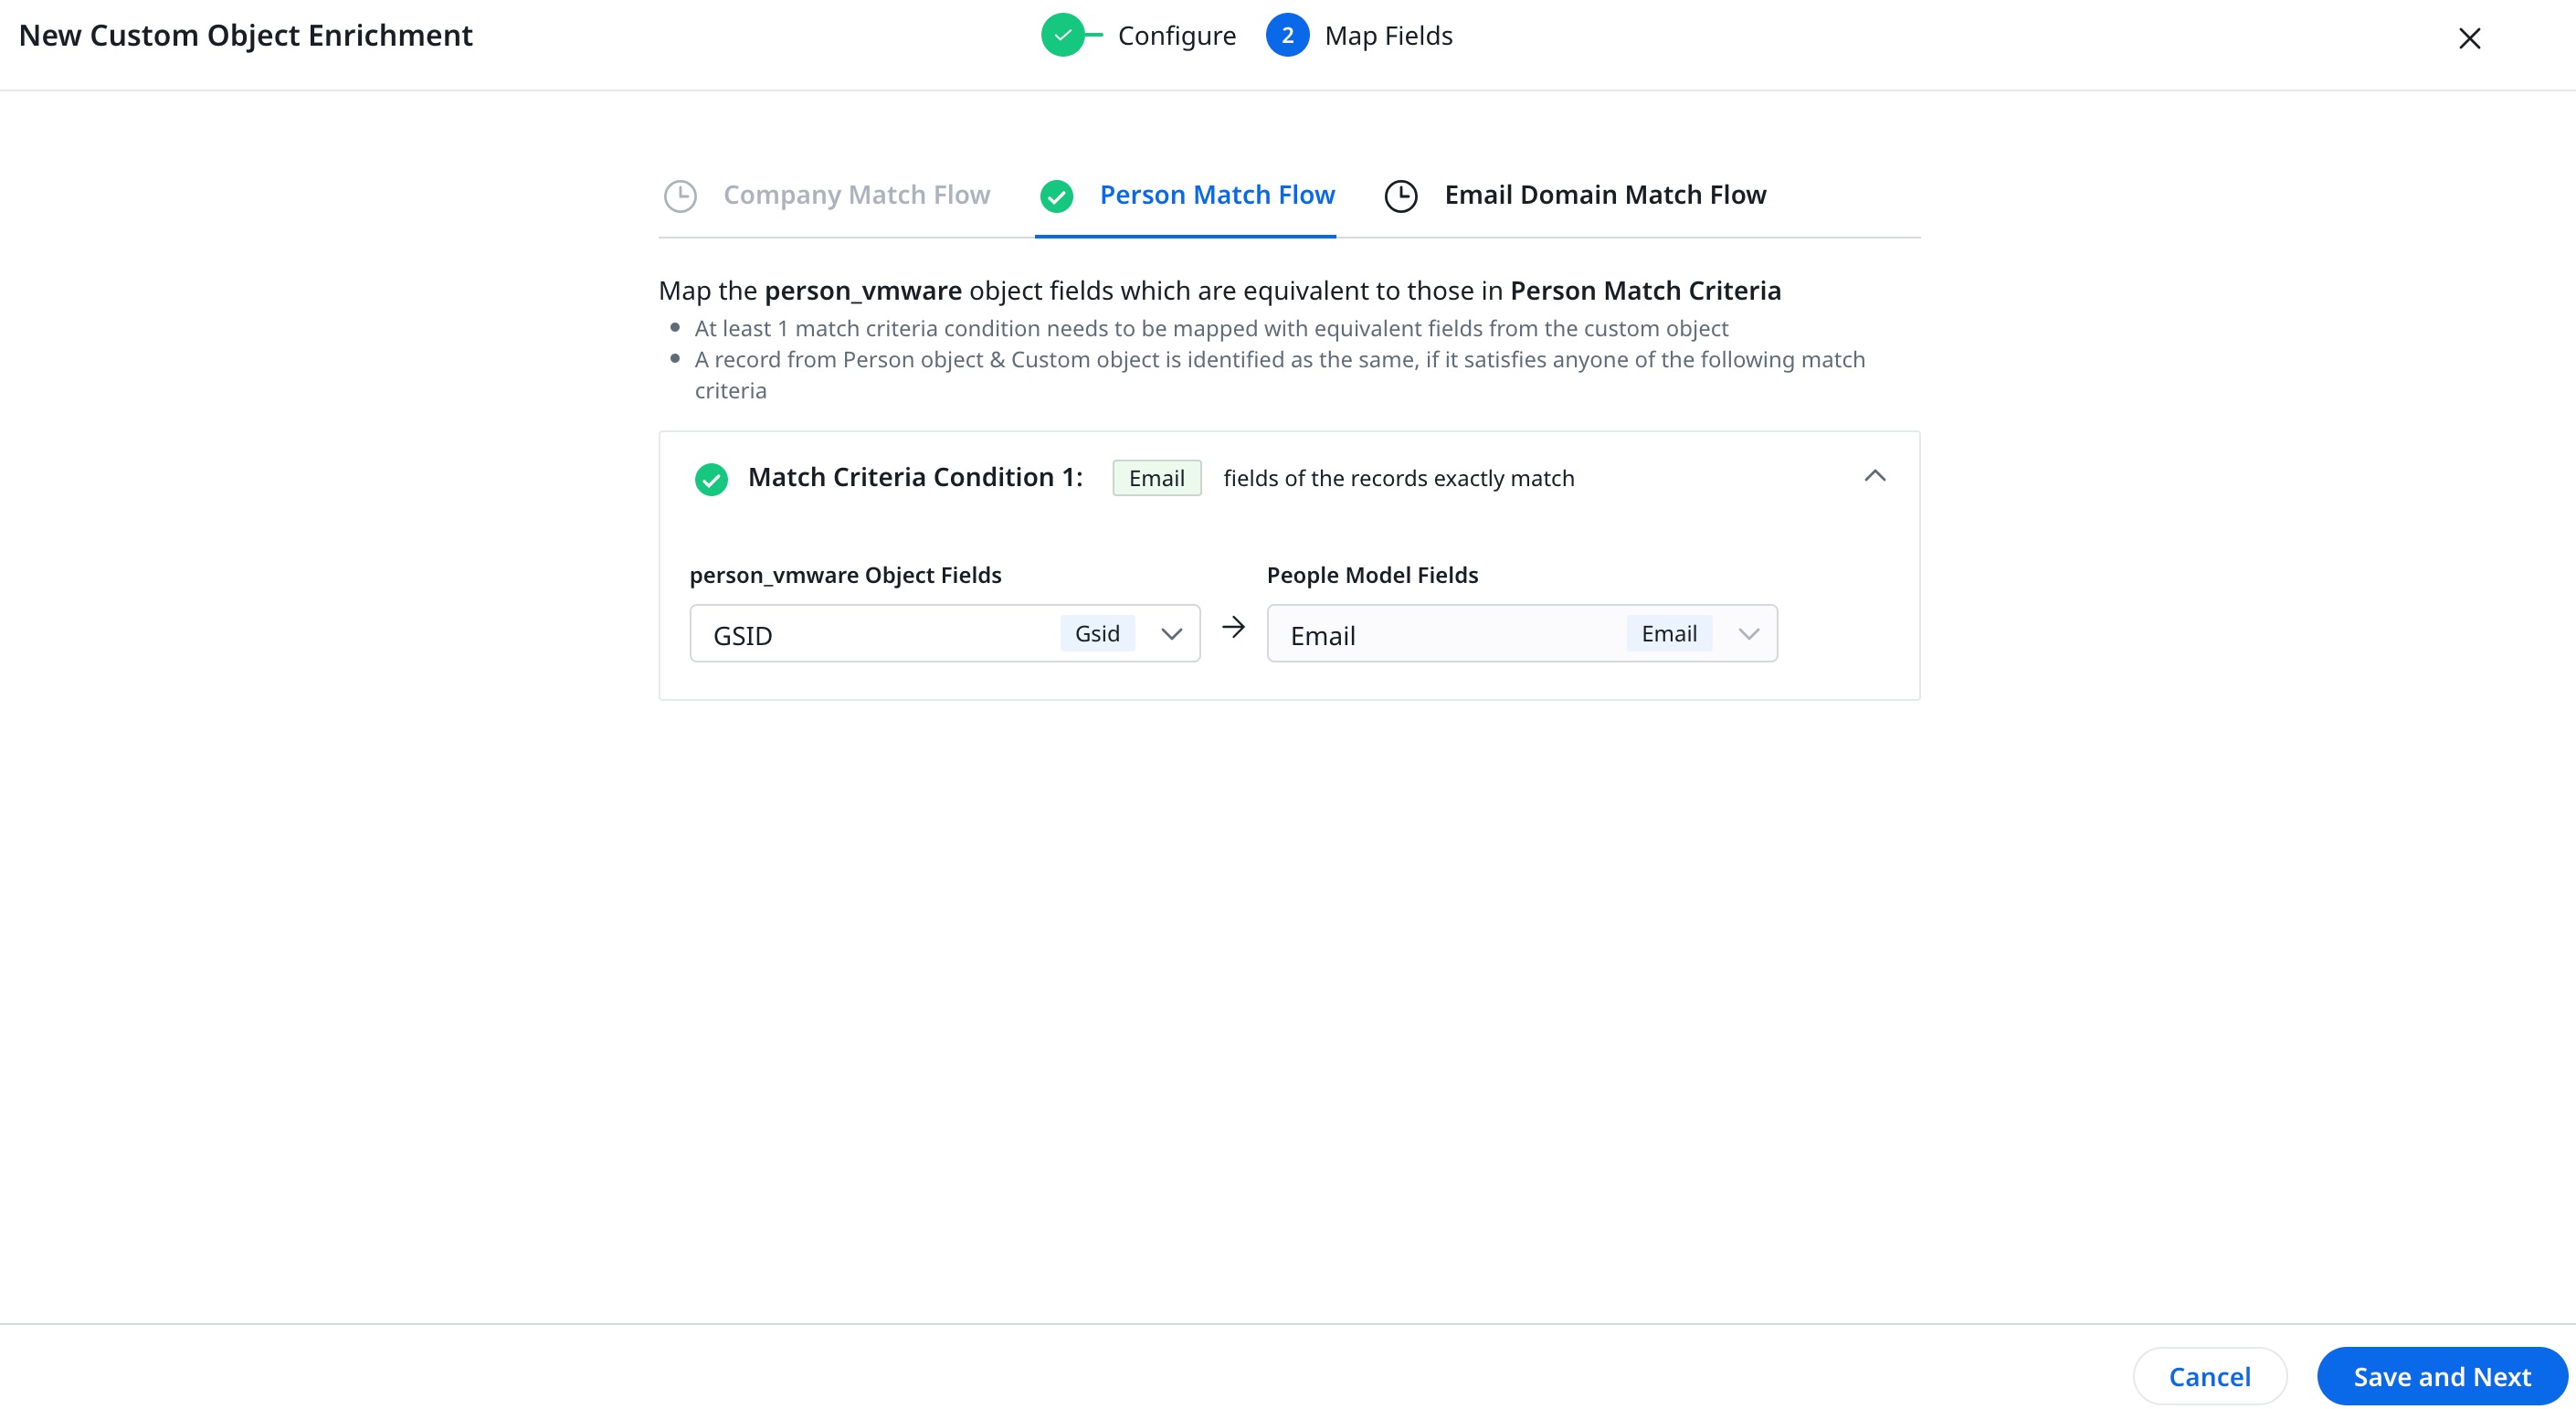
To Map fields for Person Match Flow:
- Expand the Match Criteria Condition 1.
- From the Custom Object dropdown, select the field.
- Click Save and Next to proceed to the Email Domain Match Flow tab.
Email Domain Match Flow
If the dataset has an email address, admins can map these fields. Gainsight smartly extracts the domain and compares it with the Company Name to resolve any records that did not succeed in the above resolutions.
To map email domains:
- From Email ID the dropdown, select the field that contains the email ID.
Note: This field is considered as the source for identifying Company ID.
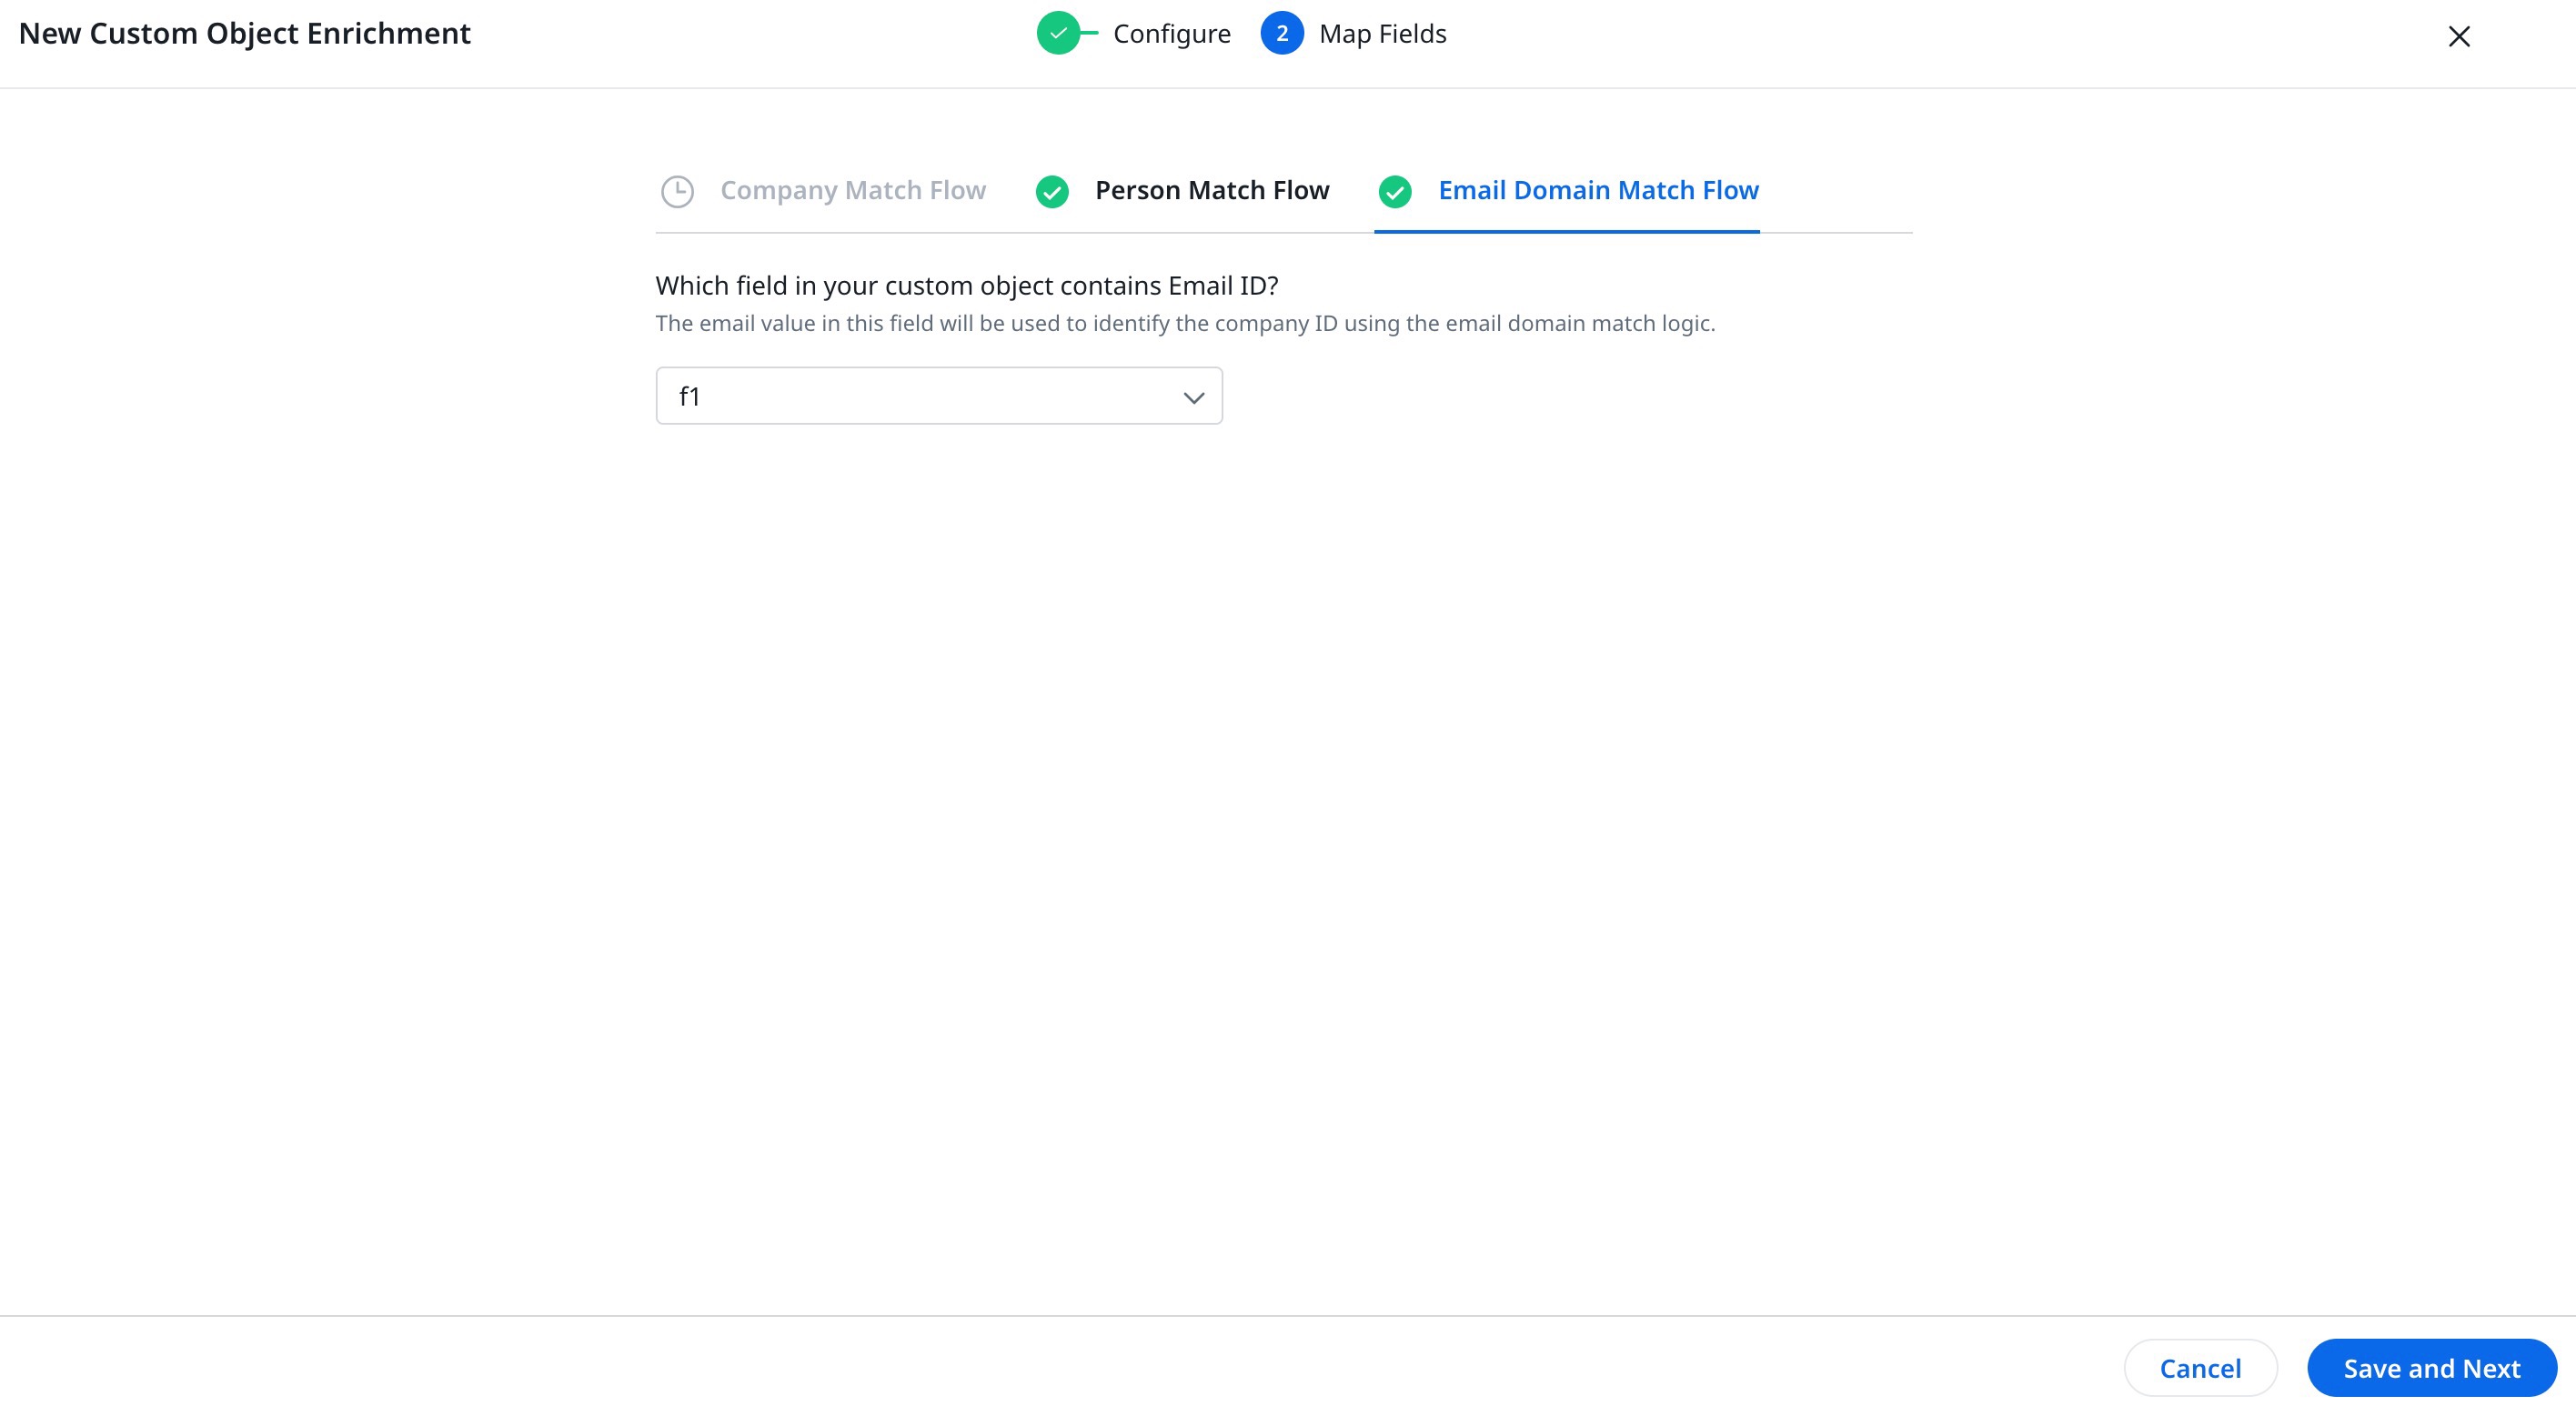
- Click Save and Next. The Enrich Custom Object screen appears.
Edit Source Object Enrichment Job
Admin can edit the custom objects from the list displayed.
To edit the custom job:
- Click the three-vertical-dots menu. The New Custom Object Enrichment page appears.
- Edit the fields to be included in the custom object.
- Edit the fields to be mapped.
- Click Save and Next.
Note: Custom object and data type selection are deactivated for the edit.
- In the Map Fields page, edit the criteria as required.
- Click Save and Next. The custom objects are now enriched with unified data.

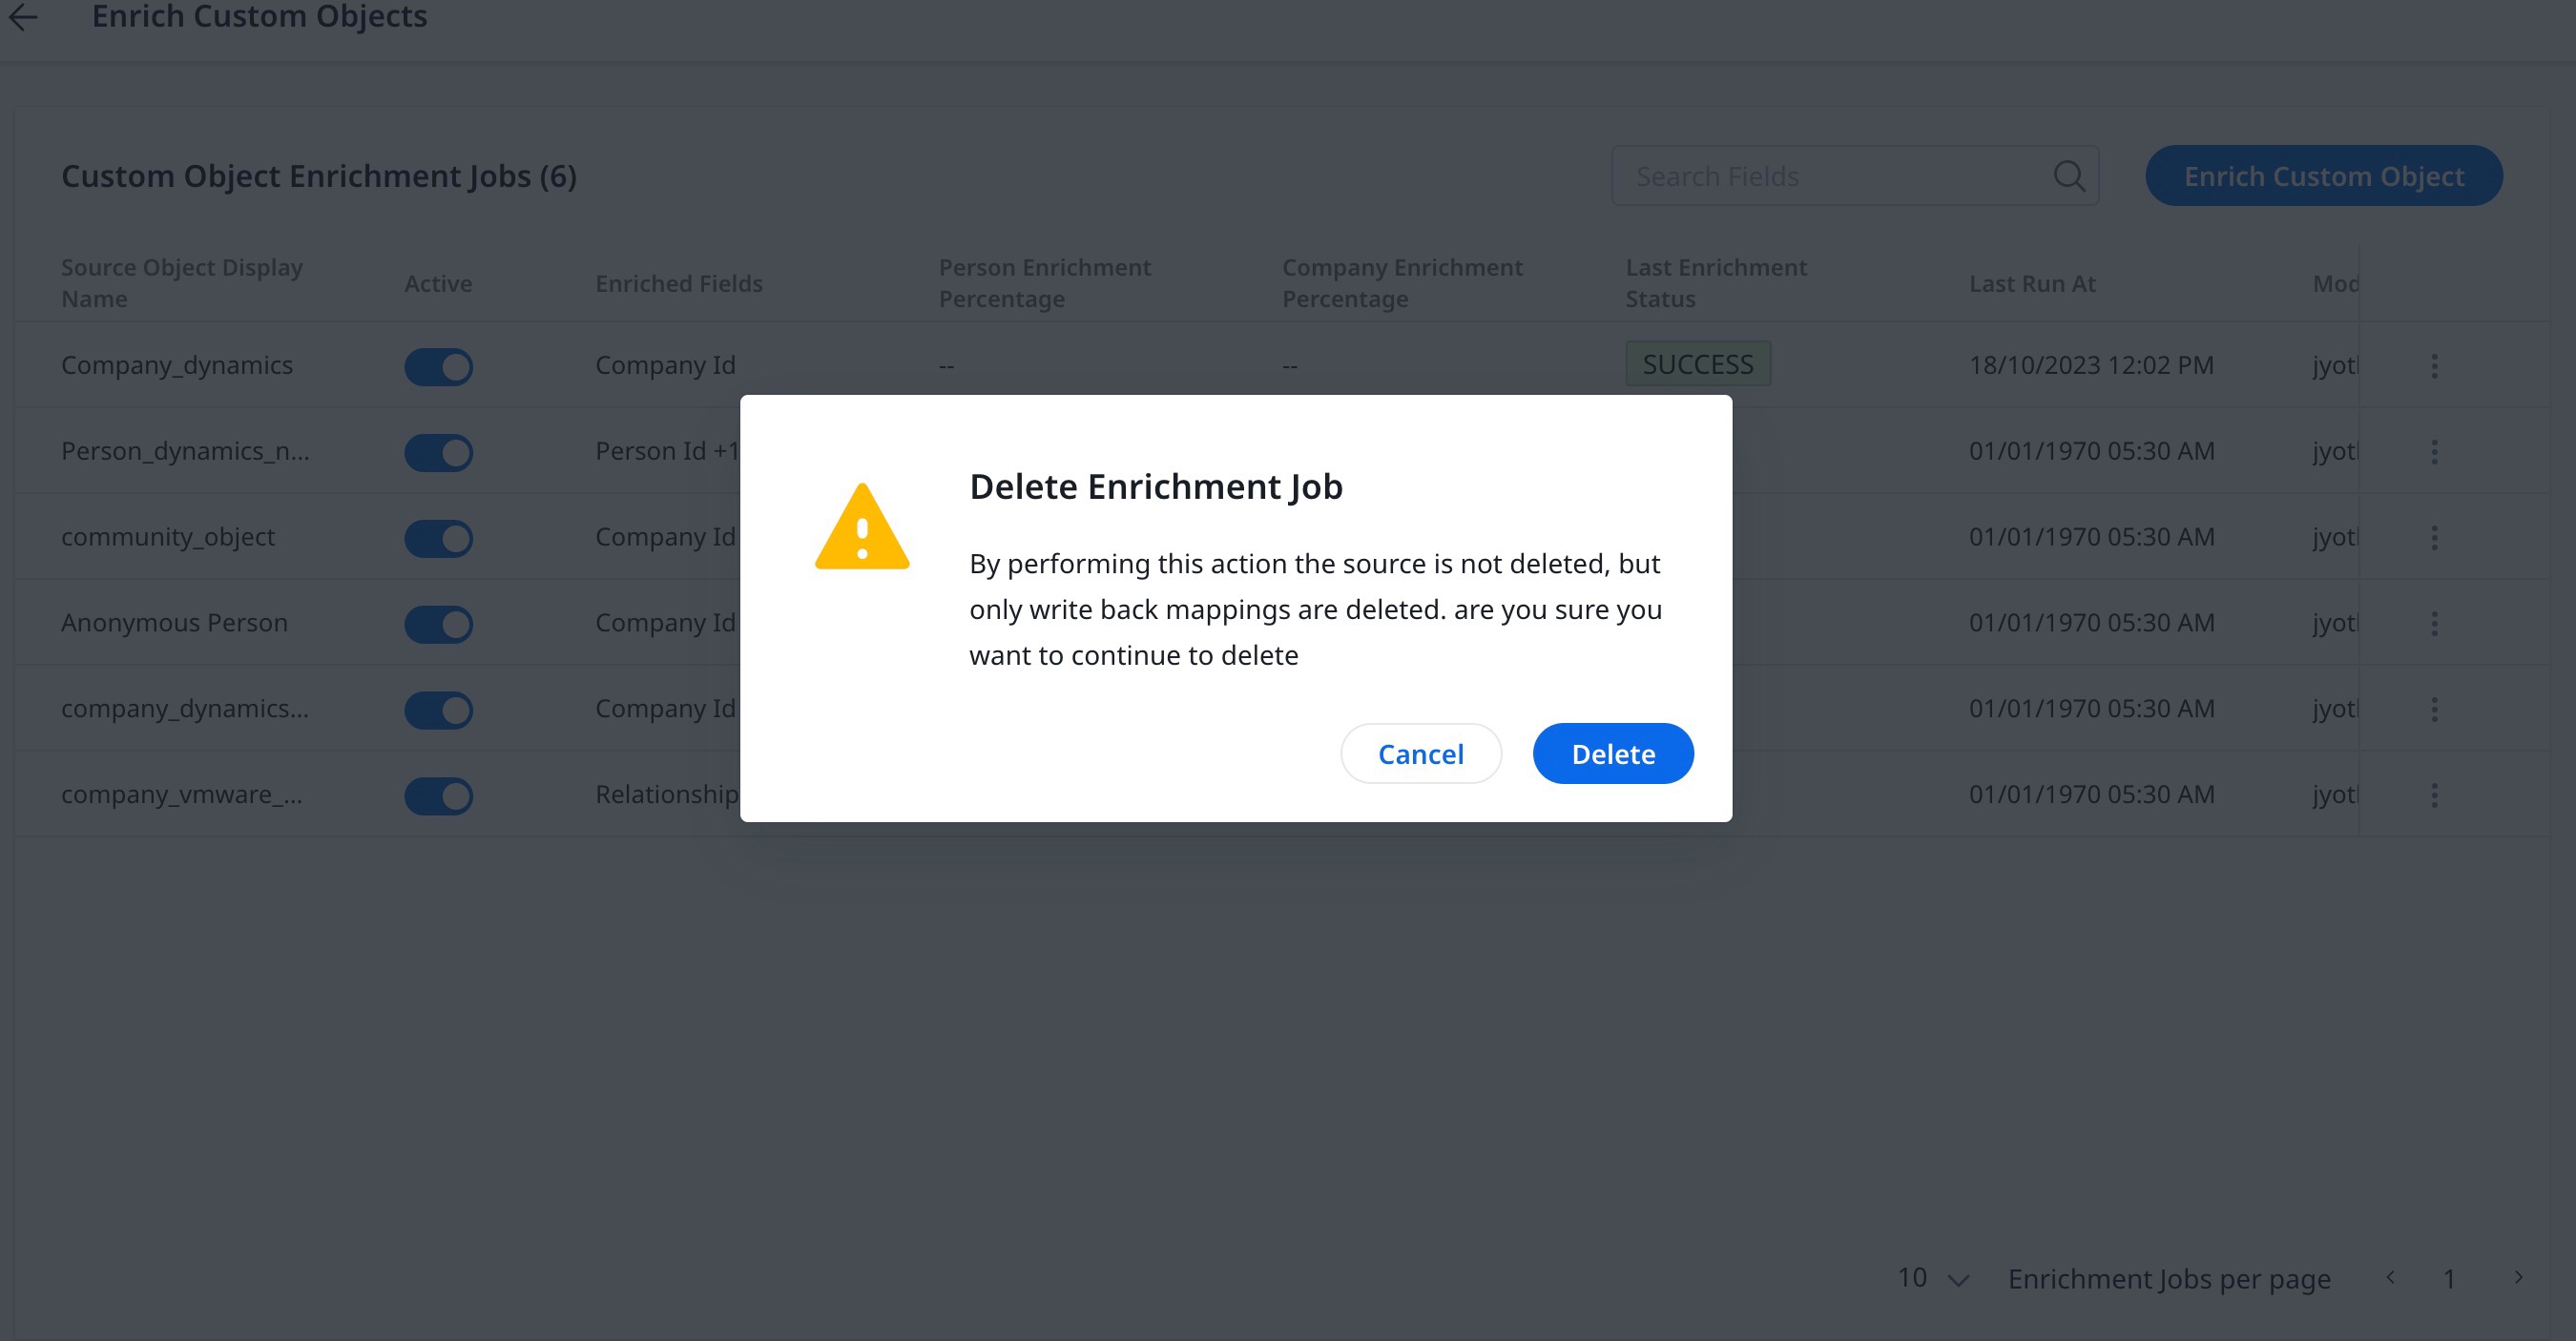
Delete Custom Object
Admin can delete the source custom object from the displayed list.
To delete the object:
- Click the three-vertical-dots menu.
- Select Delete. The Delete Enrichment Job confirmation window appears.
- Click Delete.
Run Job
Admin can update the enrichment job if the custom job was edited.
To update the custom job:
- Click the three-vertical-dots menu.
- Select Run Job.
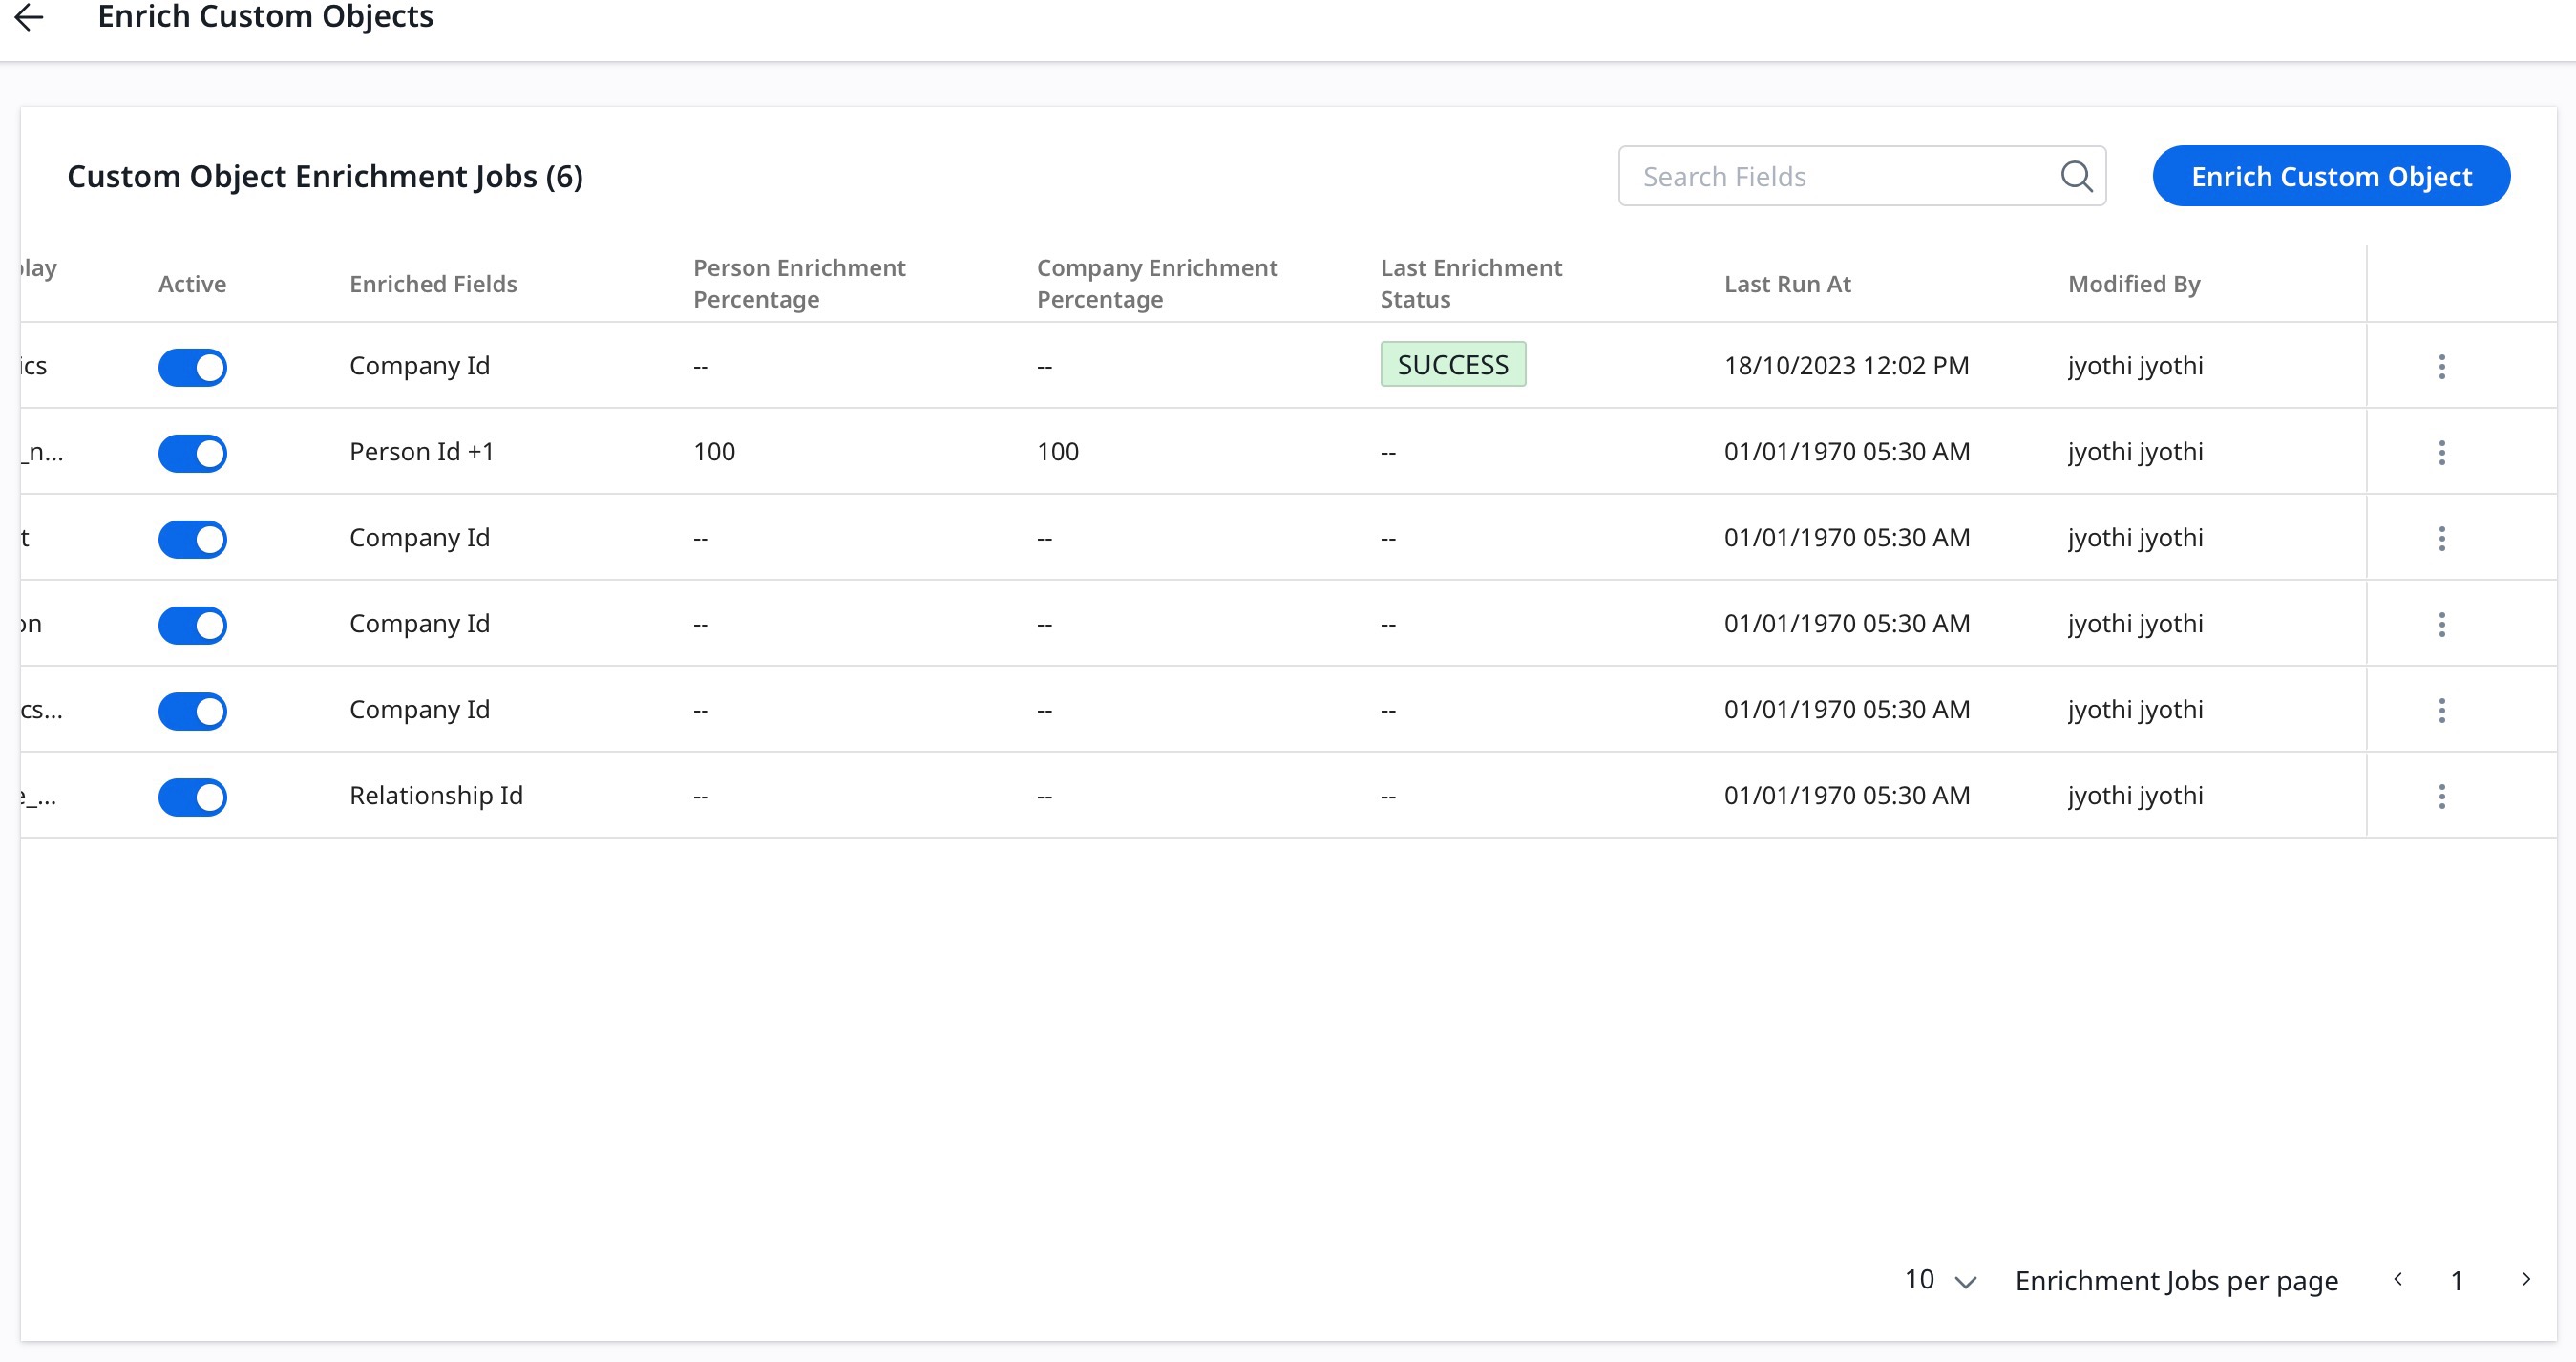
Admin can view the Status of enrichment job and the Last Run At info to validate the update status.