Optimize Data Association
This article focuses on improving data association through key processes such as Resolution, Domain logic, and Regrouping.
Overview
Gainsight Customer Education (CE) and Customer Communities (CC) operate at a user level. However, a Customer / Company / Account view of the information is most insightful for Customer Success (CS) teams. Gainsight CS has a rich set of features that allows user to associate the data and resolve the Company for a user to enable better insight generation.
In Gainsight’s CC-CS integration and CE-CS integration, we leverage these features to provide an out-of-the-box resolution configuration that works for most customers.
In some cases, such as missing company data or unrecognized email domains, admins can fine tune this configuration manually by using domain logic or resolution methods to ensure higher resolution accuracy and data integrity.
Key Process Involved
When admins need to manually intervene and correct the resolution within Gaisight, the following steps need to be performed: can be implemented.
- Resolution
- Domain Logic
- Regroup
How Does Resolution Work
When data is imported into Customer Success (CS) instances, data from the source is associated with objects within CS. However, there might be some data that requires manual intervention to match the objects in CS.
For example, let’s consider the data from Customer Education (CE) is imported into Gainsight via Connectors. In this example, a Learner’s data might not be associated with a company object in CS.
In this case, admins can use resolution to match key identifiers like email addresses, company lookup, and person lookup. If email information is present, it is added to the person object, and the resolution attempts to resolve the learner’s data based on this email address.
Configure Custom Object
Considering the above example, to resolve the data using Unification:
- Navigate to Administration > Unification > Click Enrich Now. The Enrich Custom Objects screen appears.
Note: The Enrich Custom Object page displays the custom objects available from the data sources. - Click the three-vertical-dots menu next to Source Object.
- Click Edit. The New Custom Object Enrichment page appears.

- To enrich the custom object, select the Fields to be included in the Custom Object (CE Learner Object).
- For Example:
- Company ID
- Person ID
- Company Person ID
- For Example:
- Map the custom object fields to specify where the data is to be loaded. For Example:
Fields to Load CE Learner Object Fields Company ID Company Person ID Person Company Person ID Company Person 
-
Click Save and Next. The Map Fields page appears.
Map Fields
The previous section loads the data into the CE learner objects. To identify the data which is incoming, you need to map the fields.
If the custom dataset has a Person Name or Person email or other fields that identify a Person, use Person Match Flow to map fields.
For more information on Company Match Flow, refer to the Enrich Custom Objects article.
Note: Gainsight auto-populates any information that the admin gives when adding sources. However, the admin can add other Match Criteria as required to map the fields.
To map fields for Person Match Flow:
- Expand the Match Criteria Condition 1.
- From the Custom Object dropdown, select the field Email.
Note: CE Learner Object Field - Email is mapped to People Model Fields - Email - Click Save and Next to proceed to the Email Domain Match Flow tab.
By mapping the fields, admins can resolve the data.

How to Use Domain Logic
In Gainsight, domain logic is used to associate customer data, particularly when dealing with ambiguous or incomplete email information.
When admin imports data from Customer Education (CE) and encounters email addresses that do not directly match existing records in the Customer Success (CS) system. Gainsight applies domain-matching logic to resolve such entries.
For example: if a learner's email domain matches the domain of a known company (e.g., @gainsight.com for Gainsight), the system uses this logic to associate the learner with the correct company.
Additionally, if another domain like @gnsight.com also belongs to Gainsight, but is not recognized, the admin can manually add this domain in the system.
To add domains:
- Navigate to Administration > Data Steward > Click Domains tab.
Note: The Domains tab provides the list of companies available in your instance.

- To add domain(s) for a company, click Pencil icon. The Add Domains dialog appears.
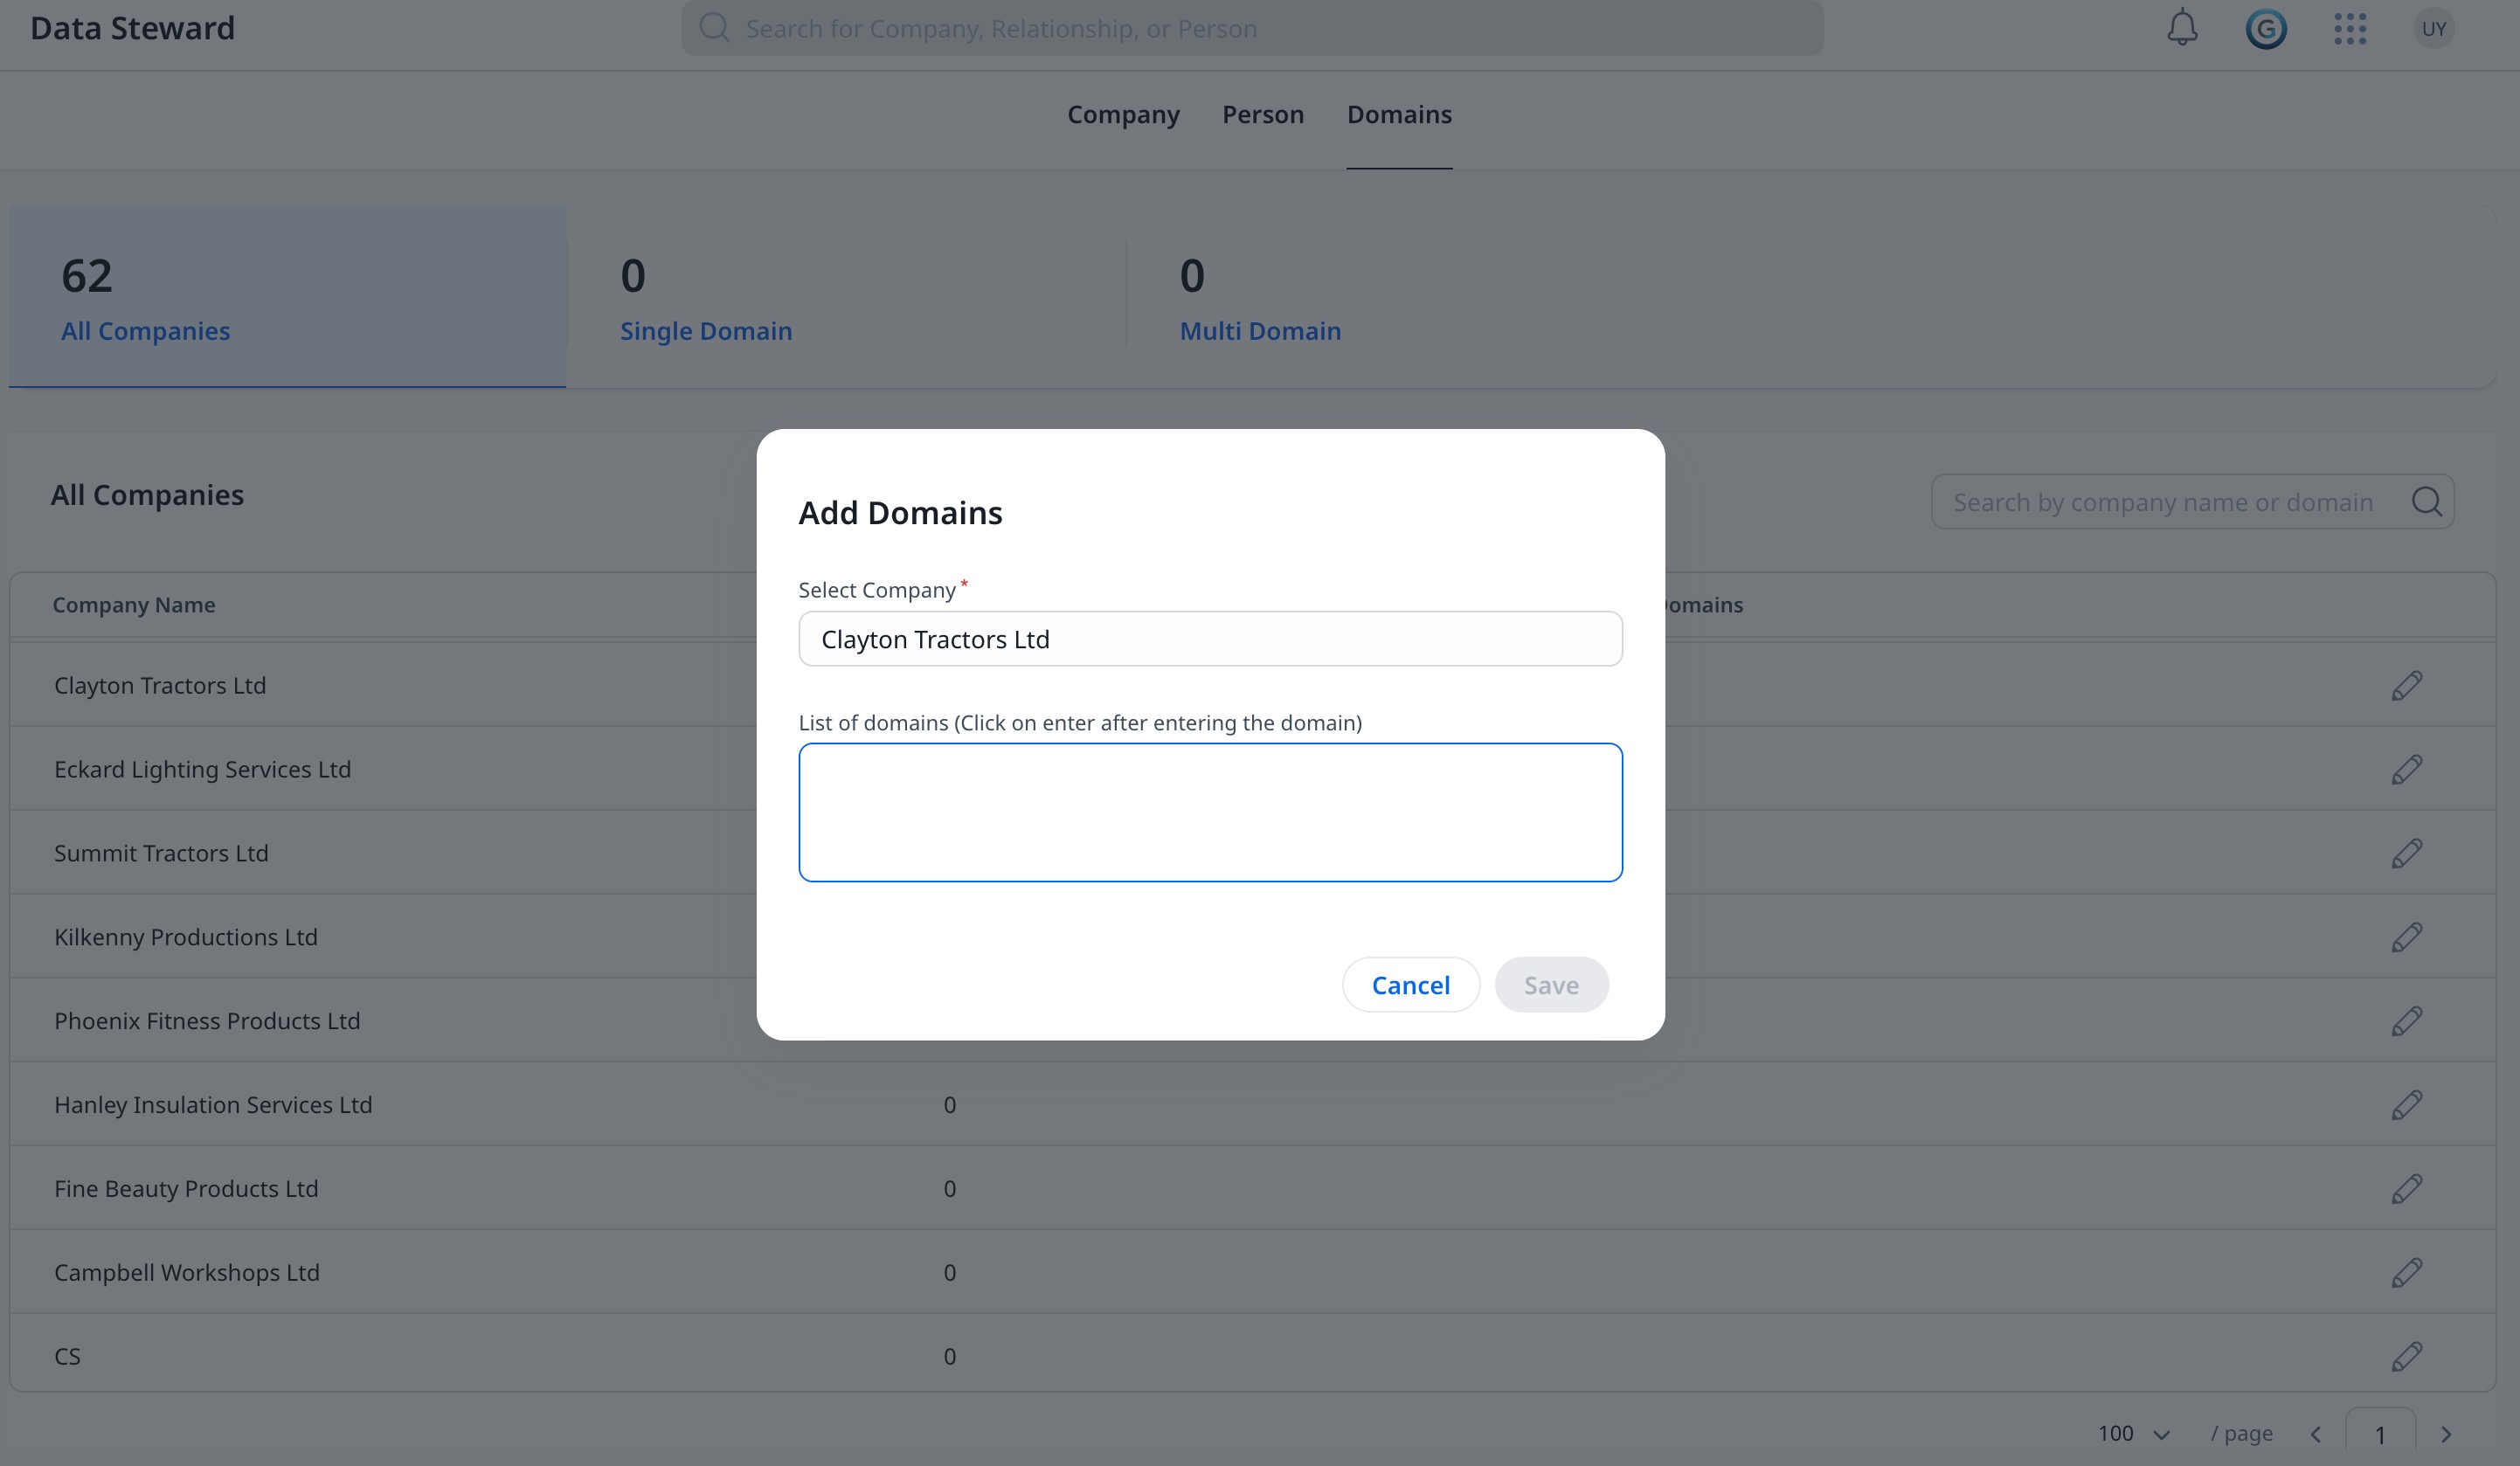
- Enter the list of Domains associated with the company.
- Click Save.
Once the list of domains are added, the new records that get imported are resolved based on the domains provided.
If the existing data needs to be associated with newly added domains, admin must navigate to Unifcation and regroup the data.
IMPORTANT: Gainsight recommends adding all relevant domains first and then perform the regroup once, rather than doing it incrementally.
How to Use Regroup
If a new domain is added to the system, existing data is not automatically reassociated based on this new information. The admin must trigger a regroup operation in the unification to ensure that the new domain logic is applied to all existing records.
IMPORTANT: Gainsight recommends adding all relevant domains first and then perform the regroup once, rather than doing it incrementally.
- Record Groups and Unified Records are recreated based on the new rules.
- Saved but unpromoted Unified Records that have manual changes from Data Steward are lost.
- Attributes that do not have Company as the first preferred source, could lose changes from Data Steward even after promotion of the records.
- Staging objects along with field mappings and data in them, match criteria, and settings for configuring Unified Records are not deleted.
- If there are multiple Companies a person is associated with, Gainsight picks the first one.
To Regroup data:
- Navigate to Administration > Unification. The Unification page appears.
- Click the Define a Duplicate button from the Person Model Data Quality tab. The Define a Duplicate - Person screen appears.

- Click Regroup. The Regroup Confirmation dialog appears.
- Click OK to proceed.
The existing data is now associated with the new domains that were added in the previous section.