Restore Records
This article explains how admins can restore records data from Recycle Bin.
Overview
Recycle Bin is a repository for deleted data, designed to empower administrators to restore records and control data flow. As accidental deletions and bulk data manipulations become more frequent, Recycle Bin offers a vital solution, allowing admins to recover lost data and assets independently. This reduces the dependency on multiple teams and simplifies the restoration process.
IMPORTANT
- Only users with Super Admin access can view and recover all data.
- Records deleted in the last 15 days are available for restoration in the Recycle Bin.
- Support for the restoration of data is currently available only in the following areas of Gainsight:
- Cockpit
- Timeline
To restore records, navigate to Administration > Recycle Bin. The Recycle Bin page appears and displays the list of all deleted records.
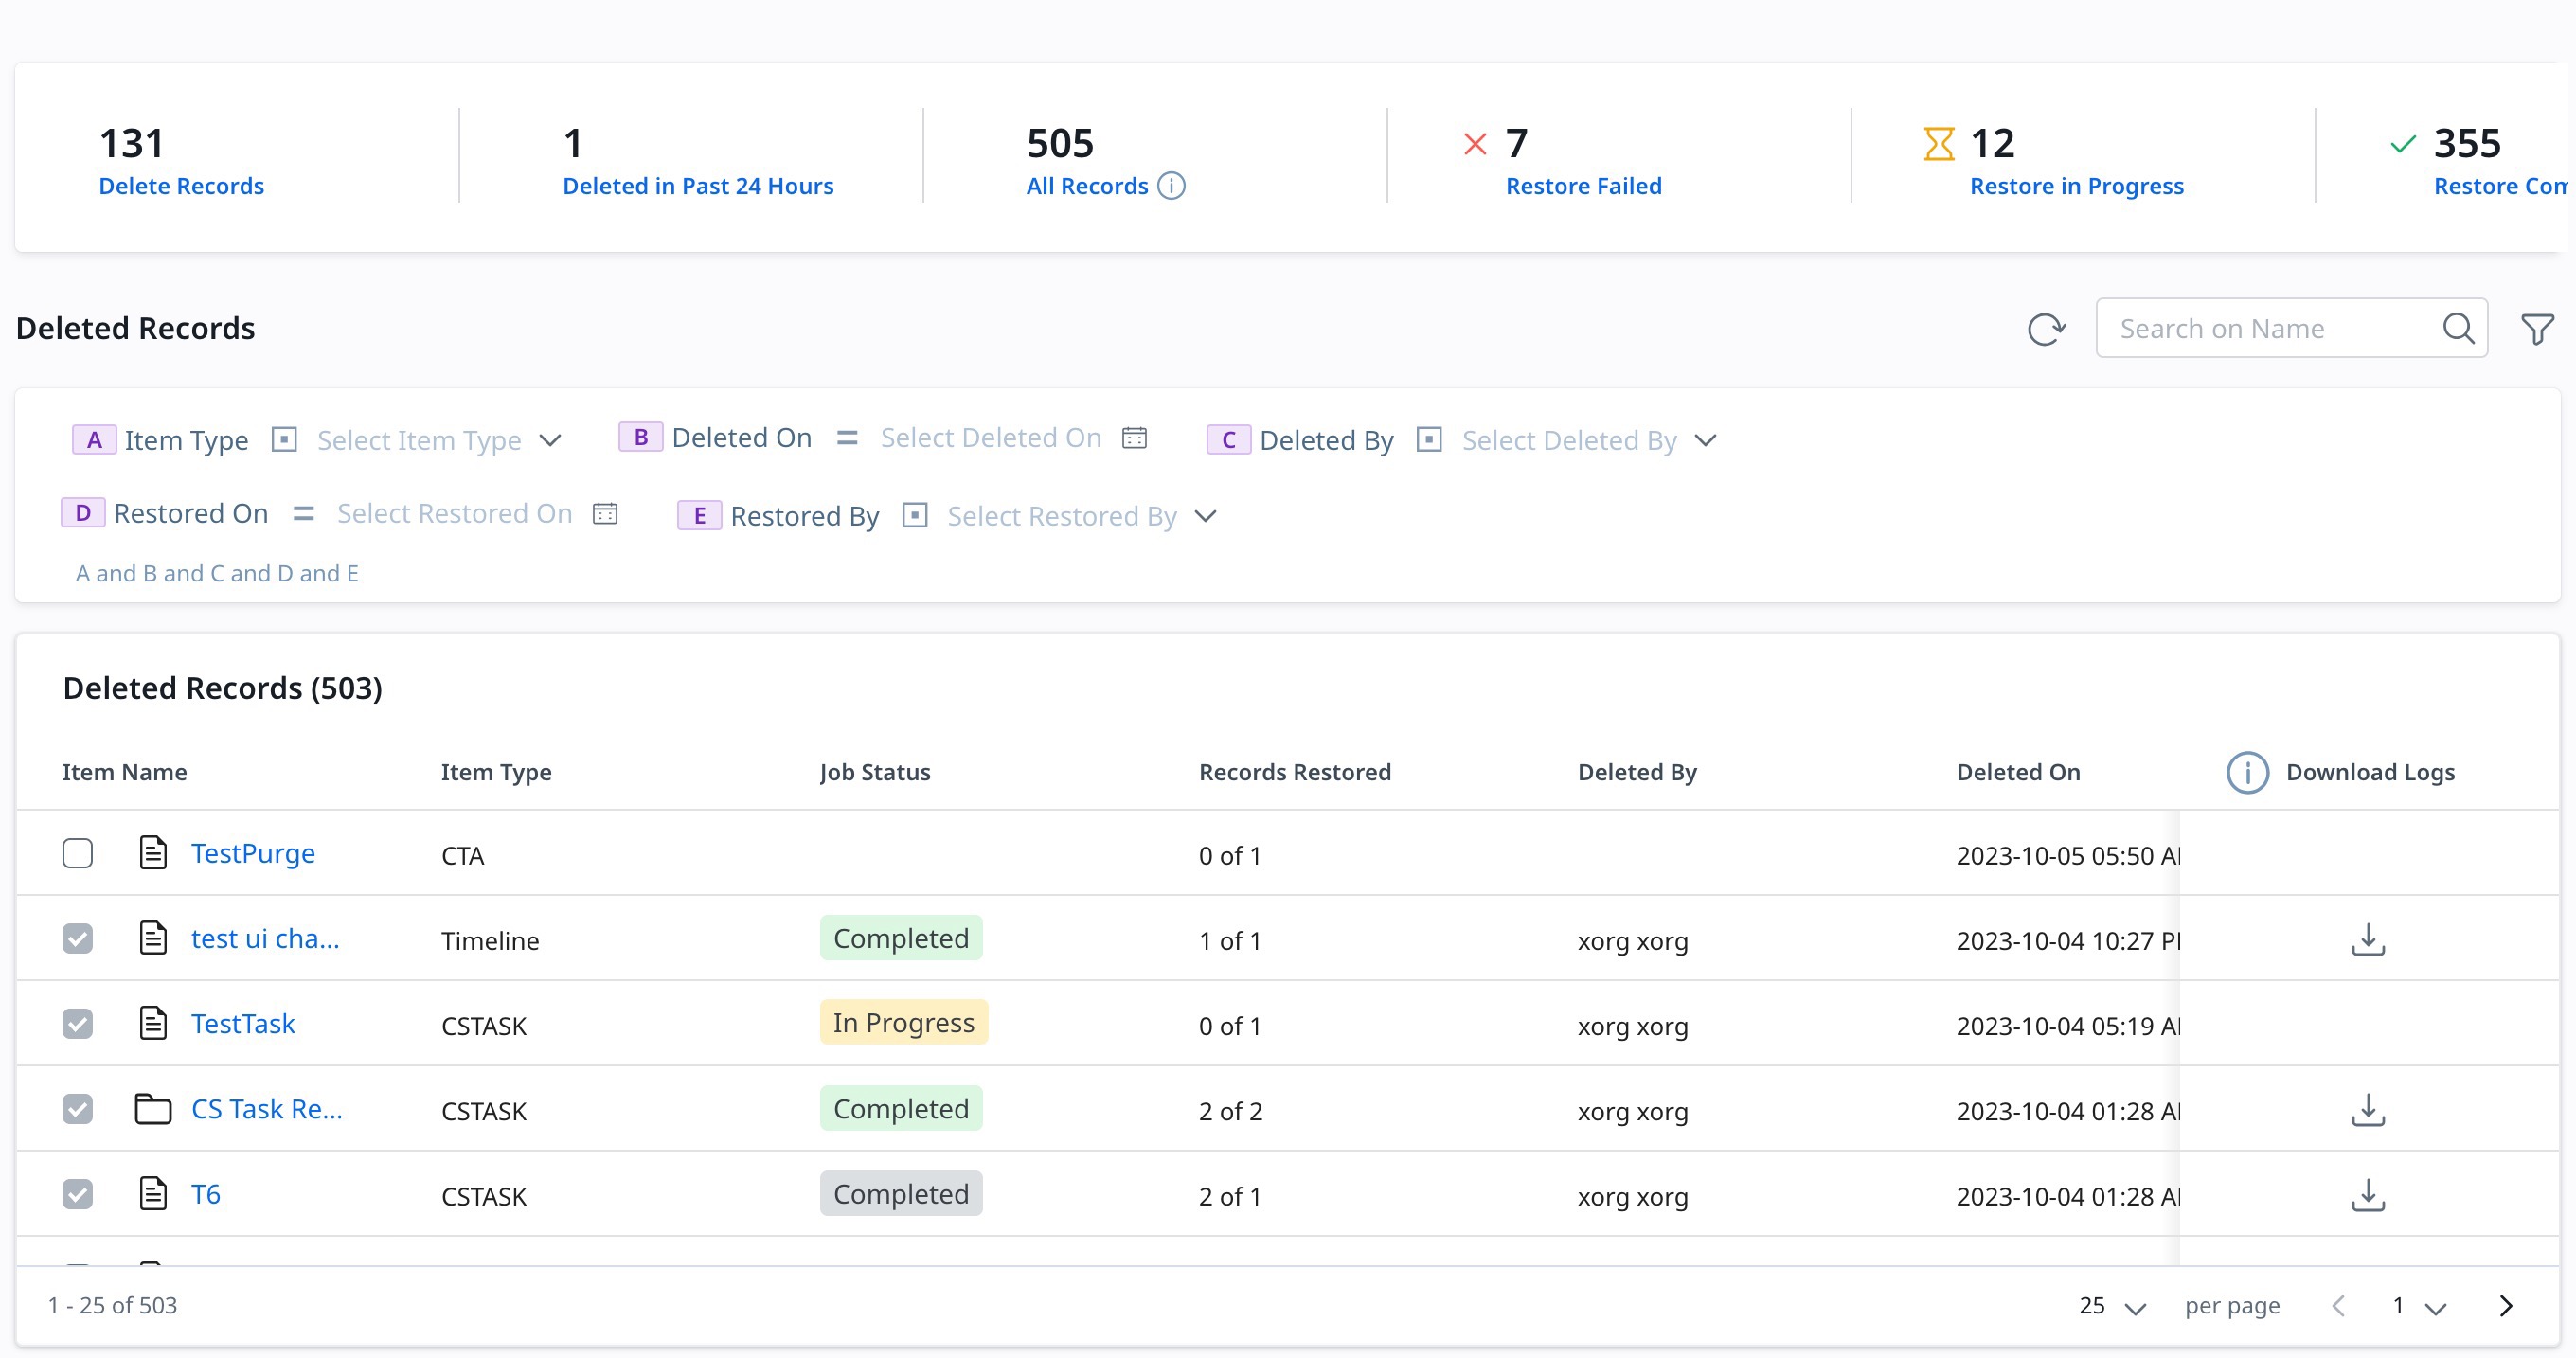
Restore Records
Admins can restore the deleted records in two ways:
Restore Individual Records
To restore individual records:
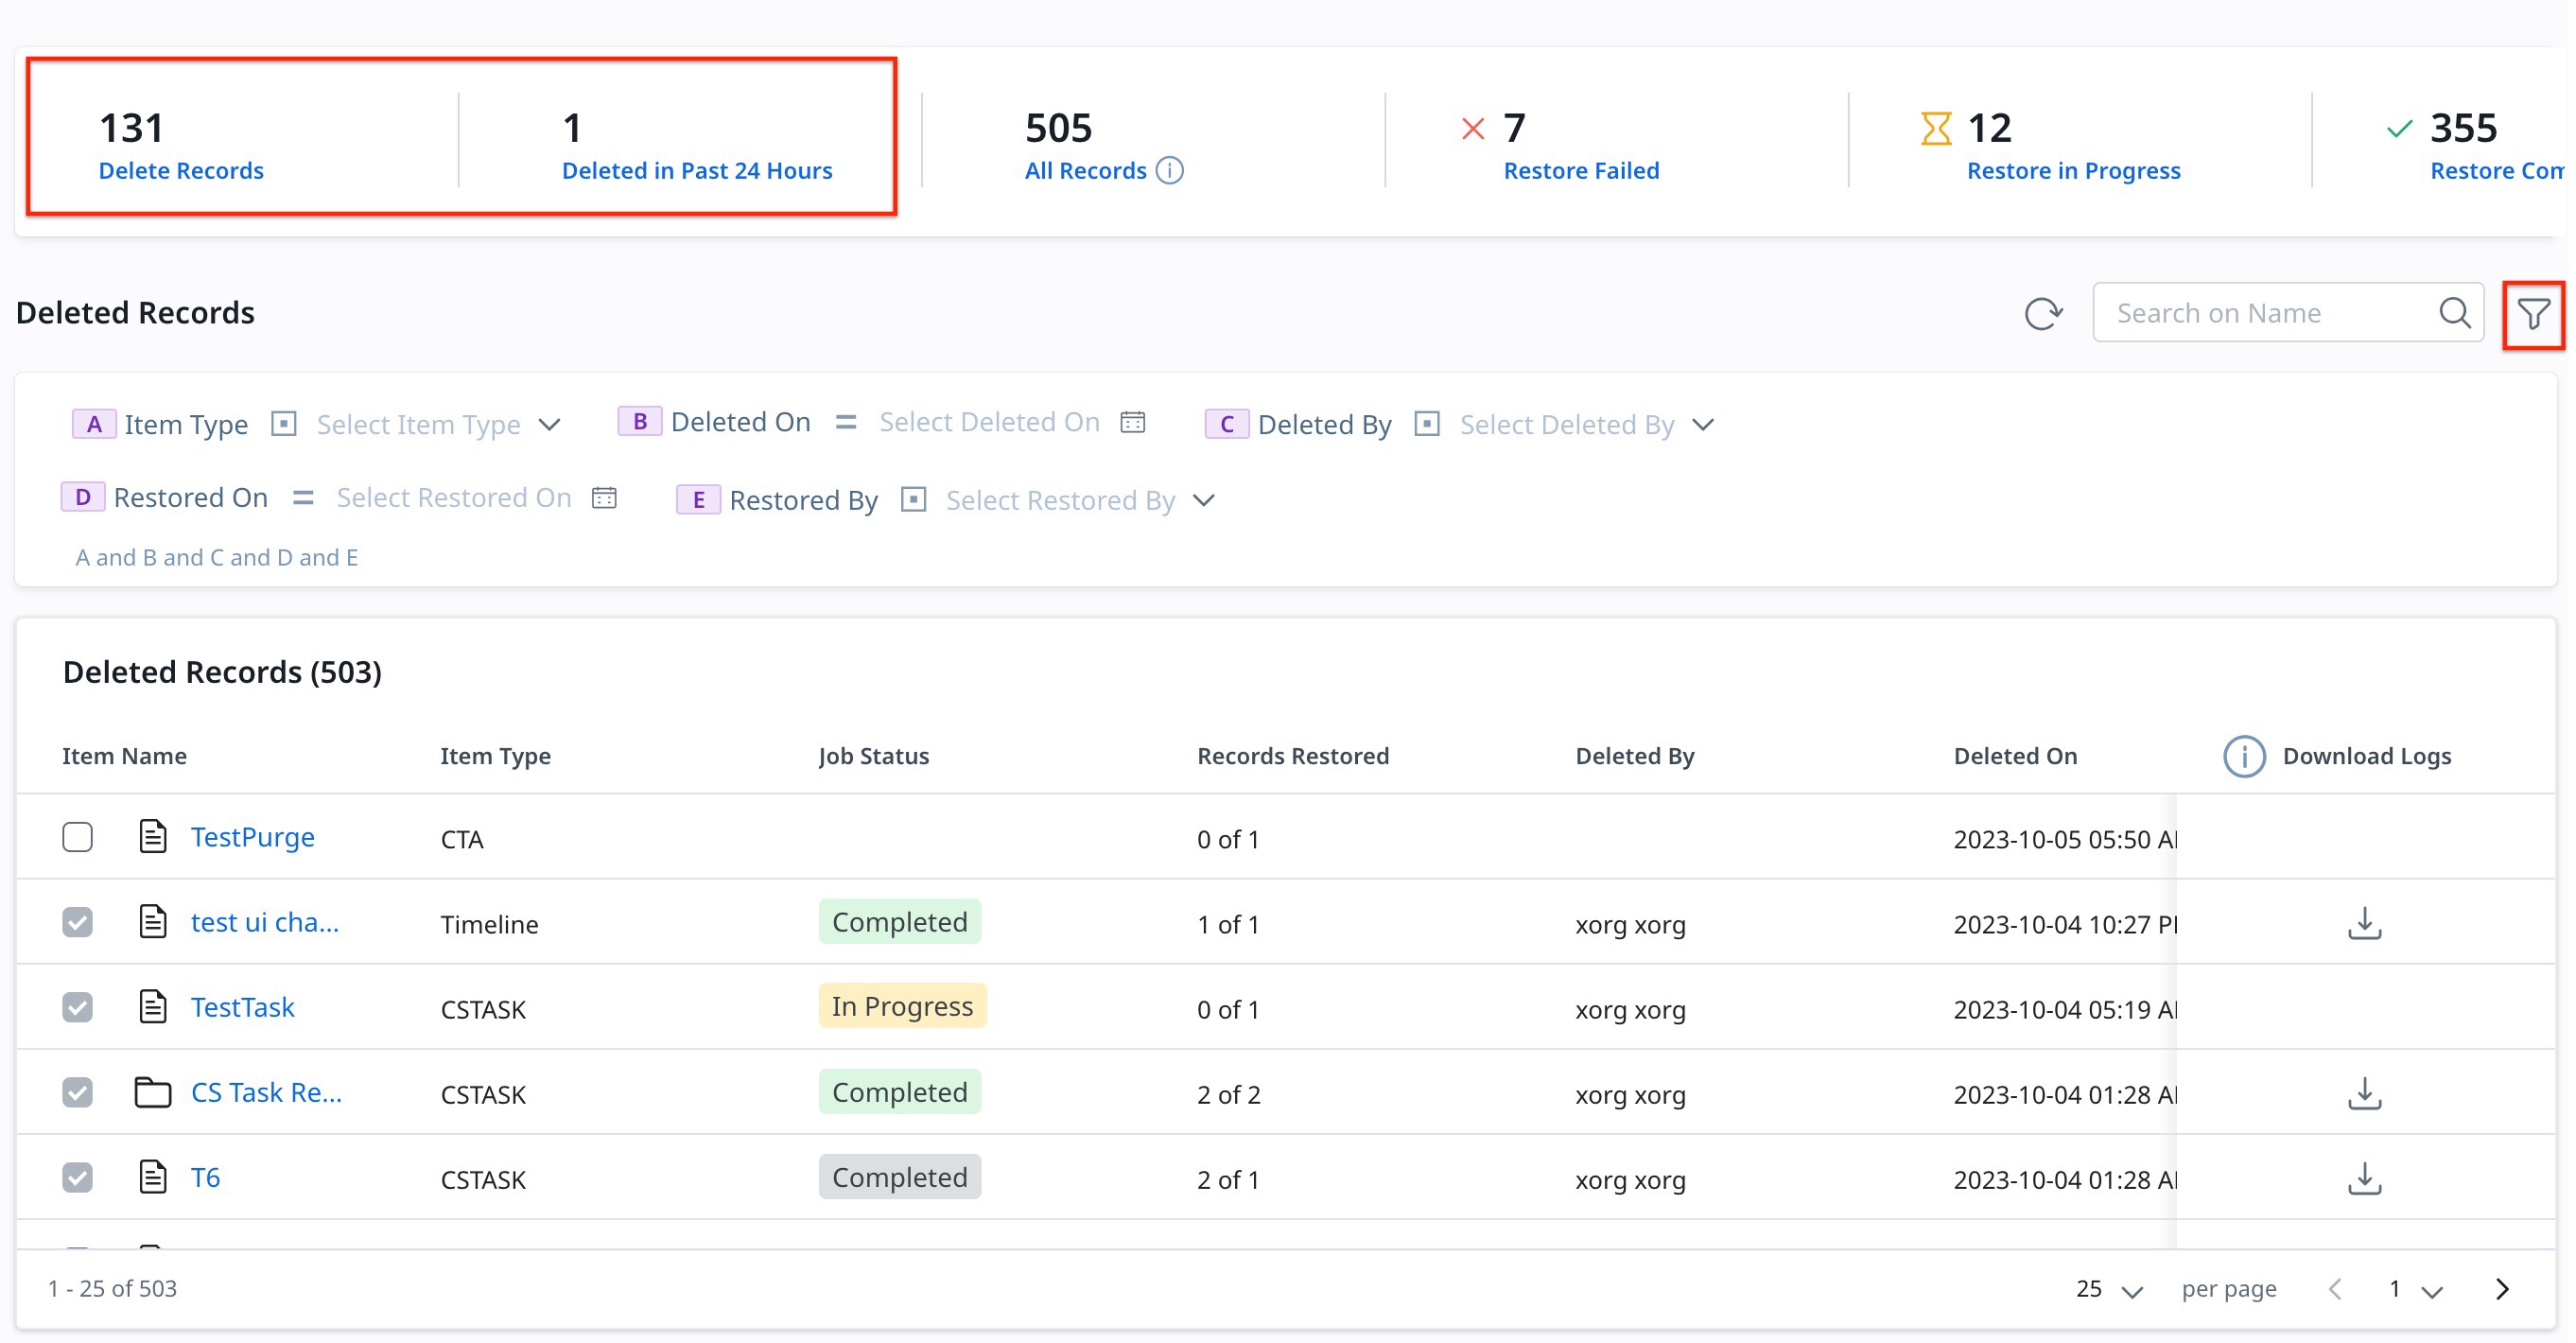
- (Optional) From the summary ribbon, select Deleted Records or Deleted in past 24 hours to view the list of records.
- (Optional) Click the Filter icon to expand the filter options and filter the records by:
- Item Type
- Deleted On
- Deleted By
- Restored On
- Restored By
- (Optional) In the Search textbox, enter the record name to search based on the Item Name.
- From the Item Name list, select the checkbox next to the record to restore.
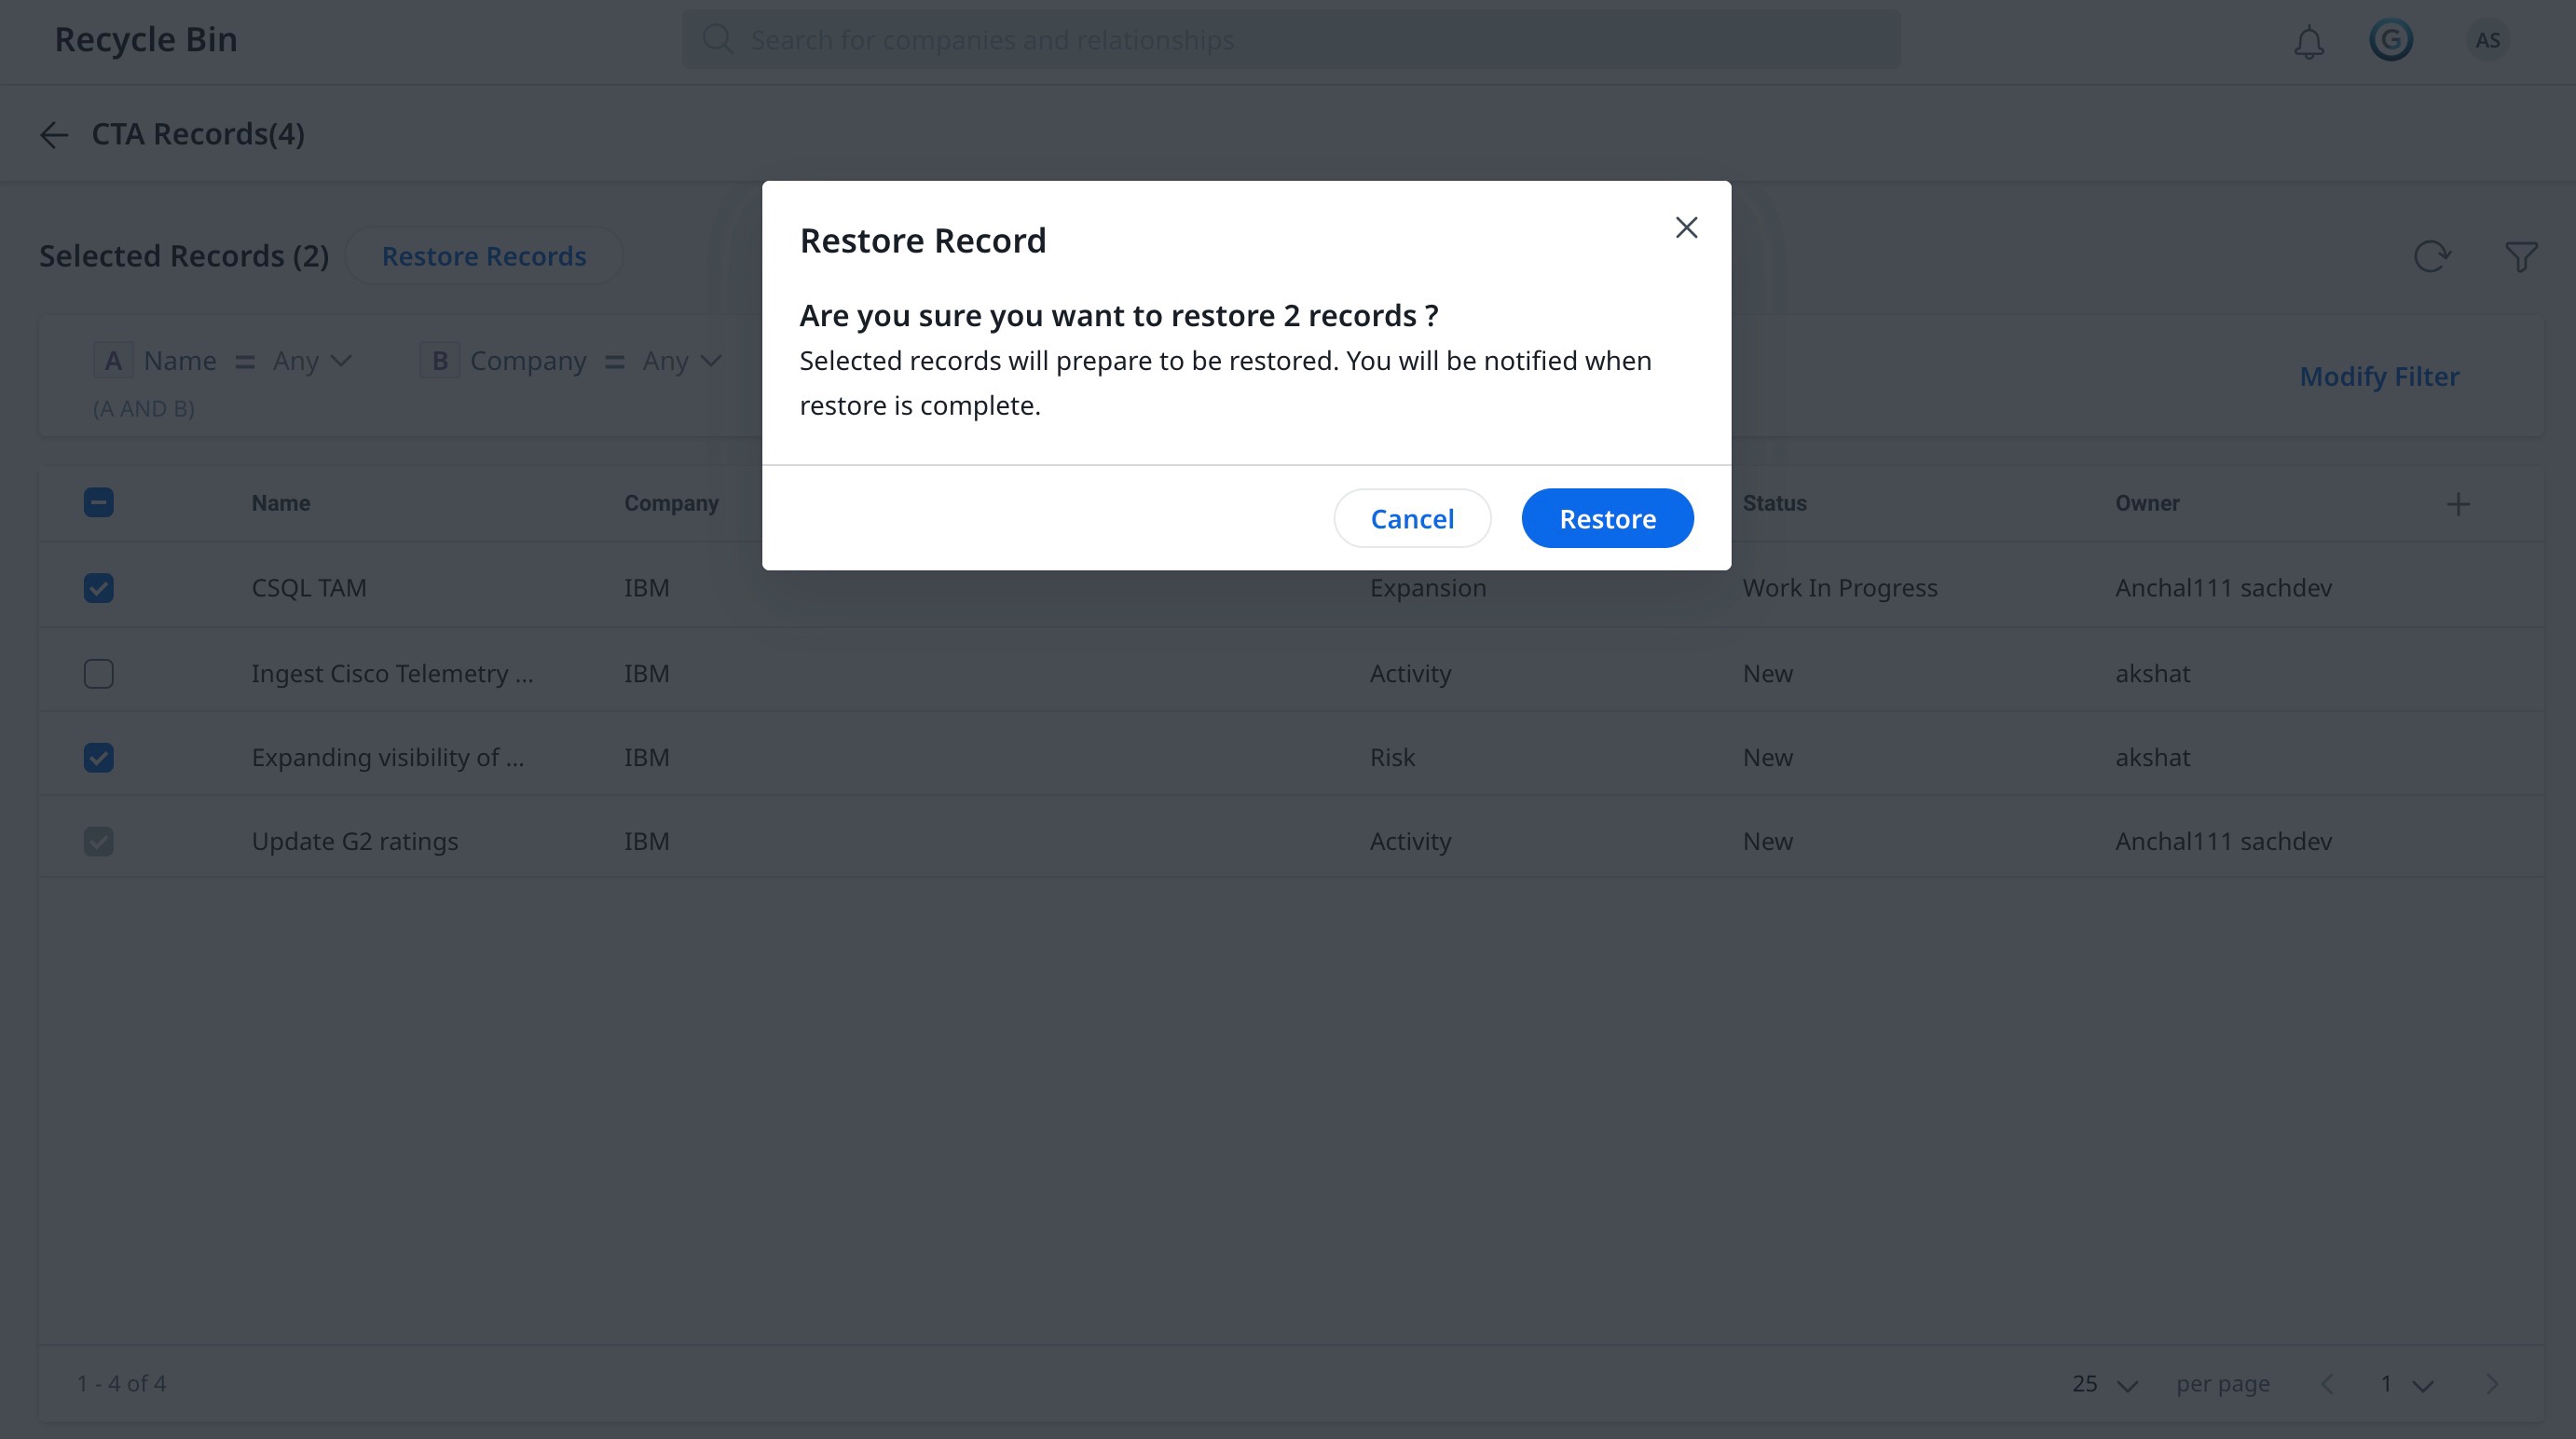
Note: Individual records are represented by a File icon. - Click Restore. A confirmation window appears.
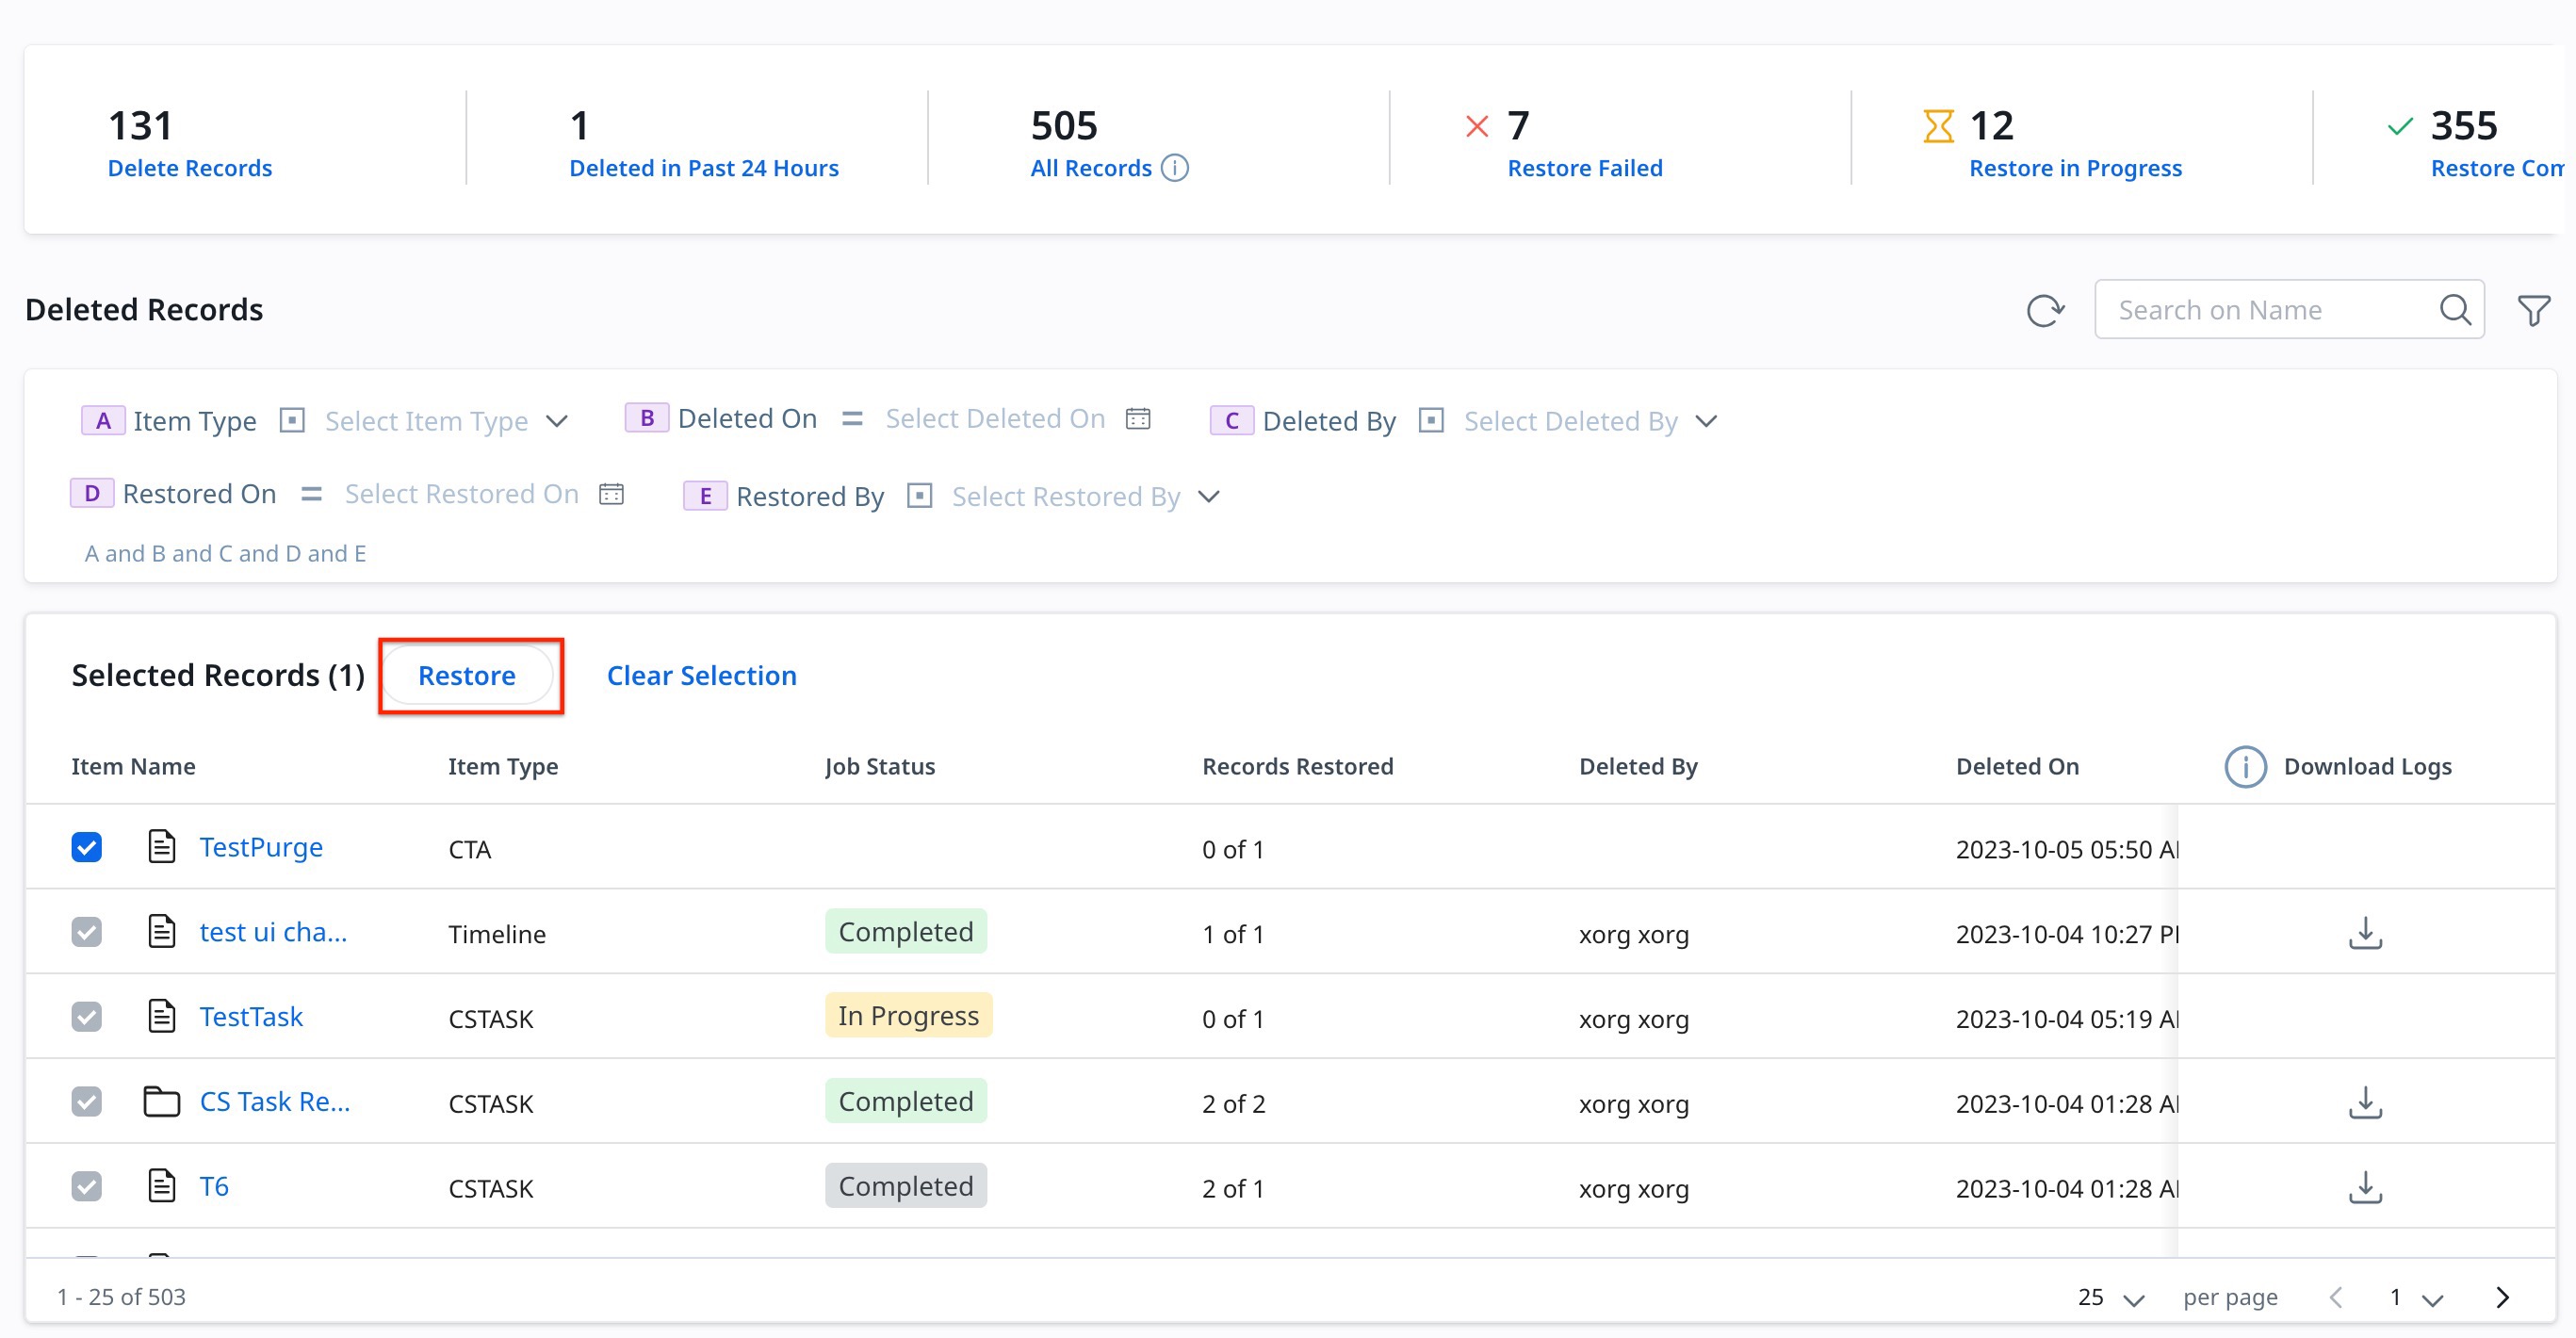
- Click Restore to start the restore process.
Restore Records in Bulk
To restore bulk records:
- From the Item Name list, select the records to restore. The records list is displayed.
Note: Bulk records are represented by a Folder icon.
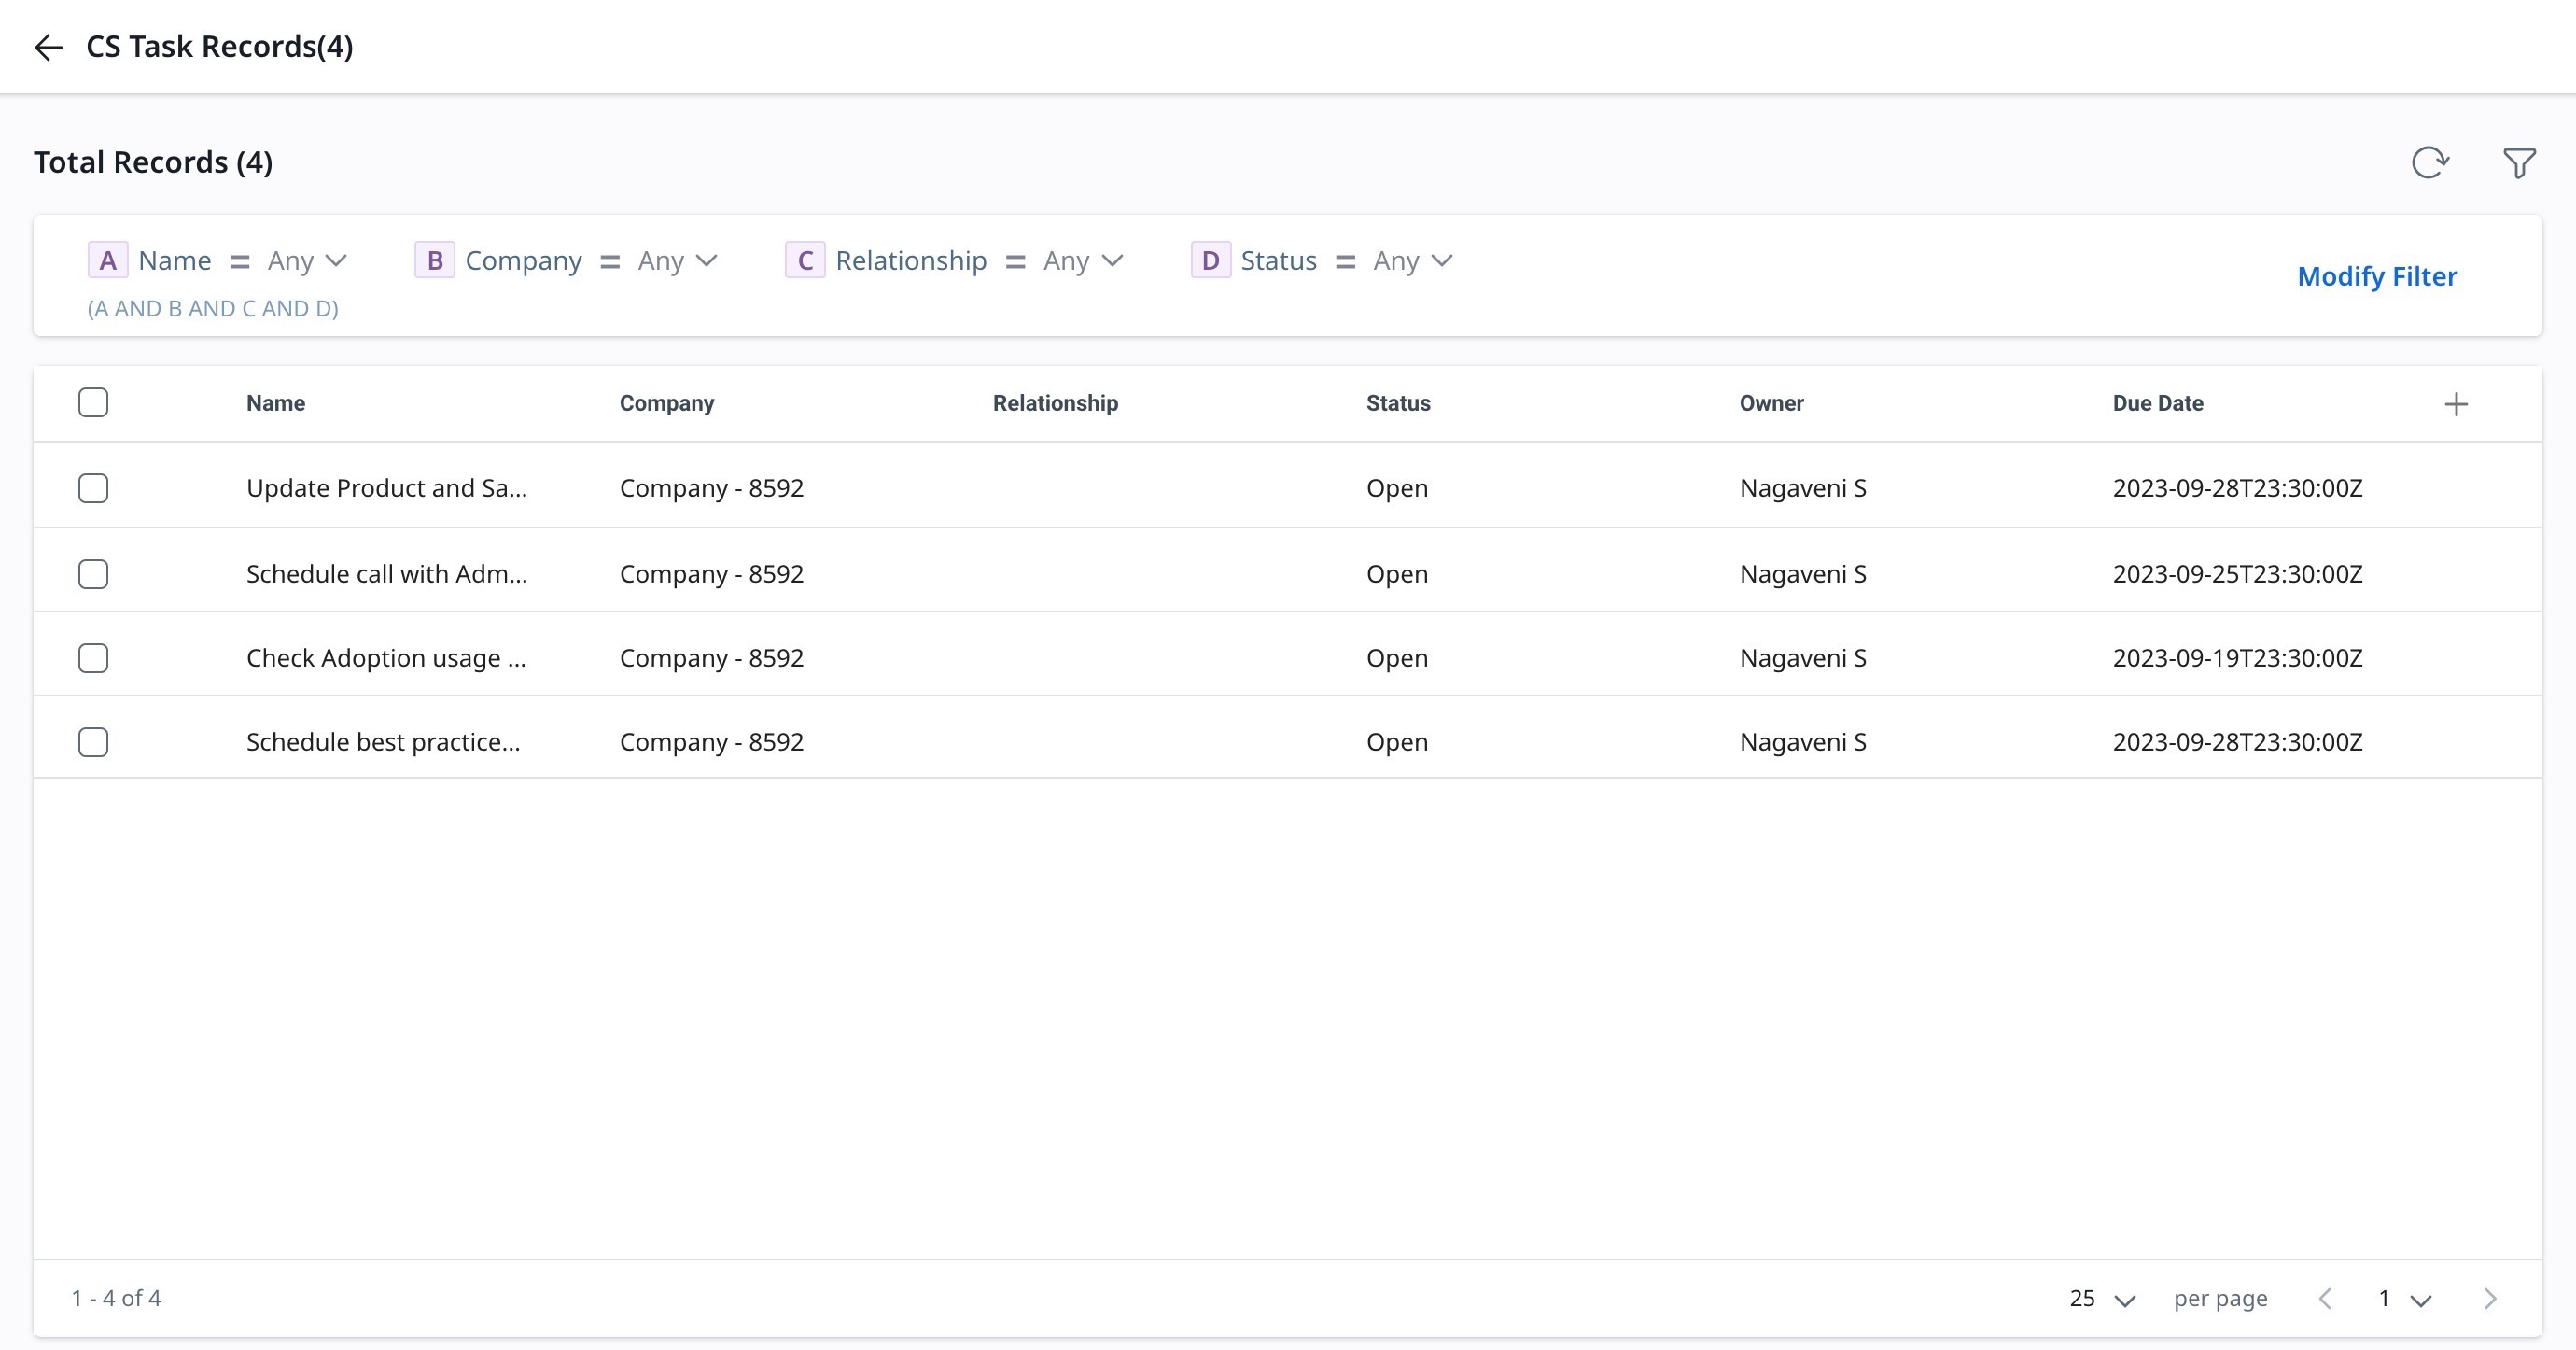
- (Optional) Click the Filter icon to expand the filter options. Click Modify Filter.
- Click the Plus icon, to add Field, Operator, and Value.
- Click Save.
Note: The filters for CTA and Timeline vary based on the fields associated with them.
- Select the checkbox next to the records to restore.
Note: Alternatively, select the checkbox at the top to select all records. - Click Restore Records. A confirmation window appears.
- Click Restore.
Job Status and Records Restored
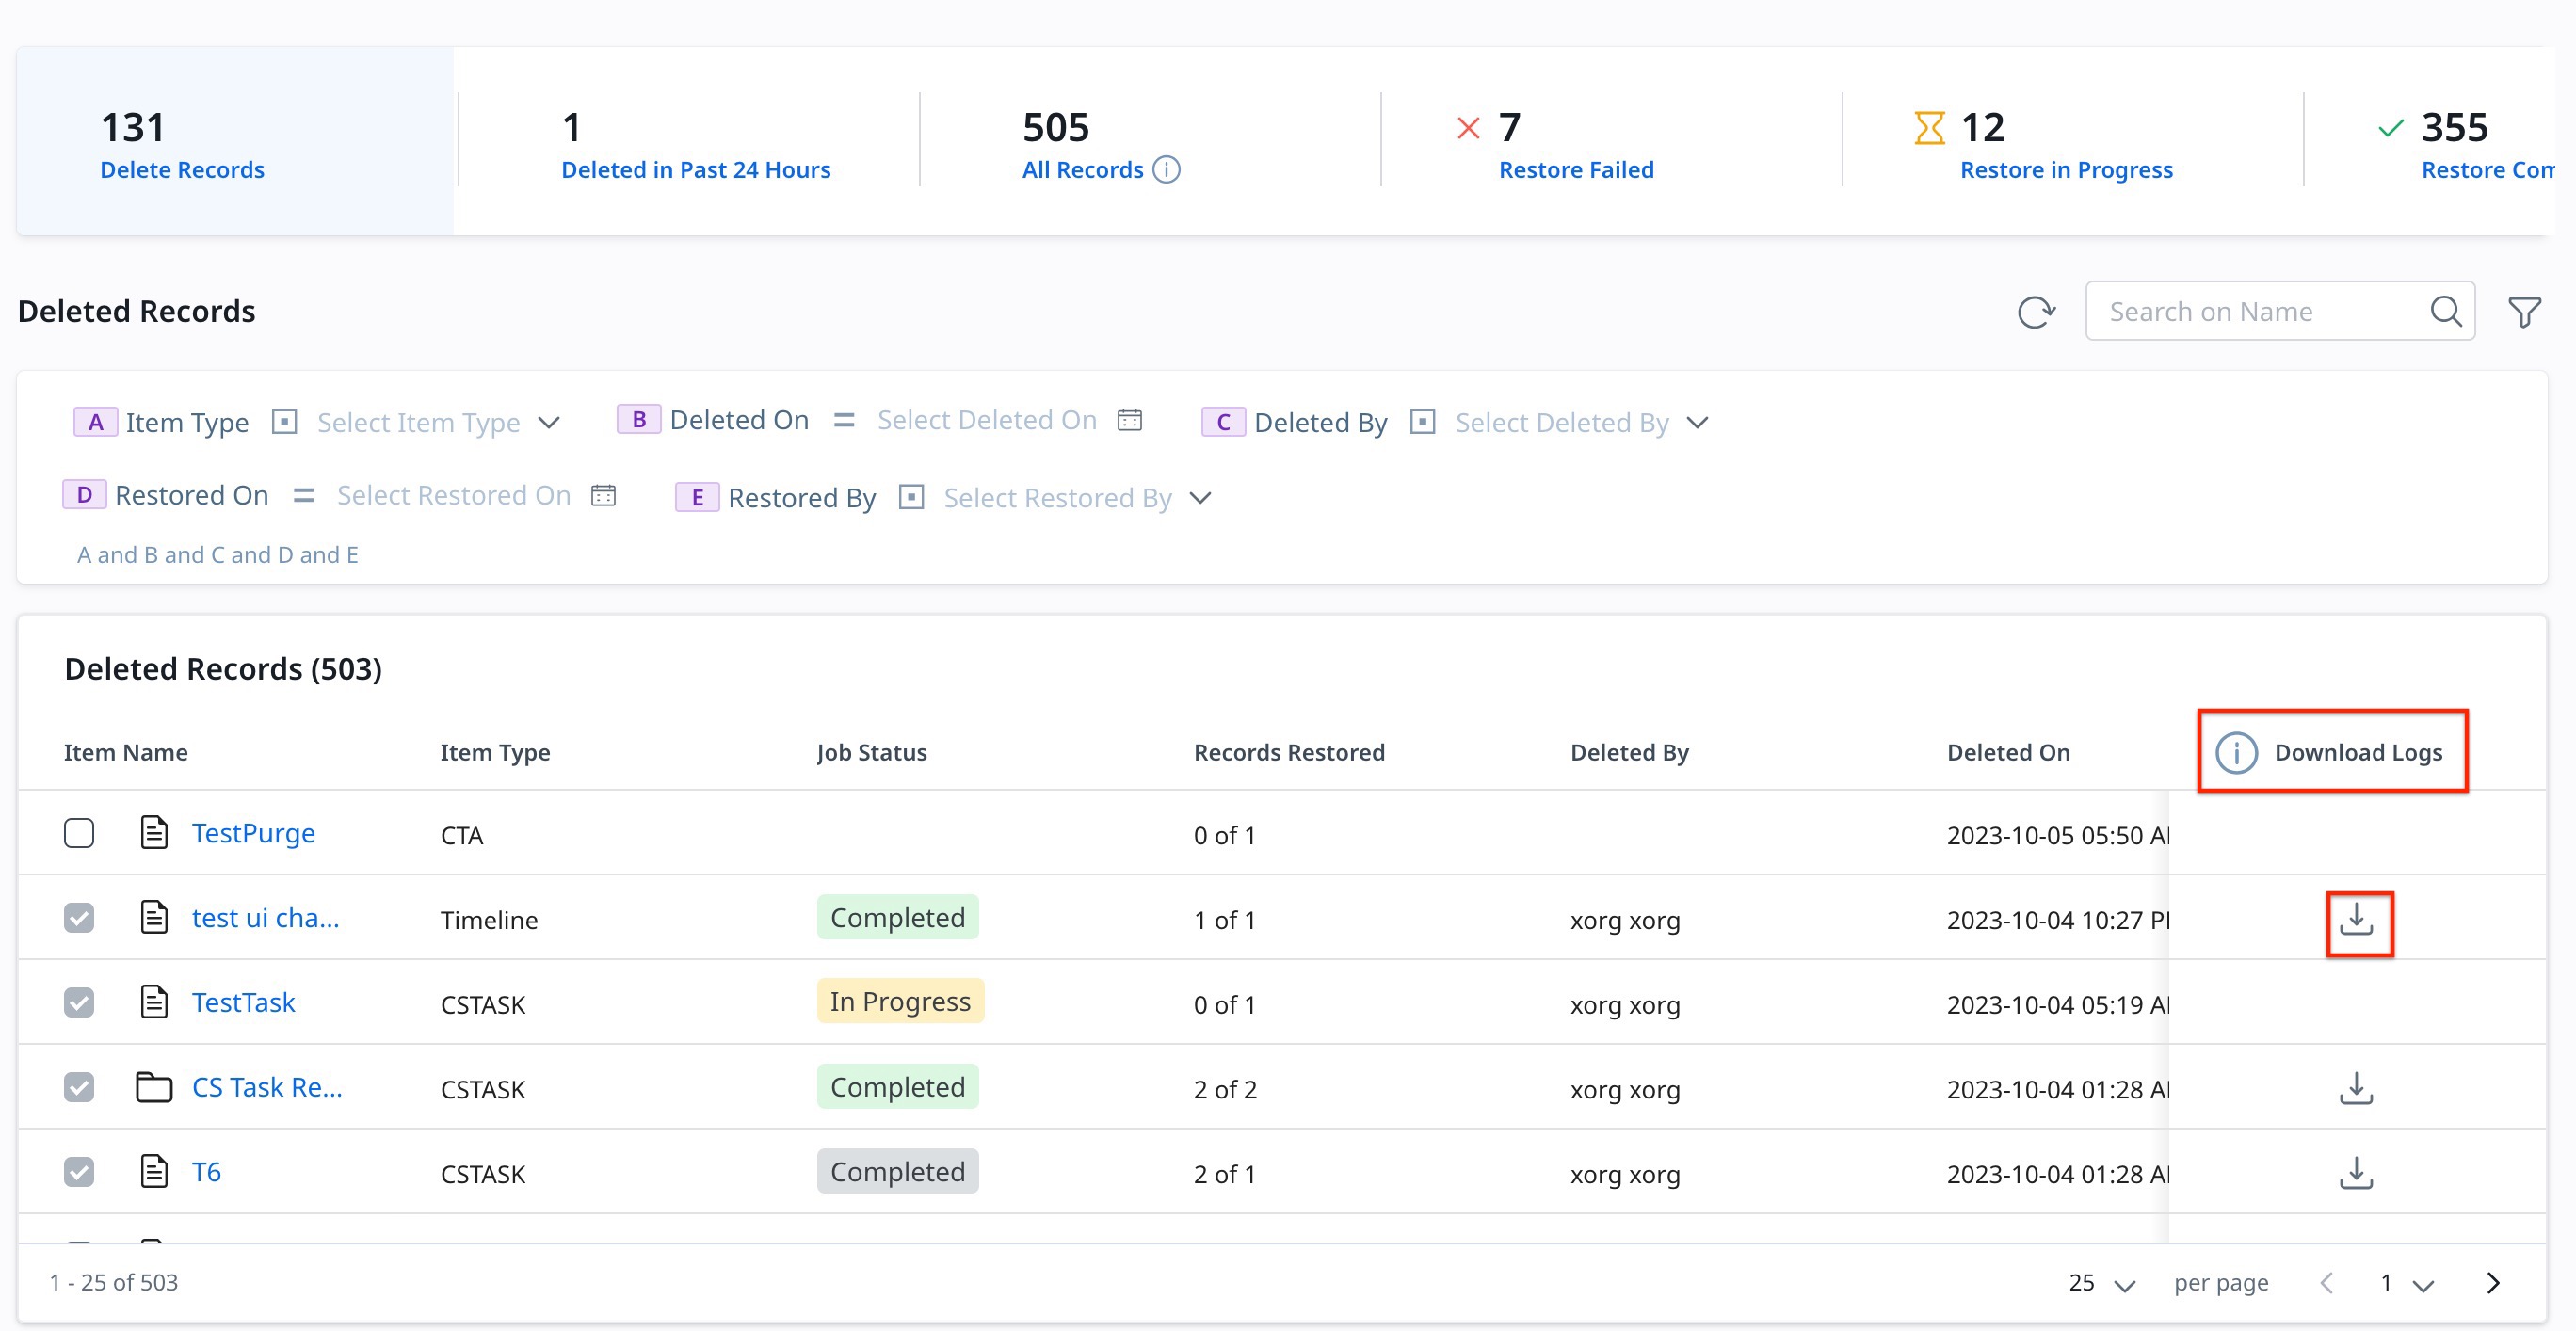
Once the restore process starts, the Job Status column displays the restoration process statuses, namely:
- In Progress
- Completed
- Failed
.jpg?revision=1)
For a job status that displays Completed, the records can have the following two states:
- All records are restored.
- Only those records that are selected from the folder are restored.
Note: The number of records restored is displayed in the Records Restored column.
Admins can choose to select the folder again and select the remaining records to restore.
IMPORTANT: For a job status that shows Failed, admins need to ensure that the parent object is available in the Gainsight instance. If the issue persists, contact Gainsight Support for further assistance.
For more information on which data can be restored, refer to the Restorable Data in Gainsight section in the Recycle Bin Overview article.
Download Logs
Admins can download logs to view the details of failed or restored records. To download the file, click the Download icon under the Download Logs.
The log file contains the following information:
- Summary: Provides a summary of all the records sent for restoration.
- Asset Details: Provides detailed information on:
- Item Name
- Item Type
- Job Status
- Reason for Failure
The reason for failure column will help admins identify the entities that are required for the data to be restored.