Configure Product Requests
Gainsight NXT
This article explains how admins can configure the Product Requests Feature for Customer Success Managers (CSMs) and Product Managers (PMs).
Overview
Customer Success Managers (CSMs) and Product Managers (PMs) can leverage Product Requests as a platform to collaborate and work on the enhancement requests received from customers.
The Product Requests consist of an Enhancement Request Form that CSMs can leverage to create the enhancement request and submit it to the Product Managers for approval.
For more information on the workflow of Product Requests, refer to the Product Requests Overview article.
To access the Product Requests:
- Admins must create a connection between Gainsight and Productboard.
- Admins must add the Product Requests to C360 Layout. For more information on how to add the C360 layout, refer to the Configure 360 Layouts article.
Create a Productboard Connection
Admins must create a connection between Gainsight and Productboard to add the Product Request layout to C360.
To create a Productboard connection:
- Navigate to Administration > Connectors 2.0.
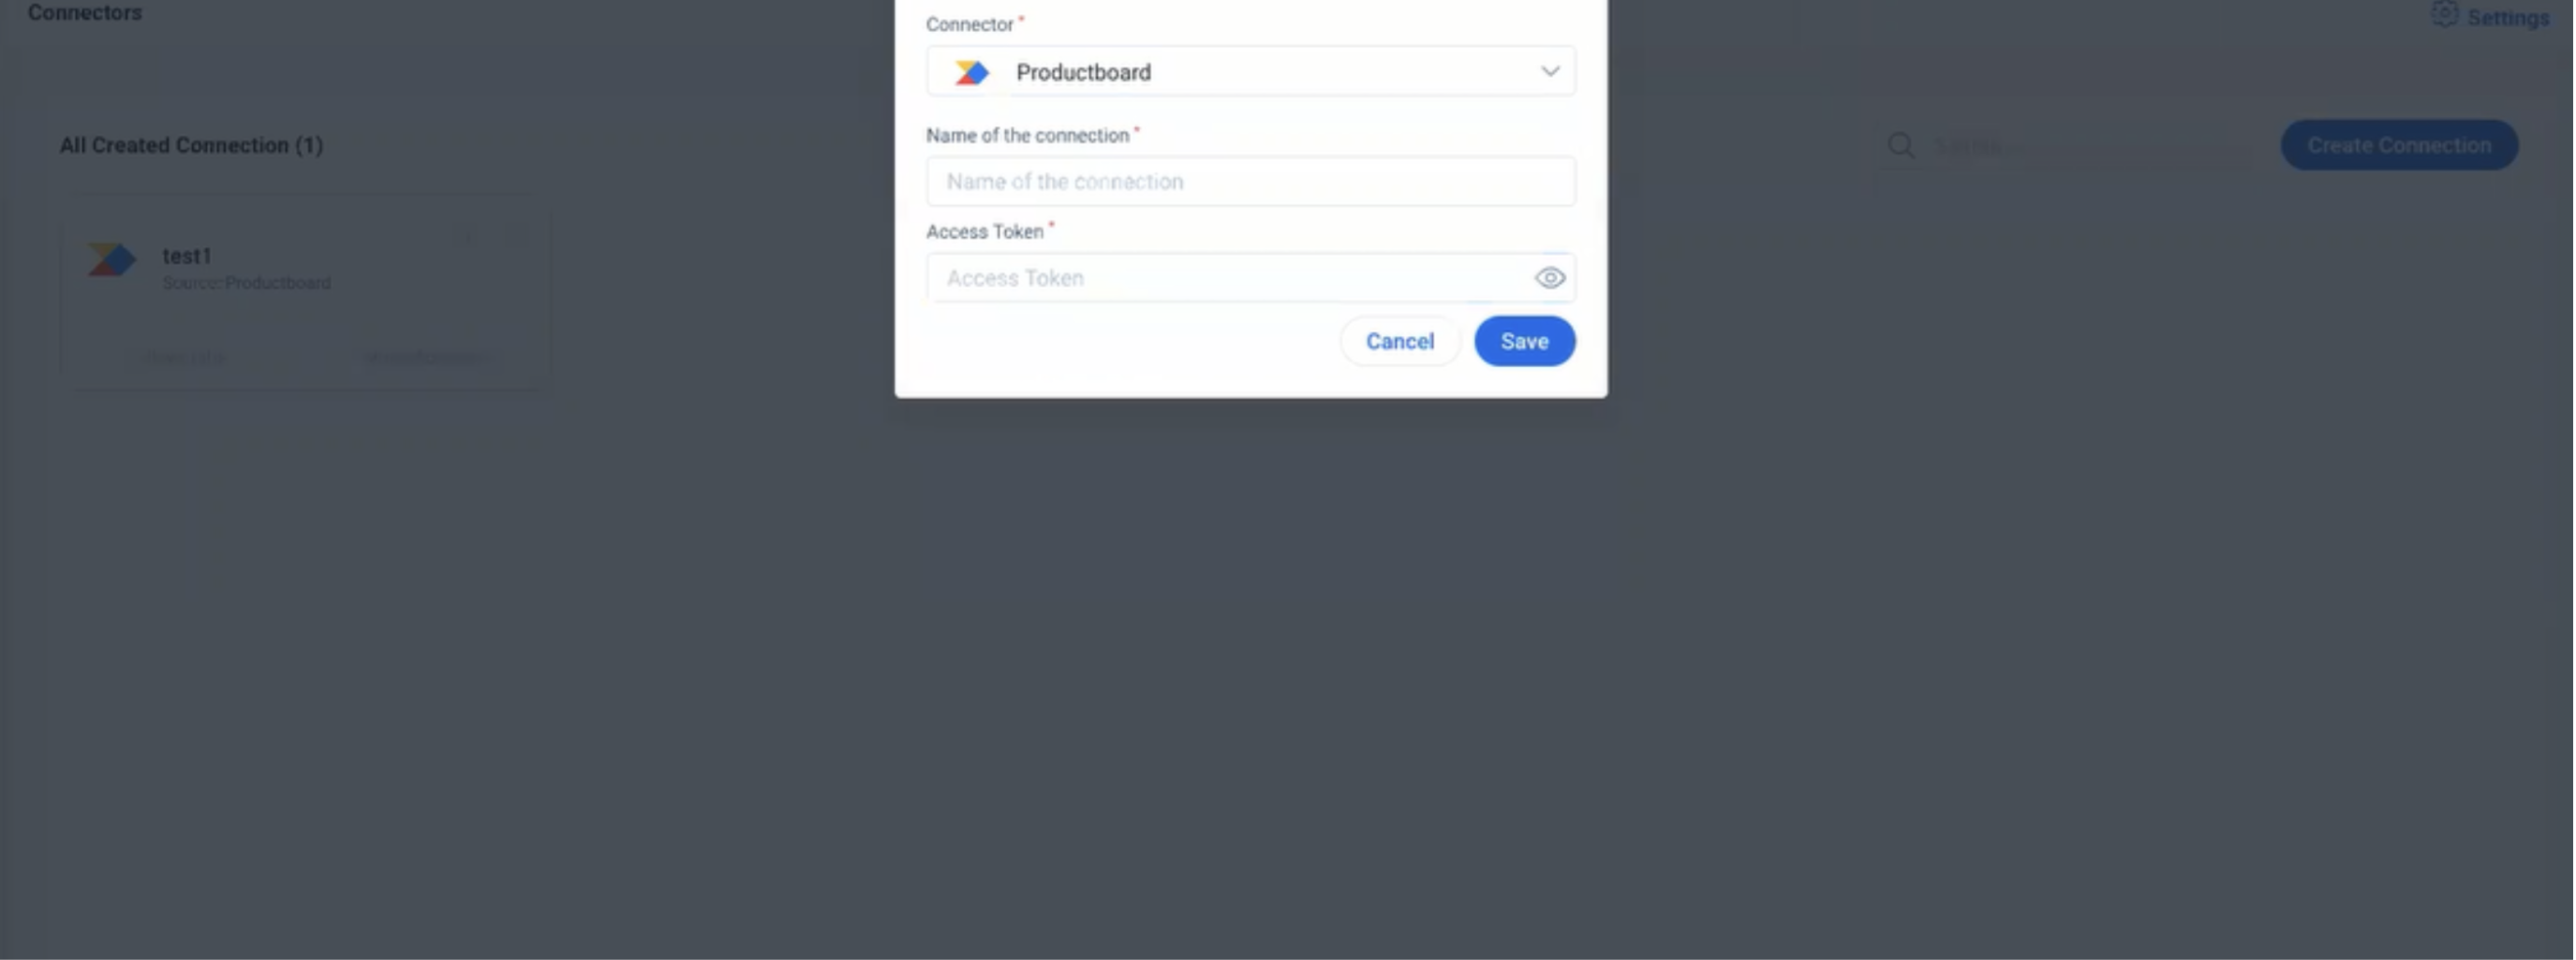
- Click Create Connection. The Create Connection window appears.
- From the Connector dropdown, select Productboard.
- In the Name of the connection field, enter the connection name.
- In the Access Token field, enter the token details of the Product Board.
Note: Admin must reach out to Product Management for the token details. - Click Save. The Connection Successful message appears.
- Click Done.
- Click the Jobs tab.
- Click the three-vertical dots that appear beside the created connection name.
- Click Edit. The Preparation tab appears.
- Click Configure. The Configure tab appears.
- Configure the Job schedule. To configure the job schedule, refer to the Configuration of Job or Job Chain Schedule article.
Add Product Requests to C360 Layout
After the Productboard connection is established, admins must add the Product Requests tab to the C360 layout.
For more information on how to add a C360 layout, refer to the Configure 360 Layouts article.
Modify an Enhancement Request Form
Gainsight provides a standard Enhancement Request Form for CSMs. Admins can work with Product Managers to modify the form according to their needs. This helps the Product Managers to make informed decisions for their Products.
To modify the enhancement request form:
- Navigate to Administration > Product Requests.
- (For the first time configuration)
- The Create Connection tab appears with Connection Established message.
- Click Next. The Add Product Requests to C360 Layout tab appears.
- Click Complete. The Enhancement Requests Form appears.
- Drag and drop the fields from the Fields section into the Canvas section.
- (Optional) Hold and drag the added fields in the canvas section to arrange the fields.
Note: The following are the standard fields that cannot be edited or deleted.- Company
- Enhancement Request Title
- Priority
- Summary
- Contact Email
- Click the Settings icon to access the settings page of the field.
- In the Title field, enter the name of the field.
- Toggle the Required Field button to make the field mandatory.
- Click Save.
-
Click Save to save the enhancement request form.
For more information on how to create custom fields, refer to the Basic Operations in Gainsight Data Management article.
Note: Additional fields can be added to the Enhancement Request object.
Configure Gainsight Data Points
Gainsight data points are the customizable fields from the Company object in Enhancement Request Form. Admins can add, delete or rename the Data Points. By selecting Gainsight Data Points, users are selecting the information to be shared with the product managers. The configured data points are added to the Enhancement Request page as a new field.
To configure Gainsight Data Points:
- Navigate to Administration > Product Requests.
- Drag and drop the Gainsight Data Points field from the Fields section into the Canvas section.
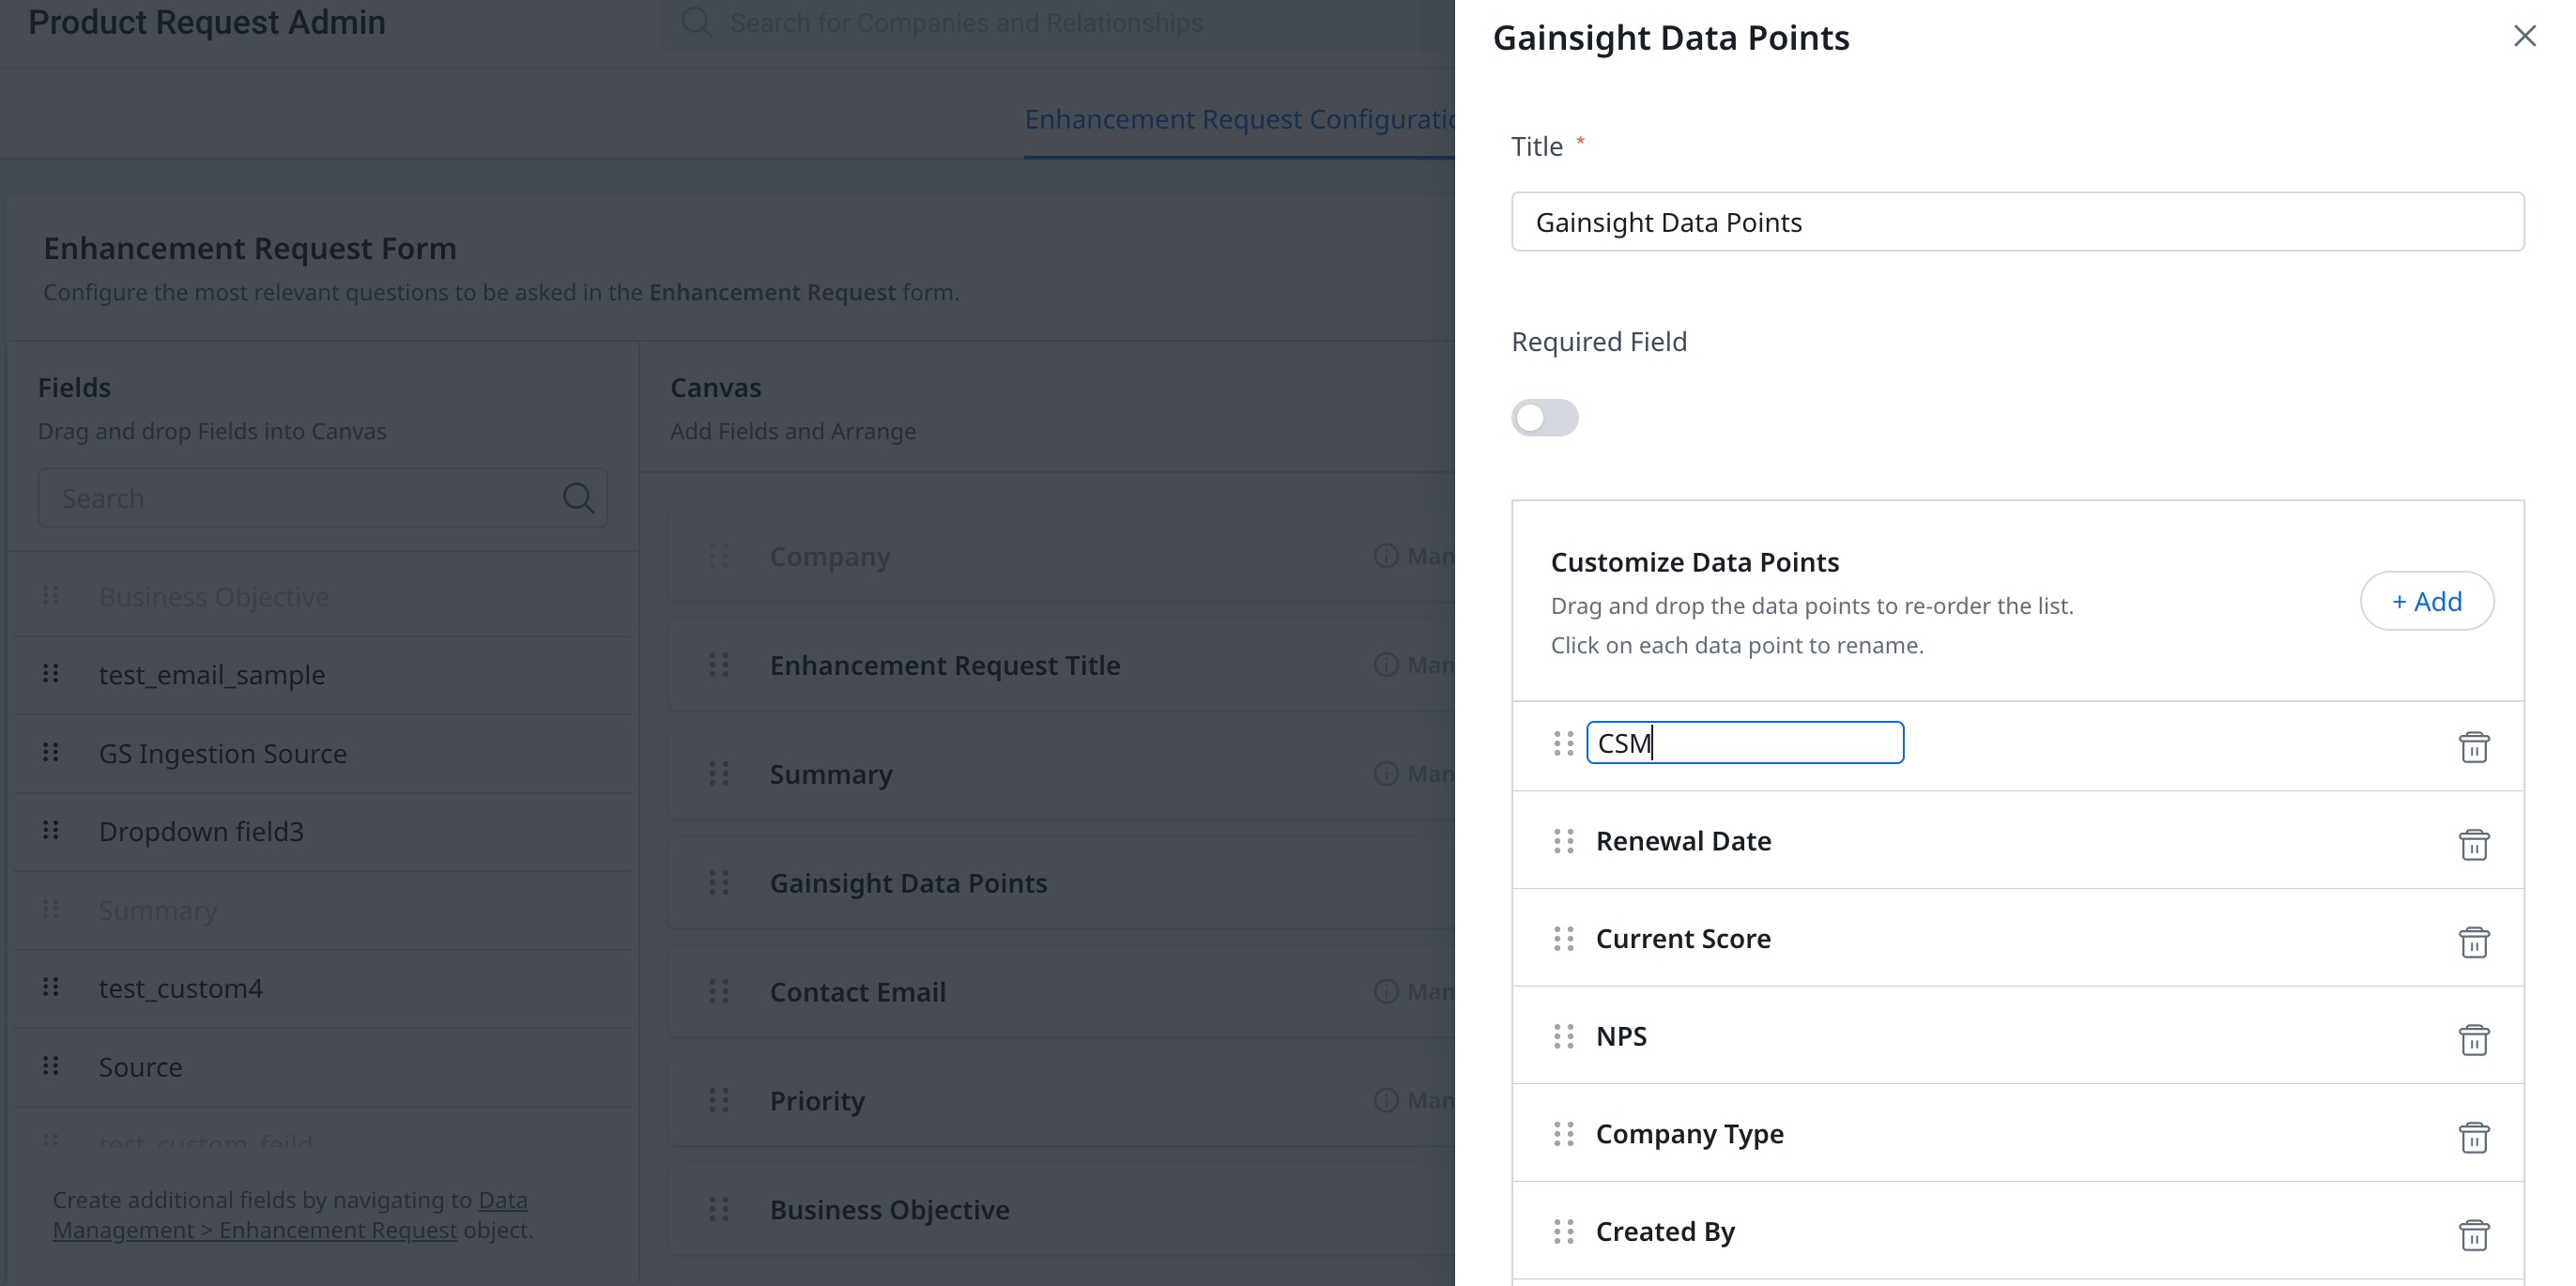
- Click the Settings icon. The Gainsight Data Points slide-out panel appears.
- In the Title field, enter the name of the field.
- Toggle ON the Required Field button to make the field mandatory.
- In the Customize Data Points section,
- Click +Add to select and add relevant Data Points.
Notes:- A maximum of 15 data points can be added.
- A minimum of one data point must be added.
- (Optional) Click the Delete icon to delete the Data Points.
- (Optional) Click the Data Point title to rename it.
- Click +Add to select and add relevant Data Points.
- Click Save.
Note: Only those Data Points which are added in the Customize Data Points section are visible on the New Enhancement Request page to CSMs with data obtained from Gainsight.
Settings
Admins can adjust and tailor settings to align with their specific requirements.
When you integrate their Product Requests with the Productboard, on the Settings page an option to synchronize Productboard data into Gainsight appears.
Note: The historical data sync from Productboard once enabled, cannot be undone.
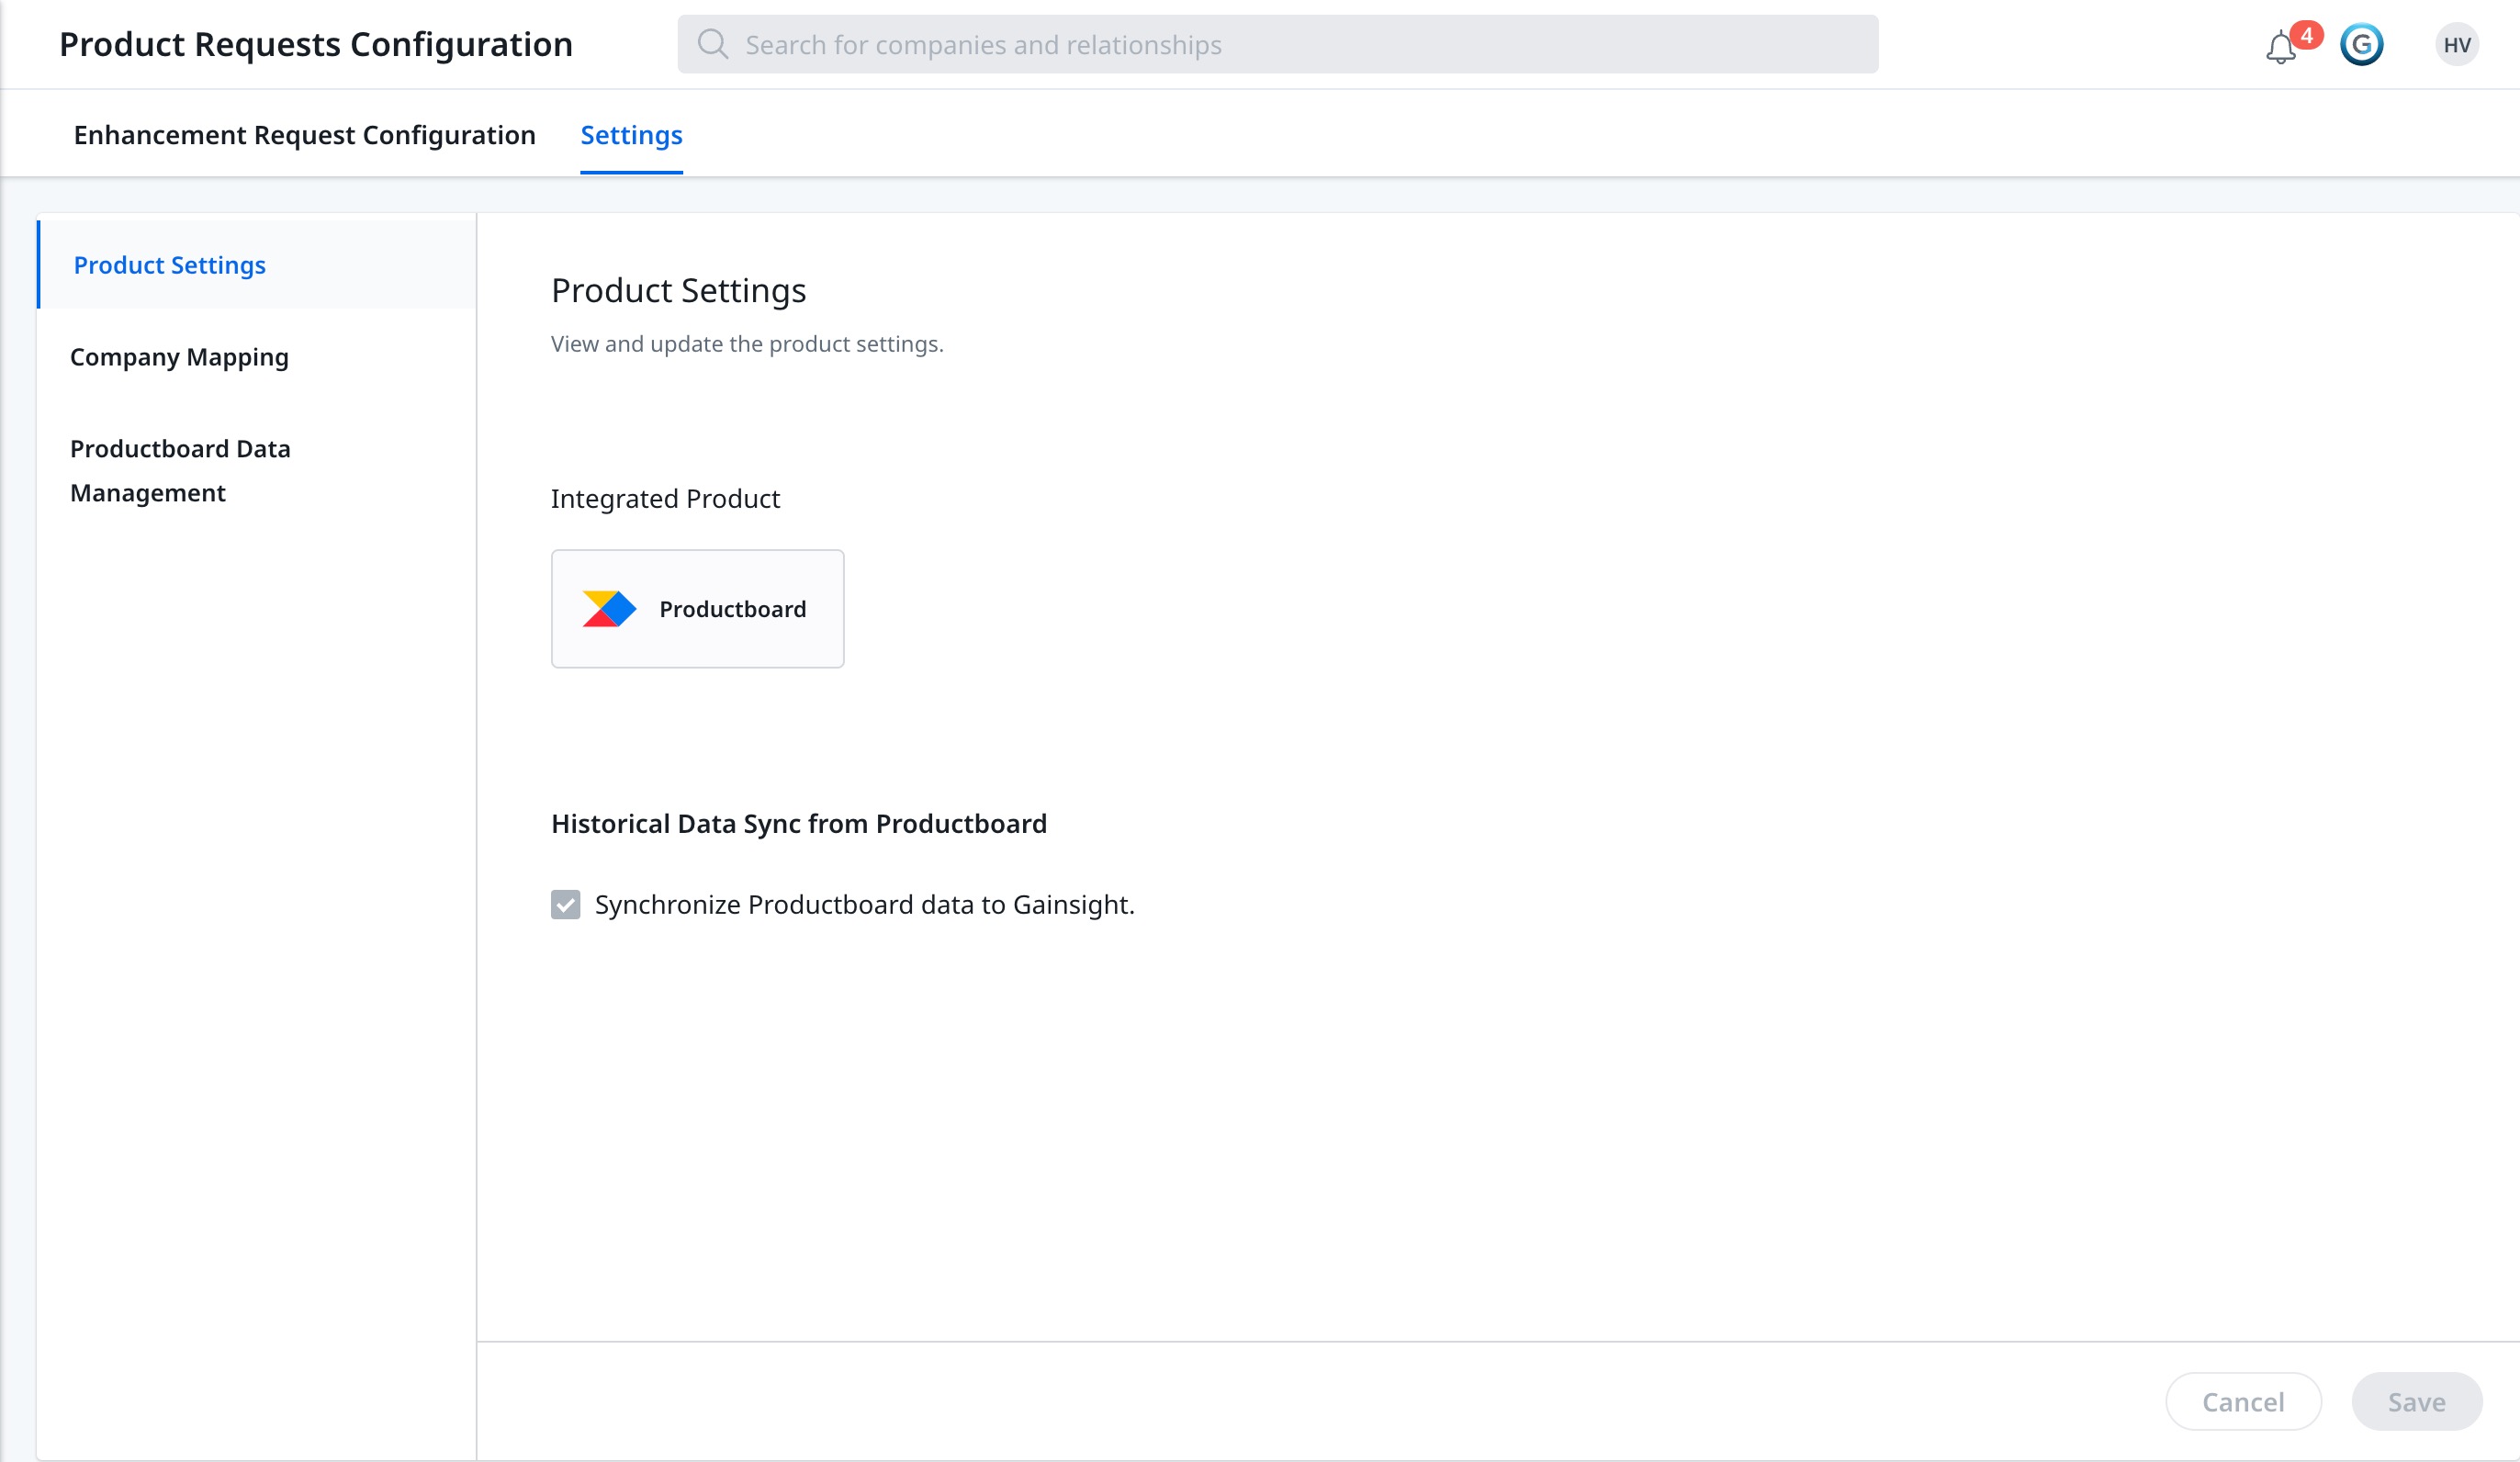
Product Settings
To synchronize non-Gainsight data, you need to follow the below steps:
- Navigate to Administration > Product Requests > Settings.
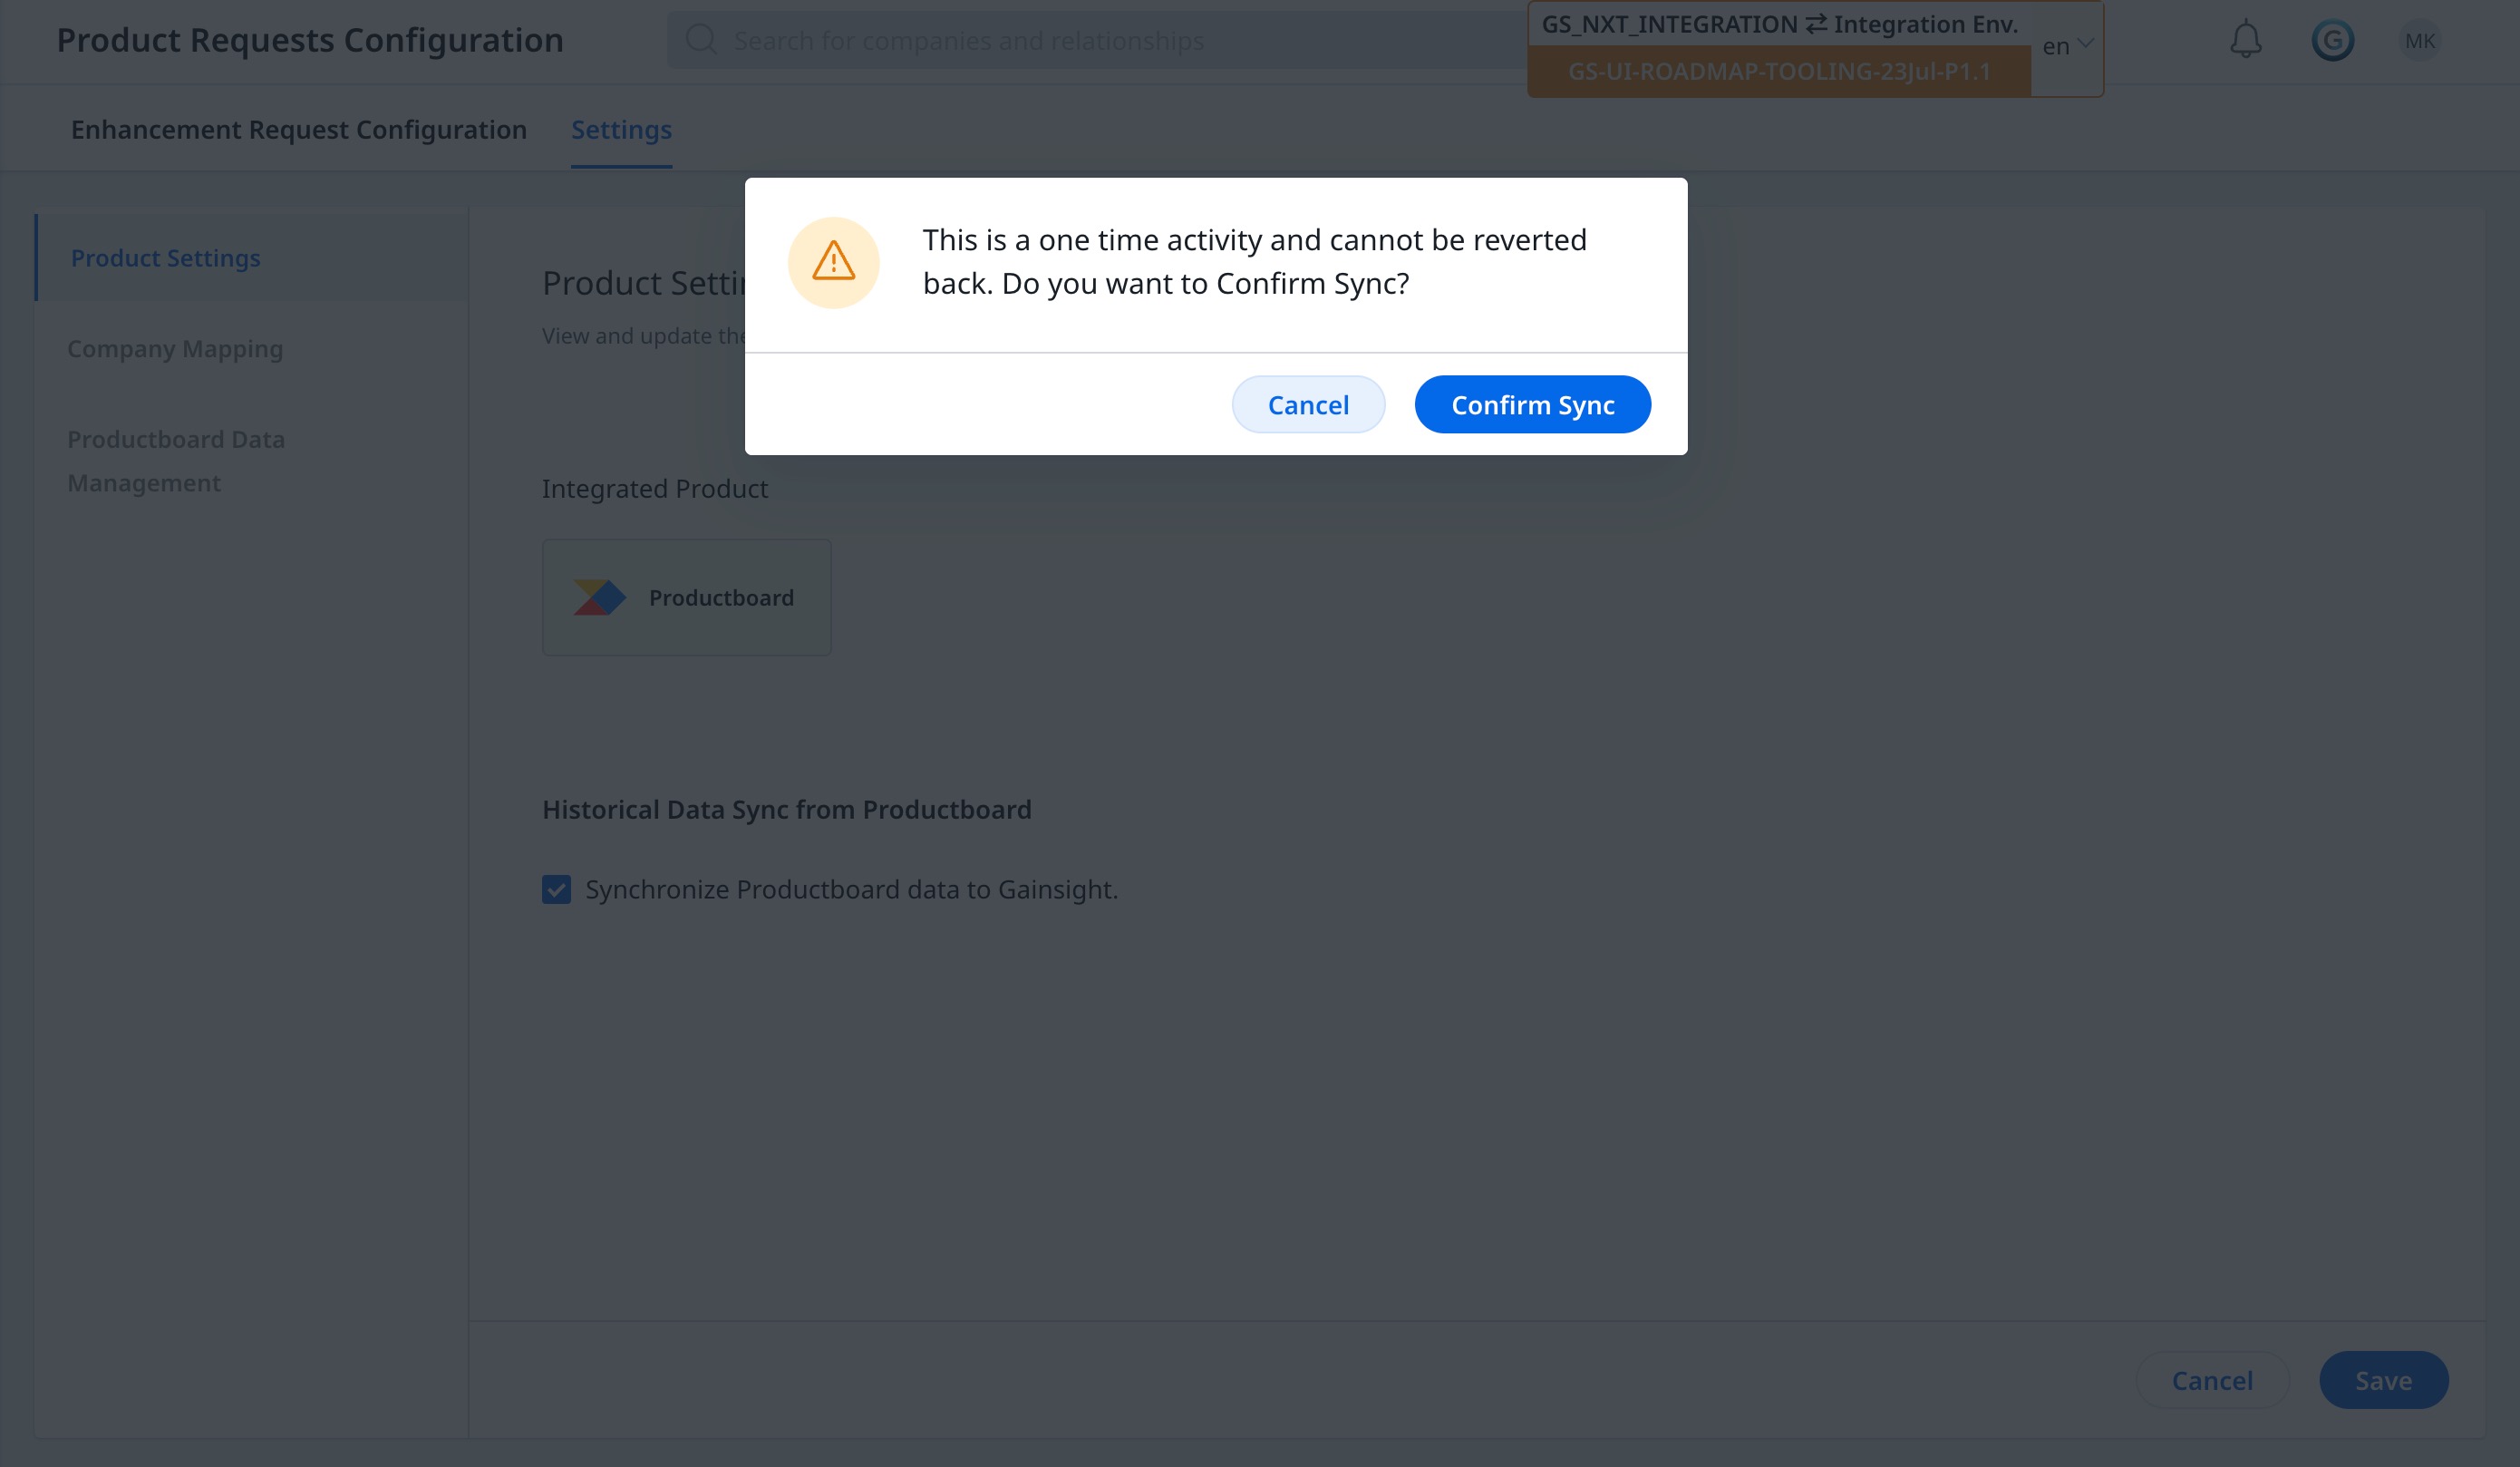
- Select the checkbox to synchronize Productboard data into Gainsight. A confirmation message appears.
- Click Confirm Sync.
- Click Save.
Company Mapping
Once the Productboard integration is established, you can upload company-related information in the product request to access the company information from Gainsight.
Prerequisites:
- The Productboard connection must be established.
- Request the Company data in a CSV file from Productboard by creating a support ticket.
- Download the template file shared by the Productboard team.
Note:
The template file must have the following fields:
- Organization Name
- Organization Domain Name (Example: companyname.com)
- Organization ID (UUID format from Productboard)
To configure company mapping:
- Navigate to Administration > Product Requests > Settings tab.
- Click the Company Mapping sub-tab.
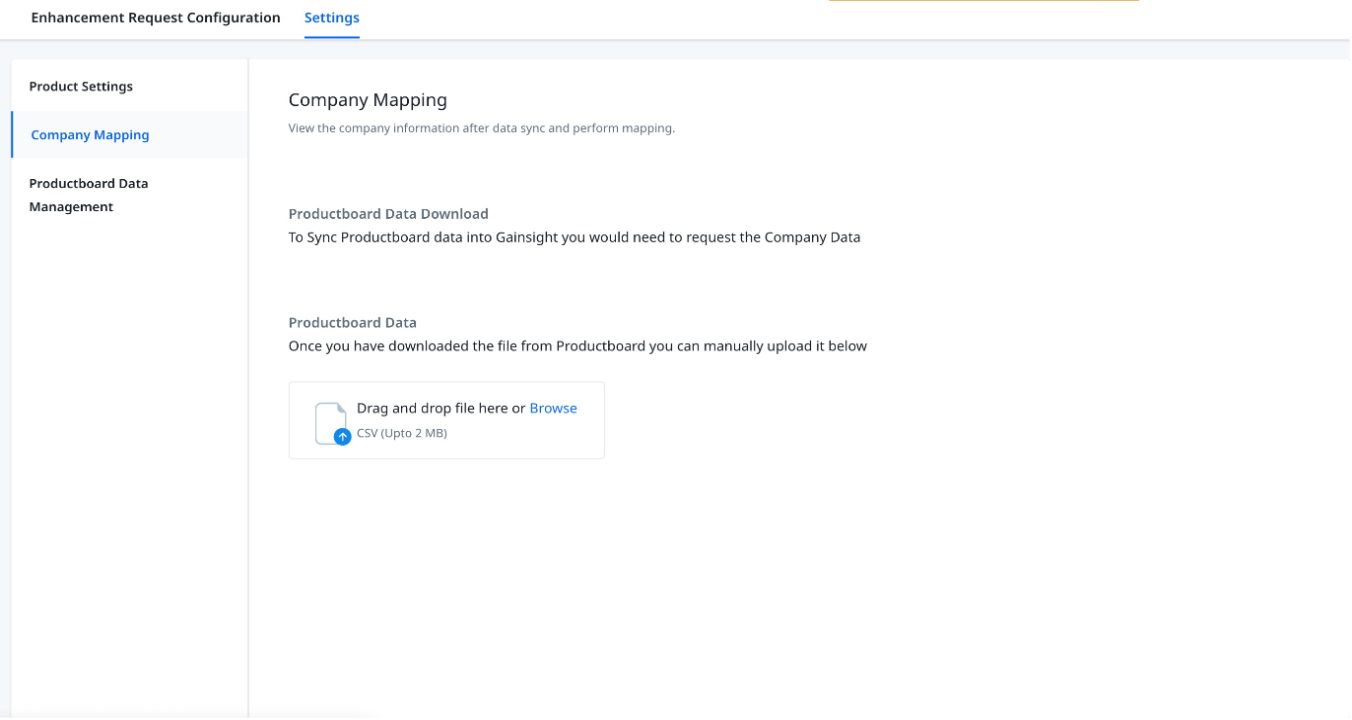
- Drag-drop the template file that is downloaded from the Productboard or click Browse to select the file from the system. The uploaded file is processed and all the matching company records in Gainsight are automatically mapped to the Productboard company records.
Note:
- The CSV file must not exceed 2 MB in size.
- The headers of CSV file should be:
- Organization Name -> name
- Organization Domain Name -> domain
- Organization ID -> id
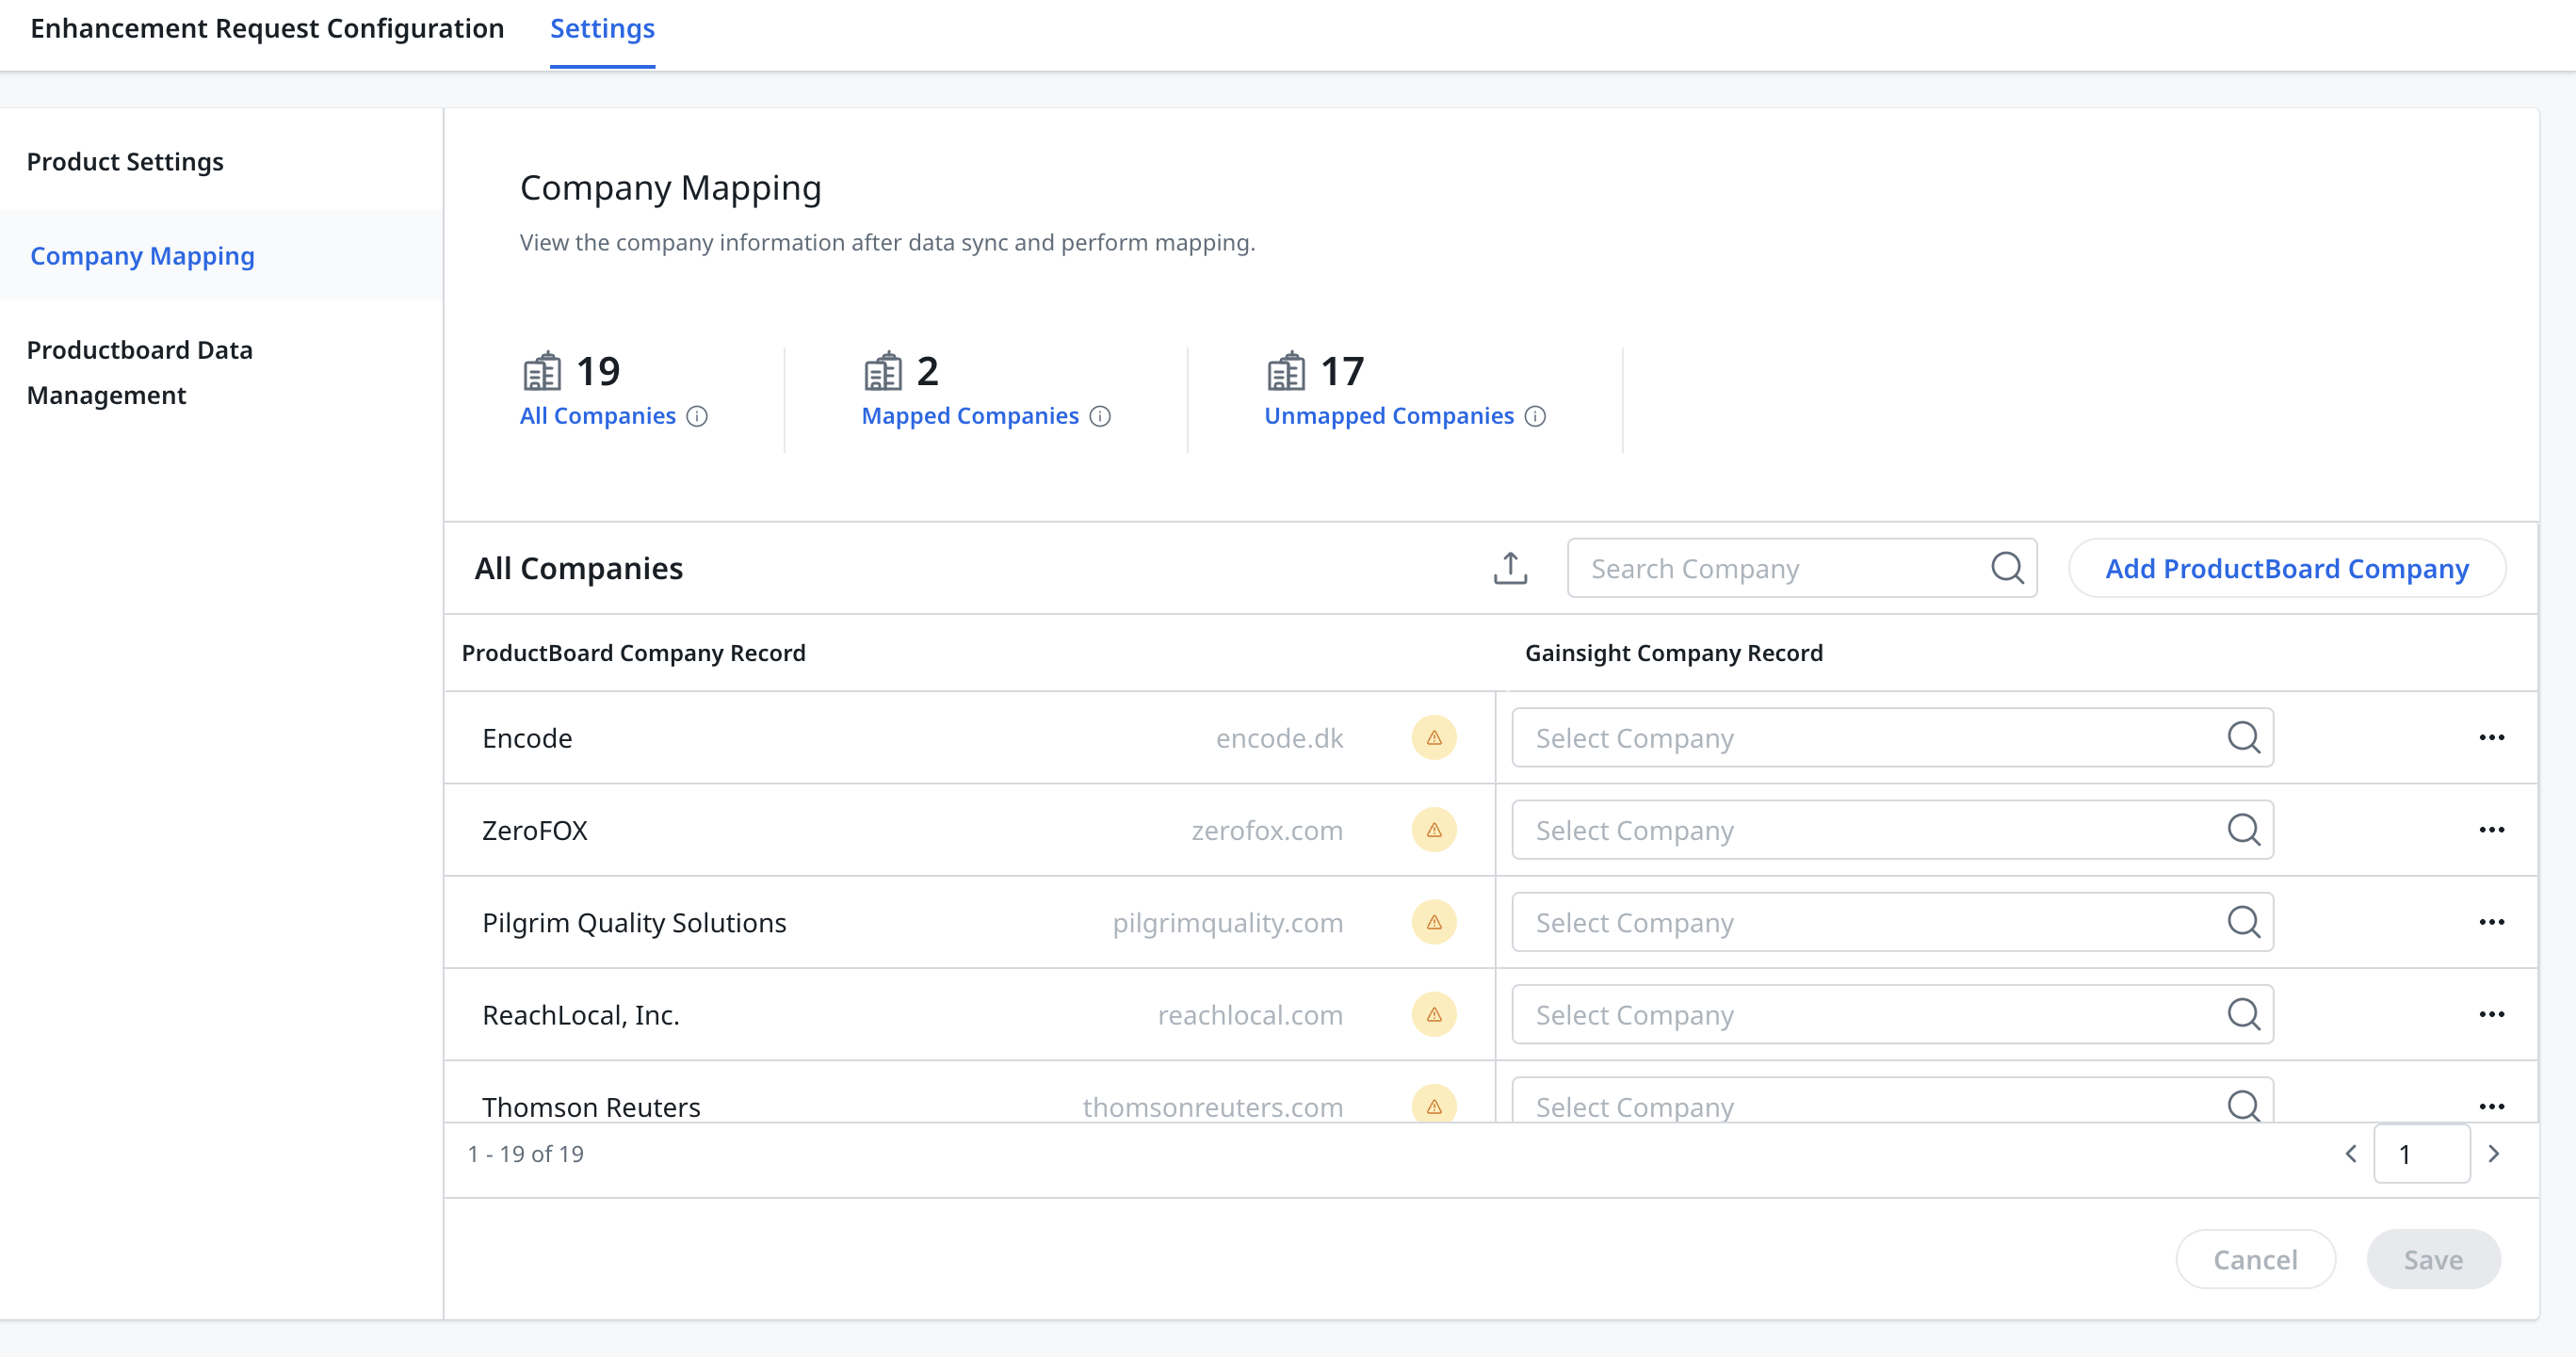
- For unmapped Productboard company records, click the Select Company search box and enter the required company name. The companies with matching names in Gainsight appear in the dropdown. Select the required company to map.
Note: The unmapped company records are marked with the Caution icon.
- Click the Upload icon to upload any new company file from the Productboard. The Companies will be appended to the existing company records.
Note:
- If the organization ID in the uploaded file matches an existing record, that entry will be excluded.
- If the organization ID is the same but other details differ, the entry will be updated with the information from the recently uploaded file.
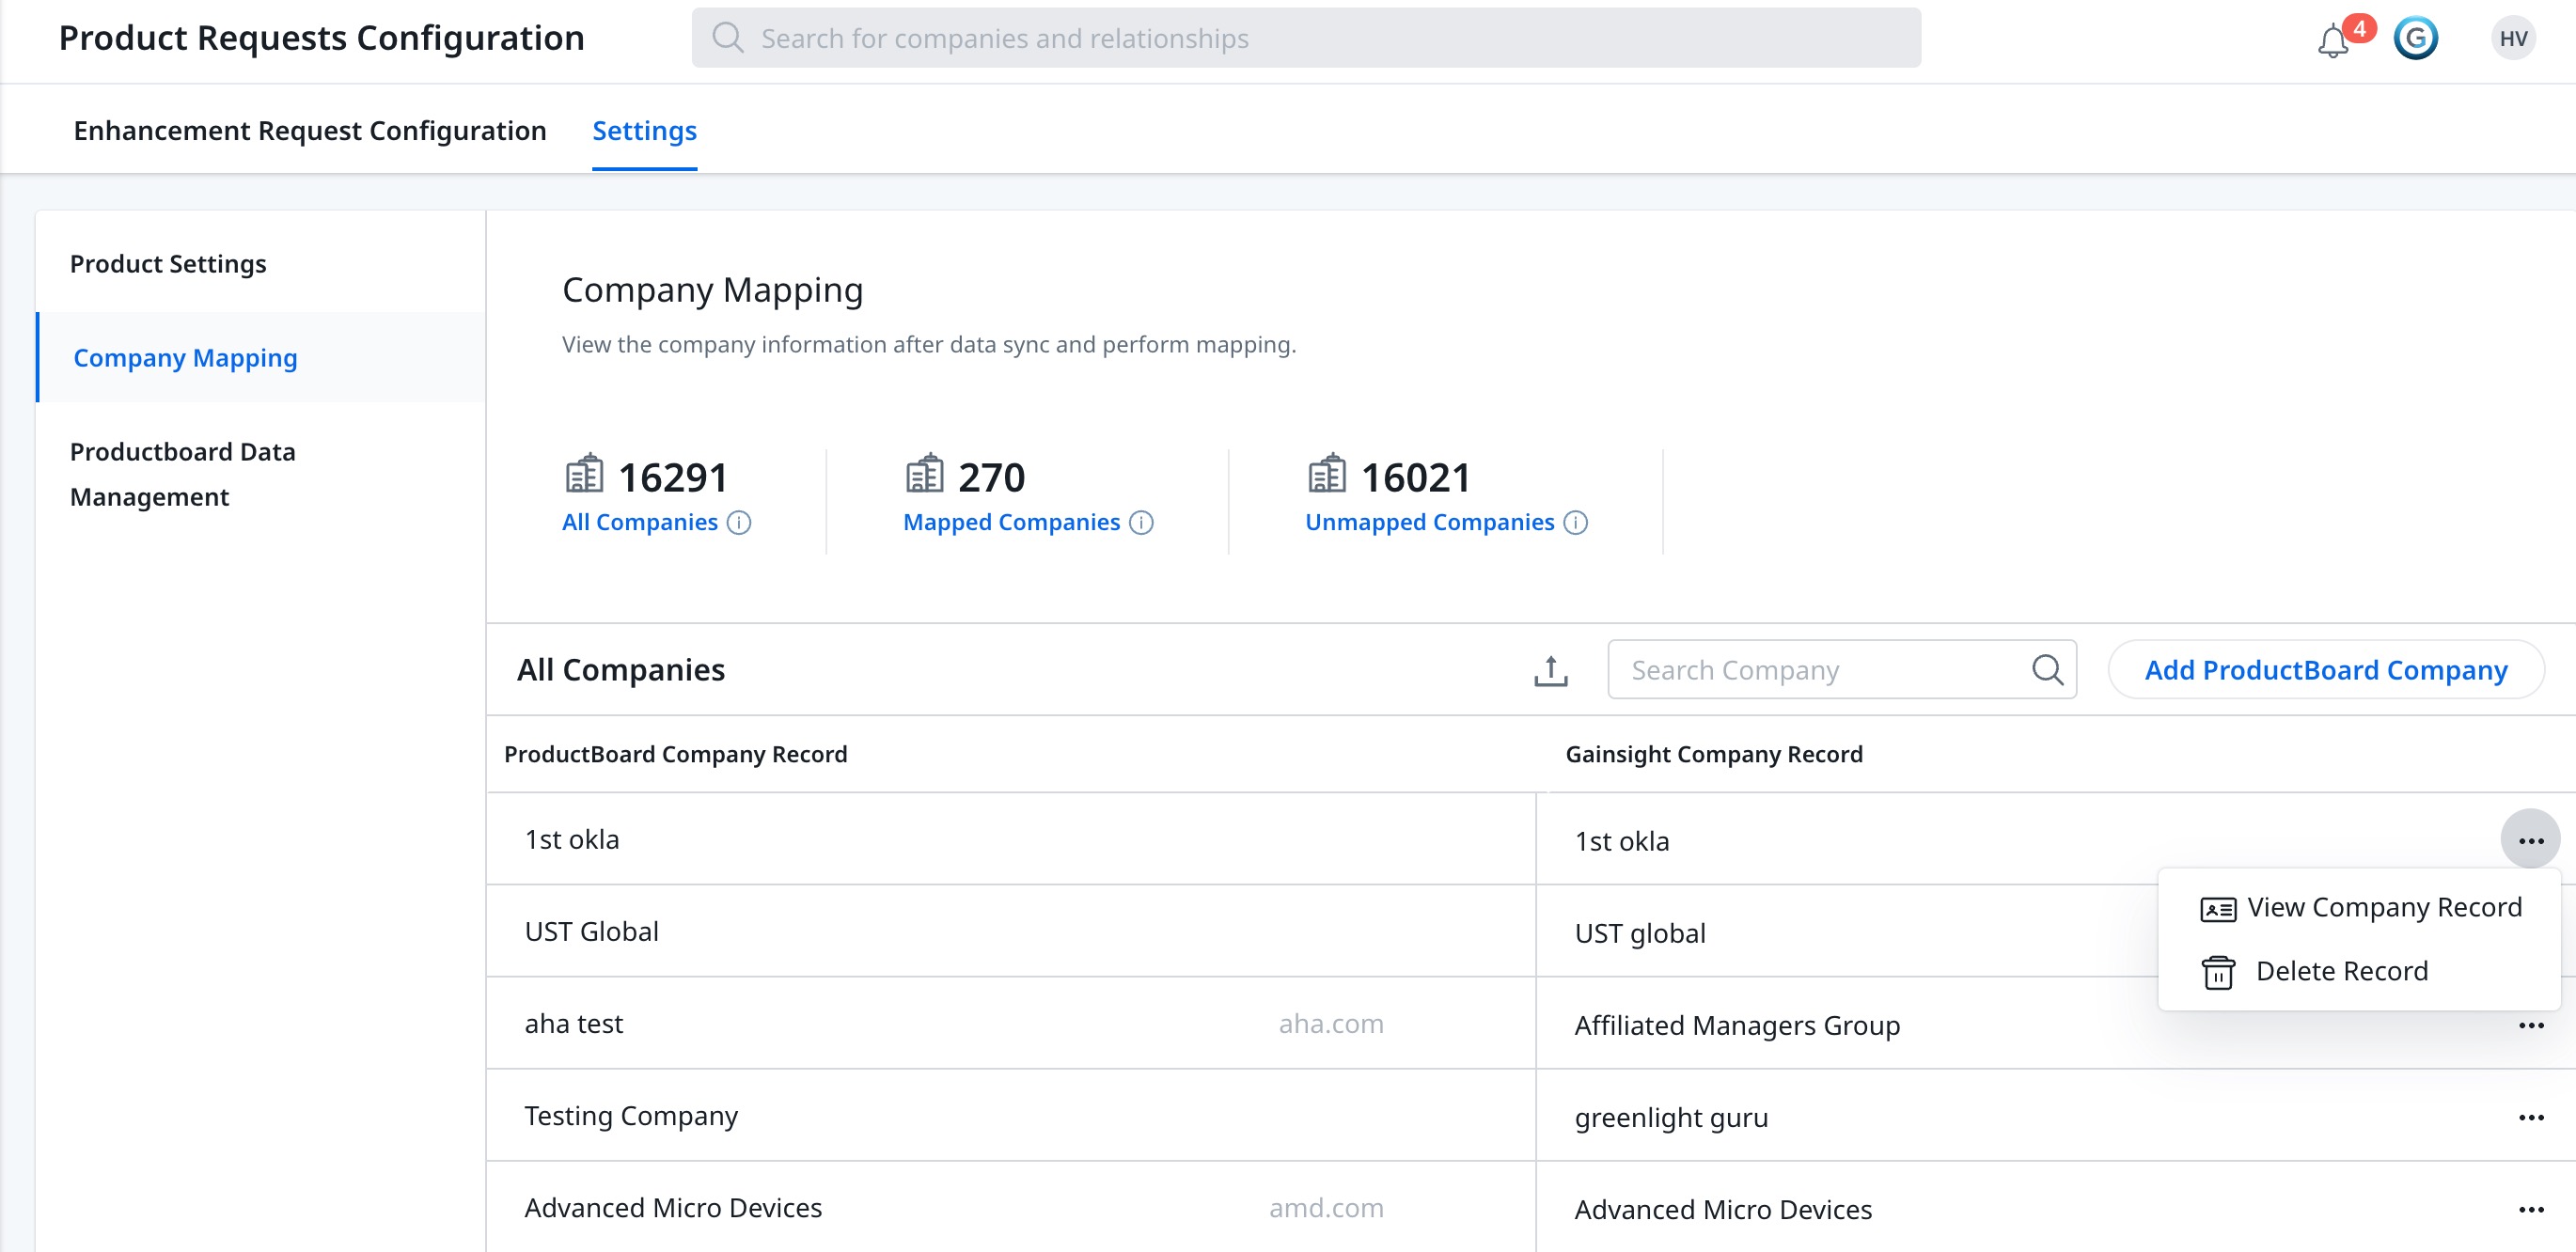
- (Optional) Click the three horizontal dots to view or delete the company records.
- (Optional) In the Search textbox, search the records with the Company name.
- Click Add ProductBoard Company to manually add a company record. The Add Productboard Company slide-out panel appears.
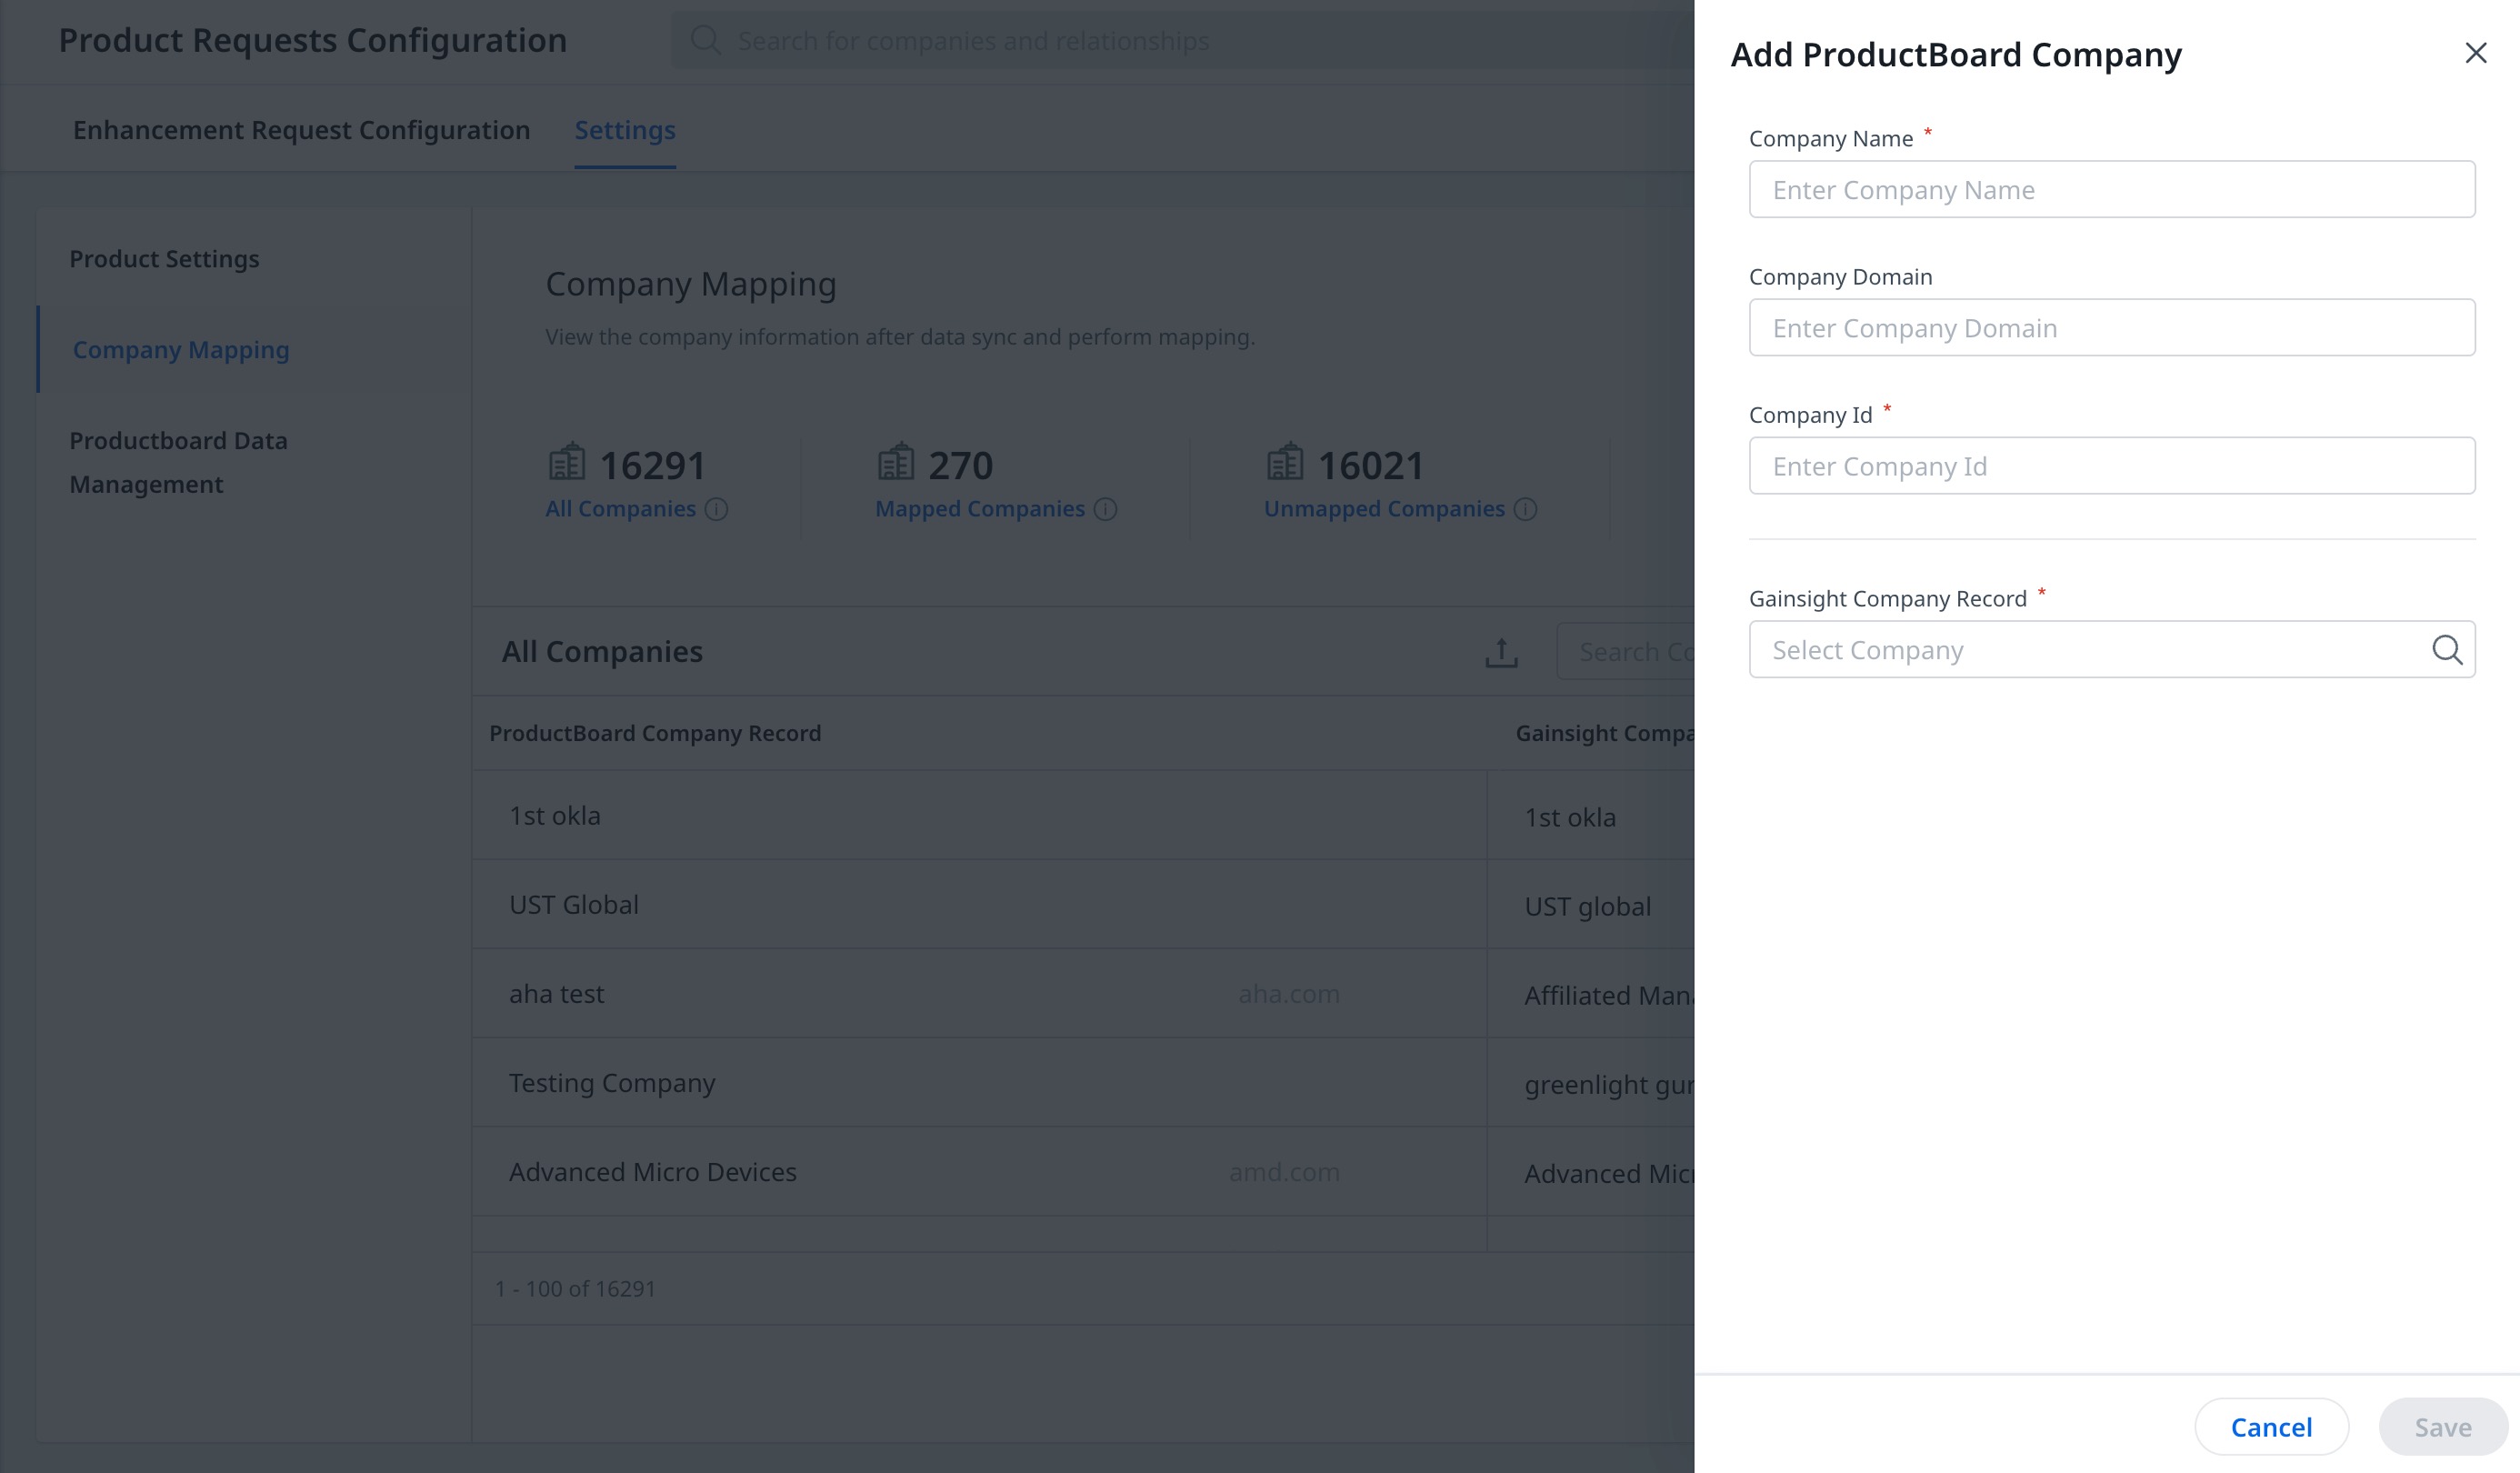
- Enter the following details:
- Company Name: Enter the Company Name.
- Company Domain: Enter the Company Domain.
- Company Id: Enter the Company Id.
- Gainsight Company Record: Enter the required company name. The companies with matching names in Gainsight appear in the dropdown. Select the required company.
- Click Save. The Company is added and will appear on the Company Mapping list page.
- Click Save on the Company Mapping page to update the changes.
Productboard Data Management
To manage the Productboard data to be synced to Gainsight, follow these steps:
- Raise a support ticket in Productboard to receive the data file with the following details:
- Note ID (In UUID format - example: 8a66991a-0050-455f-a957-35448f301c01)
- Note Title
- Note Content
- Note Email
- Note Organization
- Note Organization ID (In UUID format)
- Note Tags
- Note Created Date
- Note Updated Date
- Use the bulk API connector to sync the Productboard data to Gainsight.
For more information on how to use the bulk API connector, refer to the Gainsight Bulk API article.
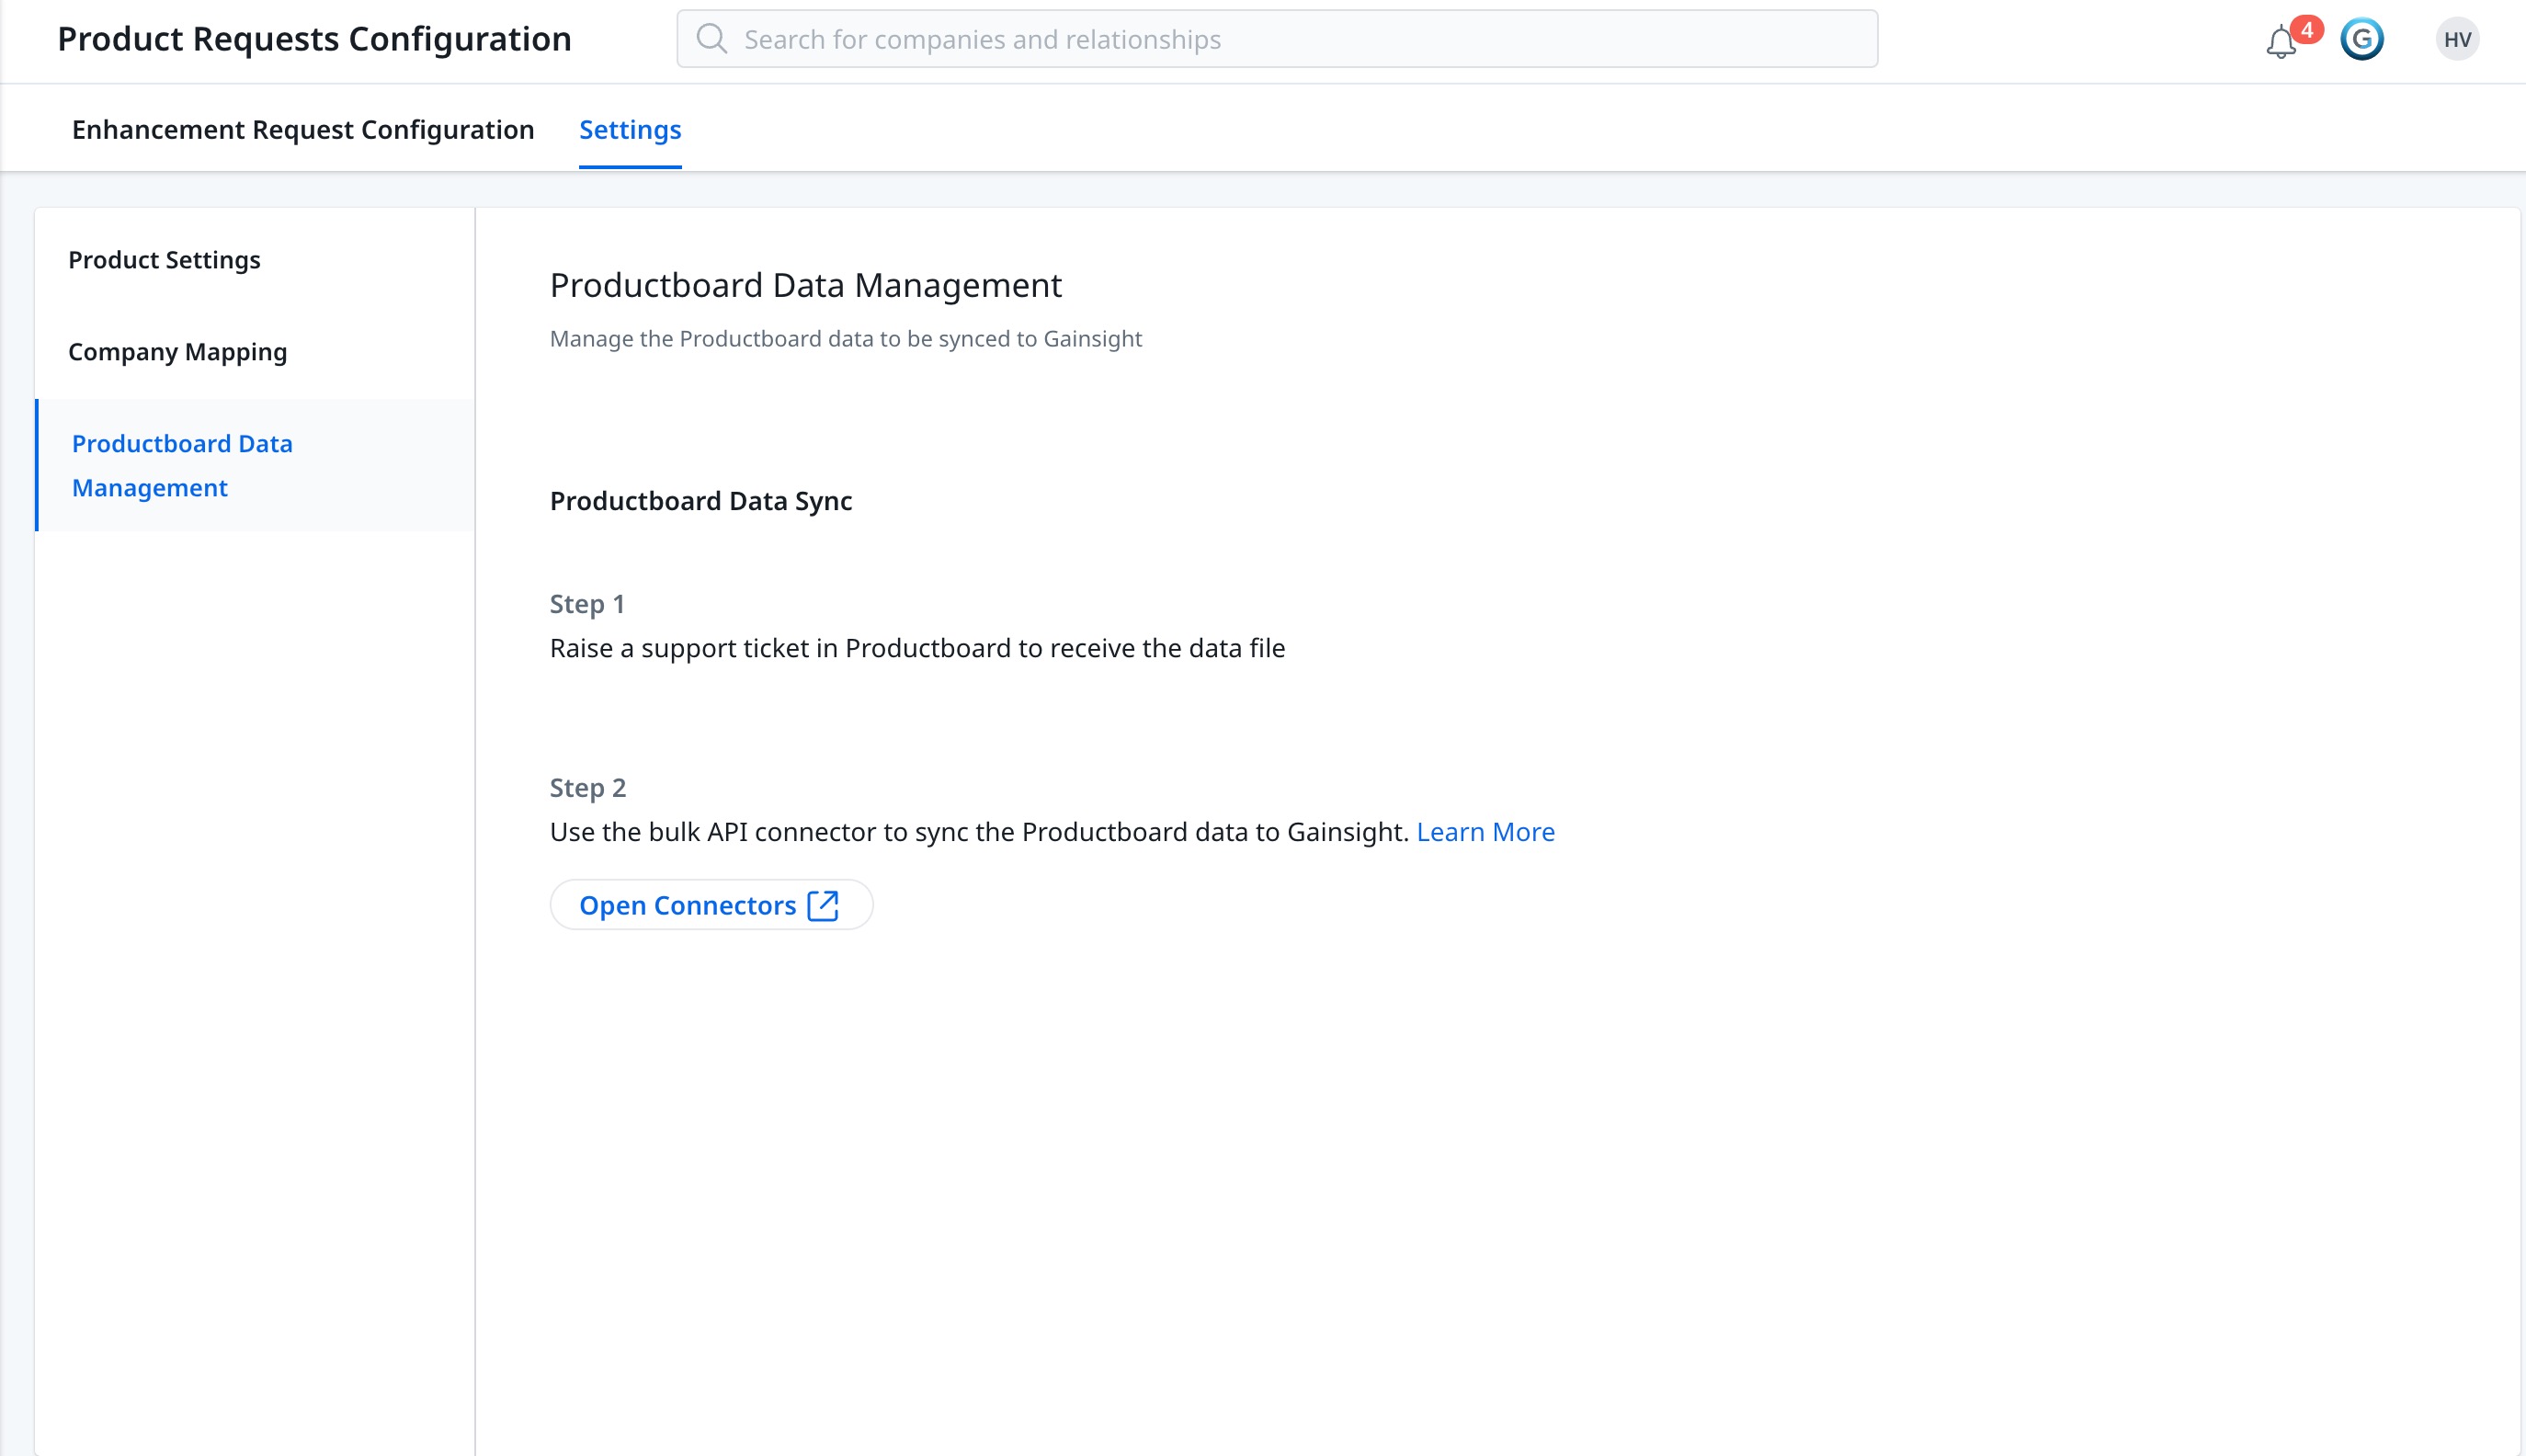
- Click Open Connectors. The Connectors page appears.
- From the GS Bulk API Connection, select View Jobs. The Jobs page appears.
- Click Create Job.
- Enter the Job Name.
- Click Next.
- From the Data Source dropdown menu, select a data source.
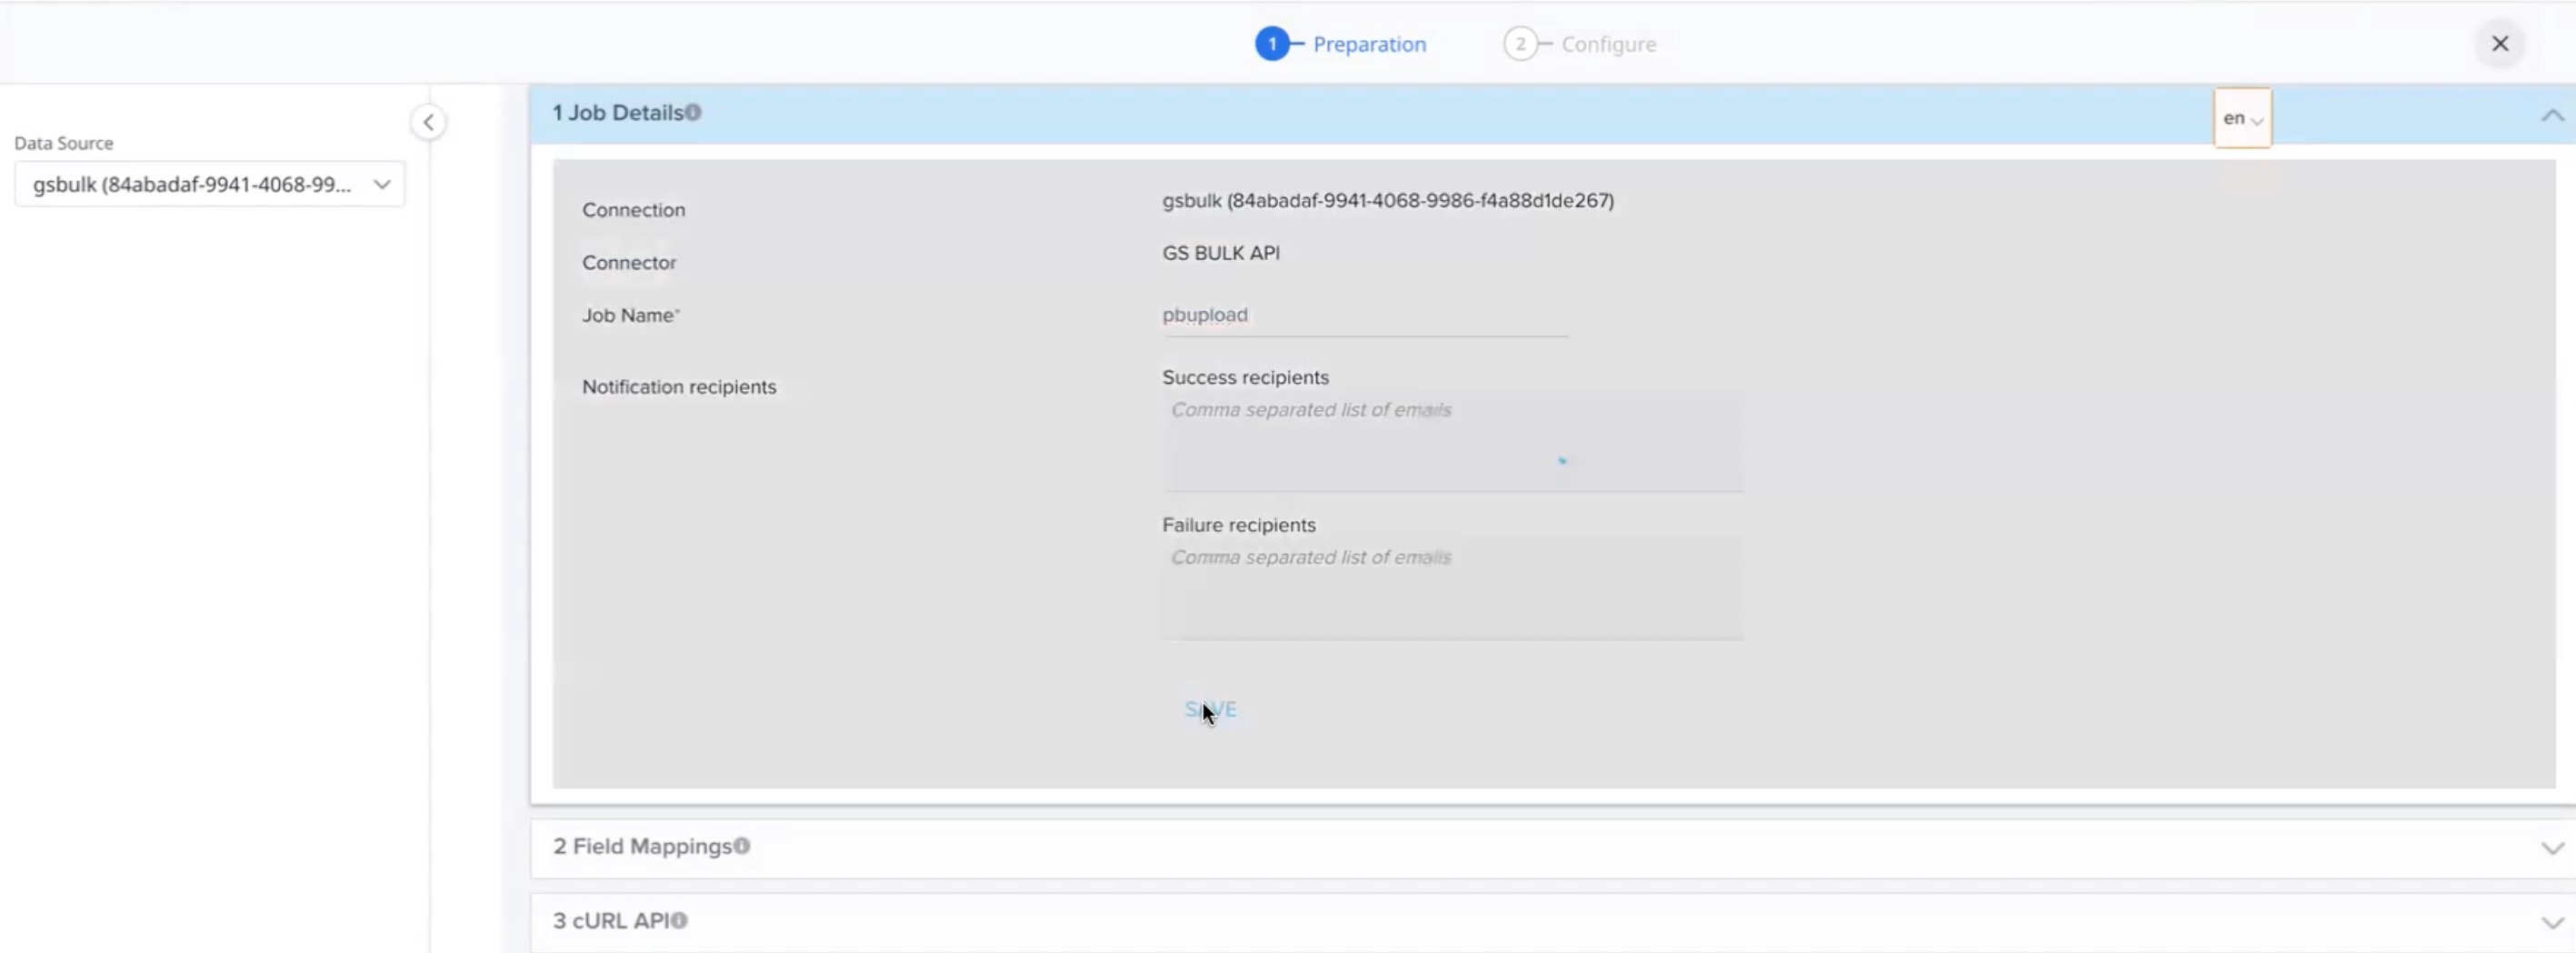
Preparation of Job
To add job details:
- Enter Job Name.
- Click Save.
- In the Field Mapping dialog box, Enter the following details:
- Target Object: From the dropdown menu, select Enhancement Request.
- Click Browse and select the data file that is sent by Productboard.
- Data Load Operation: Select Upsert.
- Key Fields: Enter External ID in the text field.
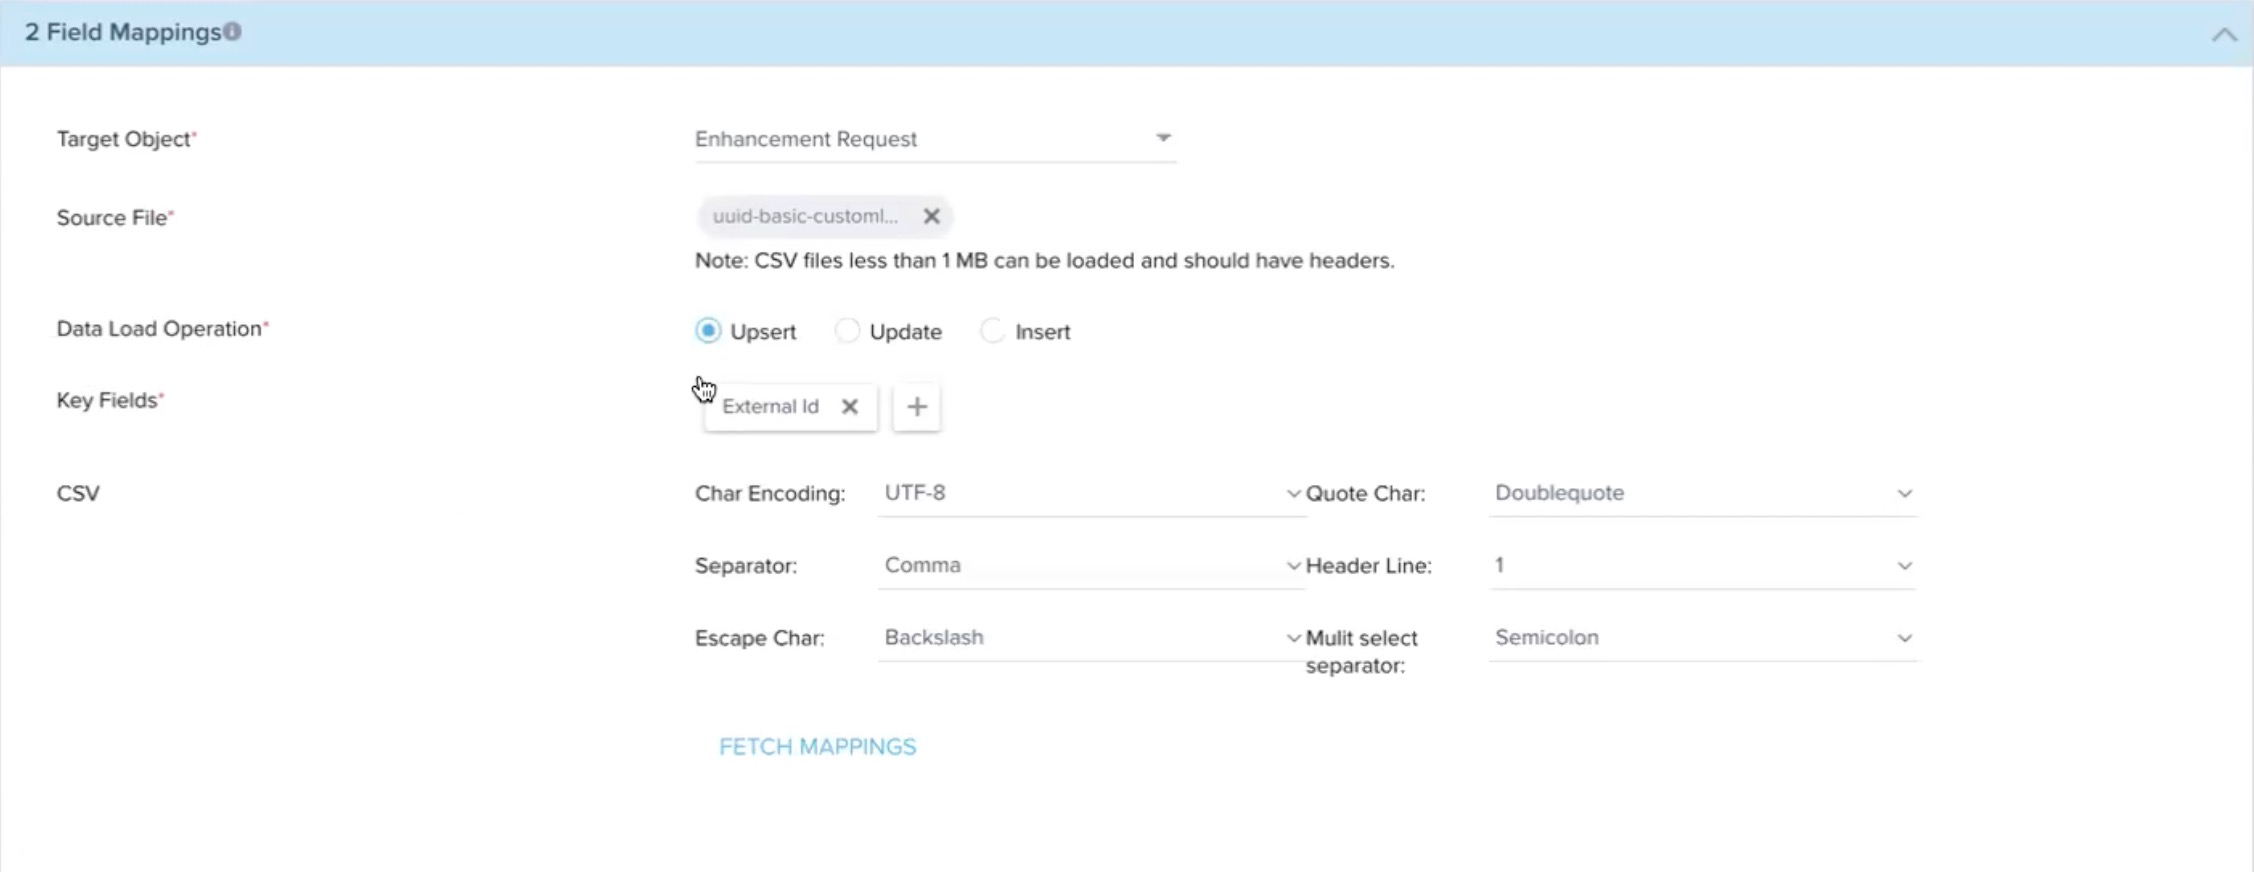
- Click FETCH MAPPINGS.
- Mappings should be done as per the image below
_-_Gainsight_Engineering_-_Confluence_2023-10-10_at_10.05.07_AM.jpg?revision=1)
-
Lookup Mappings should be done as per the image below
_-_Gainsight_Engineering_-_Confluence_2023-10-10_at_10.08.14_AM.jpg?revision=1)
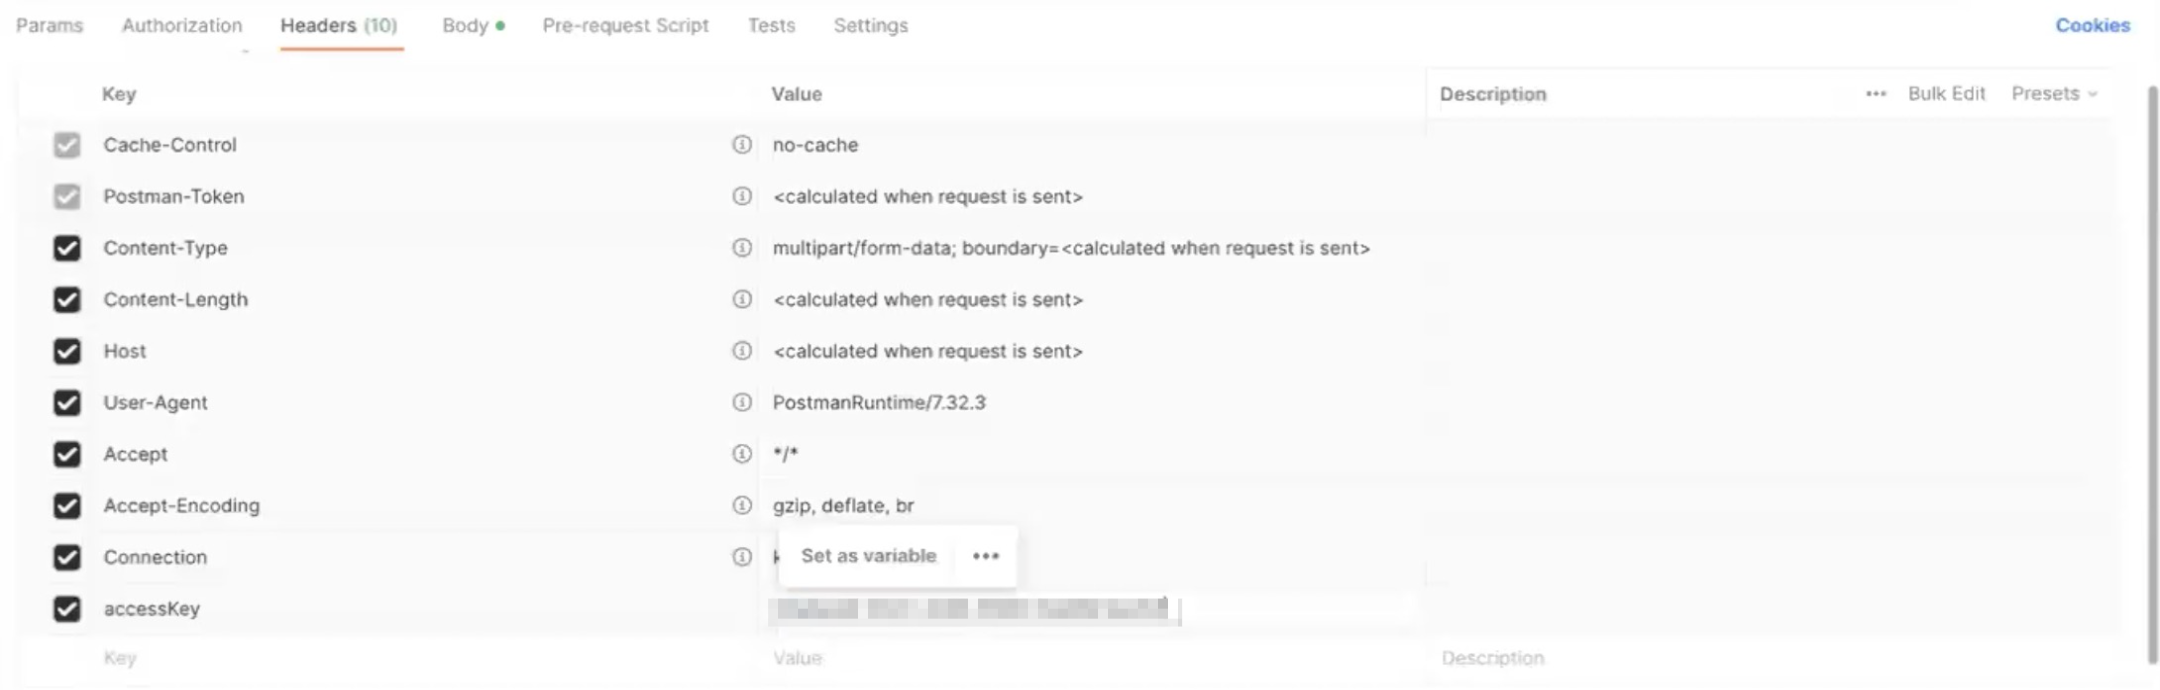
- In the cURL API section, click GENERATE. The cURL API command is generated.

- Copy the cURL command and navigate Postman.
- Under the Import section, paste the cURL command.
- Under the Headers section, enter the access key.
Note: The bulk API access key that is generated during the creation of the bulk API connection is used here.
- From the Body section, select the file that has the data.
- Click Send. The syncing process is initiated.