Share Email from Timeline using Email Assist
| IMPORTANT: The Email Assist has been horizonised. Navigate to Email Assists 2.0 articles. |
Gainsight NXT
This article explains how to share emails from the Timeline using Email Assist.
Overview
Users can share the Timeline Activities as an email. You can use the Share via Email option within any activity.
Note: Separate emails cannot be sent from the Timeline using the Gainsight Assist feature.
Business Use Case: As a CSM, you may want to share the details of a QBR meeting with your customer directly from the Timeline page. By using the Share via Email option, you can send the information quickly without having to craft a separate summary of the conversation.
Share Email from Timeline using Email Assist
To share the Timeline Activity through an email:
- Navigate to the Timeline page.
- From the context menu of the activity whose details you wish to send, select the Share via Email option. The Send Email dialog appears.
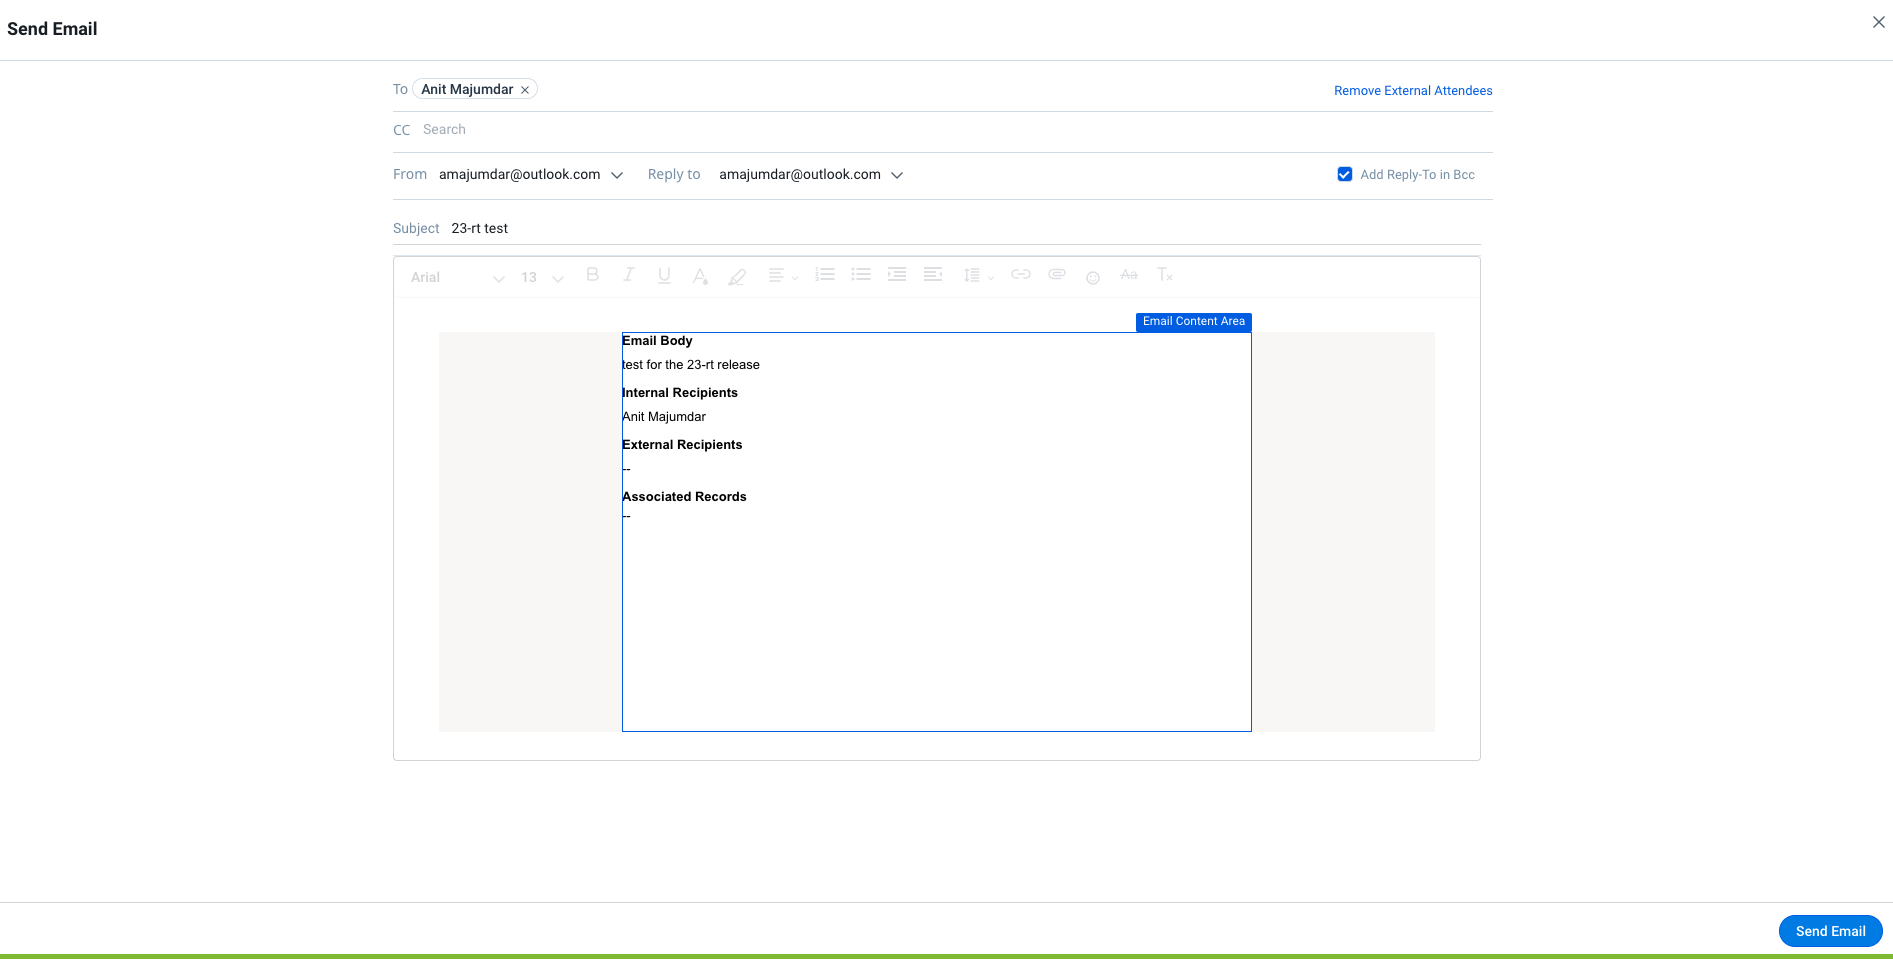
- Review the Send Email dialog. The following information is auto-filled from the Timeline activity as a template:
- TO and CC: These will be populated with the Internal and External Attendees’ information added in the activity when it is created. Users can add additional participants in the To/Cc Fields. For more information on the Internal and External attendees, refer to the Timeline FAQs article.
- Name of the Timeline activity as the Subject of the Email.
- Body of the email containing details of the activity.
- Attachments in the activity, if any will also be included.
Notes:
- Emails sent from Timeline can support up to 20 attachments.
- Size of all the combined attached files must be less than 20 MB.
- Size of each attachment uploaded from the compose window must be less than 20MB.
Known Limitation: While sharing an email from Timeline, error messages are not displayed to the users due to any API network call failures, when attachments are more than 2MB file size, and unsupported file (.xml, .mov, etc.) format is attached.
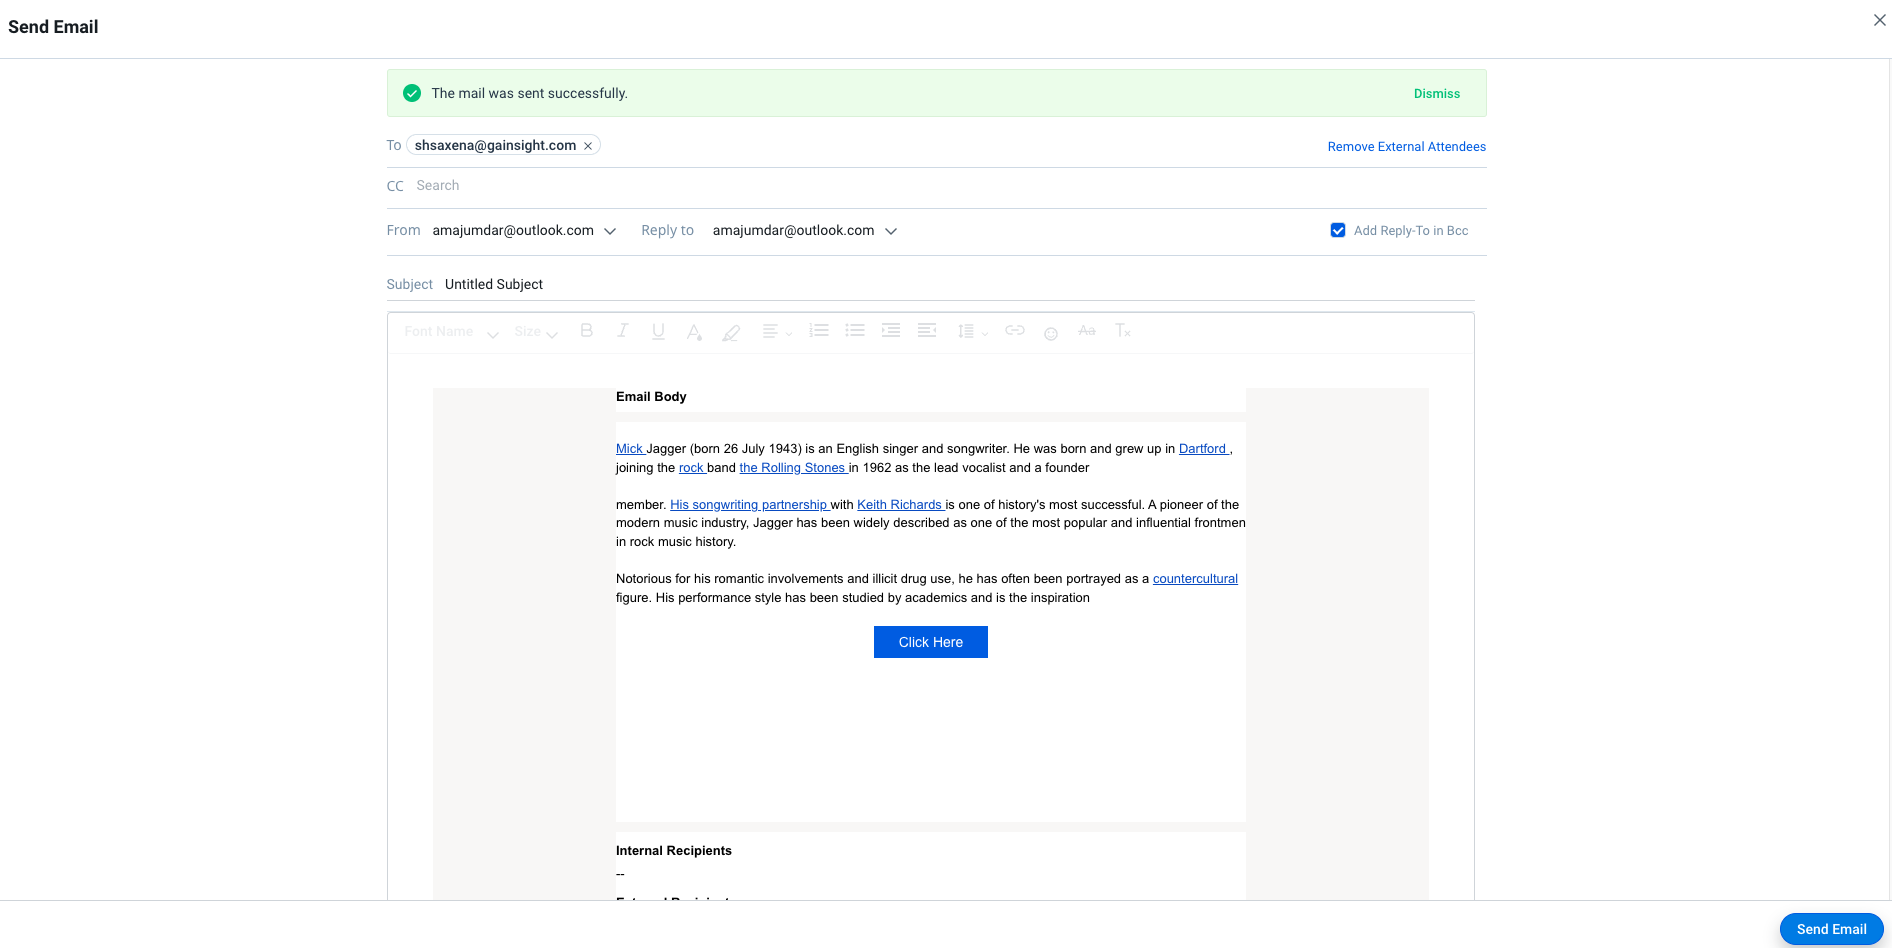
- Add or edit information in the email composer.
- (Optional) Click Remove External Attendees in the email composer to remove the external attendees from the TO field.
- (Optional) Select the Add Reply-To in Bcc checkbox to automatically add the email id of the sender to the Bcc field in the email composer. By default, this checkbox is not selected.
- Click Send Email to send the email.
After a Timeline activity is shared as email, the Activity displays the Email icon as shown in the image below.
![]()
Note: An activity can be shared multiple times, and if the recipient is the same, a new entry will be created in the Email Stats.
Stats for Sent Emails from Timeline
Email Stats contain details of all the instances an activity is shared as an email.
To access the Email Stats, click the Email icon on the Timeline Activity. The Email Stats screen appears. The following sections are displayed:
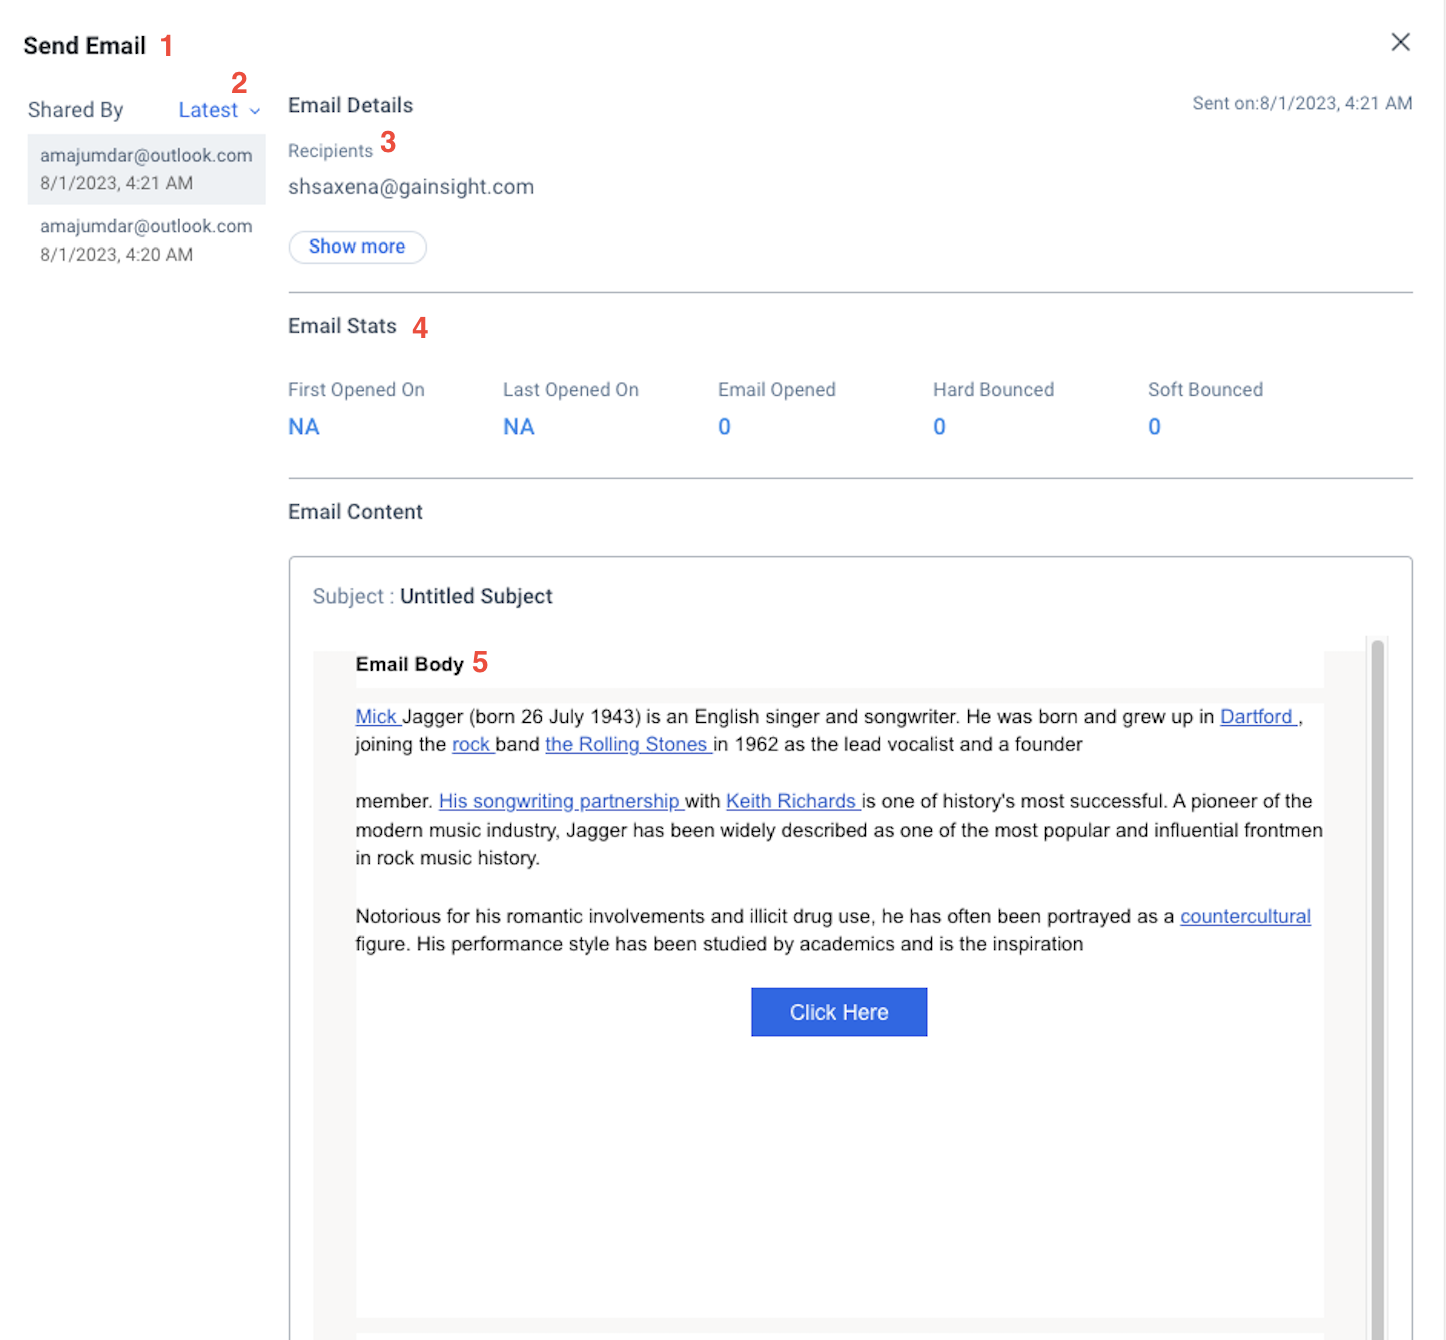
- Sent Emails: Displays the list of all instances the activity was shared as email. Each entry displays the sender, the date, and the timestamp. Click each entry to display the Recipient’s name, Email Stats, and Email Body.
- Sent Emails Sort List: The Sent Emails are by default displayed in the descending order by the latest sent. Click the arrow icon to reverse the list order.
- Recipients: Shows the Recipients list, to whom the activity is shared with.
- Email Stats: The following stats are displayed for a selected Timeline Activity email:
- First Opened On: Displays the date on which the email was first opened.
- Last Opened On: Displays the date on which the email was last opened.
- Opens: Displays the total number of times the email has been opened.
- Hard Bounced: Displays the number of times the email was returned to the sender because the recipient’s address is invalid.
- Soft Bounced: Displays the number of times the email failed to send because it was temporarily denied by the recipient’s email servers. Click the number displayed here to see a list of recipients that experienced the Soft Bounce. You can then trigger a resend of the email. For more information on triggering this, refer to the Resend Emails section in this article.
- Email Body: Displays the details of Timeline activity as the email body, including the internal and external attendees, and email attachments.
Resend Emails
In the Email Stats section, users can click the NUMBER of soft bounced emails to display a list of bounced messages. They can resend the bounced emails to the respective email IDs, if required.
To resend the email:
- In the Email Stats section, click the number under the Soft Bounced categories. The Bounced Emails section appears.
- Select the checkbox for the email id that requires the email resend.
- Click Resend.