Gainsight App Menu in Zendesk
Gainsight NXT
This article explains Admins about Gainsight App Menu in Zendesk and its various components.
Overview
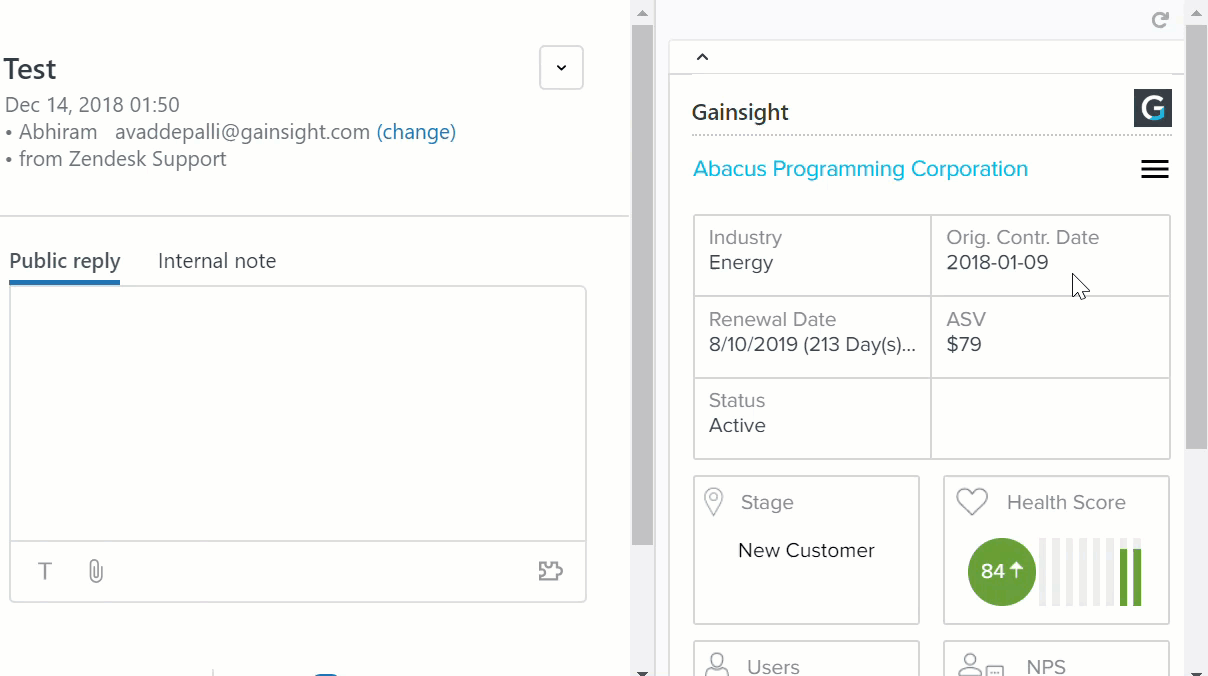
The Gainsight App menu in Zendesk helps you visualize a Company’s summary, attributes, usage data, call to action, and organizational mapping. On the right hand side pane of your Zendesk org, click the menu icon to populate the Gainsight App menu.
Note: For more information on how to install Gainsight App menu in Zendesk, refer to this Zendesk article.
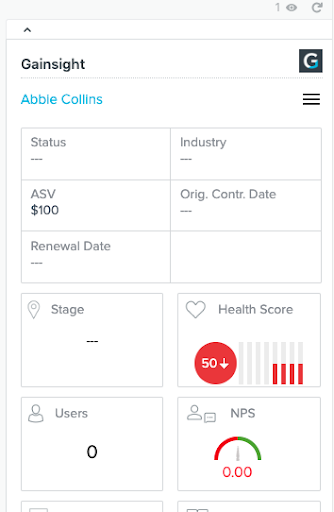
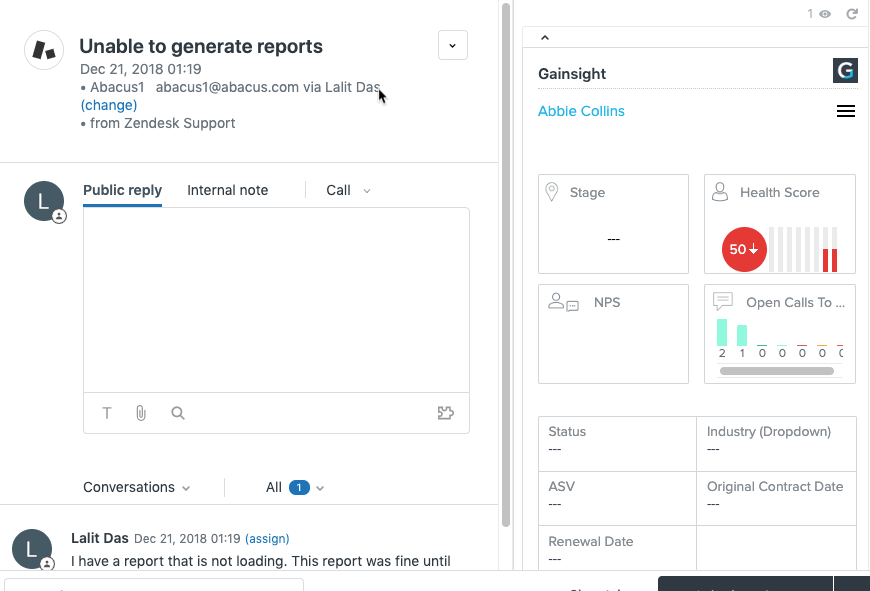
In all the menu tabs, except Organization Mapping, if you click the company name, a new tab displaying the Customer 360 appears.
Note: Layouts of the following sections are derived from the Default Layout in the C360 Layout configurations. For more information, refer Configure the Customer360 Sections.
The following are the sections available in the Gainsight App Menu. You can perform different actions in these sections as explained.
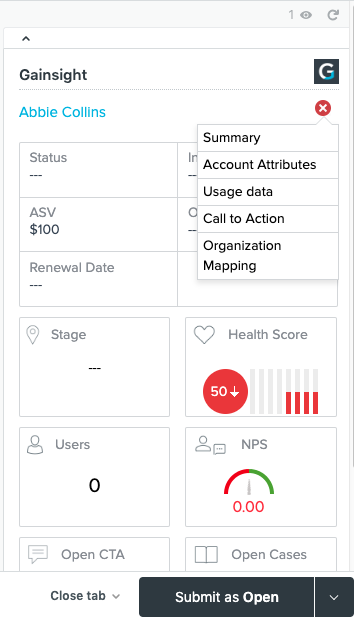
Summary
This Gainsight App menu provides a summary of a company similar to Customer 360. For more information on this section, refer C360 Summary Section.
Company Attributes
This Gainsight App menu displays the attributes of a company. This section displays the top 10 attributes from the Attributes section configuration in the C360 Default Layout.
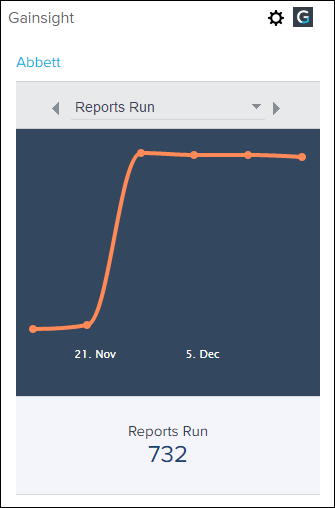
Usage
This Gainsight App menu helps you visualize the various measures that you have defined for a company. The project that appears in this section is defined from Adoption Explorer by your Gainsight Admin.
Calls to Action
This Gainsight App menu helps you access the calls to action associated with a Zendesk ticket. For more information on different actions that you can perform in this section, refer to the Map Zendesk Tickets to CTAs section.

Organization Mapping
If you have mapped an organization incorrectly, you can click Unlink account from the Gainsight App menu to unlink the existing Company and select the appropriate one as shown below. For more information, refer Map Zendesk Organization Tickets to Company.
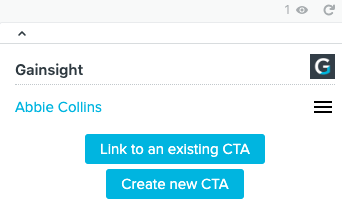
Map Zendesk Tickets to CTAs
Once the Zendesk tickets are linked to a Company, you can now link Zendesk tickets to one or more CTAs.
To map Zendesk tickets to CTAs:
-
Login to Zendesk and go to the Gainsight app in the right hand side pane.
-
Click the Gainsight App Menu and select Call to Action.
-
Perform one of the following actions:
-
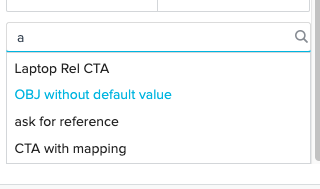
Click Link to an existing CTA to link the Zendesk ticket to an existing Call to Action (CTA) in Gainsight. Enter the CTA name in the textbox and then select the appropriate CTA from the list.
-
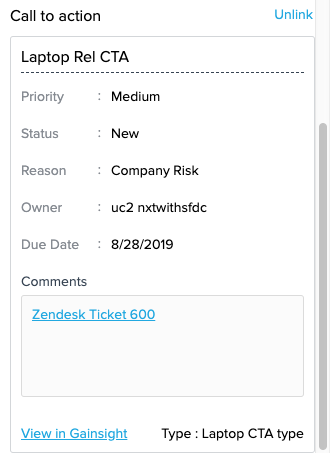
The linked CTA then appears as shown in the following image. You can unlink the CTA using the Unlink button.
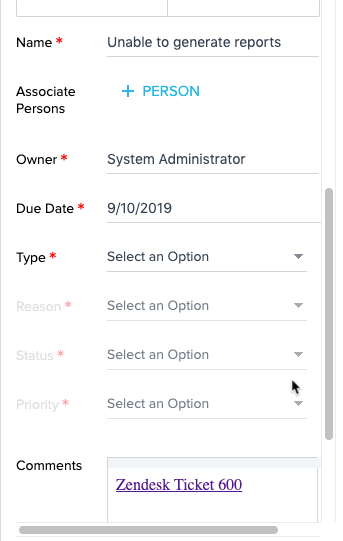
- Click Create new CTA to link the Zendesk ticket to a new CTA, which you can create from Zendesk. Enter appropriate values in the required fields and click SAVE. For more information on the details to be filled, refer Create Manual Call to Action (CTAs) and Tasks.
Notes:
- You can only link to Risk type CTAs.
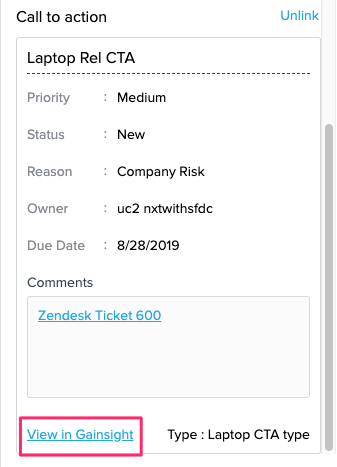
- When you map a CTA or create a new one, the Zendesk ticket ID is automatically populated in the Comments section and is linked to the appropriate Zendesk ticket. This comment gets prepended to the existing comments if any. In addition, these details are removed from the Comments section when you unlink a CTA.
- You can use the View in Gainsight link to view the CTA in Gainsight.
- Once a CTA is created, you cannot delete it. However, you can only unlink a CTA to a Zendesk ticket.
- A CTA can have multiple Zendesk tickets associated with it. All of these tickets are displayed in the Comments section.