Install and Configure the Gainsight Customer Education Salesforce Integration
This article explains how CE admins can set up the Gainsight Customer Education (CE)–Salesforce integration to view learner enrollment data in Salesforce.
Overview
Install and configure the Gainsight Customer Education–Salesforce integration to make learner enrollment data from your academy available in Salesforce.
The setup process includes actions in both Salesforce and Gainsight Customer Education. Actions in Salesforce must be completed by a user with the necessary permissions.
Install the Customer Education Apps from the AppExchange
To enable the Gainsight Customer Education (CE)–Salesforce integration, complete the following installation and configuration steps. These steps must be completed by a Salesforce user with required permissions.
-
Install or upgrade to the latest version of the Northpass managed package from the Salesforce AppExchange.

-
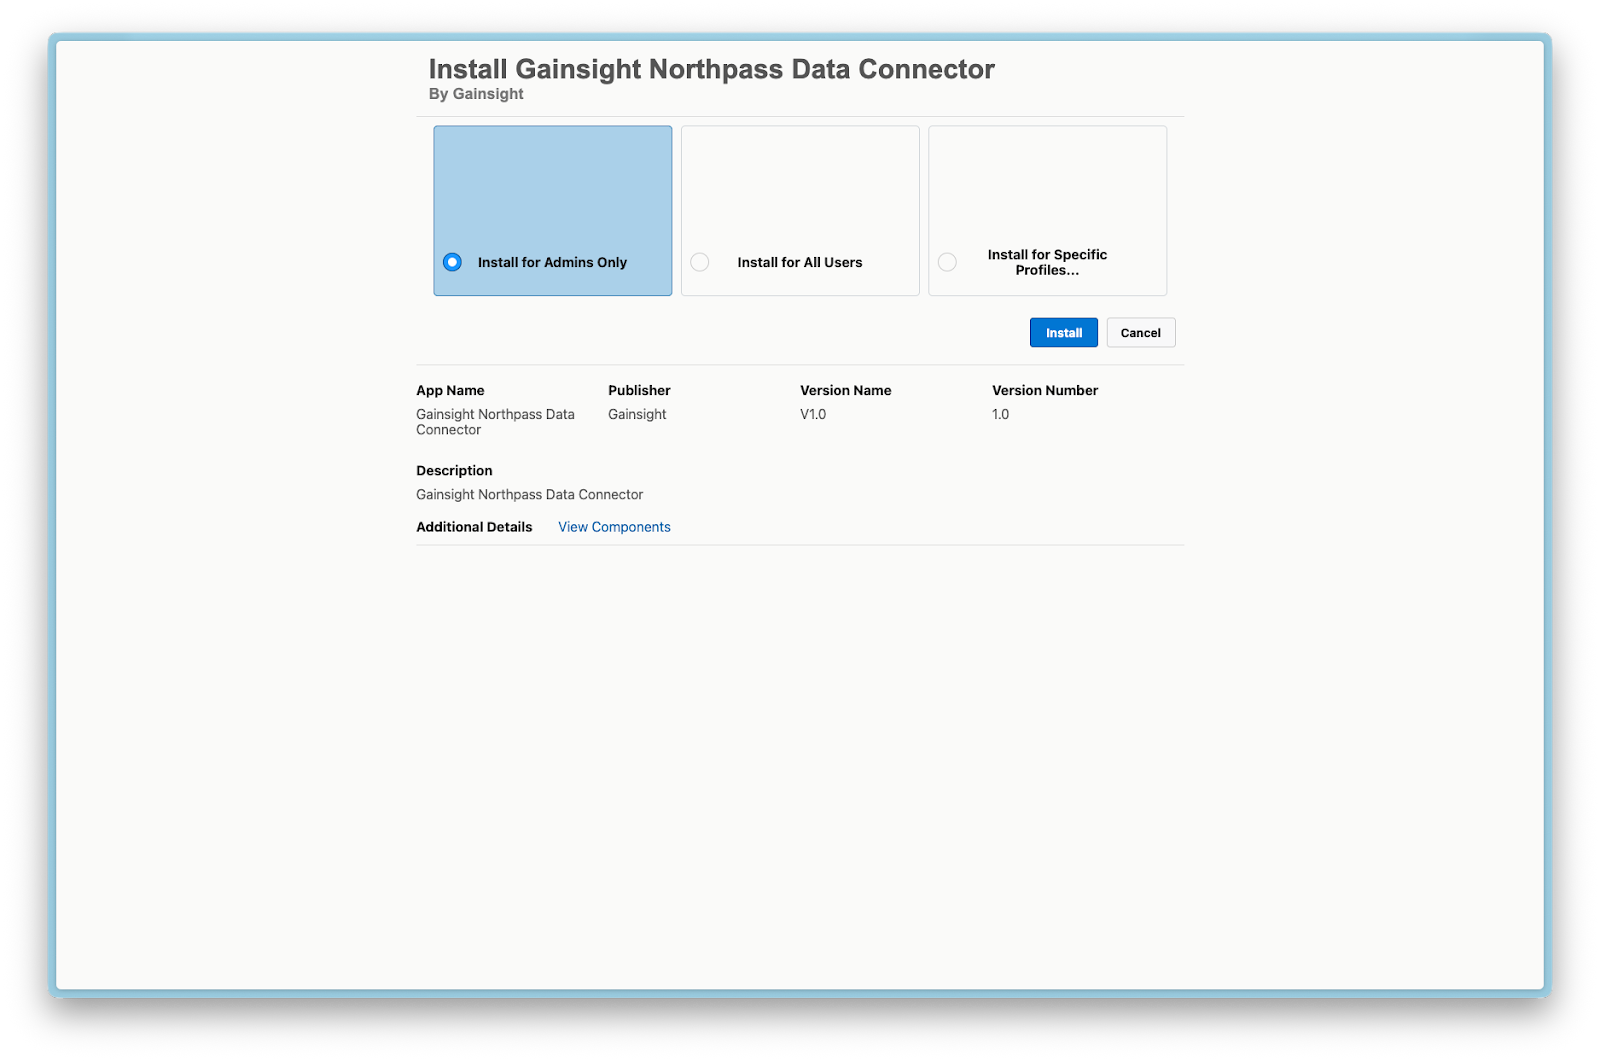
Select Install for Admins only and click Install (or upgrade if you are upgrading a previously-installed version).

-
Install the Gainsight Northpass Data Connector in your Salesforce org from the AppExchange listing.

-
Select Install for Admins Only and click Install
-
To verify installation, navigate to Salesforce Setup > Installed Packages and confirm that both packages are listed.

Connect Your Salesforce Org to Northpass
Ensure both packages have been installed, according to the instructions above, prior to completing the following steps:.
To complete the setup, ensure you have:
- A Northpass Administrator account
- A Salesforce integration account
Use a Salesforce user account without System Administrator privileges to ensure appropriate access levels.
Before proceeding, confirm that both required packages are installed, as described in the previous steps.
- Login to https://app.northpass.com/login as a Northpass Administrator.
- Navigate to Apps > Integrations > Salesforce.

If you do not see the “Salesforce Instance Setup” card, first disable the integration, click Save, and refresh the page.
- In the Salesforce Instance Setup card, enter your Salesforce Instance URL and click Authorize. This opens the Salesforce login page.
- Login using your Salesforce Integration account credentials. After a successful login, the Northpass application opens and displays a confirmation screen.
- Enable the integration toggle and click Save.
- Refresh the page to ensure settings have been saved correctly.
- A CONNECTED message highlighted in green confirms successful authorization. From this point onward, new enrollment and progress data are sent to the connected Salesforce org.

Configure Salesforce to Access Enrollment Data
Once the integration is active, complete the following setup steps in Salesforce to ensure users can view enrollment data.
Assign the Northpass Permission Set
The Salesforce package includes a Northpass Standard User permission set. Users who need to view enrollment data must have this permission set. Without it, they cannot see the Enrollments object or related records.
To assign the permission set:
- In Salesforce, navigate to Setup and search for Permission Sets.
- Select the Northpass Standard User.
- Click Manage Assignments.
- Click Add Assignments.
- Select the users who need access to enrollment data, then click Next.
- Configure any expiration settings (if needed), then click Assign and Done.
Add Enrollment Data to the Contact Page
Enrollment data appears in Salesforce as a related list on Contact records. To make this data visible to users, update the Contact page layout to include the Enrollments related list.
To add and configure the related list:
- In Salesforce, navigate to Setup and search for Object Manager.
- Select Contact from the list.
- In the left navigation pane, select Page Layouts.
- Choose a layout from the list to edit.
- In the page layout editor, select Related Lists , then drag and drop the Enrollments related list onto the layout.
- In the top Contact Layout palette, find and select Related Lists, and drag and drop the Enrollments related list onto the page layout.

- To edit the properties of the related list, click the Settings icon.
- Under Available Fields, select the fields you want displayed, then click Add.
- Choose which field to sort the list by and the sort order then click Buttons.
- In the Buttons section, uncheck New to prevent users from manually creating enrollment records.
- Click OK.
- Click Save to apply the changes. Your integration is now configured.
Next step (Optional)
If you also need historical enrollment data in Salesforce, continue to Import Historical Enrollment Data into Salesforce.