Mixpanel
Step 1
Log into Mixpanel and click the cog symbol in the upper right corner to open the settings menu. Click “Project Settings”.

Step 2
Navigate to the “Service Accounts” tab. Here you will see a list of all service accounts related to your project. Click “+ Add Service Account”.
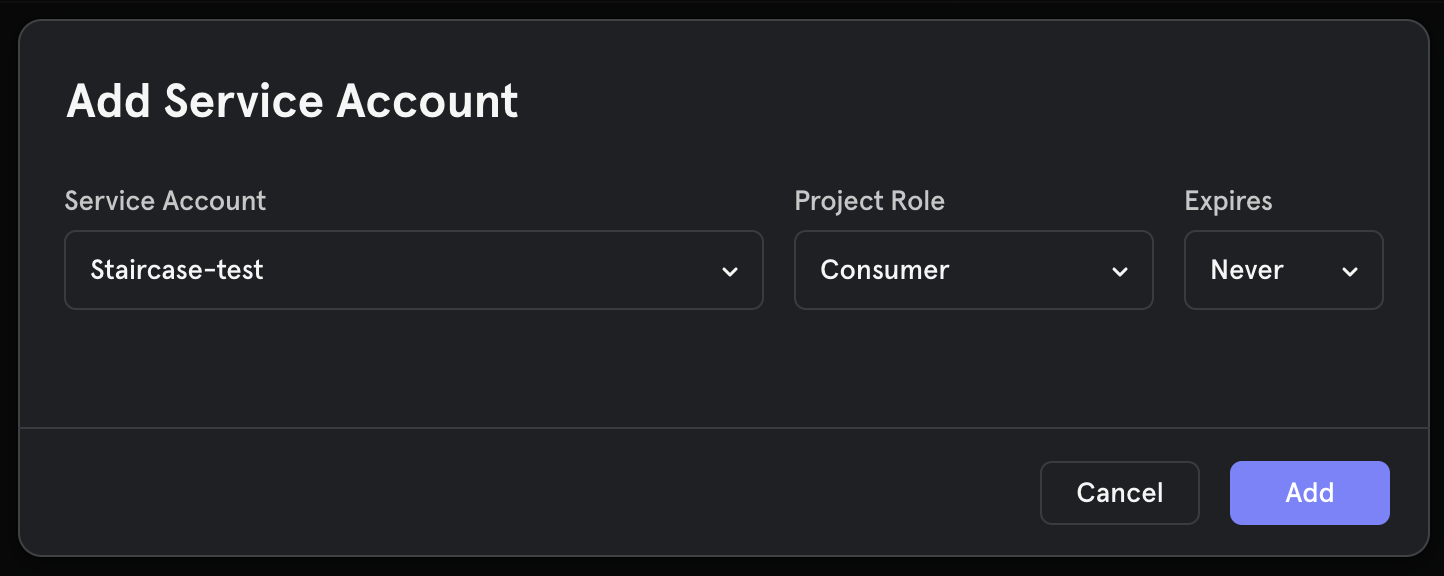
Enter a name for the new service account according to Mixpanel requirements. We recommend selecting the “Project Role” and “Expires” values as shown in the screenshot below. Click 'Add'.
Step 3
On the next screen you will see the service account’s “Username” and “Password”. Make sure you copy and save the service account’s 'secret' - it will be required to configure the integration. Please note, you will never be able to access the “Password” value from Mixpanel again. Click “Done”.

Step 4
Log into Staircase and click the cog symbol on the left-hand bar to open up your Integrations panel. Select the Mixpanel card and enter the service account’s credentials. Click “Connect”.

Step 5
After the verification is complete, select your project from the drop-down list.
Enter “Customer matching property name” and select “Customer matching type” from the drop-down list.
The first value means the name of property from your Mixpanel events which contains the customer identity. It is mandatory to correlate events with customers.
The “Customer matching type” indicates what is the identity type of the value from “Customer property name”. Click “Submit”.

Step 6
Now you can navigate to the “Customer fields” page and configure your Mixpanel field integrations to view usage stats in the Customer Overview table view.