Create, Customize, and Schedule Reports in Staircase AI
This article explains how to create, filter, customize, and schedule reports in Staircase AI.
This article explains how to create, filter, customize, and schedule reports in Staircase AI.
Overview
Staircase AI Reports are a suite of powerful, AI-driven analytical tools that help Customer Success teams, managers, and executives turn raw communication data into actionable insights.
Access Reports
To access the Reports section:
- In the left navigation pane, click Reports.
- From the Reports page, select any existing report, such as Accounts Overview, to view or edit.

This article walks you through how to:
- Create new reports
- Apply filters and customize columns
- Save and schedule reports
- Download reports in CSV format
Create New Report
You can create a new report from the Reports page using Staircase AI data. This allows you to build a more refined, targeted view report by applying filters, customizing columns, and tailoring it to the insights you need.
To create a new report:
- In the Reports page, click Create new report.

- From the Create new report dropdown list, select a report type:
- Account
- Team member
- Stakeholder
- Meeting
- Topic
- In the corresponding report page (example, Accounts), click the Filter icon to define what data appears in your report. You can apply filter based on:
- Account
- Tier
- Health score label
- Sentiment score label
- Insights
- Lifecycle events
- or add an Advanced Filter from any of Staircase AI’s potential fields
Example: To focus on strategic, high-value accounts, apply filters on Tier for Enterprise and Mid-Market segments.

- (Optional) To customize the data columns included in the table, click Select & reorder columns. The Select & reorder dialog box appears. To customize columns:
- Click the header field to expand the list.
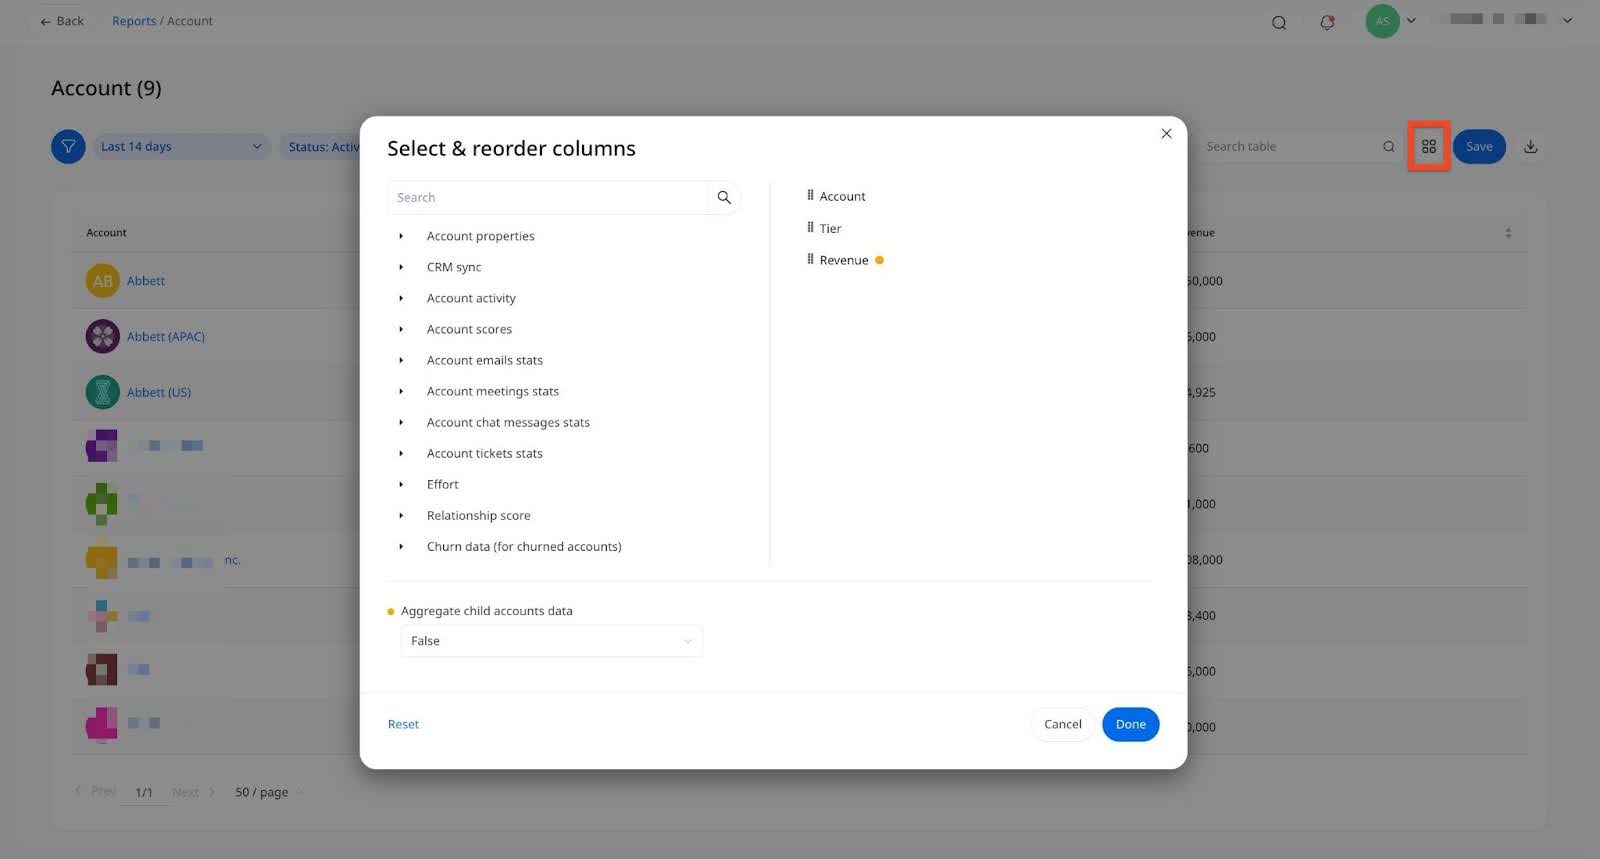
- Click a field to add it as a column.
- Set Aggregate child accounts data to True if you want to roll up data from child accounts into the parent account.
- Reorder columns by dragging them into the desired position.
- To save the changes, click Done.

- (Optional) To revert back the changes, click Reset.
- Click the header field to expand the list.
- Click Save. The Create report dialog box appears.

- Enter a report name.
- Select a report audience from the available options in Who can view this report:
- Private to owner
- Everyone can view
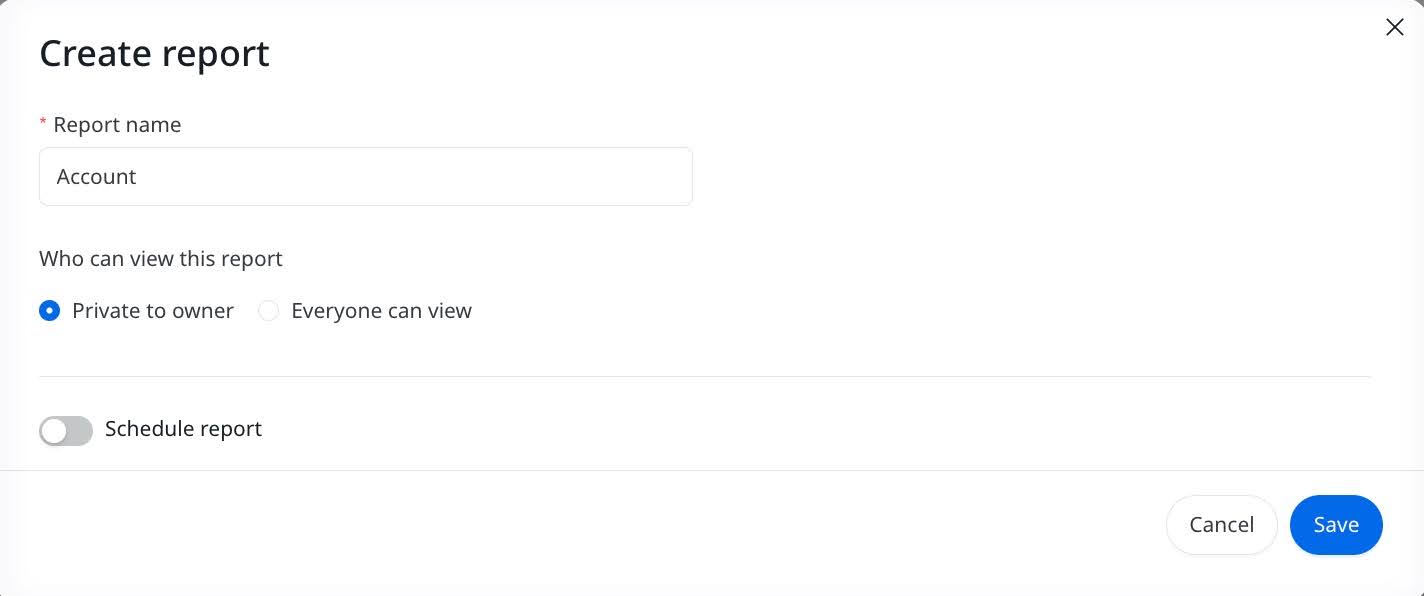
- (Optional) To receive the report by email at the scheduled time with the latest data that matches your filter criteria, turn on the Schedule report toggle.
- From the Recipients dropdown list, select users who should receive the report..
- From the Frequency dropdown, choose one of the following:
- Daily
- Weekly
- Monthly
- Select the preferred Time for delivery.

- Click Save. The saved report is displayed in the Saved reports list.
Note: You can edit or delete the report from the three-dots vertical menu.

Download a Report
To download a report:
- Open the report.
- From the three-dots vertical menu, click Download.

The report is downloaded in CSV format.