In-App Hub (formerly KC Bot) Localization
This article explains the Knowledge Center Bot Localization feature in detail.
Overview
Gainsight PX allows you to translate the content of your Knowledge Center Bot into other languages. The Localization feature in Gainsight PX allows you to set a default language and translate the Bot content into multiple languages, from the default language. If you have customers in different parts of the world, you can now use this feature to display your KC Bot to your customers in their local language. Gainsight PX supports translation to 107 languages.
Key Terms
It is essential to understand the following terms before deep-diving into the localization feature.
- Admin: Gainsight PX admin who performs all of the configurations.
- User: Gainsight PX user who creates the KC Bot. In some cases, a single person can be the admin and user as well.
- End-User: Your customers who use your product. A KC Bot is launched by Admins or Users for End Users.
- Identify Call: Identify call is a PX API. This API is sent to PX every time a user logs in to your application. The identify call has various User attributes like Name, ID, etc. which help PX identify the user uniquely.
- Local Language: The regional language of the end-user. PX provides you two options to set an end user’s local language.
- Default Language: This language is your local language and does not require any translation. It is applicable to your product. Default language refers to your local language and not end-user’s local language. The Bot content is always presented in the English language, irrespective of the default language.
- Selected Language(s): A set of languages that you can select from the pool of 107 available languages. KC Bot content can be translated into only these selected languages.
- Language Code: A unique code that identifies each language.
- XLIFF: XLIFF stands for XML Localization Interchange File Format. This type of file is used in translations. Click here to learn more about XLIFF files. You need to have some technical knowledge to handle XLIFF files.
Configure Localization
This section explains the various configurations to be performed by an Admin for Users to effectively use this feature. You can configure the admin Localization settings by navigating to Administration > Localization.
Configure the following Localization Settings:
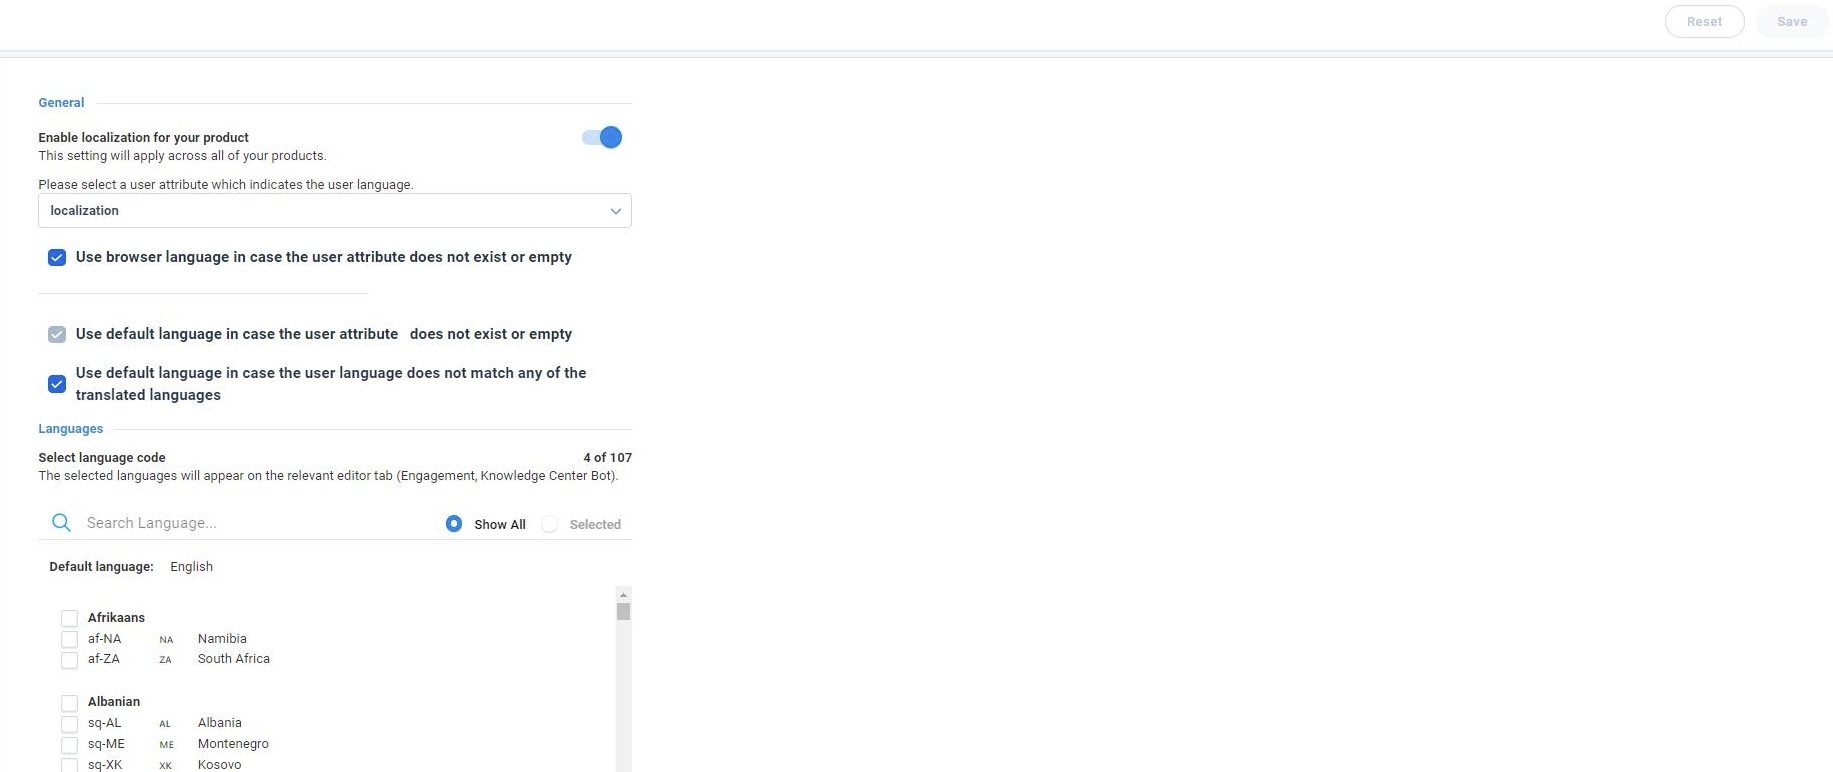
- Enable localization for your product: Turn on the toggle switch to enable this feature.
- Select the Local Language: Gainsight PX provides you two ways to identify an end user’s local language.
- Select the Local Language from Custom Attribute: You can create a custom attribute on the User object. This custom attribute must be configured such that it holds language codes of various languages. The value of this custom attribute is sent in the identify call when a user logs in to your application. This helps PX identify the user’s local language. In the following image, the Localization field is the custom attribute. This attribute holds language codes. You can select a language code for each user in this field (attribute).
-
Select the Local Language From End User’s Browser: If you do not select any value in the above drop-down menu, no custom attribute is sent to PX in the identify call. In such cases, the language configured in the end user’s browser is considered to be the local language.
Notes:
- If an end-user has set multiple languages in their browser, the first language is considered to be the local language.
- If there is a mismatch between the language sent in the identify call and the language set in the browser, the identify call takes precedence. For example, if you have set the custom attribute to the English language for an end-user, but the end-user has set the French language in their browser, English is set as the local language because the identify call takes precedence.
-
Set Browser Language as the Fallback Language: You can select the Use browser language in case the user attribute does not exist or empty checkbox to ensure that PX uses the end-users browser language as the local language if:
-
No attribute is selected in the custom attribute drop-down menu.
-
The custom attribute was not sent in the Identify call or was
-
The invalid value selected in the custom attribute drop-down menu (like numerical).
-
For example, if English is the browser language of the end-user and if no value is selected in the custom attribute drop-down menu, the KC Bot is translated to English.
-
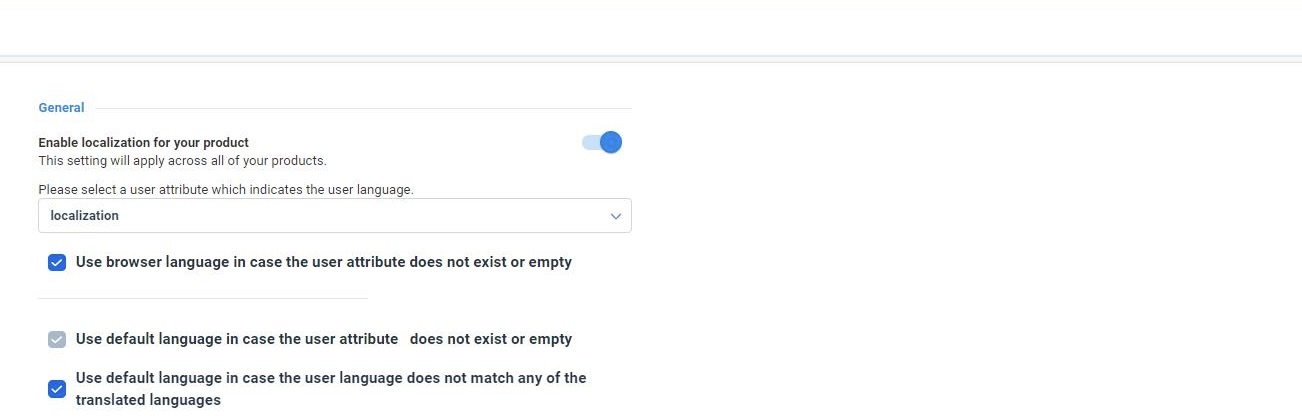
Set Default Language as the Fallback Language: You can select the Use default language in case the user attribute does not exist or empty checkbox to ensure that PX uses the default language as end-users local language, if:
-
No attribute is selected in the custom attribute drop-down menu.
-
The custom attribute was not sent in the Identify call or was
-
Invalid value selected in the custom attribute drop-down menu (like numerical).
-
IMPORTANT: If you select the Use browser language in case the user attribute does not exist or empty checkbox and also the Use default language in case the user attribute does not exist or empty checkbox, the browser language is selected as the end user’s local language.
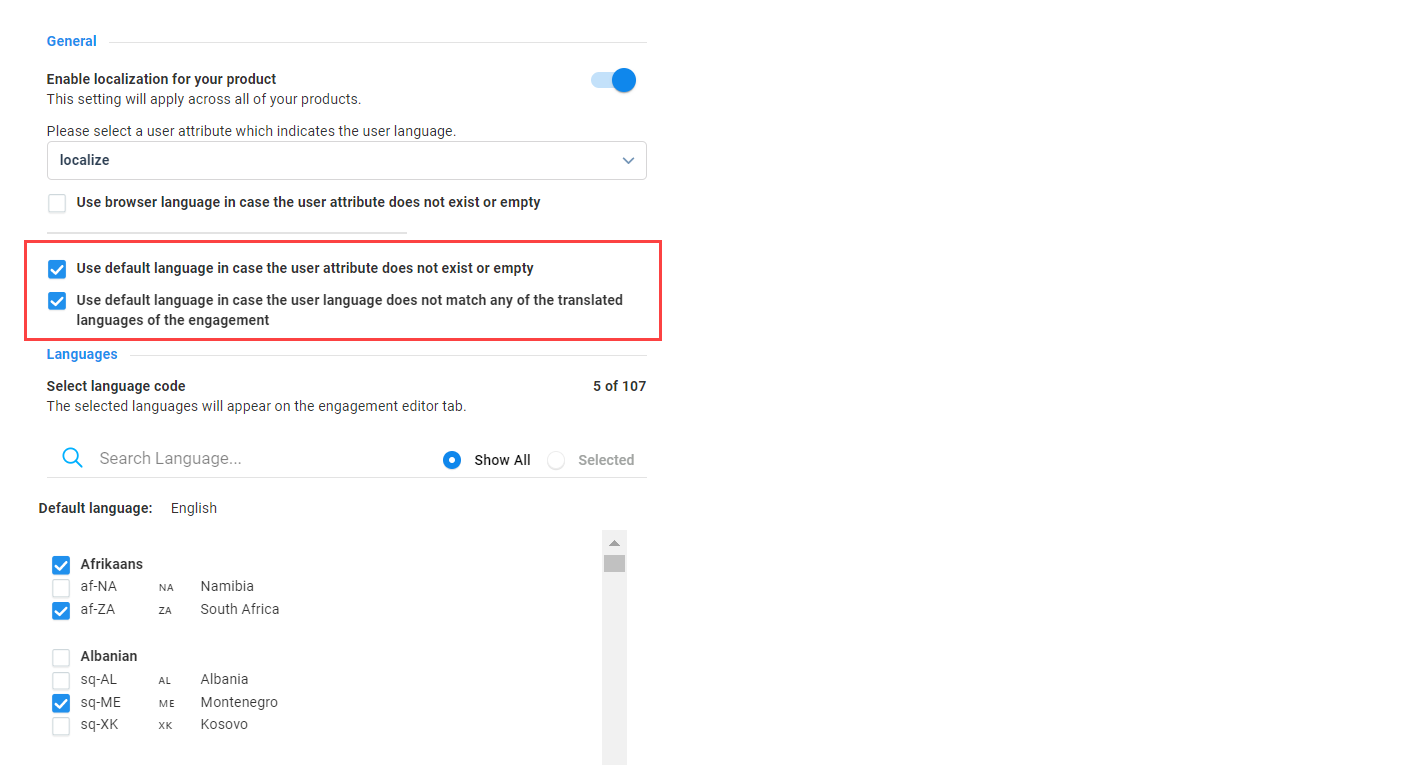
- Set Default Language as Fallback Language for Languages Without Translation: You can select the Use default language in case the user attribute does not match any of the translated languages checkbox to ensure that PX uses the default language as end user’s local language if none of the translated languages match the language that was sent in the custom attribute.
For example, if English is your default language and you translate your Knowledge Center Bot content to French and Chinese as the languages. If Hebrew language is a custom attribute, then the Bot is not displayed if this checkbox is not selected. If this checkbox is selected, the content is displayed in English (default language).
-
Language Selection: Admin can select the languages to which the Knowledge Center Bot must be translated. Users can translate the KC Bot to only those languages which an admin selects in this section. Apart from selecting the languages for translation, you can also set one of the languages to be the default language.
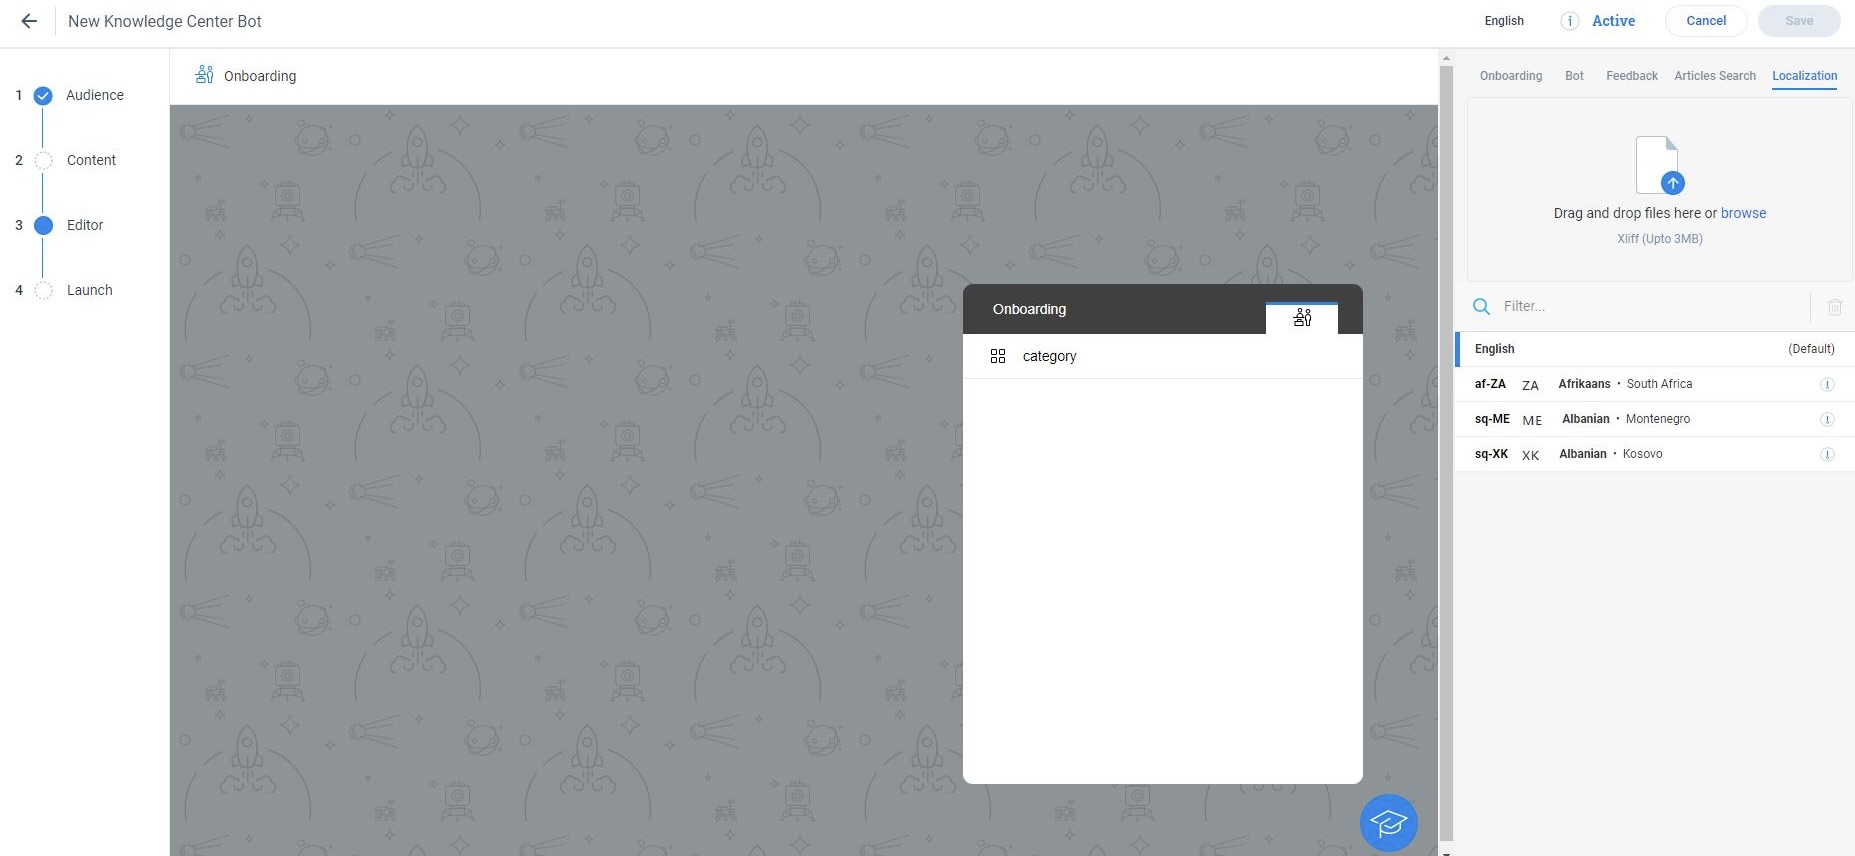
The languages you selected in the Administration section appear as default languages in the Localization tab of the Knowledge Center Bot editor.
Translate Knowledge Center Bot Content
Once the admin completes the configuration, users can translate the KC Bot content to the required language. To translate content, users must first draft the content and then export it as an XLIFF file. The translation must be performed in the XLIFF file and then the translated XLIFF file must be uploaded back to the Knowledge Center Bot. You cannot translate the default language.
Perform the localization in the following steps:
- Export source language text XLIFF file
- Import translated XLIFF file
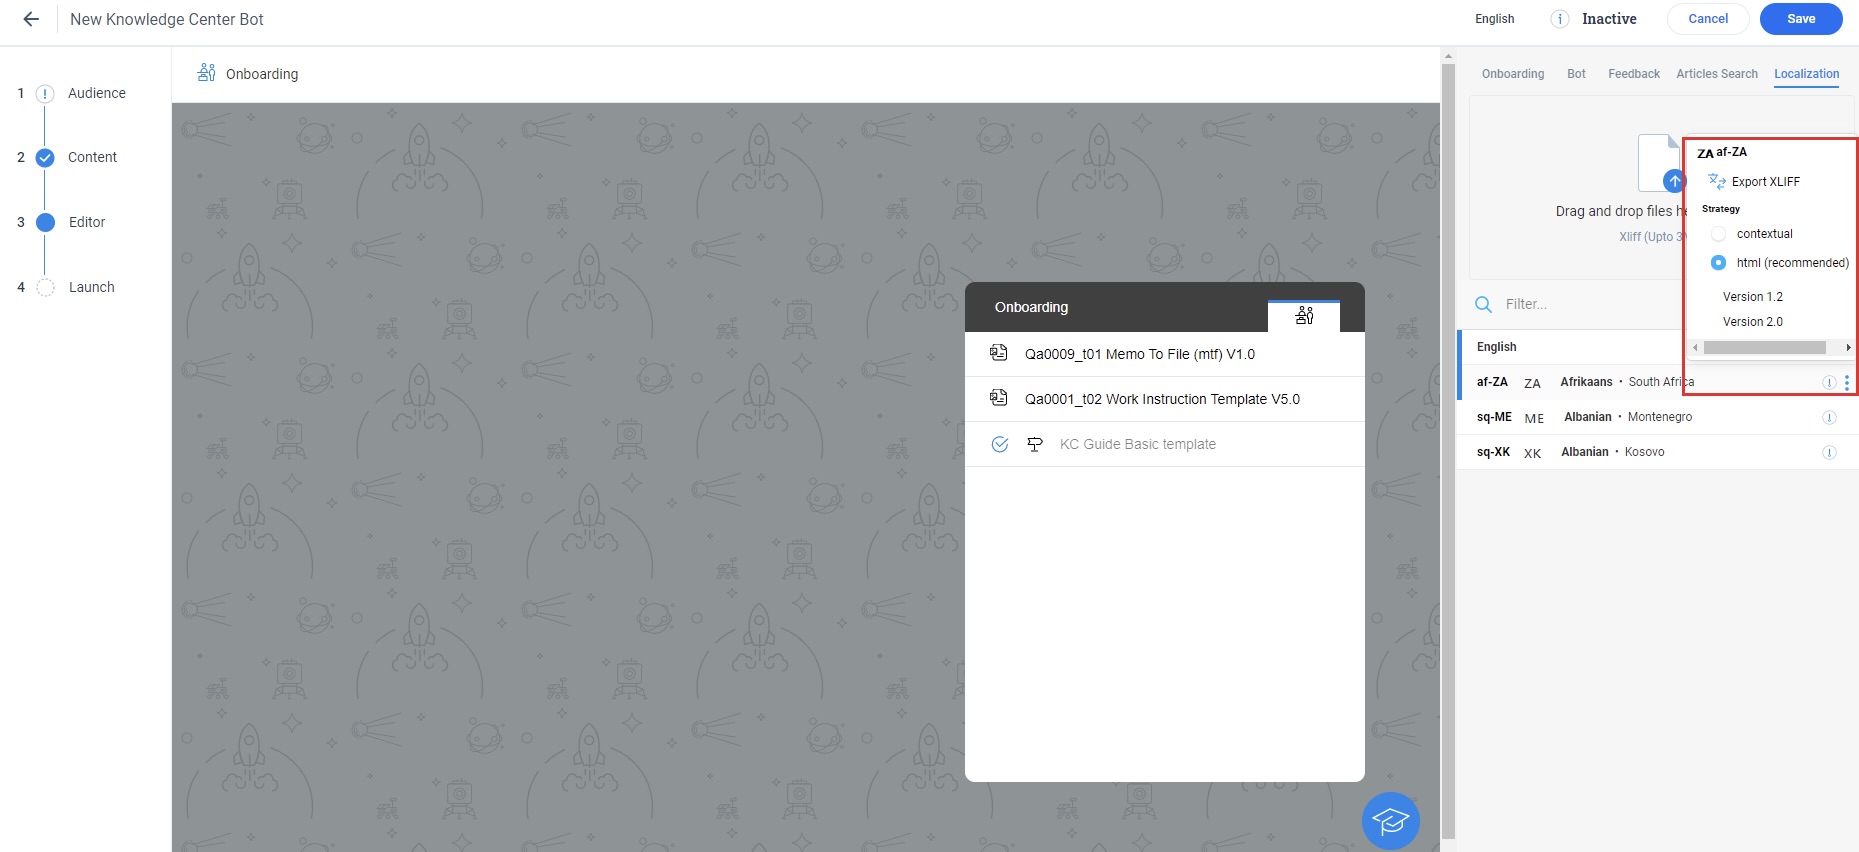
Export XLIFF
To perform translation, click the ellipsis menu and select the Strategy and the Version to export the XLIFF file. The content of the KC Bot is exported as the XLIFF file. You can export the content as an XLIFF file - version 1.2 or version 2.0 when you translate the content of your KC Bot into other languages.
The exported XLIFF file has two important sections. The source language code and the source messages (the content of the KC Bot).
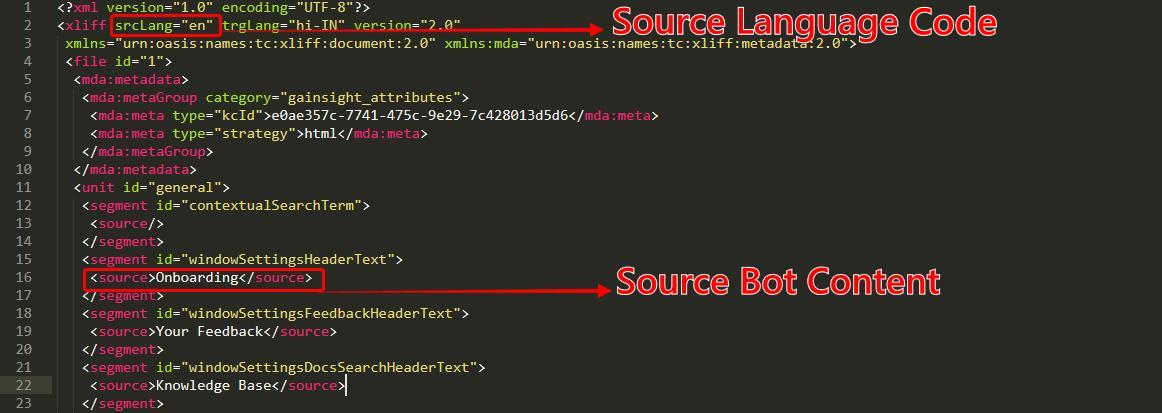
You can perform translation of the content from an external application. Once you perform the translation, you must ensure that:
- The srcLang (source language) tag is followed by trgLang (target language) tag. This target language tag must have the language code of the translated language.
- Each source tag must have a target tag. The target tag must contain the translated version of the source language.
If the above two requirements are not present in your XLIFF file, you cannot upload it back to PX.
In the following image, the source language English is translated to Hindi language.

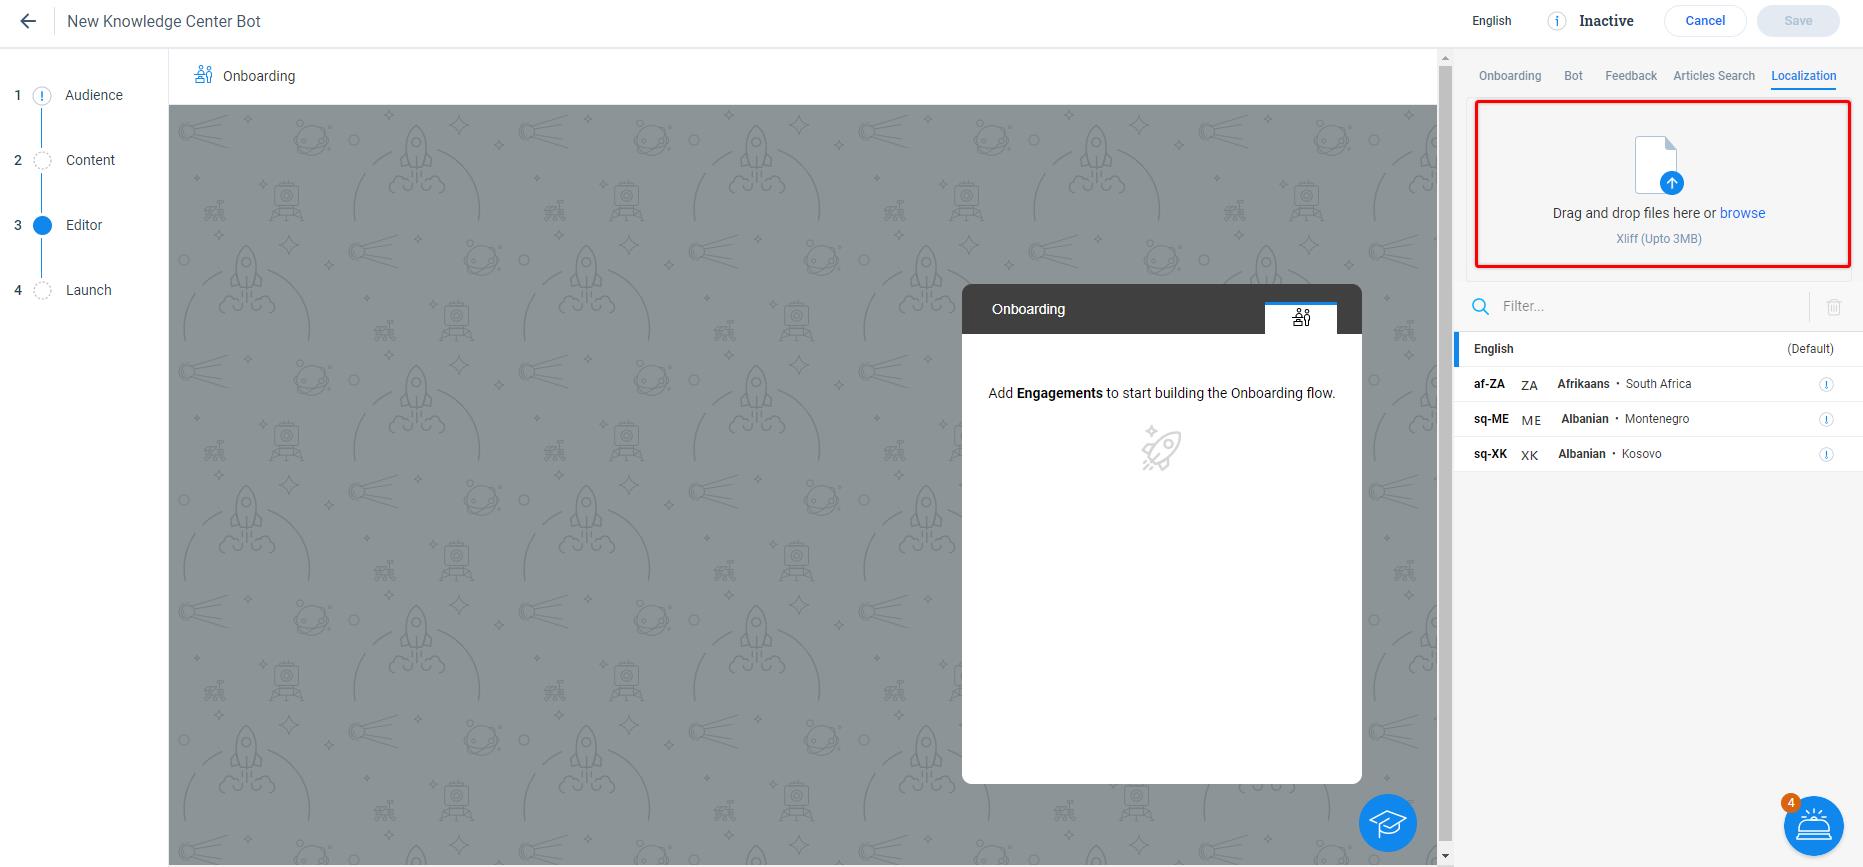
Import XLIFF
You can now import this XLIFF file back to PX by drag and drop option or by clicking on the browse option. Use the dropzone in the Localization tab of the Knowledge Center Bot editor to bulk import multiple XLIFF files into Gainsight PX.
Notes:
- You can upload a maximum of 3 MB in file size during a single import.
- Once you upload the XLIFF file, you can click the language name to view and edit the content in the translated language. Editing translated content post-translation can be useful for making minor changes that you don’t need to make to every translation.
If you modify the content (either from the default language or any of the translated language), the changes are not reflected in other languages. You must export the XLIFF file, translate the content, and import the XLIFF file, once again.
Similarly, translation can be performed for the French language as well. If you do not perform translation for any language and launch the Knowledge Center Bot, the Bot is displayed in the default language, if Fallback to default language in case translation doesn’t exist checkbox is selected by the admin in the Localization Settings section. If this checkbox is not selected, and the translation is not performed, the Bot is not displayed to those users for whom the non translated language is the local language.
Additional Resources
| Work with Import and Export XLIFF APIs |