Journey Orchestrator for Relationships
Gainsight NXT
You can use Journey Orchestrator Programs to send emails with Survey links associated to Relationships. This article addresses how to configure Journey Orchestrator Programs for Relationship surveys. For more information on configuring Relationship surveys, refer to Configuring Surveys for Relationships.
There are two key steps to configure Journey Orchestrator to send Relationship surveys:
Create Email Templates
You can create Email Templates with placeholders for surveys. To create these templates, take the following steps:
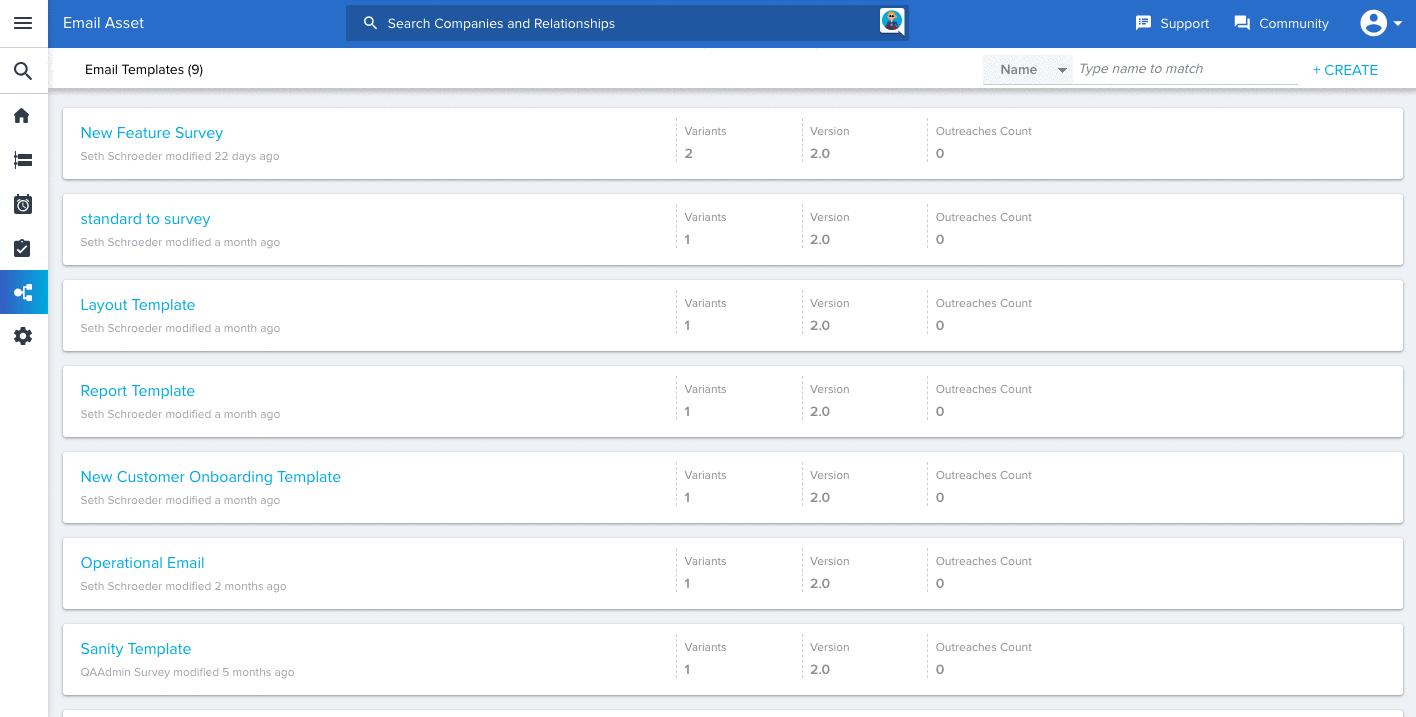
- Navigate to Journey Orchestrator > Email Templates. The email template list view appears.
- Click +CREATE. The email template configuration page appears.
- Select a survey placeholder link, button, or question from the Survey drop-down in the Journey Orchestrator Email Designer.
Note: You should select the survey to populate this placeholder while executing the Program configuration step. - Complete any remaining email template configurations for your use case. For more information on configuring email templates, refer to Create Journey Orchestrator Email Templates.
Configure Program
To send a survey via a program, you must configure the program for Relationships and surveys.
To create a Program for a Relationship of type Survey:
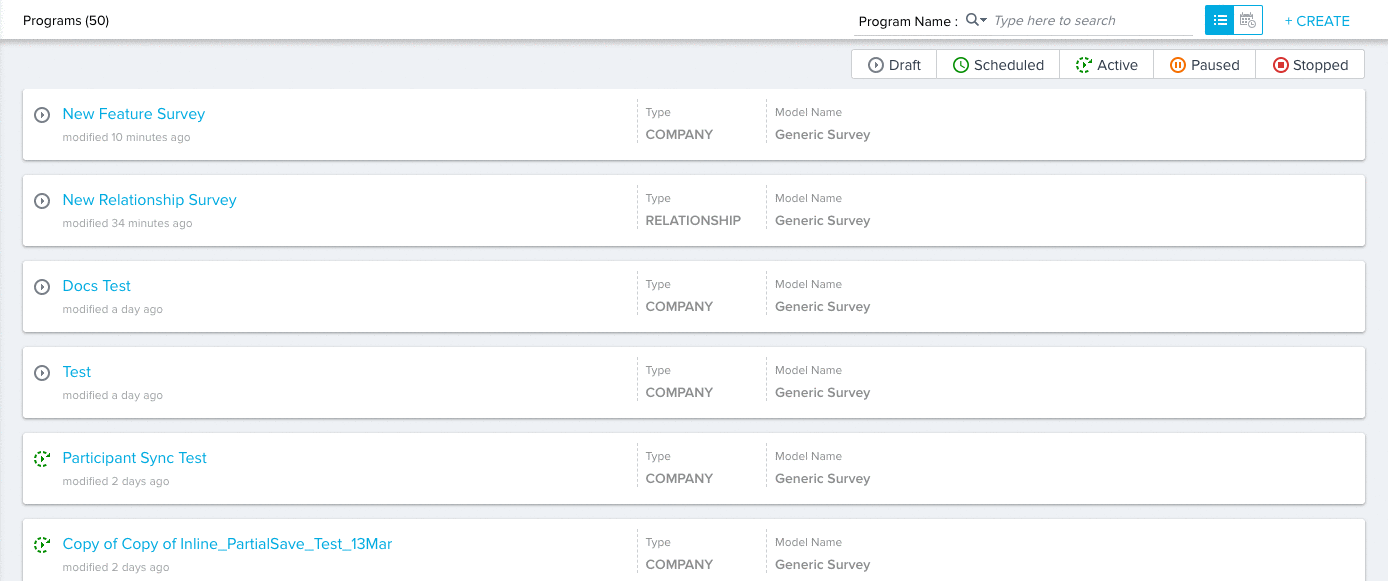
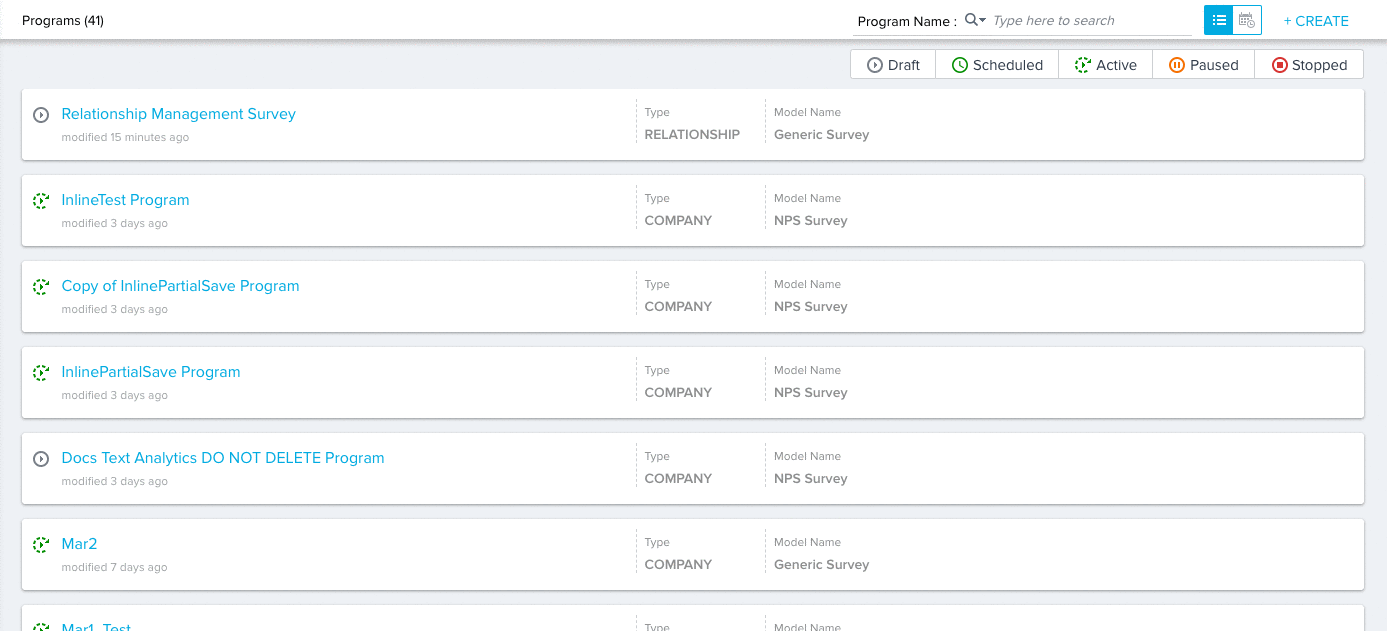
- Navigate to Journey Orchestrator > Programs to open the program list view.
- Click +CREATE to start creating a new program. You can also click to open an existing Relationship program configured with a survey model and the survey you wish to send. To edit an existing program, skip to step 11.
- Enter text for the name of the Program.
- Select Relationship for the Program type. This will display the Relationship type drop-down field.
- Select the Relationship type associated with the survey from the Relationship type drop-down field.
- Select a survey model for the program such as NPS® Survey, Customer Satisfaction Survey, or Generic Survey. Selecting this option displays the survey selection drop-down list.
- Select the specific survey that you want to send from the survey drop-down list.
- (Optional) Select the checkbox to send a survey with an in-line survey question, labeled Does your email template have in-line survey questions?
- Select a survey question from the drop-down field.
- Click SAVE. This opens the model configuration page. For more information on creating Programs, refer Program List View and Create New Program.
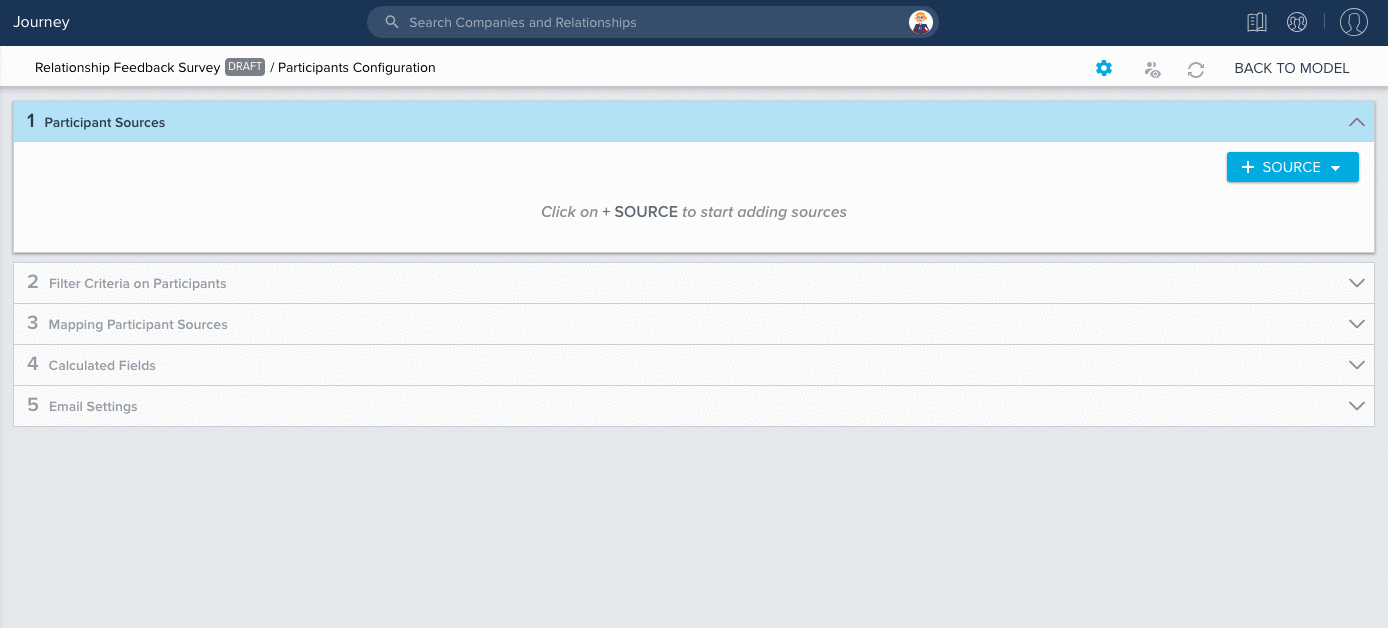
- On the Program model configuration page, click the green participant configuration icon to open the participants configuration page.
- Click +SOURCE to select a participant source type. For this use case, we’re going to select Query Builder, as this is the most common way to query for person records from the Relationship Person object. A dialog to enter the Query Builder name appears.
Add Participants through Query Builder
Setup the following configurations in the Query Builder:
-
Enter a name for the Query Builder source. Click SAVE.
- Click DATASET TASK.
- Enter the Task Name, Task Description, and Output Dataset Name.
- Select Relationship Person as the source object that you want to query from Matrix Data. The fields Relationship ID and Type Id are automatically added to the Show section, and a filter for the Relationship type you selected is automatically added to the Filter section.
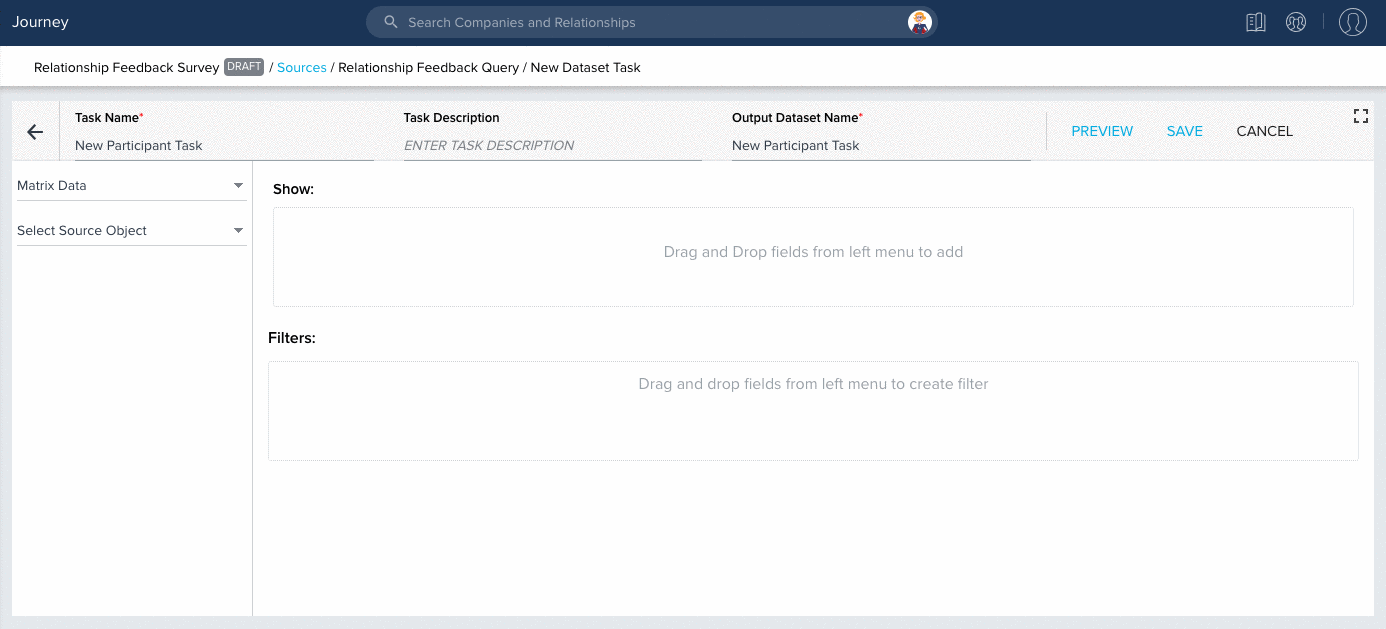
- Add any remaining fields that you want to query (such as the recipient’s email address, the name of their company, their role within the company, etc.) to the Show section. The data from these fields will then be available while mapping participants later.
- Add any other participant criteria that you want to set in the Filter section. Only Relationship Person records that meet this criteria will be pulled in by the query.
- Click SAVE.
- Click CANCEL to navigate back to the Query Builder configuration page.
- Click BACK TO SOURCES to navigate back to the Participants Configuration page.
- Click BACK TO MODEL to navigate back to the model configuration page. You can return to complete any other participant configurations at any time before the Program is published. For more information on configuring Query Builder or other sources, refer to Adding Participants to a Program.
Configuration of Survey Model
Setup the following configurations in the Survey Model Step:
- From the model configuration page, click the survey model step to open the email configuration screen.
- Click the Template drop-down field to select the email template that you configured with a Relationship survey placeholder in the Create Email Template step.
- Complete remaining email template configuration steps. For more information on configuring email templates, refer to Configure Model and Emails for Programs.
- Click SAVE.
- Complete remaining Program configurations. For more information on configuring programs, refer to How to Configure Programs (Path).
Filter Analytics for Relationship
After sending your survey via Programs, you can view analytics for the Relationship survey email in Journey Orchestrator. To view these analytics, take the following steps:
- Navigate to Journey Orchestrator > Journey Analytics.
- Select Search Company/Relationship from the search bar drop-down.
- Enter the name of the Relationship type that you want to search.
- Select the Relationship type to view the associated Journey analytics page.
| NPS, Net Promoter, and Net Promoter Score are registered trademarks of Satmetrix Systems, Inc., Bain & Company and Fred Reichheld. |