Configure Load to SFDC Objects Action Type
Gainsight NXT in Salesforce CRM
This article supports Gainsight NXT, the next evolution of the Customer Success platform, accessing through Salesforce Login. New and upgraded customers are deployed on Gainsight NXT. To learn more about Gainsight NXT in Salesforce, click here.
If you have not upgraded and are using Gainsight Salesforce Edition, you can find supporting documentation here.
Not sure what your team is using? Click here.
This article explains how to configure the Load to SFDC Action Type in Rules Engine. You can use this action type to load Gainsight data into Salesforce objects.
Overview
The “Load to SFDC” Action Type is useful when you want to sync Gainsight data with Salesforce. You can load data into standard and custom Salesforce objects using this Action type. You must first configure the Permissions - Rules Load Actions setting before using this action type. This setting allows you to select a set of Salesforce objects and their respective fields into which data can be loaded. This action can only be used on those Salesforce objects and fields which are configured in this setting.
Use Cases
- Data is loaded into the Person object through a CSV file. This data is not present in the Contact object. Hence Person data is loaded to the Contact object to keep both the objects on the same page.
- The Email address is unique for each contact.
Configure Rule Load Actions
This section explains how to configure the Rule Load Action page. You must configure the Salesforce objects and fields on which the Load to SFDC Action type must be used, in this page.
To configure Rule Load Actions:
- Navigate to Administration > Rules Engine.
- Click the Settings icon on the top right corner.
- Select the Permissions - Rules Load Actions option. The Permissions - Rules Load Actions page is displayed.
- Select the Salesforce object to which you wish to load data and click +.
- Click the selected object. The fields of the selected object are displayed in the Available Fields column.
- Select the required fields and click the Add arrow. (Press Ctrl +A to select all the fields). The fields are moved to the Selected Fields column.
- Click Save.
- Click Back to navigate to the Rules List page.
You can now load data to all the fields of the Contact object. Repeat steps 3-8, to add more objects and fields.
Create Rule
This section explains how to create a rule which can leverage the Load to SFDC Action Type.
To create a Rule:
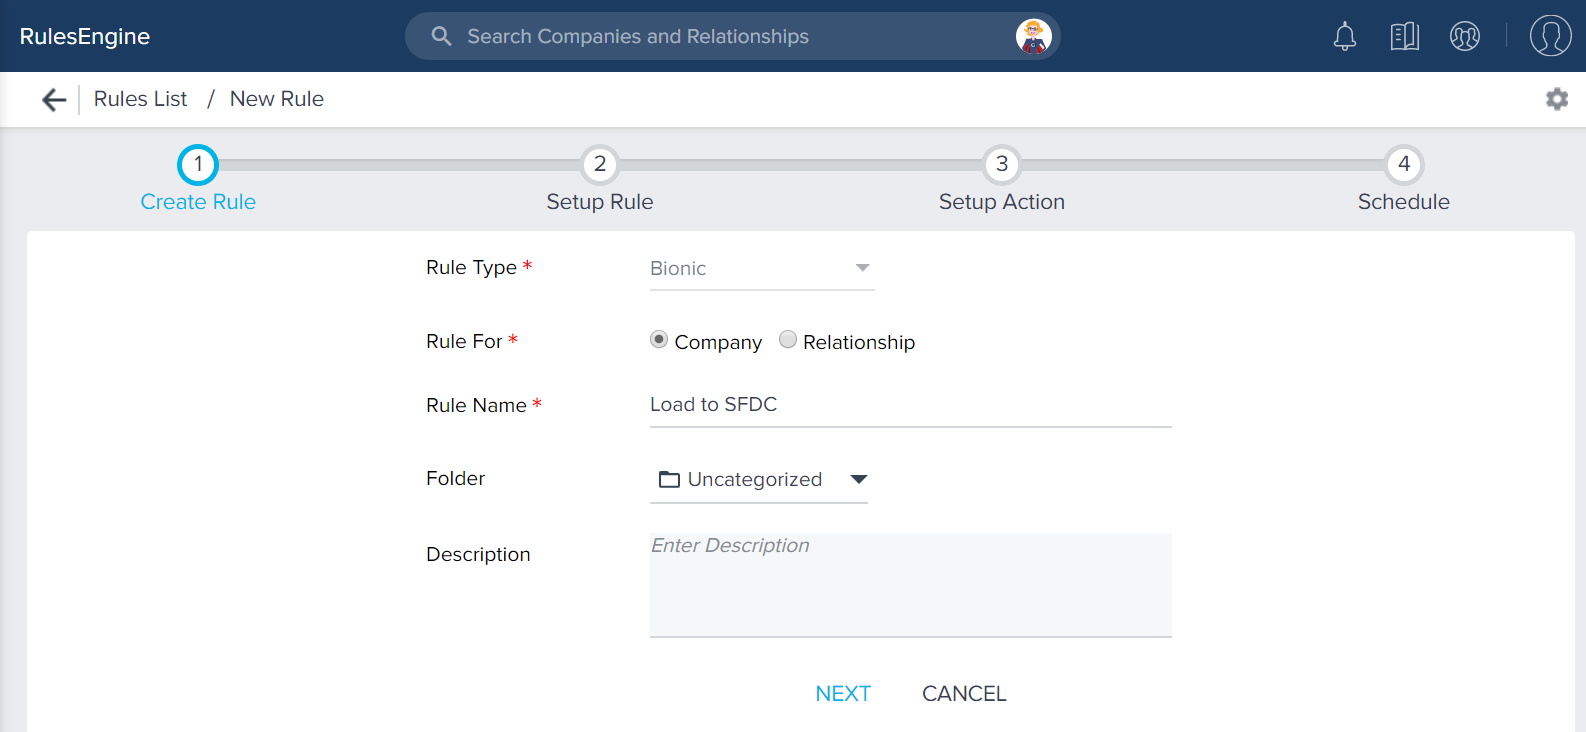
- Click Create Rule. The Create Rule page is displayed.
- Enter the following details:
- From the Rule For field select Company.
- In the Rule Name field enter a name for the rule.
- Select a folder for the rule.
- (Optional) In the Description field, enter a description for the rule.
- Click NEXT.
- Click DATASET.
- Select Matrix Data as the source.
- Select Person as the source object.
- Drag and drop the following fields to the Show section.
- First Name
- Last Name
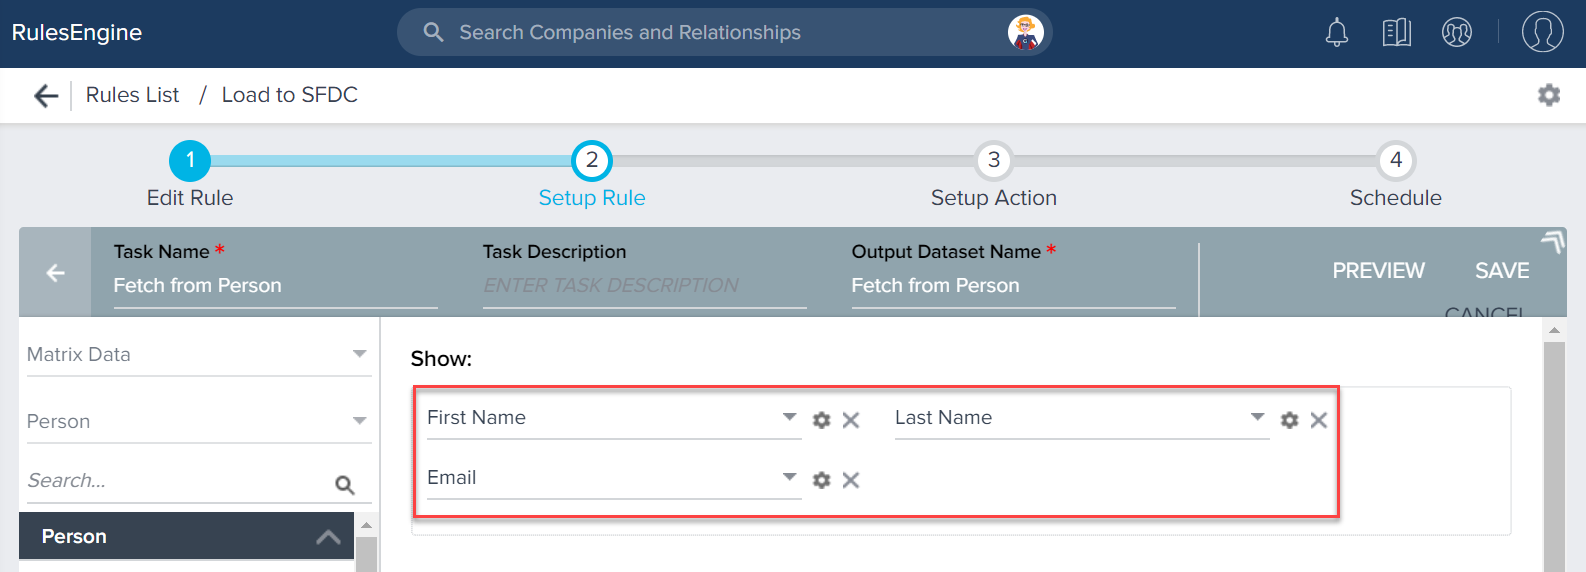
- Click SAVE.
- Click Setup Action.
Configure Load to SFDC Action Type
This subsection explains how to configure the Load to SFDC Action Type.
To configure Load to SFDC Action Type:
- Click + ACTION.
- From the Action drop-down menu, select Load to SFDC Object.
- From the Connection drop-down menu select the SFDC connection (here Salesforce).
- From the Object name drop-down menu select Object. The objects selected in the Configure Rule Load Actions section are displayed here.
- From the Operation drop-down menu, select Upsert.
- Perform the following mappings:
- First Name - > First Name
- Last Name -> Last Name
- Email -> Email
- Select the Include in identifiers check box for Email mapping.

- Click SAVE.
- (Optional) Execute the rule. You can also schedule the execution of the rule.